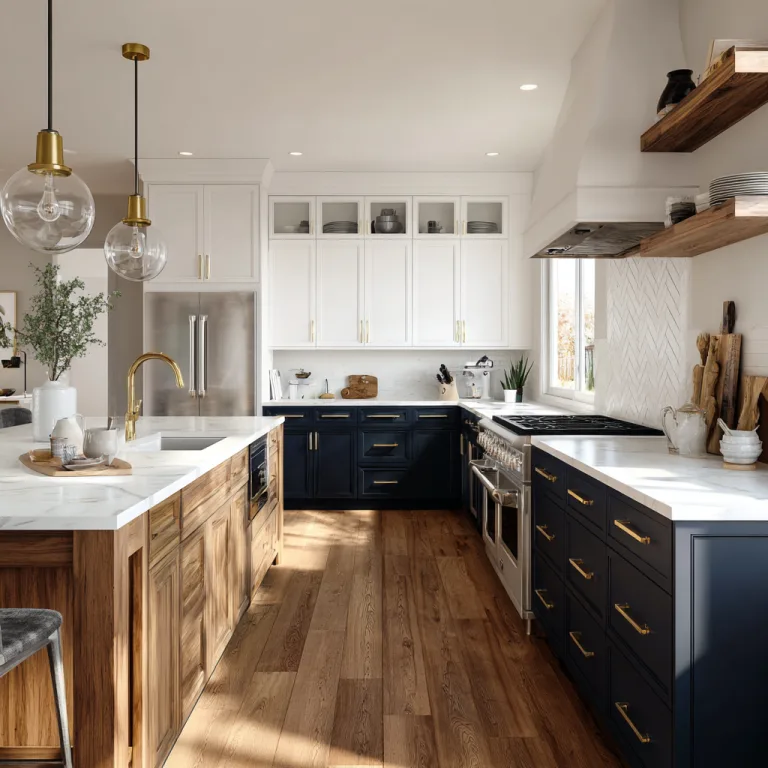
One reel of LED tape light can reach 16 feet, yet length alone cannot make a kitchen work well. Treat under cabinet lighting as a task-lighting layout rather than simply a choice of fixtures: the position of the light source, cabinet depth, work-surface finish, and diffuser determine whether the result is useful or glaring. Separate the visible lighting effect from the hidden electrical system, because a well-chosen light can still perform poorly when the driver, controls, access, heat management, or wiring are planned badly.
This under cabinet lighting buying guide starts with that distinction. I would sort out the beam, shadows, and reflection pattern before choosing a finish or control method. Most rooms improve when the lighting plan is settled before the furniture, cabinet trim, or decorative details.
Key Takeaways
- Place light toward the front portion of the cabinet underside, while hiding the source from direct view.
- Choose LED tape light for continuous coverage and puck lights for concentrated pools of light.
- Match the light source, LED driver, dimmer switch, and control system before installation.
- Keep drivers accessible, protect wiring near water and heat, and use a qualified electrician for mains-voltage work.
Beginner: Start with the lighting job, not the fixture
What under cabinet lighting actually does
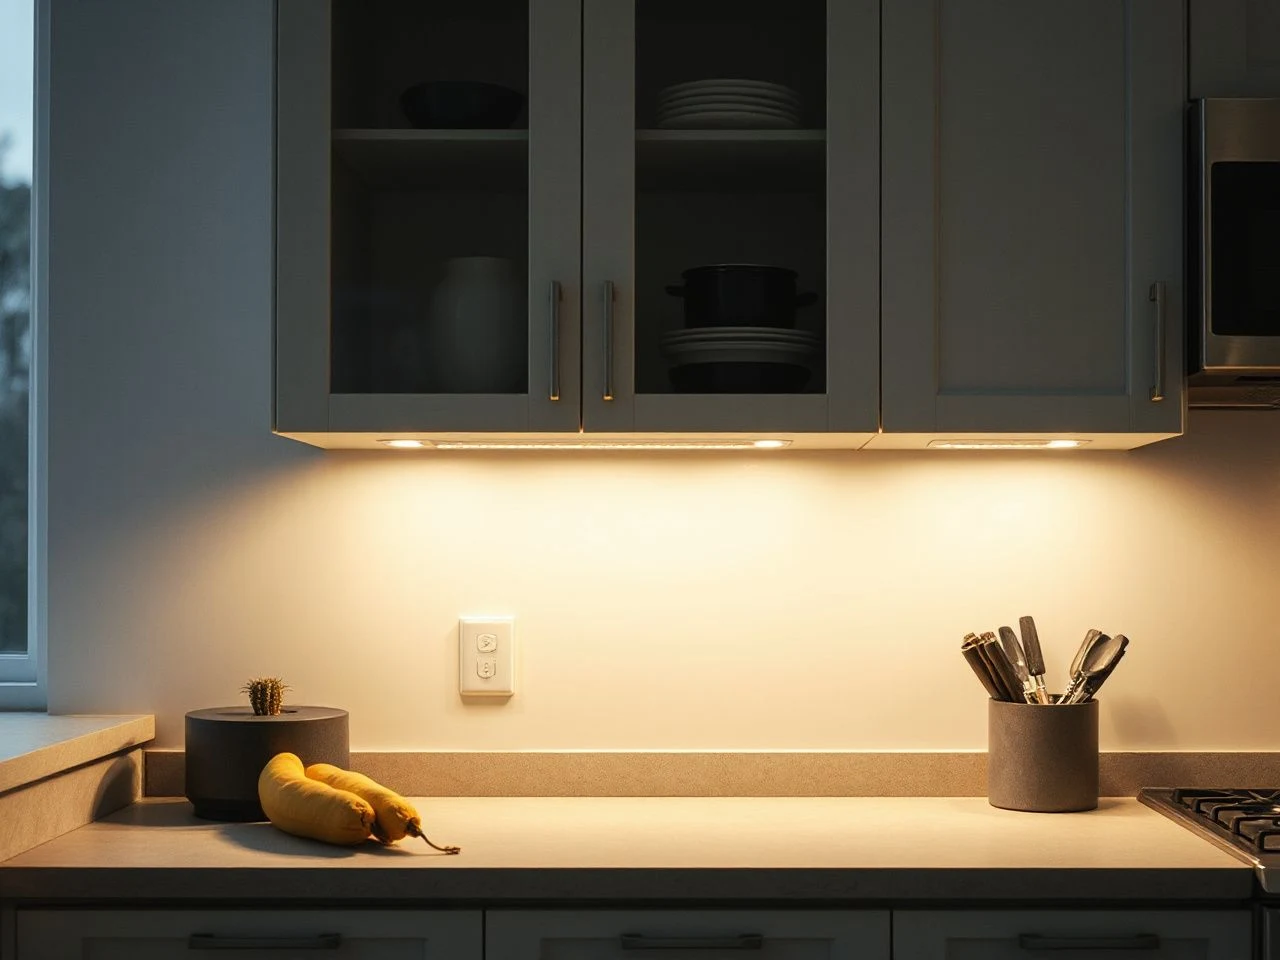
Under cabinet lighting sends light downward onto the counter, backsplash, or work area from a concealed position beneath a wall cabinet. The fixture may use LED tape light, a puck light, or a compact light bar, but the useful result comes from how that source meets the surface.
Under cabinet lighting can provide task lighting as well as ambient or accent light. Task lighting helps reveal the work surface; accent lighting draws attention to cabinet construction, backsplash design, or a carefully chosen finish. A single installation can serve both roles if the source is concealed and the brightness is controllable.
Under cabinet lighting works by directing light from the cabinet underside onto the work surface while the cabinet conceals the source. The cabinet depth, counter finish, diffuser, and mounting position decide how evenly that light arrives.
Map the work surface first
Stand at the counter and identify where hands, cutting boards, small appliances, and dishes will actually sit. A light mounted too far back can leave the front of the work surface dim and allow the person standing there to cast a shadow forward.
A source mounted too close to the front edge can become visible from normal standing positions. Exposed points of light also create uncomfortable reflections on glossy counters, polished splashbacks, and shiny appliance surfaces. The right position is usually the one that throws light forward without putting the bright source in the direct line of sight.
- Check the view from standing height before fixing anything permanently.
- Look for reflections in glossy stone, glass, polished tile, and stainless-looking surfaces.
- Place the source far enough forward to serve the front work area, but hide it behind the cabinet edge or a suitable trim.
- Account for cabinet end panels, lips, rails, and decorative molding that can block the beam.
Cabinet depth matters because a deeper underside gives the light more surface to cover before it reaches the counter. A shallow cabinet may need careful concealment at the front edge, while a deep cabinet can hide a fixture more easily but may leave the front work area underlit if the source stays too far back.
Choose the light pattern
LED tape light creates a continuous line of light when installed correctly and concealed with an aluminum channel and diffuser. That continuous pattern suits long runs of counter where gaps between individual sources would be distracting.
Puck lights create separate pools of light. They can work well when cabinet sections are divided or when a focused pool is wanted, but spacing affects whether the counter looks even. A stated planning rule for uniform coverage is one puck light for every 8–12 inches of countertop space; use that as a starting point rather than a promise, because cabinet depth and the puck’s beam still change the result.
LED tape light is suited to continuous illumination, while puck lights create distinct pools that require deliberate spacing. The choice should follow the desired light pattern and the shape of the cabinets.
Beginner: Compare tape light, puck lights, and visible hardware
LED tape light and aluminum channel
LED tape light is flexible and can follow a long cabinet run, but the tape should not be treated as the entire lighting plan. An aluminum channel can hold the tape in a straight line and give the installation a more finished edge. A diffuser softens the view of individual points and changes how the light spreads across the counter.
The channel and diffuser also affect concealment. A bare strip may show bright points from a seated or standing angle, especially beneath a glossy cabinet finish. A diffuser can make the line appear calmer and less visually obvious, though its shape and placement still need to suit the cabinet trim.
Measure each cabinet section rather than assuming one uninterrupted run will fit. Recesses, corner cabinets, range hoods, and changes in cabinet height can interrupt the path. Reels are available at lengths reaching 16 feet, but a long reel does not mean every cabinet run should be treated as one continuous piece.
Puck lights
Puck lights are compact sources that suit separated cabinet bays or a layout where a pool of light is acceptable. They can be placed to support particular work zones, but uneven spacing may produce alternating bright and dark areas.
Dark spots often come from leaving too much distance between pucks, placing the sources too far back, or allowing cabinet dividers to block part of the beam. A dark strip along the front of the counter is a placement problem, not automatically a brightness problem.
Some wireless and motion-sensing examples use very low-voltage power supplies. The verified specifications illustrate how widely outputs can differ: the Brilliant Evolution Wireless LED Puck Light is listed at 55 lumens, while the JUSJUBR LED Under-Cabinet Plug-In Light is listed at 400 lumens. Those figures should not be treated as interchangeable because fixture layout, beam spread, control method, and intended use also affect the visible result.
Light bars and concealed sources
A light bar can provide a defined line beneath a cabinet and may be easier to position than loose tape. The important questions remain the same: can the source be hidden, does the light reach the front of the counter, and can the wiring be routed without crossing a vulnerable area?
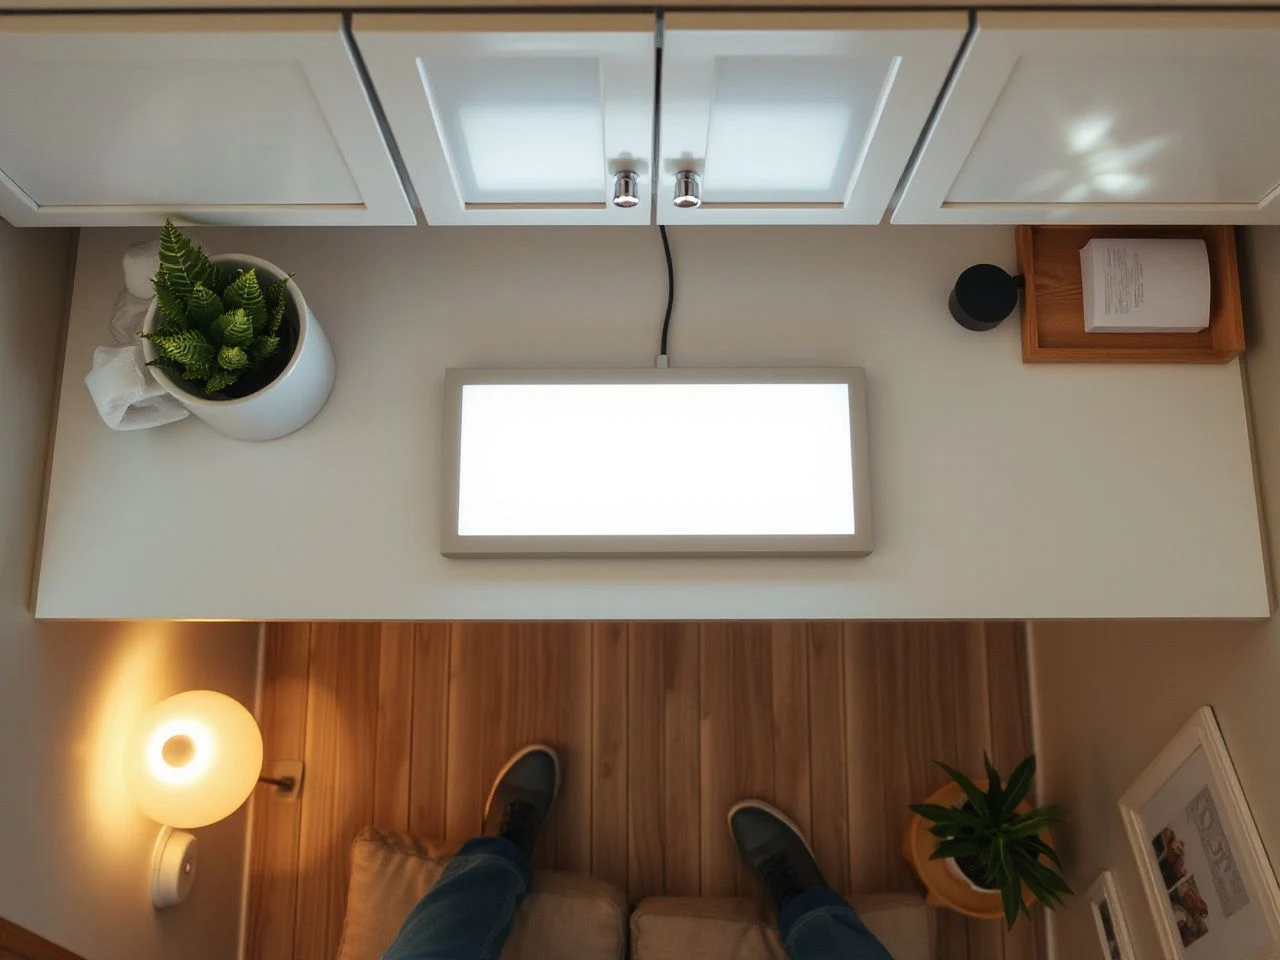
Under cabinet lighting looks built in when the eye notices the illuminated surface before it notices the fixture. Cabinet trim and an aluminum channel can help, but poor placement cannot be disguised by a decorative finish.
Intermediate: Plan the hidden electrical system
Low-voltage components and mains-voltage wiring
Many LED tape systems, puck lights, and light bars operate through a low-voltage LED driver. The driver changes the incoming electrical supply to the voltage required by the light source. The visible fixture may be simple, but the driver, plug, switch, connectors, and cable route determine whether the installation is practical.
Low-voltage components are different from mains-voltage wiring. Connecting a plug-in driver or routing low-voltage cable is not the same task as altering fixed household wiring. A qualified electrician should handle work that involves mains-voltage wiring, a junction box, a new circuit, or changes behind walls and cabinets.
The U.S. Consumer Product Safety Commission provides consumer safety information about electrical products and hazards; follow its guidance and the instructions supplied with the lighting system. A product that uses a low-voltage output still depends on a correctly installed supply and suitable connections upstream.
Mains-voltage wiring should be handled by a qualified electrician, even when the visible light uses low-voltage components. The distinction protects the installation plan from treating every cable as if it carries the same electrical risk.
Driver location and ventilation
An LED driver needs suitable ventilation and must remain accessible for inspection or replacement. Do not seal the driver inside an inaccessible cabinet void or bury it behind permanent trim simply to hide the cable.
Choose a location where the driver can be reached without dismantling the kitchen. A cabinet top, a serviceable void, or another accessible position may work if the manufacturer’s instructions allow it and the driver remains clear of heat, moisture, grease, and stored items.
A driver that is too weak for the connected light can create a poor result. A driver that is poorly ventilated can also become a maintenance concern, while an incompatible driver may lead to flickering, buzzing, limited dimming, or premature failure. Match the driver’s stated output and connection requirements to the actual light system rather than guessing from the cabinet length.
Connectors, junction boxes, and cable routes
A wire connector should be suitable for the wiring system and secured where it cannot be pulled, crushed, or exposed to splashes. Keep cables away from sharp cabinet edges, hot cooking equipment, moving drawers, and areas where cleaning tools can snag them.
A junction box must remain accessible when the electrical design requires one. The same principle applies to a dimmer switch, sensor, plug, or driver: hidden does not mean permanently sealed.
Plan the cable route alongside the cabinet layout. A neat route may follow the rear of the cabinet or a protected trim area, but it should not pass through a place where a screw, hinge, drawer, or future cabinet adjustment can damage it.
Hardwired or plug-in installation?
Hardwired lighting can give a clean finished appearance because the supply can be integrated into the kitchen’s electrical planning. It also brings electrical work that may require access behind walls, a junction box, or changes to fixed wiring.
Plug-in lighting can simplify access to the power supply and make later inspection easier, but the cord must be routed neatly and protected from damage. A cord hanging across the backsplash or passing near a sink undermines both appearance and safety.
Hardwired lighting is not automatically better than plug-in lighting; the suitable method depends on access, wiring conditions, control plans, and the quality of the installation. During a renovation, discuss the lighting location with the electrician before the backsplash and cabinet trim close off access.
Intermediate: Match the controls to the light
Dimmer compatibility
A dimmer switch, LED driver, control system, and light source must be electrically compatible. A mismatch can cause flickering, buzzing, limited dimming, or premature failure, even when the light appears correctly installed.
Check the product instructions for the permitted dimmer type and driver arrangement. Do not assume that a dimmer designed for one LED system will work with another simply because both lights use the same household supply or have a similar appearance.
The dimmer belongs in the system plan, not as an afterthought. Decide whether the light should dim from a wall switch, a remote control, a smart lighting control, or a local switch, then confirm that the driver accepts that method.
A dimmer must be compatible with the LED driver and light source to avoid flicker, buzzing, and restricted control. Compatibility should be confirmed from the supplied instructions before wiring is completed.
Occupancy sensors and motion controls
An occupancy sensor can be useful where hands are often occupied, but its position matters. A sensor hidden behind a cabinet lip may fail to detect movement reliably, while a sensor pointed toward a busy walkway may trigger the light when the counter is not in use.
Wireless motion products vary considerably in power and output. For example, the listed BLS LED Motion Sensor Under-Cabinet Lighting uses a 1.5-volt power supply and produces 180 lumens, while LepoTec Wireless Motion Sensor Cabinet Lights are listed at 5 volts and 350 lumens. Such figures show why the control, power supply, and intended placement must be considered together.
Smart lighting controls can add schedules or remote operation, but they do not correct a badly positioned fixture. A sensor cannot remove glare, fill a shadow caused by a deep cabinet, or make an inaccessible driver serviceable.
Brightness and the risk of over-lighting
There is no single output figure that suits every counter. A small puck aimed at a defined work area behaves differently from a continuous tape light under a long cabinet, and a glossy backsplash may appear brighter than a matte surface under the same source.
Use the manufacturer’s lumen figure as a comparison point, not as a substitute for layout. The Litever 6-Pack Under-Cabinet Light Bar Kit is listed at 2,000 lumens total at 12 volts, while the Wobane Under-Cabinet Lighting Kit is listed at 1,100 lumens at 12 volts. Those specifications do not by themselves reveal how evenly either system will light a particular cabinet run.
Excess brightness can make a kitchen feel harsher when the source is visible or reflected. A diffuser, a dimmer, and a better mounting position usually address that problem more intelligently than simply selecting a weaker light.
Advanced: Solve glare, shadows, heat, and moisture
Why dark spots and harsh glare appear
Dark spots appear when the light sources are too far apart, blocked by cabinet construction, aimed away from the front work area, or unable to spread across the counter. Puck lights can show this clearly because each source produces a separate pool.
Harsh glare appears when bright points are visible from normal viewing positions or reflected from a shiny surface. Bare LED tape can be especially noticeable if the cabinet underside leaves the strip in direct view. An aluminum channel with a diffuser can soften the pattern, but the source still needs to be positioned correctly.
Uneven light can also come from treating a corner or change in cabinet depth as if it were a straight run. Break the plan into cabinet sections and judge each section from the same standing position used to work at the counter.
Dark spots usually indicate a coverage or placement problem, while glare usually indicates that the source is visible or reflected. The remedy should address the cause rather than simply increasing output.
Plan around sinks and cooking areas
Lighting near sinks and cooking areas needs protection from moisture, heat, grease, and cleaning products. Keep wiring away from places where water can reach it or where cookware, utensils, and cleaning tools can damage it.
Do not place a driver where steam, splash, grease, or heat can accumulate. A source near a cooktop also needs clearance and protection that match the manufacturer’s instructions and the actual kitchen layout.
The ASTM International website explains the role of consensus standards used across products and safety-related fields; look for applicable safety information and markings from the product manufacturer rather than inventing a rating from appearance alone. A fixture’s label, manual, and installation instructions are the proper references for use near wet or hot areas.
Cleaning and maintenance
Turn the lighting off and allow accessible components to cool before cleaning. Use a soft, lightly damp cloth for the diffuser and exposed finish, then remove moisture rather than allowing liquid to run into the channel, connector, switch, or wiring.
Abrasive pads, harsh cleaning products, and forceful spraying can cloud a diffuser or damage a finish. Do not pull on the tape, press against exposed connections, or remove a cover that the installation instructions do not identify as serviceable.
Maintenance is usually simple when the driver and connectors remain accessible. Inspect for loose cable routes, a diffuser that has shifted, visible damage, flickering, buzzing, or a control that no longer behaves as expected.
Accessible drivers and dry, clean diffusers make under cabinet lighting easier to maintain safely. Designing for inspection is part of the lighting plan, not a repair added later.
Advanced: Use a practical installation sequence
Step 1: Draw the cabinet layout
Mark every cabinet section, corner, appliance gap, sink, cooktop, backsplash transition, and accessible power point. Note where cabinet doors, drawers, trim, and end panels may interfere with the light or cable.
Separate the visible lighting plan from the electrical plan. The first shows where light should land; the second shows where the driver, controls, connectors, and supply will live.
Step 2: Test the position
Temporarily hold the proposed source beneath the cabinet and inspect the counter from the room. Look for front-edge shadows, direct glare, reflections, and dark areas between cabinet sections.
Test the view with the kitchen lights on and off. Ambient light can hide an uneven under cabinet layout, while a dark room can reveal whether the source is too obvious.
Step 3: Select the system
Choose tape light for a continuous line, puck lights for separated pools, or a light bar where its form suits the cabinet underside. Then match the driver, connector, dimmer, sensor, and cable route to that choice.
Compare specifications carefully. The JUSJUBR plug-in light is listed at 5 volts and 400 lumens; the RXWLKJ rechargeable motion-sensor light is listed at 3.7 volts and 100 lumens. Voltage and lumen figures are useful only when read alongside the complete system instructions.
Step 4: Plan access before finishing
Choose an accessible driver position and leave a route for inspection or replacement. Keep junction boxes and important connectors reachable, and avoid sealing the system behind permanent backsplash materials or cabinet panels.
If mains wiring must be added or altered, pause the decorative work and arrange qualified electrical help. A tidy visible finish is not a substitute for correct electrical planning.
Step 5: Install and inspect the result
Secure the light source according to its instructions, protect the wiring, and check that the diffuser sits evenly. Switch the system on at its intended control and inspect every cabinet section from the normal working position.
Check the dimmer across its usable range, listen for buzzing, and look for flickering or sudden dark areas. Correct those signs before concealing the driver or closing the cabinet trim.
For a more detailed sequence covering layout and fitting decisions, see this step-by-step guide to adding under cabinet lighting. A separate explanation of how task lamps differ from overhead sources can also help when the kitchen needs more than one lighting layer: compare task lighting with overhead lighting here.
Frequently Asked Questions
Should under cabinet lighting sit near the front edge or farther back?
Place the source far enough forward to light the front work area, but keep the bright points hidden from normal standing views. Mounting too far back can leave the counter dim and create shadows from the person using it. A temporary placement check is the safest way to judge the balance, especially with glossy counters or reflective backsplash materials.
Is hardwired under cabinet lighting better than plug-in lighting?
Neither method is automatically superior. Hardwired lighting can produce a cleaner finished route during a renovation, while plug-in lighting can preserve access to the supply and simplify later inspection. Mains-voltage changes should be handled by a qualified electrician. In either setup, keep the driver accessible and protect cords or low-voltage wiring from water, heat, grease, sharp edges, and moving cabinet parts.
How do I know whether a dimmer will work with the light?
Check the lighting instructions for a compatible dimmer and confirm that the LED driver supports the proposed control system. The light source, driver, dimmer, and wiring arrangement must work as one system. Flickering, buzzing, limited dimming, or early failure can indicate a mismatch. Do not rely on a similar-looking switch or assume that every LED fixture accepts the same dimming method.
Can under cabinet lighting provide task lighting and decorative light?
Yes. The same installation can light the counter for food preparation while adding a softer layer beneath the cabinets. The result depends on placement, concealment, beam spread, surface reflection, and control. A dimmer can reduce the visual intensity when the kitchen is being used for ambient light rather than detailed work.
A useful lighting plan is quiet when viewed from across the room: the backsplash and counter are illuminated, the source is concealed, and the wiring does not compete with the cabinets. Start there, then choose the fixture that can deliver that result.