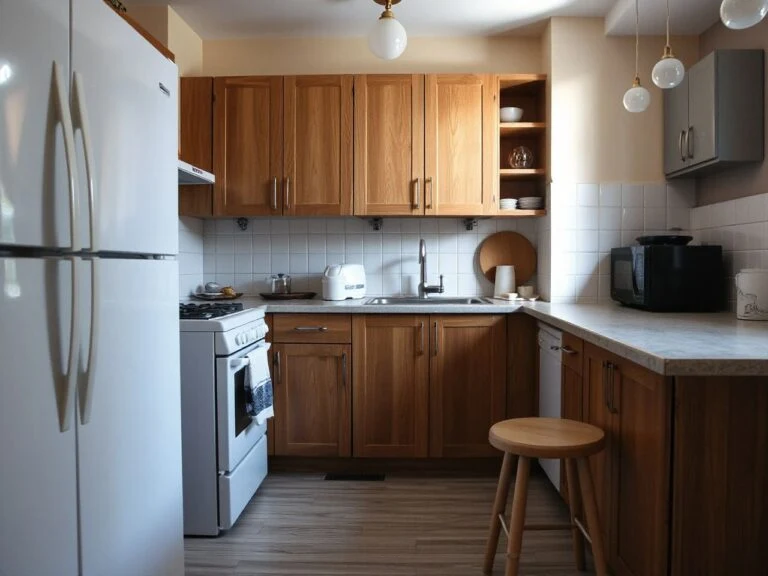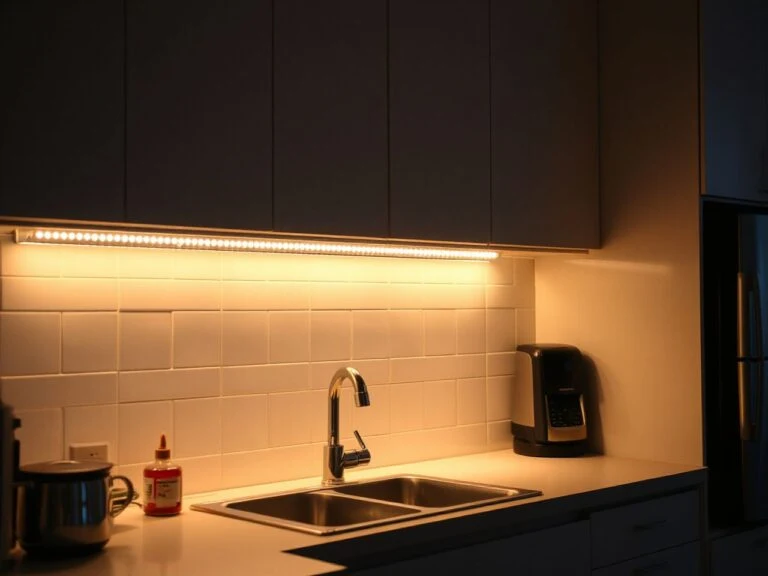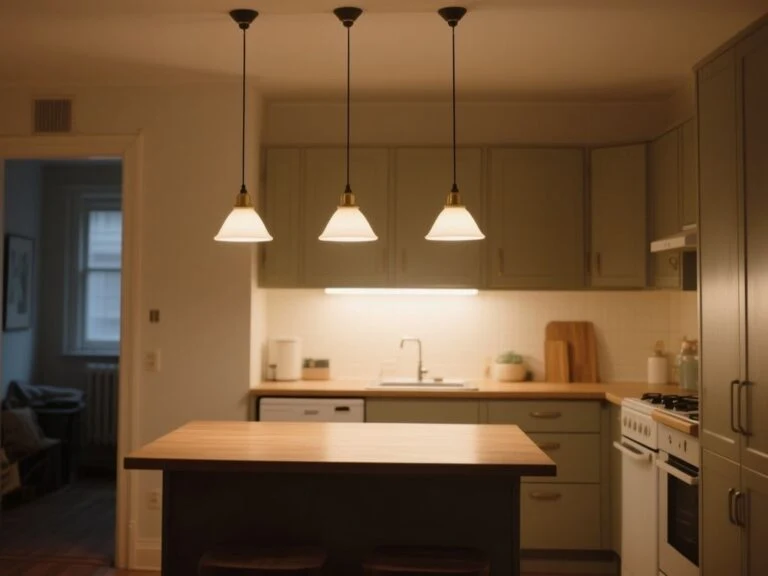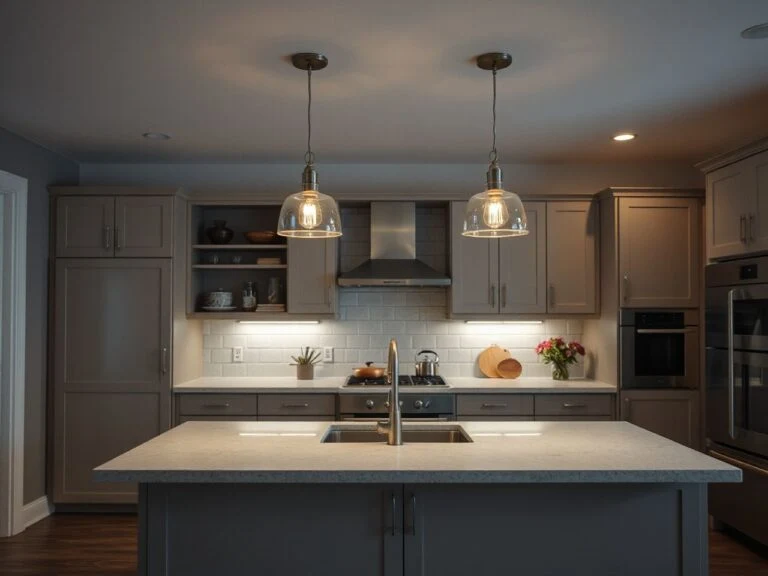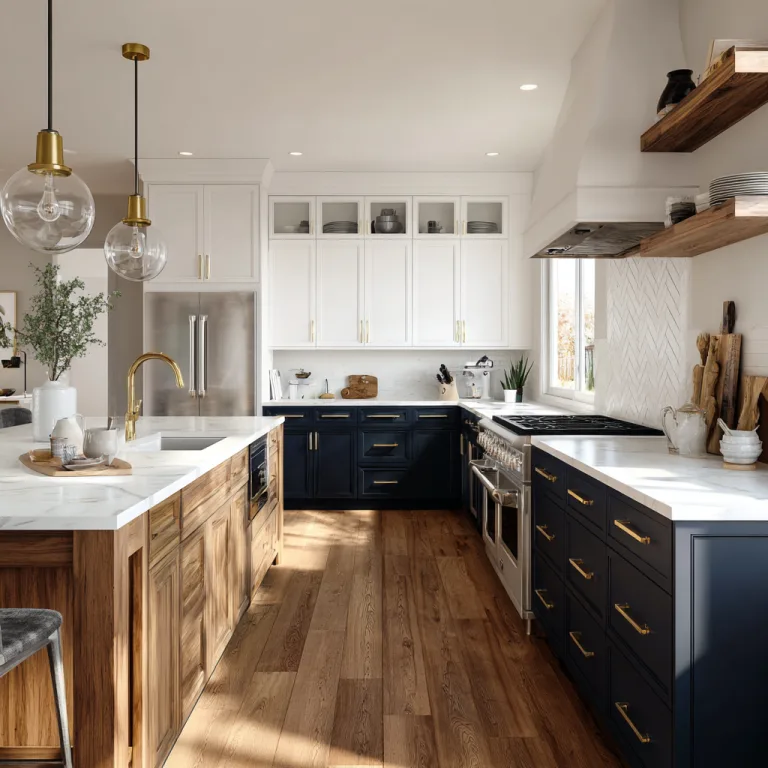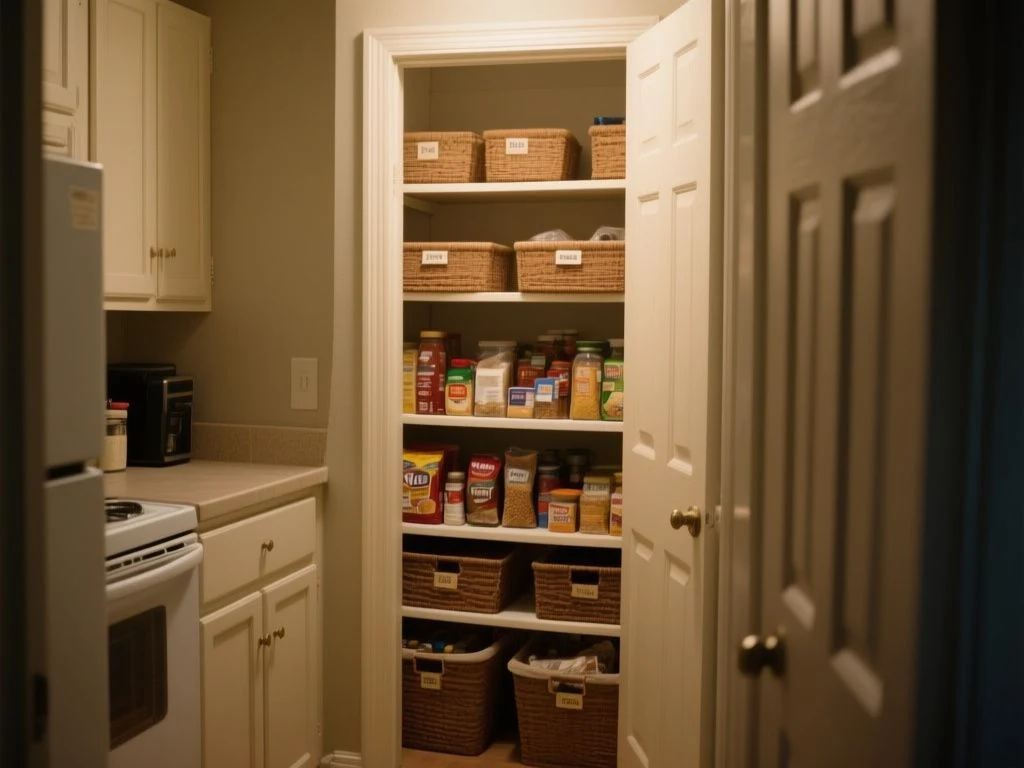
A pantry-free kitchen becomes difficult when food disappears behind other food, packets split across several cabinets, and the only clear worktop is taken up by storage. The practical distinction is between increasing capacity and improving visibility: vertical storage and shallow groupings help only when every item remains identifiable, reachable, and easy to rotate safely. That is the starting point for learning how to organise a kitchen with no pantry, and lighting matters more than most plans admit; a dim cabinet can turn a sensible arrangement into a forgotten stockpile.
Key Takeaways
- Assign food by condition, frequency of use, weight and access depth before adding containers.
- Use shallow groupings, shelf risers, drawers and light to keep every packet visible.
- Rotate opened food separately from unopened stock and retain essential labels and dates.
How to organise a kitchen with no pantry: start with a clear map
Step 1: Empty, inspect and divide the food
Begin by removing food from cabinets, deep drawers, worktops and any sideboard or island storage. Clean crumbs and wipe away spills before anything goes back. Dampness, leaks or pest activity must be dealt with first, because reorganising around a problem only hides the cause.
Make four broad groups: unopened dry goods, opened dry goods, refrigerated food and frozen food. Keep cleaning products out of this process, especially in the under-sink cabinet. Food should never share a storage zone with household chemicals, even when both groups are sealed.
A kitchen inventory works best when it records what is actually present rather than what the household wishes it had. Put duplicate tins, extra packets and half-used ingredients together so the older item is visible. FIFO, meaning First In, First Out, only works if opened and unopened food are not mixed into one deep, anonymous pile.
Food inventory control reduces duplicate purchases by making existing ingredients visible before the next shop. Write the use-by or best-before information on any container that replaces its original packet, and keep the original label nearby if the full ingredient information has not been transferred.
Step 2: Assign each storage type a job
Base cabinets are suited to heavier food and appliances because their lower position makes lifting more controlled. Upper cabinets are useful for lighter, frequently used dry goods, provided the shelves do not become too deep to scan. Deep drawers can hold bottles, packets and larger bags, but overloading a drawer can obstruct runners or make the contents difficult to lift safely.
- Upper cabinets: use for light dry goods that are used often, such as breakfast items, baking ingredients or snacks.
- Base cabinets: reserve for tins, bottles, larger packets and appliances that do not need daily access.
- Deep drawers: use for grouped packets, unopened stock and sturdy containers that can stand upright.
- Refrigerator: keep foods that require chilled storage in clear, dedicated zones rather than allowing them to migrate onto the worktop.
- Freezer: group frozen food by type and keep a simple written list on the door if packages become difficult to identify.
Heavy cans, bottles and small appliances belong low, where their weight is less likely to strain an upper shelf or make a high lift awkward. Check that any organiser, container or door rack does not obstruct cabinet hinges, drawer runners or the closing path.
Step 3: Place food by condition and frequency
Food condition should decide the first layer of organisation, while frequency of use decides the second. Opened food needs a more visible home than sealed reserve stock because it is already in use and more likely to be forgotten. Everyday ingredients should sit between waist and eye level where possible; occasional baking supplies can occupy a less convenient shelf if the group remains identifiable.
Keep dry goods in a cool, dry area away from steam, direct sunlight, leaks and heat-producing appliances. A cabinet above or beside a cooker may be unsuitable for some foods because heat and cooking vapour can affect the storage environment. Food storage should also stay away from the splash zone around the sink.
A small kitchen benefits from simple zoning by preparation, cooking, cleaning and food-storage tasks. A flour container need not be beside the oven simply because baking happens there; it needs a dry, reachable location that does not interfere with hot cookware or cleaning supplies.
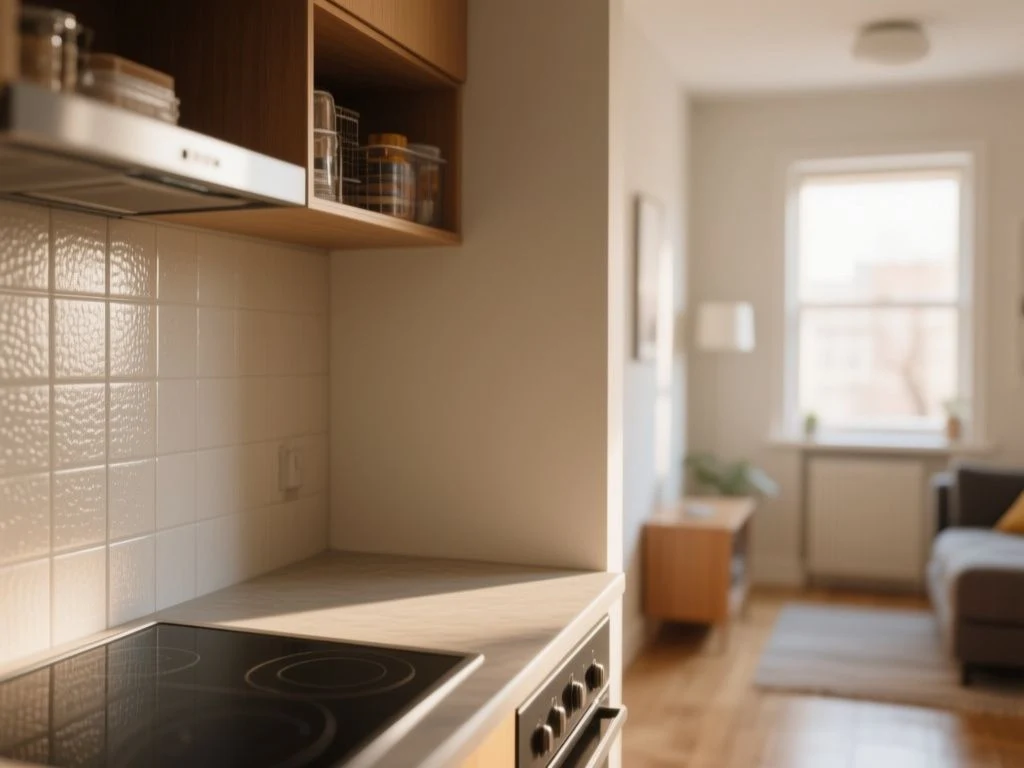
Build visible capacity inside cabinets and drawers
Step 4: Use vertical space without creating a hidden second row
Vertical storage is useful only when the added level remains visible and reachable. Shelf risers can separate short tins from taller packets, while a wire shelf dispenser can stack canned items two levels high. The upper level should not become a place where food disappears behind the front row.
Measure the clear shelf height, depth and width before adding a riser or container. Those measurements belong to the cabinet, not to the organiser’s packaging. Leave enough clearance for the door, hinges and your hand; a full shelf that cannot be removed without unloading the cabinet is extra capacity with poor access.
Shallow groupings are usually more useful than one deep container. Arrange cereal, snacks or baking packets so the front edge of every group can be seen. If a packet must sit behind another packet, treat the pair as a small queue and put the older item in front.
Vertical storage improves a cabinet only when the second level remains visible, reachable and easy to rotate. A shelf riser is therefore a visibility tool, not permission to fill every spare gap.
Step 5: Choose containers without creating extra work
Transferring dry food into food-grade polypropylene (PP) containers can make groups easier to handle, especially where flexible packets slump or split. Borosilicate glass jars make contents visible and can suit ingredients used often, while silicone-gasket airtight containers can separate opened food from unopened reserves. The material matters less than the label, access and cleaning routine.
Decanting becomes wasteful when the container is too large for the amount of food, the original packet is thrown away, or the household cannot tell which ingredient is inside. Retain the original label or transfer the product name, ingredient information, allergen information and relevant use-by or best-before details. A neat container without traceable information is a poor exchange for a crumpled packet.
Use containers selectively. Flour, rice, cereal and snacks are easier to control when each group has a defined boundary, but not every single packet needs a separate vessel. A small open-food box can hold packets awaiting transfer, while sealed reserve stock remains in its original packaging until there is a reason to decant it.
Allergy-conscious storage needs clear ingredient verification rather than attractive uniformity. Keep foods that require careful label checking together but distinct from general snacks, and do not rely on a lid colour as the only identifier. The relevant ingredient and allergen information must remain easy to read.
For official guidance on food labelling and allergen information, use the U.S. Food and Drug Administration rather than removing essential information from a packet during decanting.
Step 6: Make drawers work as a pantry substitute
Drawers are valuable because they let the contents come forward, but they need a sensible weight limit and a firm grouping plan. Put upright packets, baking ingredients and opened foods in separate sections. Flat packets can be arranged by type, although a shallow box inside the drawer is often easier to lift than a loose stack.
Island drawers can hold pantry staples if the island is close to the preparation area and the drawer is not overloaded. Toe-kick drawers can offer useful low storage, but they are better for stable, occasional-use items than foods needed several times a day. A dark, low drawer should not become the place where forgotten packets are sent.
Lighting changes the usefulness of drawers. A concealed, low-glare light aimed into the drawer can show the back edge when the drawer is open. The fitting must not obstruct the runner or create heat beside food, and cords must be kept away from moving hardware.
Handle awkward cabinets, doors and overlooked zones
Step 7: Organise deep base and corner cabinets
Deep base cabinets should hold categories that can tolerate a longer reach, not every item that does not fit elsewhere. Store reserve tins, larger bottles or occasional appliances in a single-file arrangement where possible. A front label facing outward is more useful than a tightly packed stack that must be emptied to reveal one item.
Corner cabinets need boundaries. Keep one category in the front zone and another behind it only if the rear group can be removed without disturbing the front group. A turntable can help with small, stable containers, but it becomes counterproductive when tall bottles topple or when the organiser wastes space around a curved edge.
Roll-out shelves can improve access in deep cabinets, but the shelf must match the cabinet opening and leave the hinges and door clear. The listing or fitting instructions should be checked for dimensions before installation. If a moving shelf cannot extend far enough to reveal the rear, it has not solved the access problem.
Deep cabinets should store reserve stock in visible groups rather than loose items arranged by whatever space remains. That rule prevents the back of a cabinet from becoming a second, forgotten pantry.
Step 8: Use doors, walls and side furniture carefully
The back of a cabinet door can hold light packets or flat storage, provided the added weight does not prevent the door from closing. Check the hinge side and the shelf clearance before attaching anything. A magnetic rail can keep small tools or sealed metal containers accessible, but it belongs in a preparation or cooking zone rather than above damp cleaning supplies.
The back of a kitchen door can provide extra storage for light, frequently used items. Keep the opening path clear and avoid placing food where it is exposed to steam, direct sun or knocks. Storage above cabinets may hold occasional items, but it is a poor home for food if dust, heat or difficult access makes checking dates unlikely.
A sideboard, vintage hutch or freestanding pantry unit can act as a food-storage zone when it has a dry interior and does not narrow the working route. The furniture should support the room’s preparation and cooking flow rather than interrupt it. For a room with a decorative focus, the ideas in these vintage modern kitchen ideas show how storage furniture can sit within a considered scheme without becoming visual clutter.
Lighting deserves a place in that decision. A sideboard with a dark interior may appear tidy while hiding the rear shelf; a small lamp nearby can make the contents readable, provided heat, moisture and cables are kept away from food and work areas.
Step 9: Keep the under-sink cabinet separate
The under-sink cabinet is for cleaning supplies and plumbing access, not pantry overflow. Food should remain separate from detergents, sprays and waste containers. Dampness inside the cabinet needs attention before any storage plan is expanded, and a leak should be repaired rather than covered with a liner or box.
Cleaning products should remain in their original labelled packaging so their contents and directions are not confused. The cabinet also needs enough open space to inspect pipework. Overfilling it makes both moisture checks and routine cleaning harder.
Maintain rotation, labels and light
Step 10: Create a date and stock routine
Place older food at the front and add new stock behind it. Opened foods should have a separate, clearly marked area so they are used before unopened replacements. This simple FIFO arrangement is more reliable than trying to remember which packet arrived first.
Check dates during a short food review before the main shop. Wipe shelves and storage boxes when crumbs or spills appear, and clean containers whenever they are emptied before refilling. A container should be fully dry before dry goods return to it; moisture is a reason to pause and correct the storage condition, not a reason to seal the food away faster.
Do not copy every date onto a central list if that list will not be maintained. A label on the container or a retained packet is usually closer to the food and easier to verify. Use a small inventory for reserve stock, freezer contents or items stored in a sideboard.
Food-date rotation works only when opened food, unopened food and replacement dates remain clearly distinguishable. A beautiful row of identical jars cannot compensate for missing labels or forgotten older stock.
Step 11: Use lighting to support the storage plan
Visibility is part of organisation rather than a finishing touch. Upper cabinets often need light aimed at the shelf face, while deep drawers need light that reaches the rear. A bright central ceiling fitting can still leave the inside of a cabinet in shadow because the cabinet itself blocks the beam.
Choose the lighting position before filling the cabinet. Avoid placing a lamp where it warms food, interferes with a hinge, touches a wet surface or becomes trapped by a drawer. The aim is simple: labels, dates and container contents should be readable at the moment the storage is opened.
If a kitchen rug or floor covering changes the route between the refrigerator, preparation surface and storage, check that drawers and doors still open freely. A practical layout should support movement rather than make a newly organised cabinet awkward to reach; broader room-planning context appears in this guide to choosing a kitchen rug for a working space.
Step 12: Reassess before adding more storage
After the first arrangement, notice what repeatedly travels onto the worktop. Those items may need a nearer home, while untouched stock may belong in a lower cabinet or separate reserve zone. The answer is not automatically another container, shelf or rack.
Declutter duplicate utensils, cookware and appliances when they compete with food for the same cabinets. A pantry-free kitchen often has enough capacity after unused equipment is removed from prime storage. The right plan leaves a little room for removal, cleaning and label checks.
For a wider storage principle, How to Organise a Small Closet: Mistakes to Avoid is relevant because the same rule applies: a crowded storage space is not organised merely because every gap is occupied.
Common failure points in a pantry-free kitchen
Why stacked containers and turntables go wrong
Stacked containers fail when the lower container is needed more often than the upper one. Turntables fail when their contents are too tall, too heavy or too loosely grouped. Shelf risers fail when their second level is hidden by a front row or when the riser blocks the cabinet’s usable height.
Correct the arrangement by matching the tool to the food. Keep stable, similar-sized items together, use the front position for older stock, and reserve tall or heavy bottles for low cabinets. If an organiser makes one category harder to remove, take it out rather than defending the original layout.
Why decanting can increase waste
Decanting can reduce visual clutter, but it can also create replacement costs and confusion. A household may refill a jar before the previous food is used, lose the date, or buy a duplicate because the container looks empty from above. Original packets are especially valuable for ingredient and allergen verification.
Use a container when it solves a defined problem: visibility, a leaking packet, a stable group or a clear opened-food boundary. Keep the packet when it carries information the container does not. Organisation should reduce waste, not disguise it.
Why a pretty cabinet can still be unsafe to use
Storage should not obstruct hinges, runners, doors or access to plumbing. Heavy items belong low, heat and steam should be avoided, and damp or pest activity must be addressed before food returns. For general household guidance on cabinet and furniture stability, consult the U.S. Consumer Product Safety Commission.
Lighting should also support safe access without creating a new hazard. Keep electrical equipment away from sinks and cooking surfaces, and never let a cable cross a drawer path. A clear route is part of the storage plan.
Frequently Asked Questions
How should I divide food between cabinets, drawers, the refrigerator and the freezer?
Assign food by condition first, then frequency and weight. Keep dry goods in cool, dry cabinets, use drawers for visible grouped packets and opened foods, and reserve low base storage for tins, bottles and appliances. Refrigerated and frozen food should stay in their dedicated appliances. Keep older opened food separate from unopened stock so FIFO rotation remains easy to follow.
Is transferring dry goods into airtight containers worth the extra work?
It can be worthwhile for opened flour, rice, cereal or snacks when the container improves visibility and prevents packets from collapsing into a pile. It is not worthwhile if the transfer removes ingredient, allergen or date information. Food-grade PP containers, borosilicate glass jars and silicone-gasket airtight containers can all serve different storage needs, but selective decanting creates less work than transferring everything.
How do I organise a kitchen with no pantry if my cabinets are deep?
Use shallow, labelled groups with older food at the front and reserve stock behind. Shelf risers can add a visible second level, while roll-out shelves may improve access if they clear the cabinet opening, hinges and door. Avoid filling a deep cabinet by height alone. Every item should be removable without emptying the entire cabinet, and a nearby light can make rear labels easier to read.
Daniel Brooks is a Home Decor and Interiors Editor whose organising advice begins with one question: can the contents be seen clearly at the moment they are needed? In a kitchen without a pantry, that question keeps storage practical, reduces forgotten food and gives lighting the structural role it deserves.