A useful starting figure is 4000K at 300–500 lumens per foot, a combination that can provide clear visual working light in many residential and commercial settings. The useful distinction is between wireless power and wireless control: a light may be battery powered, remotely controlled, or both, and those features create different installation and maintenance implications. A sound guide should compare illumination, charging access, mounting security, sensor behaviour, and eventual battery replacement together rather than treating the absence of a cable as the main benefit. For renters, the final test is simple: can the light come off the wall cleanly?
This wireless under-cabinet lighting buying guide focuses on that question first. It also explains how strips and puck lights differ, where controls belong, why batteries become inconvenient, and when plug-in or hardwired lighting makes more sense. For a wider installation sequence, see this step-by-step guide to adding under-cabinet lighting.
Key Takeaways
- Separate battery power from wireless controls before choosing a fixture.
- Match strips or puck lights to the shape of the cabinet and the task below.
- Judge adhesive and magnetic mounting by the cabinet surface, not convenience alone.
- Plan charging access and eventual battery replacement before installation.
Beginner: Understand the wireless lighting decision
Power and control are separate features
Wireless power means the fixture receives electricity from an internal battery rather than household wiring. Wireless control means the light can be operated without reaching a built-in switch, often through a motion sensor, touch control, infrared remote control, or another remote method. A fixture can have one feature without the other.
A battery-powered light with a manual switch is wireless in power but not especially remote in operation. A wired fixture with a remote control has wireless control but still needs a cable or connection to household power. Rechargeable lithium-ion batteries commonly appear in portable cabinet lights, but the useful buying question is not only what battery chemistry is present. The important questions are where the charging port sits, whether the light can remain mounted while charging, and what happens after the battery reaches the end of its useful service life.
Battery capacity, brightness, sensor use, and charging habits all affect how often a wireless light needs recharging. A manufacturer may not list a capacity or a dependable runtime, so treat a claimed duration as a starting point rather than a permanent promise. Higher brightness uses more stored energy, and a motion sensor may activate the fixture repeatedly in a busy kitchen.
Choose the light shape around the task
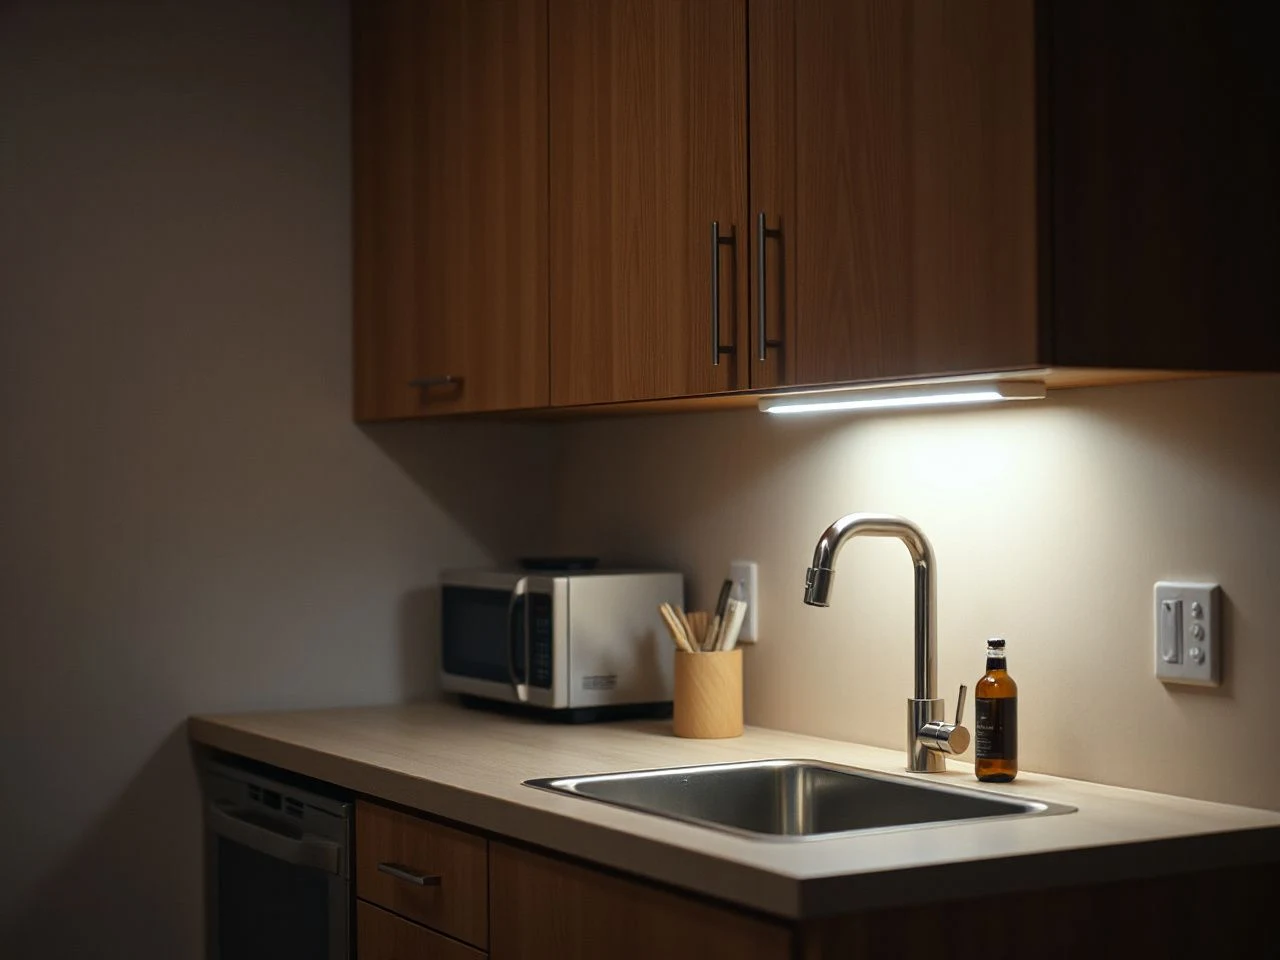
LED light strips create a continuous line of illumination beneath a cabinet. That form suits a long run of counter where an even visual line matters. The strip may also be easier to align with a cabinet edge, although the battery housing and charging point still need a practical location.
LED puck lights create separate pools of light. They can suit a cabinet with breaks, shelves, or short sections where a continuous strip would be awkward. Spacing matters visually: a single puck may create a noticeable bright area below itself, while several pucks can produce a more balanced result if their positions follow the work surface.
Neither format automatically provides better task lighting for food preparation. The right choice depends on the length and shape of the cabinet, the position of your hands, the reflectiveness of the counter, and the fixture’s brightness control. A continuous light source usually makes it easier to avoid gaps; a puck layout can make installation more flexible around cabinet features.
Use colour temperature to control the mood
A warm, lamplight-like radiance is produced by 2700K. That colour can suit a relaxed kitchen atmosphere, especially where the cabinet lights are decorative or used in the evening. For clearer food-preparation visibility, 4000K is a practical reference point, with verified guidance placing visual clarity in many settings at 300–500 lumens per foot.
Lighting at 4500K or higher can appear sterile. Colour temperature is therefore part of the room’s design rather than a minor specification. Compare the light with the overhead fixture, countertop, backsplash, and cabinet finish before mounting anything permanently.
Colour temperature changes how cabinet lighting feels even when the fixture position stays the same. A warmer setting can blend with ambient light, while a cooler setting can make the work area appear more clinical. The most useful choice is the one that supports the task without creating a sharp visual clash with the rest of the kitchen.
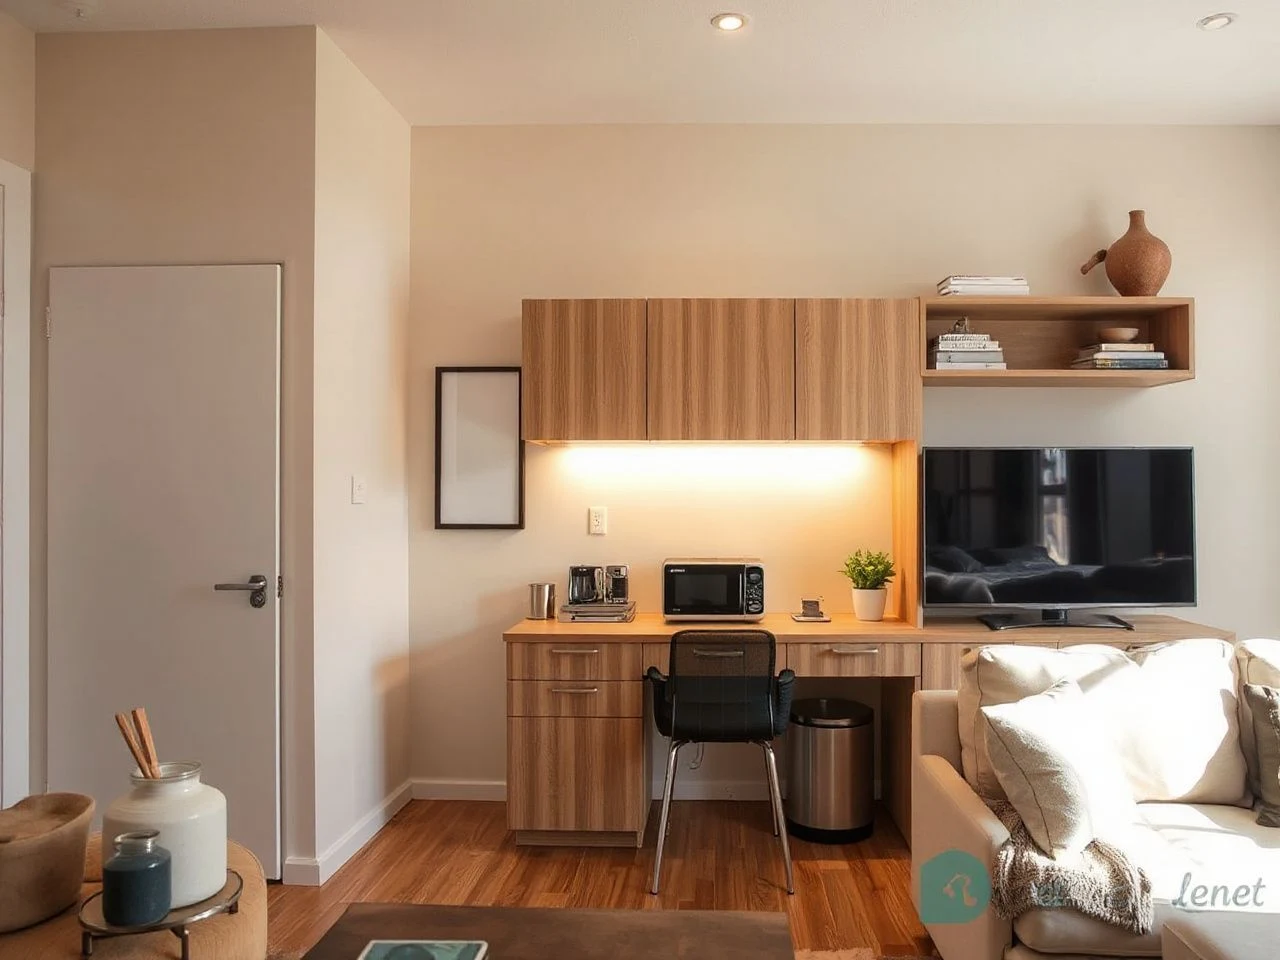
Beginner: Plan position, controls, and charging access
Position the light over the work area
Light placement controls both usefulness and glare. A source mounted too far forward can shine toward the eyes or reflect strongly from a polished counter. A source mounted too far back can leave the front of the work surface unevenly lit. Hold the unmounted fixture beneath the cabinet and inspect the likely reflection before fixing the mounting plate or tape.
For a strip, follow the longest useful cabinet run rather than automatically placing it at the front edge. For pucks, place the fixtures in relation to the areas where chopping, washing, reading, or serving normally happens. Cabinet doors and handles also need clearance. A light that sits directly behind a moving door, or a charging port hidden by a door, will become irritating quickly.
A cabinet light mounted too far forward can create glare, while a cabinet light mounted too far back can leave the counter unevenly lit. This is why a removable trial position is valuable for renters. Use temporary positioning only for inspection, then choose the least damaging permanent method that still holds the fixture securely.
Place controls where a hand can find them
A manual switch works well when the light is easy to reach and used in a predictable way. Touch controls can reduce the need for a separate remote, but the sensor area must remain accessible. Infrared remote controls offer operation from a short distance, yet the receiver may need a clear path between the handset and the fixture.
Motion sensors are useful for brief visits to the kitchen, such as reaching for a glass or checking a cupboard. They can be less suitable for a long food-preparation session if the sensor stops responding while the person remains relatively still. Sensor placement also matters around cabinet doors, curtains, and nearby traffic. Test the control from the positions where you will actually stand, not only from directly in front of the light.
Keep the remote in a repeatable location rather than attaching it to a painted wall with an aggressive adhesive. A small tray, shelf, or cabinet interior can preserve the rental surface while keeping the control easy to locate. If the light has both a switch and a remote, learn which setting remains active after the light is turned off; otherwise, a sensor or dimming setting may behave unexpectedly at the next use.
Reserve a charging route before mounting
USB charging cables make rechargeable fixtures convenient only when the cable can reach a suitable charging point without crossing a sink, cooktop, or walking path. Check whether the light can be removed from its magnetic mounting plate or whether the entire fixture must come down for charging. The answer changes how often you will handle the mount and how much wear the wall surface may receive.
Do not hide the charging port behind a fixed panel. A renter-friendly installation should leave enough access to disconnect the cable, inspect the light, and remove the fixture without prying against paint or tile. If a battery-powered fixture needs frequent removal, a plug-in cabinet light may create less daily inconvenience even though the cable is visible.
Intermediate: Match the mounting method to the cabinet surface
Adhesive mounting tape needs preparation
Adhesive mounting tape can be useful on smooth, clean, dry surfaces, but it is not a universal renter-safe solution. Dust, grease, texture, dampness, and poorly prepared paint can reduce the bond. Kitchen cabinets collect airborne cooking residue, so the underside may look clean while still preventing reliable adhesion.
Clean the intended area using a method suitable for the cabinet finish, then allow the surface to dry fully before applying tape. Do not mount a fixture over loose paint, flaking laminate, damp material, or a greasy film. A strong adhesive can also remove paint or finish when the light is taken down, especially if the fixture is pulled outward instead of released according to its mounting instructions.
Read the fixture instructions before choosing tape. Some lights use a removable adhesive pad, while others provide a tape-backed bracket that is designed to remain on the cabinet. Those systems are not interchangeable in practice. Keep the packaging and instructions so removal can follow the stated method rather than guesswork.
Magnetic plates are convenient but surface-dependent
Magnetic mounting plates allow a compatible light to come away for charging and cleaning. That is a major advantage in a rental because the fixture can be handled without repeatedly peeling adhesive from the cabinet. The plate still needs a secure attachment method, and the cabinet construction must suit the magnetic connection.
A painted wood cabinet may accept the plate through adhesive, while a metal surface may interact differently with the magnet. A tiled backsplash can have grout lines, texture, or a glossy finish that changes the available bonding area. Inspect the exact mounting contact rather than assuming that a magnet will hold to every cabinet material.
Magnetic mounting does not remove the need to prepare the cabinet surface. The plate must remain attached, the fixture must sit flush, and the removal motion must not drag the plate against the finish. If the light feels loose before a charging cycle, reposition it rather than waiting for the fixture to fall.
Account for thin profiles and housing material
Recessed, slender under-cabinet profiles can be as thin as 5mm. A thin profile can preserve cabinet clearance and reduce the chance of catching a sleeve or hand, but slimness does not tell you how accessible the battery or charging port will be.
For durability, the verified selection guidance points to AL6063-T5 aluminum housing. Treat that as a material detail to check in the specification rather than a reason to ignore mounting, charging, or control design. A metal housing may also affect how the fixture looks against the cabinet, so compare the visible edge with the room’s handles and appliances.
Intermediate: Maintain brightness and battery life
Why wireless lights become dim or stop working
Dim output can result from a low battery, a brightness setting that was changed, a sensor that is not activating as expected, or a charging cable that is not making a proper connection. A dirty diffuser or lens can also reduce the light that reaches the counter. Start with the simple checks printed in the manual before removing the fixture from the cabinet.
If the light does not respond, check the switch, remote control, sensor mode, charging connection, and battery indicator if one is provided. A remote may need a direct path to the infrared receiver. A motion sensor may not activate from a position outside its detection area. Repeatedly pressing controls without checking the selected mode can make the fault harder to identify.
A rechargeable battery has a finite service life and may eventually require replacement of the light rather than only another recharge. This matters for renters because a fixture that cannot accept a replacement battery may become electronic waste when its internal battery no longer holds enough charge for ordinary kitchen use. Plan for battery recycling and electronic-waste disposal according to local requirements.
Clean without damaging the fixture
Remove the light from its mount before cleaning if the instructions permit it. Use a soft, dry cloth for ordinary dust and follow the manufacturer’s instructions for any damp cleaning. Keep water, sprays, degreasers, and other cleaning products away from the charging port, controls, seams, and battery housing unless the fixture specifically permits that exposure.
Wireless lighting should not be installed where heat, steam, splashing water, or cleaning products can damage the fixture or its controls. That excludes many positions directly above a cooktop or close to a sink unless the fixture is specifically designed for those conditions and the instructions allow the installation. The safest placement is one that remains outside the kitchen’s most aggressive moisture, heat, and grease zones.
Never clean by spraying the cabinet light directly. Spray the cloth only when the fixture instructions allow a damp cloth, and keep the light disconnected from charging while it is being handled. Check for a sticky surface, discolouration, loose tape, or a cracked housing before putting the light back into service.
Think about operating cost honestly
Rechargeable lights can avoid some wiring work and can be practical in a rental, but they are not automatically cheaper to operate than permanently wired under-cabinet lighting. Charging uses electricity, batteries eventually lose useful capacity, and a sealed battery may make the whole fixture replaceable rather than repairable.
Hardwired lighting avoids regular charging but may require an electrician, changes to the cabinet or wall, and permission from a landlord. Plug-in cabinet lighting sits between those options: it can run from household power but still exposes a cable and may need a suitable outlet. Compare the total arrangement rather than treating wireless operation as a universal saving.
For a separate discussion of how focused light differs from general illumination, read this comparison of task lamps and overhead lighting. The same principle applies beneath a cabinet: a fixture should serve the work surface without forcing the ceiling light to do every job.
Advanced: Decide when wireless is the wrong fit
Choose hardwired or plug-in lighting for continuous demand
Wireless lighting is less suitable when the fixture must stay on for long periods, the cabinet run is extensive, or regular charging would be difficult. It is also less suitable where the light sits in a hot, steamy, wet, or greasy location that the fixture instructions do not approve.
Hardwired under-cabinet lighting can make sense during a kitchen renovation, especially if the wall and cabinets are already open for electrical work. Plug-in cabinet lighting can suit a renter who needs continuous power but can accept a visible cable. Wireless fixtures are most useful where avoiding a cable has real value and where the user can reach the fixture for maintenance.
Wireless under-cabinet lighting is a poor fit when charging access is harder than cable concealment. A clean-looking installation that requires awkward removal every few days may be less practical than a discreet plug-in route. Judge the completed routine, not only the first afternoon of installation.
Check safety information before installation
Read the manufacturer’s instructions for charging, placement, cleaning, battery handling, and disposal. The U.S. Consumer Product Safety Commission publishes consumer safety information relevant to electrical products and batteries, so its guidance is a useful place to check before installing a rechargeable fixture in a kitchen.
Look for the mark of an independent safety-testing laboratory on the fixture, packaging, or instructions, and do not use a damaged cable or housing. The National Fire Protection Association provides fire-safety information for homes and electrical equipment. Local electrical rules and landlord requirements still control any permanent wiring work.
Use a renter-first installation sequence
- Map the cabinet run. Note the work areas, door swings, handles, backsplash, sink, cooktop, and nearest charging point.
- Choose the light form. Use a strip where a continuous line suits the cabinet; use pucks where separate pools of light fit the layout better.
- Set the colour temperature. Consider 2700K for warm ambience and 4000K for clearer working light. Avoid assuming that a cooler setting is automatically better.
- Trial the position. Hold the fixture in place and inspect glare, shadows, cabinet clearance, and counter coverage.
- Prepare the surface. Remove dust and grease using a finish-appropriate method, then allow the surface to dry.
- Install the mount. Follow the fixture instructions for adhesive tape or magnetic mounting plates and avoid covering the charging port.
- Test every control. Check the switch, touch area, motion sensor, infrared remote control, and brightness setting from normal standing positions.
- Record the maintenance plan. Keep the charging cable, instructions, and battery-disposal information together so the fixture can be serviced or removed cleanly.
For renters, the final removal plan deserves as much attention as the mounting plan. Adhesive residue, lifted paint, stripped laminate, and a damaged backsplash can turn a small lighting project into a repair issue. If the landlord requires approval for any fixed installation, obtain it before using screws or making changes to wiring.
Frequently Asked Questions
How do wireless under-cabinet lights receive power if they are not connected to household wiring?
Wireless cabinet lights usually draw power from an internal battery, including rechargeable lithium-ion batteries in some fixtures. A USB charging cable replenishes the stored energy, but the charging routine depends on battery capacity, brightness, sensor activity, and use. Check whether the fixture can charge while mounted and keep the charging port accessible so maintenance does not damage the cabinet surface.
Should I choose an LED strip or puck lights beneath kitchen cabinets?
LED strips suit long cabinet runs where a continuous line can make the counter appear more evenly lit. LED puck lights suit interrupted cabinet sections, shelves, or layouts where separate pools of light are easier to position. Inspect the reflection on the counter before mounting either format. A source placed too far forward can create glare, while one too far back can leave the front edge dim.
How long will rechargeable under-cabinet lights run between charges?
A reliable runtime cannot be stated without the fixture’s battery capacity, brightness setting, sensor behaviour, and charging history. Higher brightness and frequent motion activation generally require more stored energy, while reduced use requires less. Treat the manufacturer’s runtime statement as specific to its test conditions, and choose a design that allows charging without repeatedly disturbing the wall or cabinet finish.
What causes a wireless cabinet light to become dim or stop working?
Begin with the battery level, charging connection, brightness setting, switch, remote, and sensor mode. Clean dust from the lens with a suitable soft cloth and check that the infrared receiver is not blocked. If the battery no longer holds useful charge, the fixture may need replacement rather than another recharge. Do not continue using a light with a damaged housing or cable.
Can wireless lights work on painted, tiled, wooden, or metal cabinet surfaces?
They can, but the mounting method must match the surface. Adhesive tape may fail on dusty, greasy, textured, damp, or poorly prepared areas, while magnetic mounting plates need a suitable connection and a secure plate attachment. Painted wood, tile, and metal each present different contact conditions. Test placement first, keep charging access clear, and follow the manufacturer’s removal instructions.
Is rechargeable cabinet lighting cheaper than hardwired lighting?
Not automatically. Rechargeable lighting can reduce wiring work and suit a rental, but charging consumes electricity and the fixture may eventually require replacement when its battery reaches the end of its useful life. Hardwired lighting may cost more to install but avoids routine charging. Plug-in lighting offers another route if a visible cable can be managed without creating a trip or cleaning problem.
For more ideas about choosing lighting around a room rather than treating each fixture in isolation, browse our guide to how lighting choices change the final result. The renter-first rule remains consistent: plan the light, control, charging path, cleaning routine, and removal method before committing the cabinet surface.