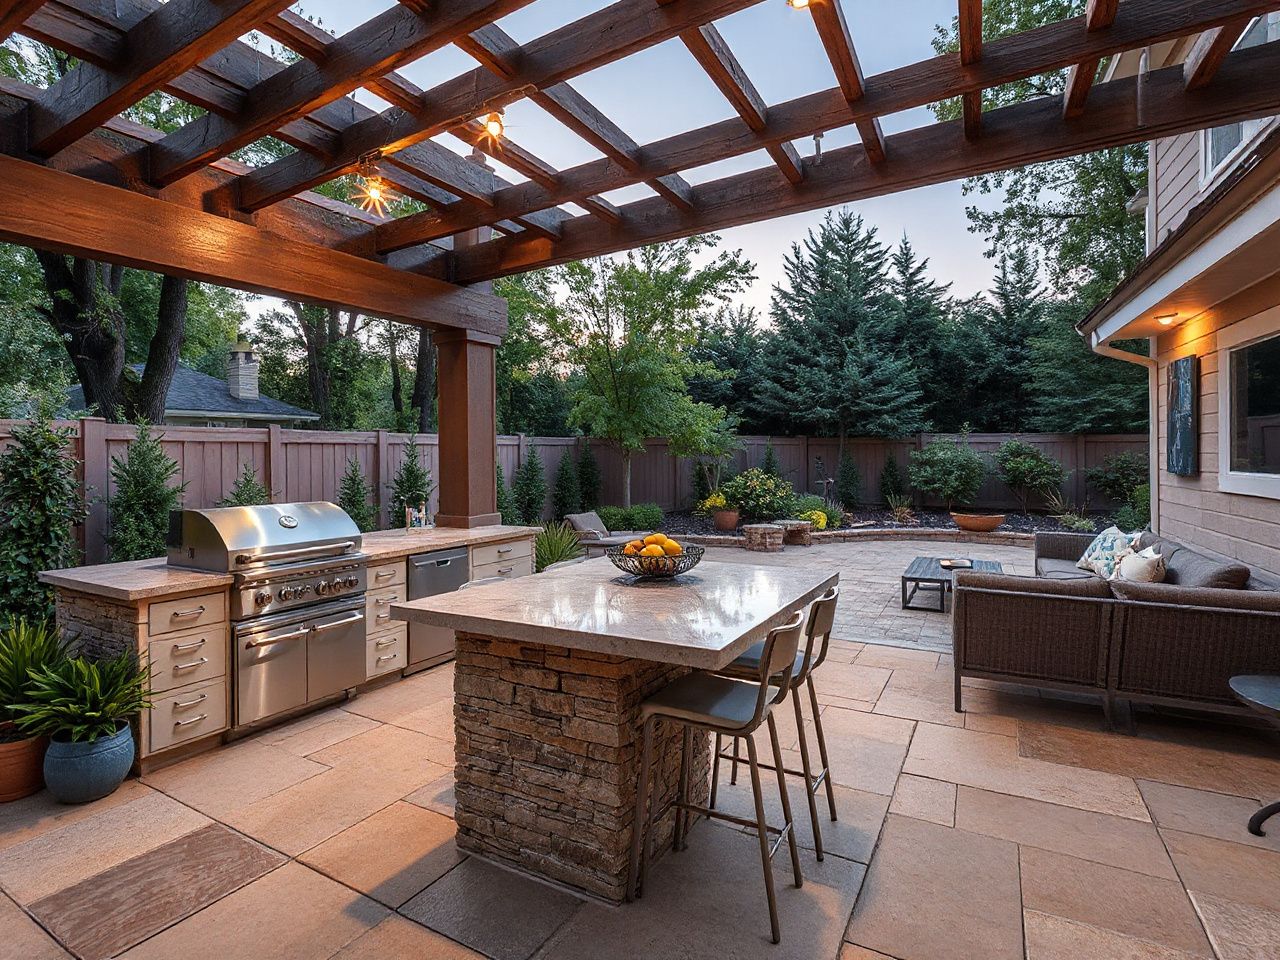
A grill island can fit its equipment and still leave people blocking the cook, smoke drifting toward the house, and no clear route for carrying food. A useful plan for outdoor kitchen designs separates the cooking zone, preparation zone, serving zone, and circulation path instead of treating the kitchen as a line of appliances. The critical design distinction is between a structure that merely fits equipment and one that also manages heat, weather, drainage, utilities, maintenance access, and the relationship to the house.
Key Takeaways
- Map cooking, preparation, serving, seating, and circulation before selecting a cabinet arrangement.
- Plan permits, fuel, plumbing, electricity, drainage, frost protection, ventilation, and heat separation before construction.
- Choose the layout and construction method around climate, maintenance access, and the way people actually move through the patio.
What should outdoor kitchen design plans include first?
An outdoor kitchen plan should show the site, zones, utilities, heat clearances, weather protection, drainage, access for repairs, and the relationship between the kitchen and the house. A site plan is the working document that keeps those decisions connected. It prevents each choice from being left to the installation stage without context.
Start with the site plan
Mark the house doors, windows, steps, property boundaries, existing patio or deck, shade structures, planting beds, seating, dining areas, and the route used to carry food outside. Include the views you want to preserve. A kitchen facing a nice garden might be more comfortable than one pointing toward a blank wall. But a view should never force the cook into the main walking route.
Check the doorway width before you get too impressed with the island’s shape. The finished kitchen needs a practical route for bringing in construction materials, replacing equipment, cleaning surfaces, and reaching shutoffs or service panels. A plan that looks balanced from above can be hard to build or maintain if access disappears behind fixed cabinetry.
A site plan should also identify what’s underneath the kitchen. A concrete slab, masonry construction, a wood-framed structure, or a modular setup all create different questions about support, water movement, repair access, and future changes. The right choice depends on the site and local requirements, not just how the sketch looks.
Separate the four working zones
The cooking zone contains the heat-producing equipment. The preparation zone needs a clear space for arranging ingredients and handling utensils. The serving zone should connect naturally with outdoor dining and entertaining areas. The circulation path lets people pass without crossing the cook’s working area.
- Cooking zone: Place the built-in grill or other heat-producing equipment where smoke, grease, and radiant heat do not aim at doors, seating, children’s activity, combustible landscaping, or combustible construction.
- Preparation zone: Keep food preparation close enough to the cooking area for easy handoff, while preserving a surface that is not interrupted by traffic or open doors.
- Serving zone: Face the counter or pass-through toward the dining area rather than making guests gather beside the grill.
- Circulation path: Protect the route between the house, seating, storage, and garden so people do not need to walk through the hot work area.
An outdoor kitchen works best when the person cooking can reach prep and serving areas without turning the circulation path into a work surface. This idea applies to small patio kitchens as well as large entertaining spaces.
Choose a layout that matches movement
A straight configuration can suit a narrow wall or edge of a patio, while an L-shaped arrangement can place cooking and preparation on adjoining runs. An island can make serving easier, but it needs room around every side that people actually use. A compact arrangement should reduce travel without making the cook share the only route to the house.
Available straight configurations include lengths of 4 feet, 5 feet, 6 feet, and 8 feet. Those figures describe possible straight runs, not a universal answer for every site. Furniture, steps, doors, planting, and the required clearance around heat-producing equipment can make a shorter or longer arrangement unsuitable. Measure the opening first.
| Planning figure | Possible use |
|---|---|
| 4 feet | Compact straight arrangement for a tightly constrained setting |
| 5 feet | Short straight run with room for a simple cooking layout |
| 6 feet | Medium straight run for combining cooking with preparation |
| 8 feet | Longer straight run where the site and circulation path allow it |
Capacity should be judged alongside movement. A cozy space may accommodate 2–4 people. A midsize space may host 4–6 people. A spacious space may host 8–12 people. Those ranges describe the intended social capacity of the setting. They don’t give a license to fill every open area with furniture.
How do you choose between a freestanding setup and a built-in kitchen?
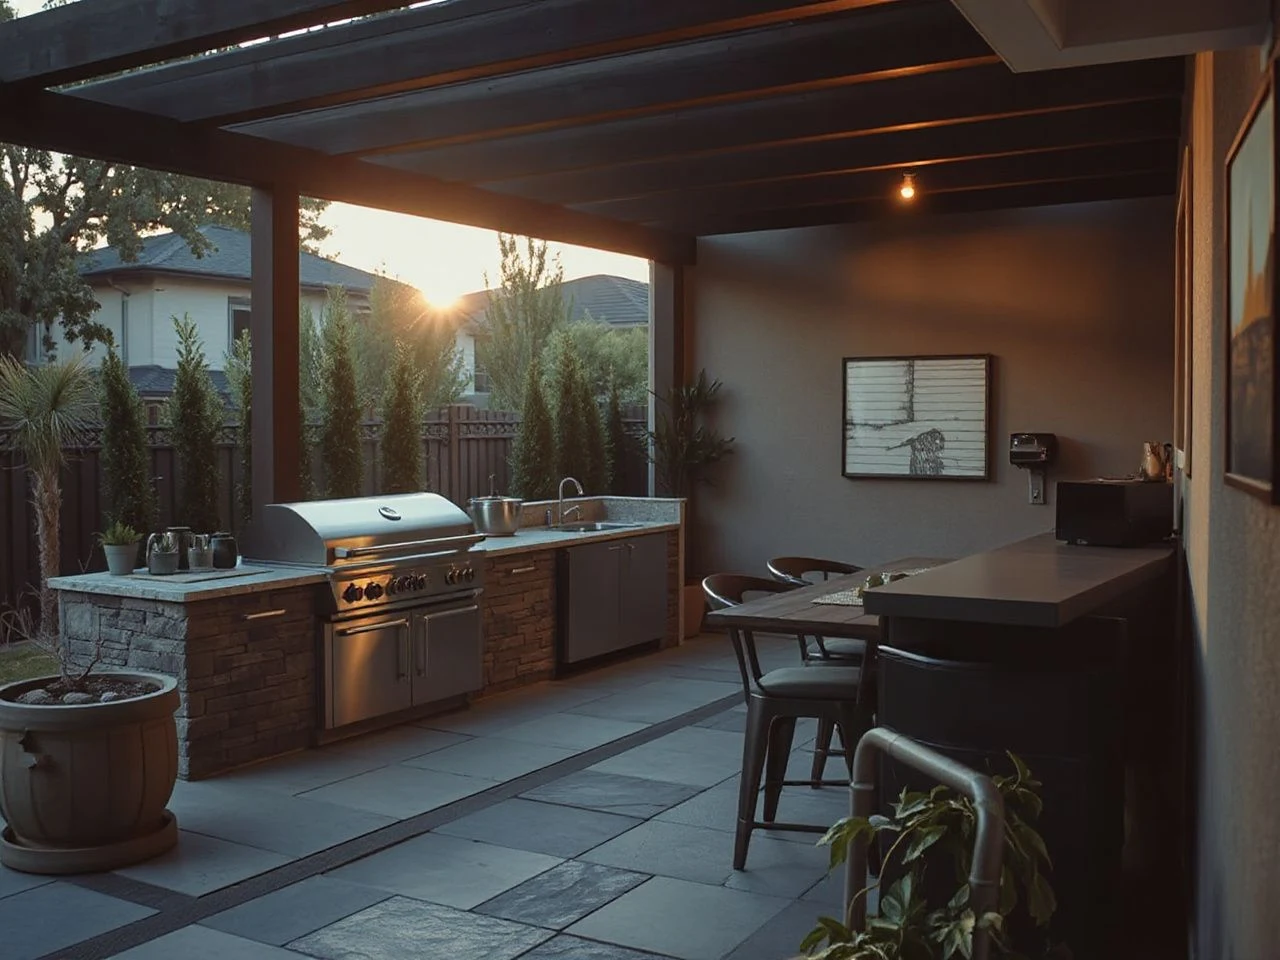
A freestanding setup suits a plan that values flexibility and simpler changes. A built-in kitchen suits a permanent relationship with the patio, utilities, shade, and surrounding construction. The right choice depends on access, weather exposure, future repairs, and whether the kitchen must stay tied to one location.
Freestanding arrangements
A freestanding setup can be planned as a separate piece within the patio or garden. That approach may keep more of the surrounding surface visible. It can also make the cooking area easier to rearrange. Still, the utilities require deliberate planning. A gas line, water connection, drainage route, or GFCI electrical outlet can’t be treated as an afterthought just because the cabinets aren’t attached to the house.
Check how the arrangement will be covered, cleaned, moved for service, and protected during severe weather. Outdoor-rated cabinetry, suitable fasteners, and a weather-resistant countertop still need a relationship with the local climate. Rain, sunlight, humidity, and freezing weather place different demands on surfaces and access points.
Built-in arrangements
A built-in kitchen creates a stronger visual and structural link with the patio, masonry, pergola, shade structure, or exterior wall. The permanence can make the kitchen feel like part of the home. But the structure must leave a route to components that may need inspection or repair.
Masonry construction can establish a solid base and a clear architectural edge. Wood-framed construction can support a different enclosure strategy. Modular construction may allow sections to be assembled and altered more easily. These descriptions don’t replace a local assessment of the site, load, moisture, heat, or required construction method.
Every built-in kitchen needs a service plan before the final surfaces close around the equipment. Include access to fuel shutoffs, electrical connections, plumbing points, drainage, and the spaces behind or below appliances. A polished front doesn’t make up for a blocked service route.
Plan the relationship with the house
Keep the outdoor kitchen close enough to support food preparation and serving, but avoid making the nearest door the automatic location for smoke, grease, and cooking odors. Windows and doors can connect indoor and outdoor rooms, yet they also affect where air and odors travel.
Use the outdoor conditions at the site as a design factor instead of guessing. Watch where smoke would go from the cooking zone and check if a roof, wall, pergola, or nearby structure could trap odors near seating. Ventilation should be planned before installing the roof and cabinets.
Placement of the outdoor kitchen impacts cooking comfort and the usefulness of nearby dining areas. A serving counter should allow conversation without forcing guests to stand next to a hot grill or in the cook’s path.
For a detailed planning checklist, see Outdoor Kitchen Plans Explained: What to Get Right before turning a sketch into a fixed structure. The real value of a plan lies in the decisions it records, not in the number of decorative views.
Which materials and construction details suit outdoor exposure?
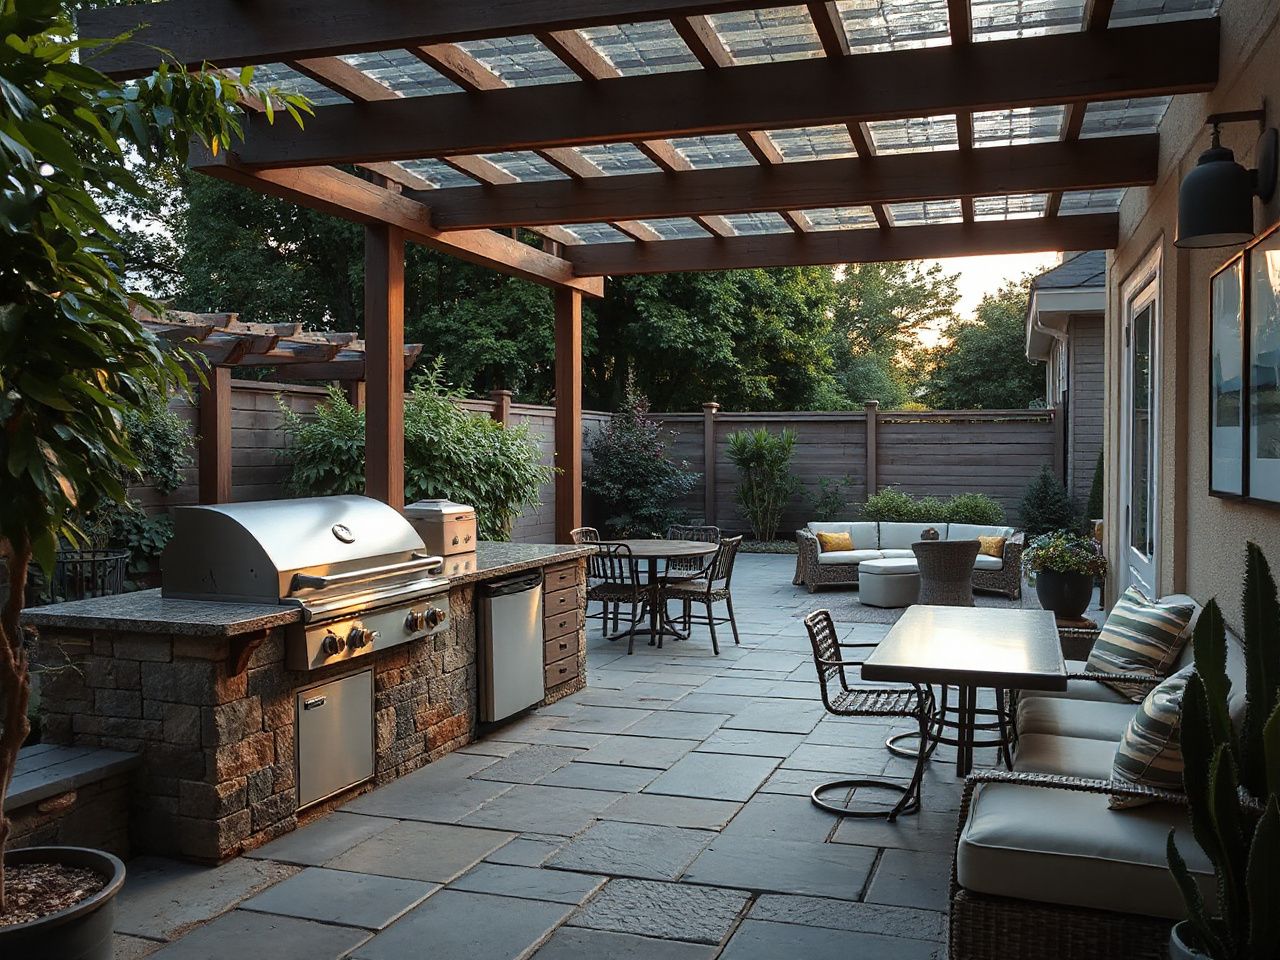
Choose outdoor kitchen materials based on rain, sunlight, humidity, freezing weather, heat, cleaning, and compatibility with nearby materials. Stainless steel, weather-resistant cabinetry, durable countertops, suitable fasteners, and protected construction are important, but the local climate guides how to evaluate those choices.
Countertops and cabinet surfaces
A weather-resistant countertop should match the support beneath it and the exposure at the site. Choose a surface that can be cleaned as per its care instructions and won’t create awkward transitions at doors, corners, or serving areas. It’s also important that the countertop leaves practical access to cabinets, appliances, and service points.
Outdoor-rated cabinetry should be viewed as a system, not just a decorative shell. Check how doors, drawers, hinges, backs, and internal compartments handle water and cleaning. Material alone doesn’t fix poor drainage or a roof that directs water toward the work surface.
Stainless steel can be included in an outdoor kitchen if its look and maintenance suit the setting, but the whole setup matters. Fasteners, trim, countertop supports, nearby masonry, and cleaning methods need to be compatible. A single weather-resistant part won’t protect an arrangement that collects water at its joints.
Heat and combustible construction
Combustible walls, cabinetry, roofing, and finishes need proper separation or protection from grills, burners, and other heat sources. The appliance manual and local authority rules determine the correct arrangement. Never rely solely on a visual gap to prove that the setup is safe.
Place hot cooking areas away from seating, walkways, children’s activity zones, and combustible landscaping. Keep heat-producing equipment from turning a roof or decorative wall into an unintended part of the cooking system. A built-in grill should have a surrounding plan that considers heat, grease, cleaning, and access, not just the opening in the countertop.
The Consumer Product Safety Commission provides public safety information for household and outdoor products, while local building authorities control site-specific construction requirements. Review both sources and the appliance instructions before construction begins.
Drainage and winter conditions
Drainage needs to be planned before installing surfaces and cabinets. Identify where rainwater, wash water, condensation, and spills can go. Confirm that the drainage route doesn’t send water toward the house, foundation, seating area, or neighboring property.
Water shutoff and frost protection should be included in the initial drawing when the kitchen has an outdoor sink or water connection. A shutoff that’s hard to reach isn’t very useful during a leak or seasonal closure. Freezing weather makes access and draining part of the design, not just maintenance notes added later.
Weather covers should protect exposed equipment without trapping moisture against surfaces. Decide where covers will be stored, how wet covers will dry, and whether a covered appliance still has enough ventilation for safe operation based on its instructions.
Lighting and surrounding finishes
Outdoor lighting should illuminate the preparation surface, walking path, steps, and serving area without causing glare for the cook or guests. Coordinate lighting with landscape design and shade structures so the kitchen remains visible after daylight ends.
The National Fire Protection Association publishes public fire-safety guidance, but the local authority and the appliance instructions govern the installation at a particular property. Use those sources when evaluating separation, ventilation, fuel, and combustible finishes.
How should gas, water, drainage, and electricity be planned?
Gas, water, drainage, and electrical systems should be mapped out before construction. Have qualified professionals inspect these systems and ensure they’re accessible for shutoff and service. Outdoor kitchens involve multiple building systems, so a patio-furniture approach leaves too many decisions unresolved.
Fuel and gas lines
Decide if the cooking equipment needs a gas line or another fuel setup before fixing the cabinet and countertop layout. The fuel route should be shown on the site plan, including its shutoff location and the path to the appliance. Don’t hide a connection behind permanent construction that stops inspection or closure.
Check local permitting and fuel-line work rules before excavation or installation. The appliance instructions specify the allowed fuel setup for that equipment, while the local authority decides what needs approval. A sketch downloaded as an outdoor kitchen plans PDF can’t replace those checks.
Water and drainage
An outdoor sink adds a handy prep spot but also brings questions about supply, drainage, cleaning, shutoff, and seasonal protection. Plan where waste water will go and where the line can be accessed. Avoid letting a sink cause washing water to pool beneath cabinets or against the house.
Drainage needs to work with the concrete slab, finished grade, cabinet base, and nearby planting. The surface must shed water easily, and the cabinet setup should be protected from repeated wetness. The exact approach depends on the site plan and local rules.
Electricity and GFCI protection
A GFCI electrical outlet might be needed for outdoor equipment, lighting, refrigeration, or food-prep appliances, but placement and installation must meet local electrical codes. Keep outlets within reach without stretching cords across the cooking zone or circulation path.
Electrical planning also includes lighting controls, appliance connections, weather exposure, and service access. Draw the circuit points before cabinets are ordered. The U.S. Consumer Product Safety Commission offers public information about electrical safety, while a qualified electrical professional and local authority address the installation at the property.
Electrical equipment needs to be suitable for its location and installed following its instructions and local rules. The label, manual, and inspection process are more reliable guides than a generic online plan.
Permits and professional coordination
Check local permitting, fuel-line work, plumbing, and electrical rules before starting construction. An outdoor kitchen might involve a concrete slab, masonry work, gas, water, drainage, electricity, heat-producing devices, and a roof or shade structure. Treating it like ordinary patio furniture can hide those responsibilities.
- Record the site: Mark doors, windows, steps, existing services, shade, seating, and drainage routes.
- Place the zones: Separate cooking, preparation, serving, and circulation before drawing cabinets.
- List the systems: Identify fuel, electricity, water, drainage, lighting, ventilation, and shutoff access.
- Check heat: Review combustible walls, cabinetry, roofing, finishes, landscaping, and the equipment manual.
- Confirm approvals: Ask the local authority which permits, inspections, and qualified trades are required.
- Protect maintenance access: Keep appliance panels, connections, drains, and shutoffs reachable after finishes are installed.
The National Fire Protection Association and the Consumer Product Safety Commission are useful starting points for public safety information, but neither replaces local approval or the instructions supplied with a particular appliance.
What commonly goes wrong without a detailed plan?
Outdoor kitchens often fail as usable spaces when equipment is placed first, and circulation, heat, drainage, utilities, and maintenance are only considered later. The result might be a crowded counter, a blocked door, an inaccessible shutoff, water damage, or a cooking area that’s uncomfortable to use.
Equipment takes over the layout
A grill, refrigerator, sink, or storage unit can seem manageable on its own. Once you add openings, work surfaces, service space, seating, and walking routes, the arrangement might no longer fit how people use the patio.
Plan the zones before choosing where to put appliances. A cooking appliance should connect to prep and serving areas without blocking the main path. The plan must show doors open, cabinet fronts accessible, and the service route preserved.
Heat is treated as a finish problem
Combustible walls, roofing, cabinets, and finishes can be placed too close to heat-producing equipment if a drawing only shows the front elevation. Review appliance instructions and local codes before choosing masonry, wood framing, a pergola, or any overhead finish.
Ventilation needs early planning. Smoke, grease, and cooking odors can affect the house or seating area if the cooking zone placement ignores openings, roof shapes, walls, and prevailing conditions. A later cover can’t fix every placement issue.
Water is given nowhere to go
Rain, wash water, condensation, and spills need a planned drainage route. Cabinets on a surface directing water toward the house can cause maintenance problems, even if the countertop seems protected.
Water shutoff, frost protection, and weather-cover storage should be visible on the plan. Seasonal maintenance gets harder when shutoff valves are hidden, drains are unreachable, or wet covers are stored against finished surfaces.
Repairs are forgotten
Permanent construction should never block access to fuel connections, electrical points, plumbing, drains, or appliance panels. The finished kitchen should be judged from the service side as carefully as from the guest side.
Long-term ownership costs depend on design choices that control cleaning, weather exposure, access, repairs, replacement, and seasonal protection. A cheaper construction method might become less convenient if every service task requires removing fixed finishes. A more permanent approach may suit a site that won’t change much over time.
Plans are copied without checking the site
Free outdoor kitchen plans, simple outdoor kitchen designs, and outdoor kitchen plans with measurements can give ideas for zones and proportions. A downloaded plan can’t know the local slope, doors, services, climate, permits, or wind and smoke conditions. Use a PDF as a discussion document, not proof that a layout belongs on a particular patio.
DIY construction needs the same planning discipline as professional work. The guide DIY Outdoor Kitchen: Where People Go Wrong and How to Fix It can help organize common planning concerns. But local requirements and appliance instructions still control the actual project.
How do you maintain an outdoor kitchen through the seasons?
Outdoor kitchen maintenance starts with preventing water, grease, leaves, dirt, and moisture from building up around equipment, surfaces, cabinets, and drains. A maintenance plan should follow the seasons and include parts that are easy to overlook, like covers, shutoffs, fasteners, seals, service panels, and the underside of counters.
Use a regular visual check
Inspect the countertop, cabinet edges, doors, fasteners, appliance openings, gas connection area, electrical outlets, sink, drainage points, and surrounding surface. Check for standing water, loose parts, blocked openings, damaged finishes, grease buildup, corrosion, and signs that water is moving toward the house.
Clean according to each material and appliance manual. Stainless steel, masonry, countertop surfaces, cabinet finishes, and glass can require different care, so a single harsh cleaning method should not be applied across the whole kitchen.
Prepare for weather
Before severe rain, freezing weather, or a long period of nonuse, make sure drains are clear, water shutoffs are reachable, covers are clean and dry, and exposed equipment is protected according to its instructions. Frost protection should be built into the plumbing arrangement, not added after a freeze.
Weather covers need their own care. Remove moisture when instructed, give damp covers a place to dry, and avoid trapping water against the countertop or cabinet face. A roof or pergola changes exposure but doesn’t eliminate maintenance.
Review the layout as the household changes
Outdoor dining, children’s activity, garden growth, new lighting, or changed patio furniture can alter circulation. Recheck the path around the kitchen when the surrounding landscape or seating arrangement changes.
A doorway, step, or narrow passage can become an obstacle every day, even if the plan looked clear initially. The visual discipline used before construction still helps afterward: check the route first, then the appearance of the island.
The Bottom Line
Outdoor kitchen design plans should start with zones, circulation, heat, weather, drainage, utilities, access, and how it relates to the house. A straight run of 4, 5, 6, or 8 feet might work for a site, but only after considering doors, seating, services, and equipment needs together.
The durable plan is the one that stays usable after rain, seasonal closures, cleaning, repairs, and daily movement. Treat permits, fuel, plumbing, electricity, ventilation, heat separation, and maintenance access as part of the design, not just finishing details.
Frequently Asked Questions
What should a small outdoor kitchen design plan show?
A small plan should show the cooking zone, prep surface, serving spot, circulation path, doors, steps, seating, utilities, drainage, heat separation, and service access. Capacity might suit 2–4 people in a cozy space, but the furniture and walkways need to fit the site. A compact layout should avoid unnecessary travel and prevent the cook from standing in the only path to the house.
Are outdoor kitchen plans with measurements ready to build?
Measured plans can help explain the intended arrangement, including straight runs of 4 feet, 5 feet, 6 feet, or 8 feet. They aren’t automatically ready for construction because local permits, gas work, plumbing, electrical needs, drainage, heat separation, climate, and site access vary. Use a PDF as a starting point, then verify every service and condition locally.
Is a freestanding outdoor kitchen easier than a built-in kitchen?
A freestanding setup might allow more flexibility, while a built-in arrangement can connect more strongly with the patio, masonry, shade, and surrounding design. Neither approach skips planning for gas, water, drainage, electricity, ventilation, heat protection, covers, and maintenance access. Pick the one that keeps service routes clear and matches how long the location is expected to stay.
Which materials should an outdoor kitchen use?
Outdoor kitchen plans often consider stainless steel, weather-resistant cabinetry, durable countertops, suitable fasteners, concrete slabs, masonry, and wood framing. The right mix depends on rain, sunlight, humidity, freezing weather, heat, cleaning, and how well components work together. Material names alone don’t guarantee performance; review care instructions, local exposure, drainage, and repair access.
How can an outdoor kitchen keep smoke away from the house?
Place the cooking zone away from doors, windows, seating, children’s activities, combustible landscaping, and main routes. Check the roof, pergola, walls, prevailing outdoor conditions, and appliance instructions before building, since those features can impact smoke, grease, and odor movement. Ventilation and heat separation should be planned with the cooking equipment, not added after finishes are installed.