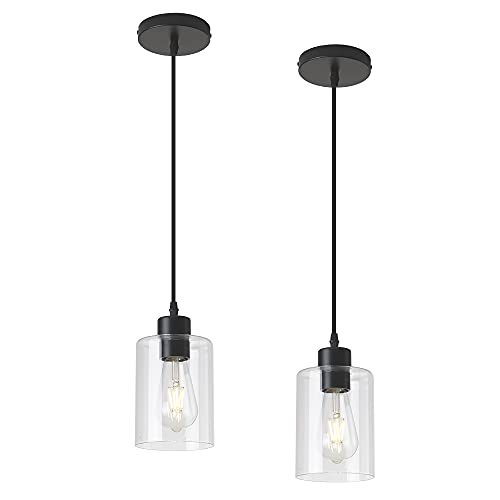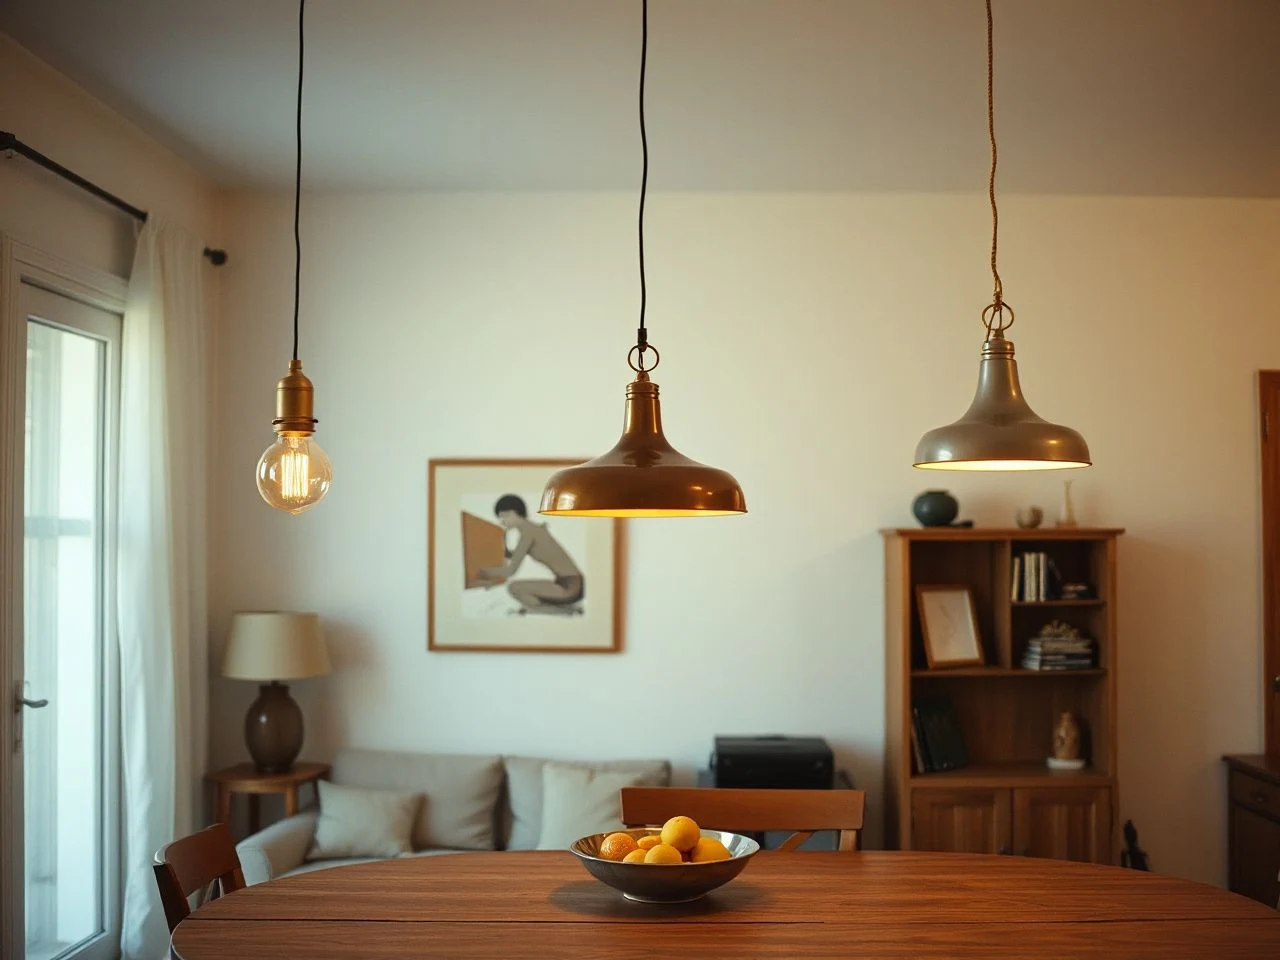
A pendant can look perfectly proportioned in a room and still leave a work surface shadowy, put glare in your eyes, or hang low enough to interrupt the kitchen’s sightlines. A useful pendant-light guide separates visual proportion from lighting performance: a fixture can suit the kitchen aesthetically while still creating glare, shadows, or poor task illumination. It also treats the ceiling canopy, junction box, suspension hardware, socket, bulb, and dimmer as one compatible system rather than judging the shade in isolation. That is the practical purpose of this pendant lights buying guide.
Key Takeaways
- Choose the pendant’s form, shade, and suspension around the work surface, not around the fitting alone.
- Check the ceiling junction box, wiring, socket, LED bulb, shade, and dimmer as a single electrical and support system.
- Plan for cleaning access, glare control, replacement parts, and safe installation before committing to the look.
Beginner: Start With the Kitchen, Not the Shade
Decide what the pendant must do
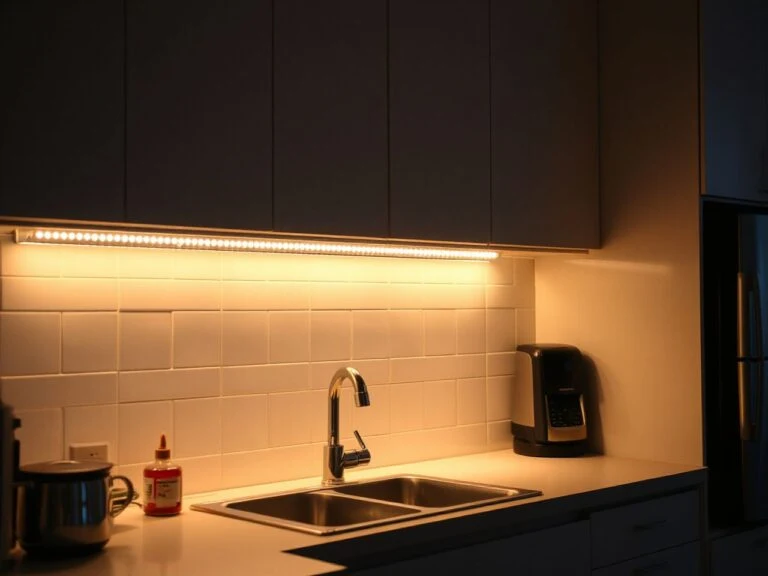
Begin by identifying the job. A pendant over a kitchen island or bench usually contributes task lighting, while a fitting placed elsewhere may support ambient or accent lighting. Under-cabinet lighting can still be useful for close work, because a pendant should not be asked to solve every lighting problem in the room.
A kitchen pendant must provide useful illumination without producing distracting reflections or a dark patch beneath the shade. That simple test is more valuable than choosing a shape because it appears fashionable in a photograph.
- Task lighting: direct the useful light toward preparation or serving areas.
- Ambient lighting: allow light to spread through the kitchen rather than concentrating it on one spot.
- Accent lighting: use the fitting to draw attention to a surface, feature, or architectural detail.
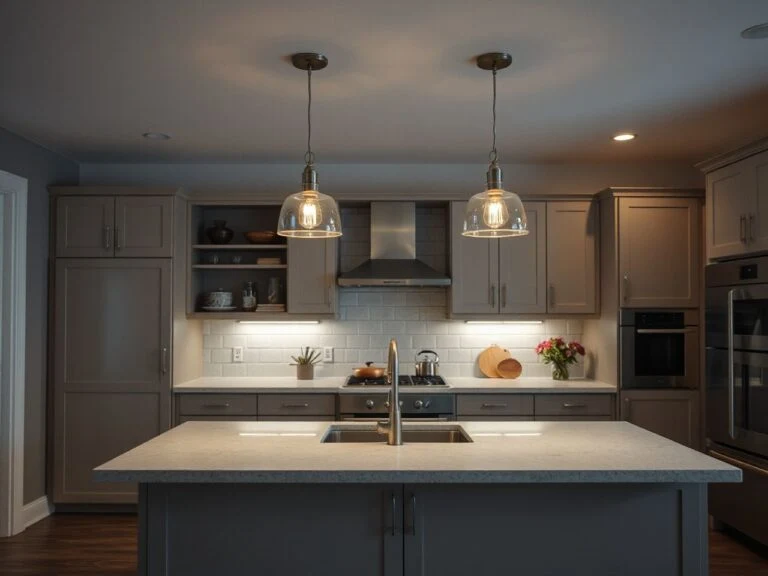
For consistent illumination, individual pendants should be arranged in an unbroken line above a bench. The line matters because gaps can create uneven pools of light across the work surface.
Choose a shape that follows the work surface
A single pendant can suit a compact area or a small island where one central pool of light is enough. A multi-light pendant places numerous globes within one light fitting, which can create a stronger visual presence without requiring several separate ceiling canopies.
A linear pendant follows a long bench and makes the relationship between the fitting and the surface immediately clear. Individual pendants can also form a line, but their spacing, canopies, and suspension cords need to read as one arrangement rather than a scattered collection.
Feature pendants bring attention to the shade itself. Chandeliers and multi-light arrangements can make a larger visual statement, while a close-to-ceiling light may work better where a low ceiling, narrow walkway, or active sightline leaves little room for suspension.
A pendant’s shape should repeat or complement the geometry of the surface below it. Long work surfaces generally benefit from a fitting or arrangement that travels along their length, while a compact surface may look crowded beneath a wide multi-light form.
Measure the route into the room
The doorway comes before the sofa, and the same rule applies to a pendant. Check the box, packaging, shade, canopy, and assembled fitting against the route from the delivery point to the kitchen before choosing a form that is difficult to carry or assemble.
Record the available ceiling position, the location of the work surface, nearby cabinets, doors, windows, and the main walking route. The manufacturer’s installation instructions should settle any missing dimensions; do not fill the gap with an assumed clearance.
A kitchen pendant should sit where people can work beneath it without striking the shade or looking directly into an exposed bulb. The correct suspension height is the height that protects sightlines, avoids head impacts, controls glare, and still places useful light on the surface.
Island pendant light height explained can help you think through the relationship between the fitting, the island, and the people moving around it.
Match the visual weight
Small kitchens need proportion rather than visual clutter. A large opaque shade can dominate a narrow room, while a very slight pendant may disappear beside substantial cabinetry or a deep work surface.
Consider the canopy as part of the composition. A narrow canopy may look disconnected from a large shade, while a broad canopy can draw attention to the ceiling and make a small room feel busier.
Glass shades change the calculation because the bulb and socket remain visible. Clear glass can preserve an open appearance but may expose glare, translucent glass softens the view of the bulb, and opaque shades conceal the lamp while controlling where light can travel.
A clear shade shows the lamp socket and bulb as part of the design. A translucent shade filters the view without fully blocking the light. An opaque shade gives the strongest visual boundary, so check where its lower opening sends light before assuming the work surface will be evenly lit.

Intermediate: Build a Compatible Lighting System
Understand how a pendant receives power
A hardwired pendant connects through the ceiling junction box, canopy, electrical conductors, and suspension assembly. The canopy hides the ceiling connection, while the cord or chain suspension carries the fitting below the ceiling.
A plug-in pendant receives power through an electrical cord that runs to a wall outlet. That arrangement can avoid opening the ceiling, but the cord becomes part of the room’s appearance and needs a safe, tidy route that does not cross a walking path or work surface.
A pendant receives power through its electrical connection; the decorative shade does not provide support or replace the junction box. A hardwired fitting therefore needs both a suitable ceiling connection and a suitable support point before installation.
- Hardwired pendant: a discreet ceiling connection, but existing wiring and support must be suitable.
- Plug-in pendant: a visible cord and an outlet route, with less reliance on new ceiling work.
- Existing fitting replacement: a check of the present junction box, wiring, canopy, and mounting hardware before removal or installation.
The pendant must be supported by a suitable ceiling junction box rather than decorative ceiling material alone. If the box, mounting point, or wiring is inadequate, ceiling work may require a qualified electrician, particularly where existing wiring needs alteration.
The Consumer Product Safety Commission provides consumer information about electrical hazards and recalls, so its guidance is a sensible reference when a fitting, cord, plug, or installation raises a safety concern. Follow the pendant manufacturer’s instructions as well as local electrical requirements.
Check the complete electrical chain
The lamp socket, bulb, shade, and dimmer switch must be compatible. This is especially important with LED bulbs, because an LED bulb may require a dimmer that is designed to work with that type of lamp rather than a dimmer selected only for appearance.
Read the fitting label, bulb instructions, and dimmer instructions together. Look for stated compatibility, allowed lamp types, and any restrictions on enclosure or shade use; if the documents do not agree, pause and ask a qualified electrician or the manufacturer before connecting the fitting.
An LED bulb can be used with a pendant only when the socket, fitting, and dimmer allow that combination. A dimmer switch that is not compatible with the bulb may produce flicker, unwanted noise, an uneven response, or no useful control.
Plan the bulb before the purchase
Light bulb colour and brightness affect how the kitchen feels and how clearly the work surface appears. The fitting’s shade changes that result: an opaque shade limits the visible spread, a translucent shade softens it, and a clear shade exposes the bulb’s direct view.
Check whether the pendant accepts a replaceable LED bulb or contains a built-in light source. Replacement access matters because a fitting that requires specialist parts can create a longer repair process when its lamp or control component fails.
Ongoing costs come from replacement bulbs, cleaning supplies, repairs, electrical work, and replacement parts. No price or lifespan should be assumed from the pendant’s appearance; check the manufacturer’s documentation for the actual requirements.
Use independent safety information carefully
Lighting labels and installation documents are more useful than decorative descriptions for electrical decisions. The Electrical Safety Foundation International offers public electrical-safety information, but its general guidance does not replace an assessment of a particular ceiling box or existing wiring.
A pendant should not be connected to uncertain wiring merely because the fixture fits the canopy. A qualified electrician can determine whether the ceiling connection and support are appropriate for the selected fitting and whether the installation meets local requirements.

Advanced: Control Glare, Shadows, and Cleaning Problems
Position the suspension for real movement
Over an island, the suspension must work for seated and standing sightlines, nearby cabinet doors, food preparation, and movement through the kitchen. A fitting that looks balanced from one viewpoint can become an obstruction when people walk around the end of the island.
Check the pendant from the main approach to the kitchen, from the sink, from the cooking area, and from the opposite side of the work surface. The aim is useful light without a direct view into a bright bulb or a shade that interrupts conversation across the room.
Do not treat a published height as a substitute for checking the room. The correct position depends on the shade’s lower edge, the ceiling, the surface below, and the people who use the space.
Individual pendants should form an unbroken line above a bench when consistent illumination is the priority. If the line stops short of the area where work happens, the fitting may look centred while the useful light remains poorly placed.
How many pendant lights over an island is right for the space is a useful next step when a single fitting does not cover the work surface evenly.
Prevent glare at the source
Glare occurs when a bright lamp or reflective surface sits in a troublesome part of the field of view. A clear glass shade can make the bulb more visible, while a glossy worktop, polished metal surface, or reflective cabinet can return light toward the people using the kitchen.
Opaque and translucent shades can reduce the direct view of the lamp, but they may also limit the light that reaches the work surface. Inspect the lower opening, the bulb position, and the direction of the light rather than choosing a shade based on opacity alone.
A pendant shade that blocks the direct bulb view can still create a dark worktop if the lower opening is poorly directed. Glare control and task illumination must therefore be assessed together.
Choose finishes that tolerate kitchen cleaning
Cooking areas expose pendant shades and finishes to airborne grease, dust, steam, and fingerprints. Materials with simple surfaces and accessible joints are easier to wipe than intricate forms that trap residue around the socket, chain, or decorative openings.
Glass shades can be visually clear but still require safe removal or careful access for cleaning. Metal, painted, fabric, and mixed-material fittings each need the cleaning method stated by the manufacturer, because water, abrasive products, or harsh chemicals can damage a finish.
Keep shades away from direct heat sources and provide enough access to clean around the socket and suspension. A pendant that cannot be reached safely will accumulate residue even if its finish looked practical at purchase.
Diagnose wobble, sagging, flicker, and uneven hanging
A wobbling pendant may have a loose canopy, uneven suspension, or a mounting point that is not holding the fitting squarely. Sagging can indicate an incorrectly arranged cord or chain, a poor connection at the canopy, or support that is not suitable for the fitting.
An uneven pendant can also result from suspension components set at different lengths or from a canopy that is not level. Do not correct the visible angle by twisting the shade if that puts strain on the cord, chain, socket, or ceiling connection.
Flicker is a separate warning sign. Check the bulb, socket, dimmer compatibility, and connections against the manufacturer’s documents, then stop using the fitting if the cause is unclear and seek qualified electrical help.
A pendant that flickers should not be treated as a decorative annoyance. Flicker can point to a bulb, dimmer, socket, or wiring problem that needs proper identification before continued use.
Clean without damaging the fitting
Switch off the pendant and allow any lamp or shade to cool before cleaning. Follow the manufacturer’s method for the shade and finish, using only the tools and cleaning materials permitted by the instructions.
- Remove loose dust with a soft, dry cloth or the method specified by the manufacturer.
- Use a lightly damp cloth only where the instructions allow it.
- Keep liquid away from the socket, canopy, junction box, dimmer, and electrical cord.
- Support a removable glass shade with both hands and place it on a protected surface.
- Inspect the cord, chain, canopy, and socket for damage before restoring power.
Do not spray cleaner directly onto a pendant. Direct spraying can send liquid into electrical parts or leave residue in joints that are difficult to dry properly.
Advanced: Avoid Costly Positioning and Installation Errors
Can a pendant hang anywhere?
A pendant cannot safely hang anywhere merely because the ceiling has decorative material at that point. The location needs a suitable power route, an appropriate ceiling junction box or approved connection method, secure support, and enough clearance from people, cabinets, doors, and heat sources.
In a kitchen, the most useful position is usually related to the work surface rather than the geometric centre of the room. A fitting placed centrally in the ceiling can leave the island dark if the island is offset, while a pendant over a walkway can become an obstacle.
A ceiling junction box must support the pendant through suitable mounting hardware. Decorative plaster, panelling, or a suspended surface should not be treated as the structural support unless the installation system specifically provides that support.
Compare hardwired and plug-in choices honestly
Hardwired pendants give a visually contained ceiling connection and can suit a planned kitchen electrical layout. They may require a qualified electrician if there is no suitable junction box, if wiring must be changed, or if the support is uncertain.
Plug-in pendants can be useful where opening the ceiling is undesirable or where the room needs a less permanent arrangement. Their electrical cord must still be protected, routed safely, and kept clear of sinks, cooking areas, walking routes, and places where it can be snagged.
Neither connection method makes an unsuitable location suitable. The choice should follow the existing wiring, support, outlet position, room layout, and the installation instructions.
Know when a different ceiling light makes more sense
A pendant is not automatically the right answer for every kitchen. A close-to-ceiling fitting may preserve headroom, recessed lighting may distribute light without a hanging obstruction, and under-cabinet lighting may serve the preparation area more directly.
Pendant lights versus recessed lighting can help clarify the visual and practical trade-off when the ceiling is low or the work surface is surrounded by traffic.
A pendant can also be combined with other layers. Ambient light prevents the room from feeling isolated around the island, task lighting supports close work, and accent lighting gives visual emphasis without forcing one fitting to perform every role.
Use a final room check before installation
Before an electrician installs a hardwired pendant, place a temporary marker at the proposed ceiling position and inspect the sightlines. Check the approach to the kitchen, cabinet doors, the island edge, the sink, and the main food-preparation position.
- Confirm that the planned location relates to the work surface.
- Check that the shade will not obstruct normal movement or views across the kitchen.
- Confirm that the junction box and mounting method are suitable.
- Match the socket, bulb, shade, and dimmer instructions.
- Read the cleaning and replacement instructions before the fitting is fixed in place.
A temporary position check can reveal a sightline problem before drilling or wiring begins. The small-space test is simple: stand where people actually work and walk, not only where the pendant looks centred in a plan.
Frequently Asked Questions About a Pendant Lights Buying Guide
How do I choose the right pendant light for a kitchen?
Start with the task the pendant must perform, then relate its shape and spread to the work surface. Check the shade for glare, the suspension for clear sightlines, and the finish for cleaning access. A suitable ceiling junction box, compatible socket and bulb, and an appropriate dimmer matter as much as the visible design.
What size and shape of pendant works over a kitchen island?
Use the island’s shape as the starting point. A linear pendant or a line of individual pendants follows a long bench, while a single or multi-light fitting may suit a more compact surface. The fitting should illuminate the work area without obstructing movement or making the ceiling feel crowded; the manufacturer’s dimensions should guide the final selection.
How do pendant lights connect to the ceiling and get their power?
Hardwired pendants connect through a ceiling junction box, canopy, conductors, and suspension hardware. Plug-in pendants use an electrical cord and wall outlet. Both require safe support and suitable routing. Existing wiring, uncertain support, or any alteration to the ceiling connection should be assessed by a qualified electrician.
Can a pendant light work with a dimmer switch and an LED bulb?
It can, provided the socket, fitting, LED bulb, and dimmer are compatible. Check all instructions together rather than assuming that any LED bulb will dim smoothly. Flicker, buzzing, an uneven response, or a failure to dim means the combination needs checking before continued use.
What is the difference between opaque, translucent, and clear shades?
Opaque shades conceal the lamp and restrict the visible direction of light. Translucent shades soften the view of the bulb while allowing light through. Clear shades leave the bulb and socket visible and can preserve an open appearance, but they may expose direct glare. The shade’s lower opening also affects task illumination.
Which pendant finishes are easiest to clean near cooking areas?
Choose a finish with accessible surfaces and few grease-trapping crevices, then confirm the manufacturer’s cleaning method. Glass, metal, painted surfaces, fabric, and mixed materials should not be cleaned in the same way automatically. The fitting should allow safe access around the shade, socket, canopy, and suspension.
Why does a pendant wobble, sag, flicker, or hang unevenly?
Wobbling or sagging can come from loose mounting, uneven suspension, or unsuitable support. An uneven shade may reflect different cord or chain settings or a canopy that is not level. Flicker can involve the bulb, socket, dimmer, or wiring. Stop and seek qualified help if the cause is not clear, rather than repeatedly adjusting the visible shade.
Do I need an electrician to install a pendant light?
A qualified electrician may be needed for hardwired installation, altered wiring, an inadequate junction box, or uncertain ceiling support. A plug-in fitting still needs a safe cord route and a suitable outlet. Installation instructions and local electrical requirements should determine the work, not the assumption that a pendant is a simple decorative swap.
How can I tell whether the ceiling junction box can support a pendant?
Do not judge support from the decorative ceiling surface or the canopy alone. The junction box, mounting hardware, and ceiling structure must be suitable for the fitting. If the installation information does not clearly establish that support, ask a qualified electrician to inspect it before hanging the pendant.
What ongoing costs should I plan for?
Allow for replacement bulbs, cleaning materials, electrical repairs, replacement shades or suspension parts, and professional installation or alteration where required. The actual cost depends on the fitting and its manufacturer, so check whether parts are replaceable and whether the cleaning method requires specific materials before buying.
Where can I read more about pendant placement over an island?
For a focused explanation of positioning, read this practical guide to pendant light height over an island. It should supplement, not replace, the fitting instructions, a sightline check in your kitchen, and professional advice about wiring or support.
The reliable order is simple: inspect the room, relate the pendant to the work surface, check the complete electrical and support system, and then judge the finish. A beautiful shade earns its place only when the kitchen remains usable beneath it.