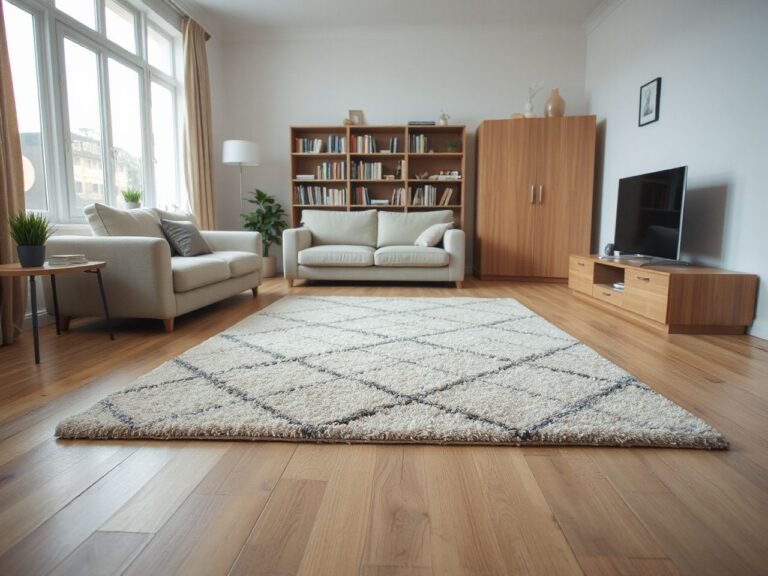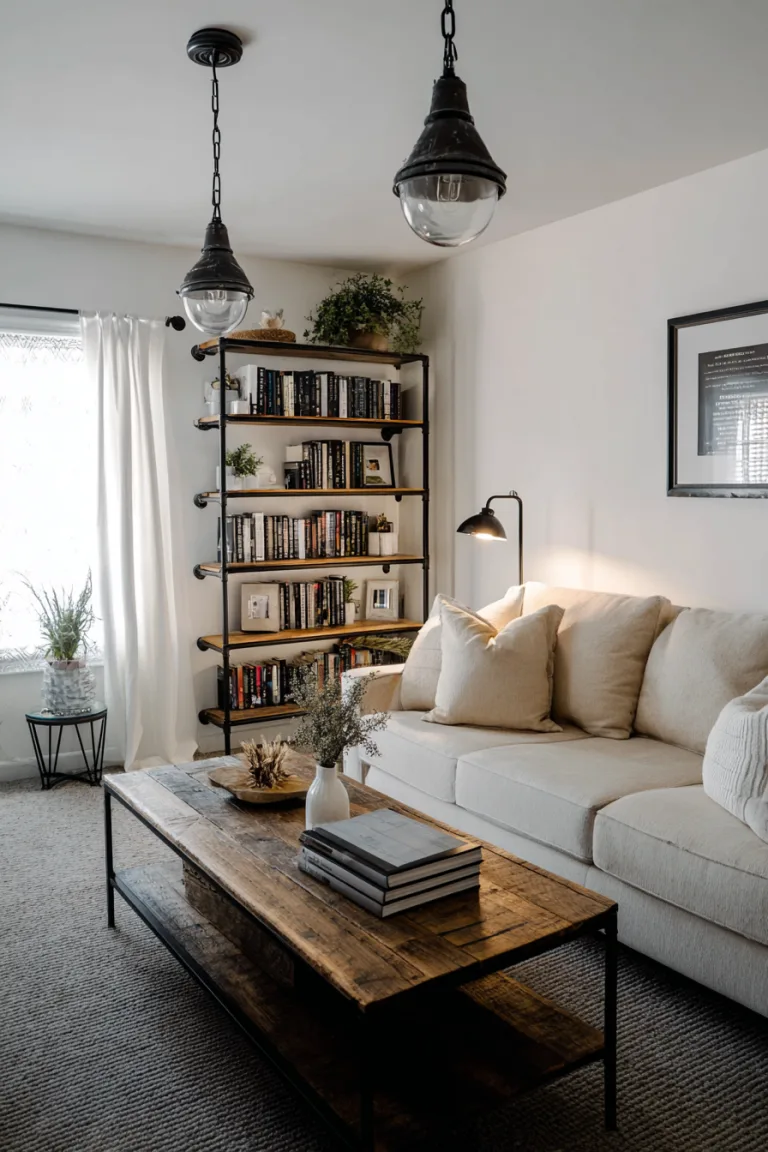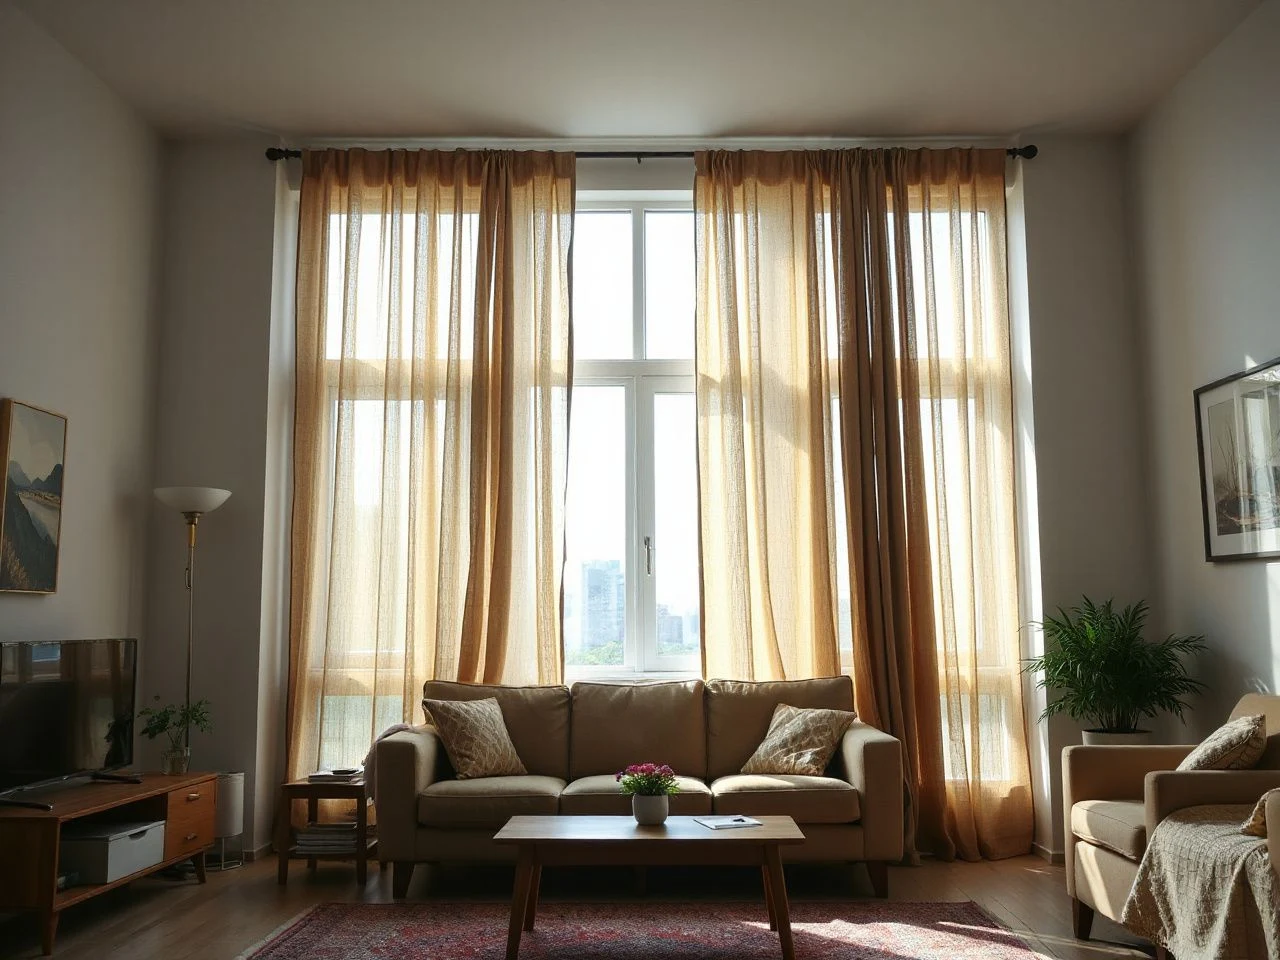
Should curtains follow the window, or should the window follow the curtains? The key is that curtain height depends on the finished drop and the visual relationship between the window, ceiling, and floor. It isn’t just about the glass or frame alone. A good guide also separates the visible hanging line from the hardware position. Brackets, track carriers, header construction, and floor clearance can all change where the fabric actually ends.
Most rooms work well with the visible rod or track line 4 to 6 inches above the upper edge of the window frame. Before fixing anything permanently, check the finished panel length. This gives the window a calmer look with the wall, but the cleanest result still depends on the floor, ceiling, casing, handles, and how the fabric hangs. My standard is simple: every part should come off the wall cleanly, with no awkward hardware, dragging hem, or stranded panel.
Key Takeaways
- Set curtain height from the finished drop and the room’s ceiling-to-floor relationship, not the glass alone.
- Place a wall-mounted rod or track 4 to 6 inches above the window frame when the surrounding proportions allow it.
- Allow the hardware to clear casing, handles, blinds, and other obstructions before choosing the final line.
- Check the actual hem at the floor after installation because floors, headers, and fabric settling affect the result.
How High Should You Hang Curtains? Start With the Finished Drop
The easiest way to pick a height is to work backward from where you want the curtain panels to end. A panel that finishes at the floor needs a different rod position than one stopping above a radiator. A ceiling-mounted curtain track creates a different relationship again. The window offers useful reference points, but it doesn’t determine the final height by itself.
The finished curtain length depends on the mounting hardware, header style, and distance from the rod to the floor, not just the window height. A rod pocket, tab, ring, clip, or pleated header can place the fabric at a different level even when the rod is in the same spot.
Step 1: Decide where the fabric should finish
Start by deciding if the panels should hover above the floor, meet it, or create a soft pool. For a neat wall line, a slight hover is usually the easiest style to keep. The recommended placement for a suspended finish is 1/2 inch from the floor. That small gap keeps the hem close to the floor without making the fabric look stranded above it.
Check the floor clearance after installing the rod or track. Flooring transitions, uneven floors, and fabric settling can change how it looks. So, a panel that seemed right on paper might need a small tweak once it’s hanging in its actual position.
- Hovering panels: Check the gap along the full visible hem rather than judging one corner.
- Floor-touching panels: Confirm that the fabric meets the floor without dragging or catching as the panel moves.
- Pooled panels: Plan for fabric to gather at the bottom, then confirm that the extra material does not obstruct a walkway, heater, door, or vent.
Floor clearance is both a visual and practical choice. A hem that drags can collect dust and break the clean vertical line from ceiling to floor. Conversely, a hem floating too high can make the panel look short, even if the rod is at a good height.
Step 2: Measure from the rod or track, not only from the frame
Use a measuring tape to find the distance between the planned hanging point and the floor. Measure from where the fabric will sit: the underside of the rod, the carrier line in a curtain track, or the point where rings and hooks hang the header. Don’t measure from the top of a decorative finial or the upper edge of a mounting bracket.
The heading style changes the visible drop. A curtain panel attached with rings may begin below the rod. In contrast, a panel threaded directly onto a rod may start closer to it. A track carrier can also sit above the fabric’s top edge. Mark the intended fabric line with removable tape before drilling. This shows the visual position on the wall, not just where the hardware will sit.
A measuring tape should begin at the actual fabric attachment point when curtain length is being planned. This check prevents a common mismatch: a rod placed correctly above the window with panels that still finish too high because the header was not included in the calculation.
Step 3: Compare the proposed height with the ceiling
A higher rod can make the wall seem taller because the panels draw the eye upward. This effect is strongest when the fabric creates one unbroken vertical line from near the ceiling down to the floor. It’s less effective if the panels are too short, the window is close to the ceiling, or the hardware is squeezed into a small wall space.
For a typical wall installation, the rod doesn’t need to sit close to the ceiling just because the ceiling is high. If there’s a modest gap above the window casing, place the rod 4 to 6 inches above the top of the frame. This works if the finished length and hardware clearance fit. In rooms with tall ceilings, raising the rod can create a longer visual line, but only if the panels are designed for that height.
Ceiling heights of 8, 9, 10, 11, or 12 feet don’t all require the same rod height. Important factors include the finished curtain length, the space above the casing, the available wall area, and how the hem interacts with the floor.
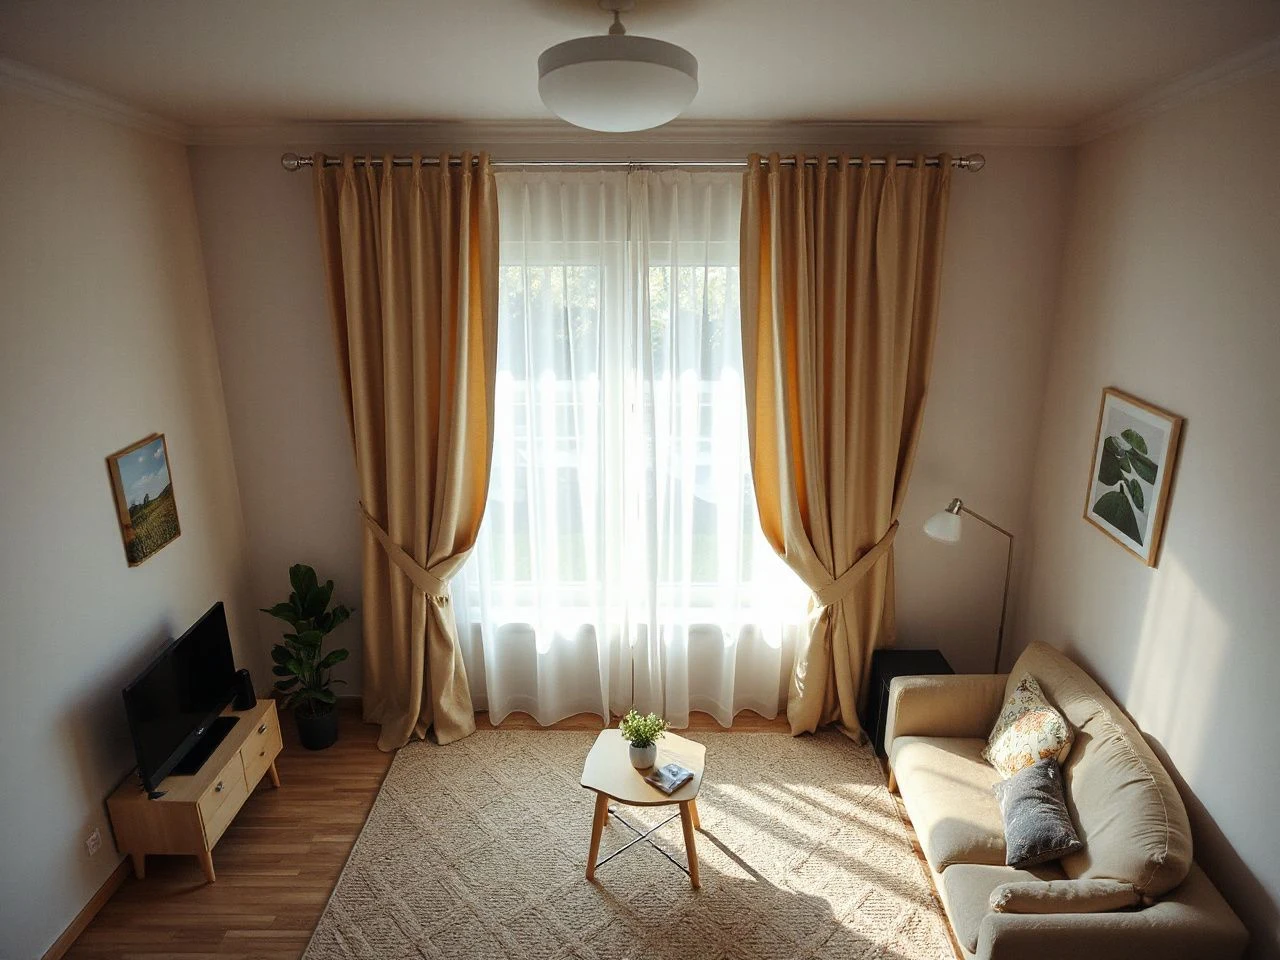
Choose the Hanging Line Around the Window
Should the rod sit above the frame or close to the ceiling?
Usually, the rod should sit above the window frame rather than flush against the ceiling. A good starting point is 4 to 6 inches above the casing’s top edge. This keeps the hardware separate from the trim while maintaining a visual connection between the window and the curtains.
Raise the rod higher if the ceiling line and finished panel length support it. A ceiling-mounted track can be a good choice when the wall space above the casing is narrow, the window is very high, or a continuous fabric line across a wide opening is desired. The track still needs room for panels to clear handles, blinds, casing, and other obstructions.
A curtain rod mounted too close to the ceiling can make the hardware look cramped, while a rod mounted too close to the window can restrict panel movement. The correct position leaves the hardware visually calm and gives the fabric a clear path.
How unusually tall or short windows change the decision
An unusually tall window may already fill much of the wall, so placing the rod far above the casing can push the finished line too close to the ceiling. Measure the space above the frame with the height of the panel and the room’s proportions. Sometimes, a large gap isn’t necessary just because a rule allows it.
A short window often benefits from a higher rod because the fabric can make the opening feel more substantial. The effect is lost if the curtains end well above the floor or if the header leaves a visible strip of wall between the window and the panel. Raise the rod only after confirming that the panels reach the intended floor position.
For a window under a sloped or vaulted ceiling, follow the strongest usable line instead of forcing the rod to stay parallel with a nearby short wall section. A ceiling-mounted track can handle some unusual layouts, but the mounting surface must accept the hardware and the track must stay level enough for the carriers to move properly.
Allow space for casing, handles, and blinds
The rod or track needs enough clearance from the window casing, handles, blinds, and other obstructions for the panels to move freely. A beautiful height becomes a poor installation if the fabric catches on a handle or presses against a blind each time the panel opens.
Look at the entire window assembly before marking the brackets. Open and close the window if possible, operate the blind, and identify anything that projects farther into the room than the casing. The rod may need to sit farther from the wall, or the track might need a different mounting position, even when the upper height is already settled.
Consider the window covering and curtain together. A panel can hang at the right height but still be unusable if the rod is too close to a blind mechanism. The visible gap between fabric and wall should be consistent across the opening so the panel doesn’t seem to lean or twist.
Plan the width as part of the height
Height and width work together. A rod or track should extend 6 to 12 inches past both sides of the window frame when the wall allows. This extra span gives the panels somewhere to rest when opened without covering too much glass, and it prevents fabric from bunching directly over the casing.
The required fullness depends on the curtain panels and their header, so don’t assume that a longer rod will fix every width issue. The panels need enough fabric to cover the opening when closed and enough space to stack without crowding the window when open.
Extending the hardware beyond the window also affects the visual balance of a short opening. The window can appear broader, while the higher hanging line can make the whole composition feel more vertical. Keep the extension even on both sides unless a wall, cabinet, door, or other fixed feature requires an intentional adjustment.
A curtain rod should extend evenly beyond the window when the surrounding wall permits it. Unequal extensions make the panels and frame look misaligned, even if the rod itself is level.
Install the Hardware So the Line Stays Clean
Step 4: Find the support before fixing the brackets
Bracket placement must consider wall studs or suitable drywall anchors, especially when curtains are heavy or opened often. A rod can look properly positioned and still loosen if the mounting point doesn’t have reliable support.
Use a stud finder to locate wall studs behind the intended bracket positions. If a stud isn’t available, choose a drywall anchor suitable for the wall and the load specified by the hardware instructions. Don’t treat every anchor as interchangeable, and avoid relying on a small fastener just because the bracket fits over it.
Ceiling-mounted curtain tracks need the same support considerations. Find ceiling joists where the track can be fixed, then follow the manufacturer’s installation instructions if the planned positions don’t align with those supports. The ceiling may seem solid but provide little holding power at certain points.
A curtain bracket is only as secure as the wall support behind its fastener. Studs, ceiling joists, or suitable drywall anchors matter more than a perfect visual position if the hardware can’t stay fixed.
Step 5: Mark a level line
Use a level to mark the bracket locations at the same height. Measure from a consistent reference point, like the upper edge of the casing or the floor, then check the marks with a level. Don’t just copy the ceiling line without verifying it; ceilings and floors can have slight slopes that become obvious with full-length panels.
A level rod and consistent bracket height matter because small alignment errors become noticeable across full-length curtains. The top edge of a long panel can show a slope that’s hard to see in the bare window opening.
If the rod needs a center support, mark that spot before installing the end brackets. A center support can change how the panels slide across the rod. Place it so the panels can open and close easily without getting trapped or forced around the hardware.
Step 6: Separate visible height from hardware height
Mounting brackets often sit above, below, or behind where the fabric hangs. Curtain tracks can hide carriers inside, while rings place the panel below the rod. The position of the visible hanging line matters for the room, but you have to drill where the hardware goes.
Hold the assembled header near the planned bracket and measure the distance from the top of the hardware to the top of the fabric. Then check how the fabric’s lower edge lines up with the floor. This quick dry fit can show if a decorative rod or thick header changes the finished drop more than expected.
Header construction needs attention before hanging. A panel may look the right length flat, but once the top is gathered, folded, hooked, or clipped, it might end up differently. The only reliable final check is to see the panel hanging in its installed position.
Step 7: Install, hang, and inspect before final adjustment
Install the brackets or track first, then put on the rod or carriers and hang the panels. Don’t force the fabric into its final folds yet. Check the top line, side extensions, how it moves past the casing, and the hem along the floor.
Step back and look at the curtains from the main seating position. Then check them close to the wall. A line that looks balanced from one angle might reveal a bracket, uneven gap, or hem issue from another.
- Confirm that the rod or track is level.
- Check that each bracket sits at the intended height.
- Move the panels fully open and fully closed.
- Look for contact with handles, blinds, casing, radiators, doors, or vents.
- Inspect the floor gap along the complete visible width.
- Check that the panels do not pull away from the wall at the top.
Don’t judge the panels while they’re still folded in packaging creases. Let the fabric hang naturally and recheck the hem. If the floor isn’t even, use the lowest point where the visible panel crosses as your reference for a neat finish.
Fix the Problems That Make Curtains Look Wrong
Why curtains look too short even when the rod seems high enough
Curtains can look too short if the hanging point doesn’t match the finished length. The rod might be at a good height, but the header could take up some of the drop. Or the panel could have been measured from the wrong point, or the floor might slope away from the first measurement.
Check the panel from the rod to the hem and compare that distance with the actual rod-to-floor measurement. Inspect the rings, clips, hooks, or track carriers as part of the measurement. If the fabric stops above where it’s meant to reach the floor, lowering the rod might improve how it looks. But doing that can weaken the connection between the window and ceiling. Find and fix the root cause first.
A short panel can look worse when the rod extends well past the window. The broad hardware line draws attention to the vertical gap below the hem. Instead of just raising the rod, the panel length or header position needs adjustment.
What happens if the rod is too close to the window?
A rod mounted too close to the window can leave too little space for the fabric to clear the casing, handle, or blind. This might cause the panel to rub, catch, or stay pushed into the opening instead of hanging smoothly as a vertical surface.
This can also reduce the usable window opening. When the panels are pulled aside, part of the fabric may stay over the glass because the stack has no room to rest beyond the frame. Extending the rod 6 to 12 inches past both sides, if the wall allows, creates a better resting zone for the fabric.
What happens if the rod is too close to the ceiling?
Mounting a rod too close to the ceiling can leave a narrow, awkward gap between the hardware and the upper surface. Decorative brackets might look crowded. The fabric’s top edge can seem pressed against the ceiling line. Ceiling-mounted tracks are designed to sit as deliberate architectural features, not as wall rods pushed upward by accident.
Before raising a rod, check the panel length. A high rod with a short panel creates a large gap below the hem, which can look less finished than a slightly lower position above the casing.
How to hang curtains over a radiator
A radiator or other heat source affects the floor-to-hem decision. The fabric shouldn’t block the unit or press against a hot surface. It also needs to stay clear of controls and airflow. The right arrangement depends on the room, the appliance, the panel length, and manufacturer instructions.
If the curtain can’t safely or practically pass in front of the radiator, think about a shorter panel or mounting it to keep the fabric to the side. The rod height still relates to the window and ceiling, but the finished drop is now also affected by the obstruction and the floor.
For safety information about household products and hazards, consult the U.S. Consumer Product Safety Commission, which publishes consumer safety guidance. Follow the heating appliance manufacturer’s instructions before placing fabric near a radiator or another heat source.
Can curtains hang from the ceiling?
Yes. Ceiling-mounted curtain tracks can be used when the wall above the window is limited, when a tall uninterrupted fabric line is wanted, or when a room layout calls for curtains that divide an opening. The track must be compatible with the ceiling construction and installed with suitable support.
Ceiling mounting changes how you measure the curtain length. Instead of measuring from the casing upward, measure from the carrier line down to the floor, then check the header. Make sure the track stays level, the carriers clear obstructions, and the curtains finish at the right floor height.
Vaulted ceilings need extra attention because the ceiling might not be horizontal. A wall-mounted rod can sometimes give a cleaner look than trying to follow an angled surface. Pick the setup that lets the fabric fall straight and the hardware come off the wall or ceiling cleanly.
How to support a rod with no wall stud
If there’s no wall stud where the bracket needs to go, use a drywall anchor suitable for the wall and hardware instructions. Alternatively, move the bracket so it can be fastened into a stud. Heavy panels and curtains that open often put more stress on the mounts than decorative treatments.
Do not move the bracket only a small distance without checking the finished curtain line. A support change can alter the side extension, the panel stack, and the visual balance around the window. Mark the new position, confirm that the rod remains level, and check the panel movement before drilling.
Long curtain rods need a central support with a secure fixing. A rod that bows or shifts can damage the wall or ceiling and cause the fabric to hang unevenly.
Does a higher rod let in more light?
Raising the rod doesn’t automatically make a window brighter. Light entry depends on the window, glass, coverings, panel position, and how far curtains stack beyond the opening. Extending the rod 6 to 12 inches past each side can reveal more glass when panels are open, if the wall allows that extension.
The visual effect of height is separate from the amount of light. Raising the hanging line can make the room feel taller, while side extensions can make the window feel wider. Both choices need to be balanced against the finished fabric length and available wall.
Prevent Wall Damage and Keep the Installation Clean
Plan before drilling
Extra wall repairs often start with marks made before considering the full installation. A pencil line might be hidden by a bracket, but holes left behind will stay visible if the position changes. Always dry-fit the rod, brackets, header, and panels first before fixing anything to the wall.
Use removable tape to test the top line and side extensions. Stand back and check how it looks from the doorway, seating area, and room side. Make sure it relates well to nearby art, shelving, doors, and televisions before fixing the hardware.
For guidance on placing other wall-mounted items near a seating area, see how to position art above a sofa without creating a crowded wall. A curtain line, artwork, and television can compete if their heights aren’t chosen carefully.
Use the wall’s structure instead of fighting it
Wall studs and ceiling joists are key structural reference points. Drywall anchors can help with some placement issues, but the anchor must match the wall and hardware. If the visual line conflicts with available support, consider a different bracket, a center support, or a ceiling-mounted track instead of making multiple holes in the same spot.
Installation instructions are part of the hardware, not optional. They show the mounting method, required fasteners, and support conditions for that system. The ASTM International site explains how voluntary standards are developed. Always follow the hardware instructions and relevant authority’s guidance rather than assuming a generic fastener will work.
Check the finished line during normal use
Open and close the curtains as they will be used. Watch the brackets, rod, track, and fabric at the start of movement. If a panel pulls sideways, catches, or shows a gap at the center, fix the alignment before it causes repeated strain on the installation.
Maintenance should be straightforward. A good installation provides enough access to dust the rod or track, remove the panels, and check the brackets without taking everything down. Don’t hide a poorly placed bracket behind folds. Hardware should stay stable and be reasonably easy to reach.
A curtain installation should allow the panels to move, the hardware to be inspected, and the floor line to remain clear. Those conditions protect both the appearance of the room and the wall around the opening.
A practical room-by-room check
In a living room, start with the main sightline from the seating area. In a bedroom, make sure the panels don’t block bedside furniture, blinds, or a door. For a dining room, check that the hem doesn’t interfere with chairs or walking paths. In a hallway or narrow space, side extensions might need to respect nearby trim and passage space.
For a room that needs a stronger vertical effect, the how to hang curtains to make a room look taller step by step guide can help you coordinate the rod position, floor line, and surrounding wall. The fabric should read as one clean vertical element instead of a short panel attached to a window. Test this by stepping back and seeing how it looks overall.
A Reliable Final Checklist
Before finishing the installation, check the room in daylight and under the usual evening lighting. Shadows can reveal a crooked rod, uneven side gaps, or a panel sitting farther from the wall on one side. These small issues become obvious when lighting conditions change.
- Confirm that the chosen height relates to the ceiling, casing, and finished drop.
- Check that the starting position is 4 to 6 inches above the upper window frame when that placement suits the room.
- Verify the hardware can extend 6 to 12 inches past each side of the frame where the wall permits.
- Measure from the actual fabric attachment point rather than the top of the bracket.
- Confirm that the header, rings, clips, hooks, or carriers do not shorten the visible drop unexpectedly.
- Use a level to verify the rod or track and keep the bracket heights consistent.
- Check wall studs, ceiling joists, or suitable drywall anchors before fixing the hardware.
- Move the panels past casing, handles, blinds, radiators, doors, and other obstructions.
- Inspect the floor contact along the full hem, including uneven areas and flooring transitions.
- Look at the installation from the doorway, seating position, and side angle.
The most polished curtain placement usually isn’t based on a single rule without room checks. It’s the position that makes the fabric look intentional from top to bottom, keeps the hardware secure, allows window movement, and leaves the wall free of unnecessary adjustments. Take your time to verify all these factors.
A higher rod can help a room feel taller, but the finished drop is what really matters. If the panels end cleanly, clear the window hardware, and sit level, then the installation is effective. The visual balance is what counts most.
Frequently Asked Questions
How high should you hang curtains above a window frame?
A good starting point is 4 to 6 inches above the top of the window frame. Adjust that if the ceiling, header, hardware, or finished floor length requires it. Measure from the actual hanging point of the fabric, not just from the top of the bracket. Panels should clear casing and handles while reaching the intended floor height.
Should curtains touch the floor or hover above it?
Both finishes can work, but the floor line must be deliberate. A suspended panel might end about 1/2 inch above the floor, while a touching panel should meet the floor without dragging. Check the hem after installation, since uneven floors, transitions, and fabric settling can change how it looks. Pooling curtains need extra care around walkways, heaters, doors, and vents.
Can a curtain rod be mounted without a wall stud?
Yes, as long as the bracket uses a drywall anchor suitable for the wall and follows the hardware instructions. A stud isn’t the only support option, but a weak fastener can loosen if you open the curtains often. Mark the bracket position, make sure the rod is level, and add extra support at the center if needed for stability.
How high should curtains be hung in a room with a tall or vaulted ceiling?
A tall ceiling doesn’t mean the rod has to sit directly against it. Measure the finished drop and how the window relates to the ceiling first. Then think about placing it higher on the wall or using a ceiling-mounted track if the fabric still reaches the floor cleanly. Vaulted spaces need a level, supported mounting path; a straight wall rod might look cleaner than following an angled ceiling.
Why do curtains look short even though the rod is high?
The header might place the fabric below the rod, or the original measurement could have started at the wrong point. Rings, clips, hooks, pleats, and track carriers all affect the visible drop. Measure from the actual attachment point to the floor. Check the hem across the room. A higher rod can’t fix panels that are too short for the mounting position.