Why does one bedroom feel like it has nine-foot ceilings while the identical room next door feels cramped, even though both share the same slab height? The answer almost never shows up in a paint swatch or a furniture layout. It lives in the curtain rod. Learning how to hang curtains to make a room look taller is less about fabric and more about the continuous vertical line you create from floor to ceiling.
Key Takeaways
- Mount the rod 2–4 inches below the ceiling, never directly on the window frame, to force the eye upward.
- Panels should kiss the floor or stack no more than 1 inch—any visible gap or heavy puddling breaks the vertical line.
- Extend the rod 6–12 inches past each side of the window so stacked fabric never covers the glass.
- Avoid valances, tie-backs, and grommet headers; they add horizontal bands that visually lower the ceiling.
The Core Distinction: An Unbroken Vertical Line
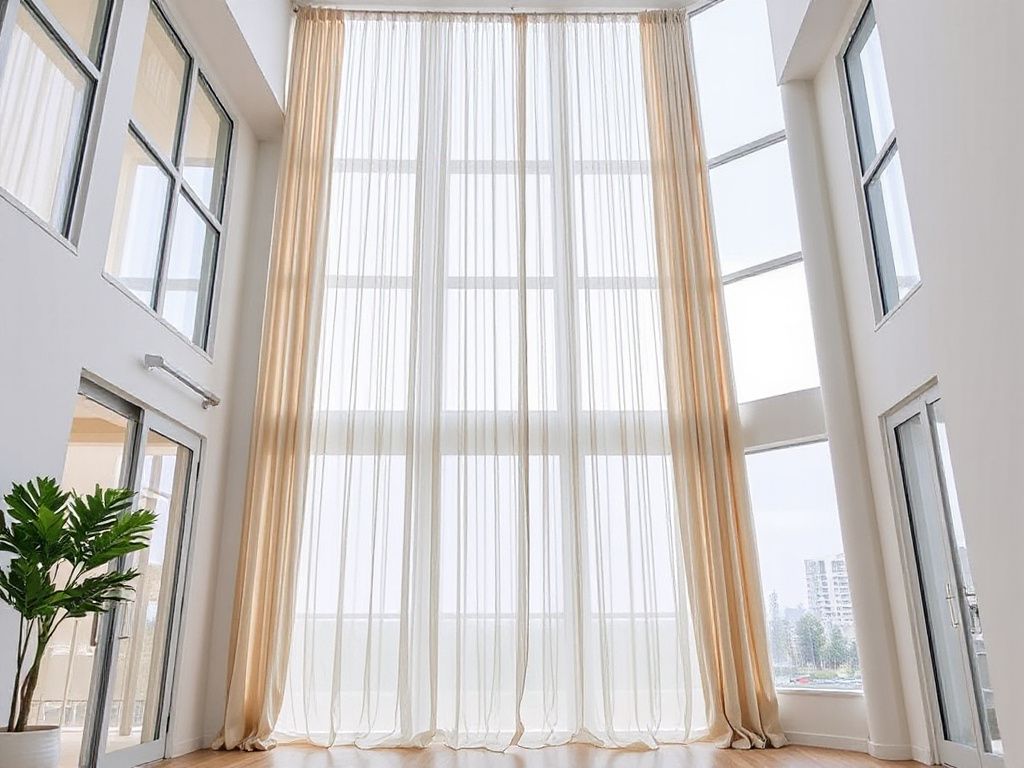
Height perception comes from the continuous vertical line formed by the curtain’s leading edge, not from the fabric itself. When you mount the rod near the ceiling and let the panels kiss the floor—or stack only slightly—your eye travels from floor to ceiling without interruption. The second principle is that any horizontal interruption destroys the illusion. Rod covers, valances, tie-backs, or a visible gap between panel and floor all act like a horizontal stripe that cuts the wall in half. The continuous vertical line formed by a curtain’s leading edge is what makes a room read taller, not the fabric’s pattern or weight.
Step 1: Choose Hardware That Won’t Sag
Most curtain rods sold at big-box stores ship with anchors that are too short for drywall. A rod should be judged by its bracket spacing and metal gauge, not by the finish on the finial. A rod that bows in the middle casts a shadow line that draws the eye sideways instead of up. For a height-focused installation, a rod needs to stay perfectly straight under the full weight of your panels. Look for a minimum 1-inch diameter steel or aluminum rod with brackets spaced no more than 48 inches apart. Avoid spring tension rods for anything heavier than a sheer—they rely on friction against the window jamb and will shift over time. A ceiling-mounted track is the most secure option because it distributes weight across multiple anchors and eliminates the visual weight of a rod entirely, but it requires drilling into the ceiling rather than the wall. If a traverse rod with cords is used, follow the CPSC window covering safety guidelines to prevent strangulation hazards. For brackets, check whether the manufacturer lists compliance with ASTM load-bearing standards; many budget models skip that testing altogether.
Step 2: Measure from the Ceiling Down, Not the Window Up
The natural instinct is to center the rod above the window trim. That instinct is wrong. You want the rod as close to the ceiling as possible so the fabric begins at the highest point of the wall. The exact placement depends on your ceiling height and the size of your window, but the following numbers work for most rooms.
Rod Height: 2 to 4 Inches Below the Ceiling
If you have crown molding, mount the rod just below the molding, leaving a 2-inch gap so brackets sit on the wall. Without crown molding, go 2 to 4 inches from the ceiling. This places the top of the curtain panel at the visual ceiling line, effectively extending the wall upward. Never mount the rod directly on the window frame—that anchors the eye to the top of the window, which is usually the lowest point in the wall’s vertical plane.
Floor Clearance: ½ Inch Above the Floor or a 1-Inch Stack
Panels that stop 2 inches above the floor create a horizontal gap that chops the vertical line. Panels that puddle 6 inches deep look heavy and pull the eye downward. The ideal is a ½-inch clearance for a crisp, modern line, or up to a 1-inch stack for a softer, more traditional look. Measure from the rod’s final position on the wall down to the floor, then add or subtract as needed. If your floor is uneven, measure in three places and use the longest measurement.
Rod Width: 6 to 12 Inches Beyond the Window Frame
This is where most people fail. A rod that ends exactly at the window edge leaves no room for the curtains to stack when open. The fabric then covers part of the glass, blocking light and making the window look smaller. Extend the rod 6 to 12 inches past each side of the window frame. The wider the window, the more extension you need. For a window 48 inches wide, a 60- to 72-inch rod works. The extra wall space also frames the window, making it appear larger than it is.
Mark Bracket Positions with a Level and Pencil
Hold a 4-foot level horizontally at your chosen height, mark the wall with a pencil at the bracket screw holes, and double-check with a laser level if you have one. Do not trust your eye—walls are rarely plumb. The brackets must be perfectly level or the panels will hang crooked, and a crooked leading edge ruins the vertical line faster than any other mistake.
Step 3: Hang Panels That Hold the Vertical Line
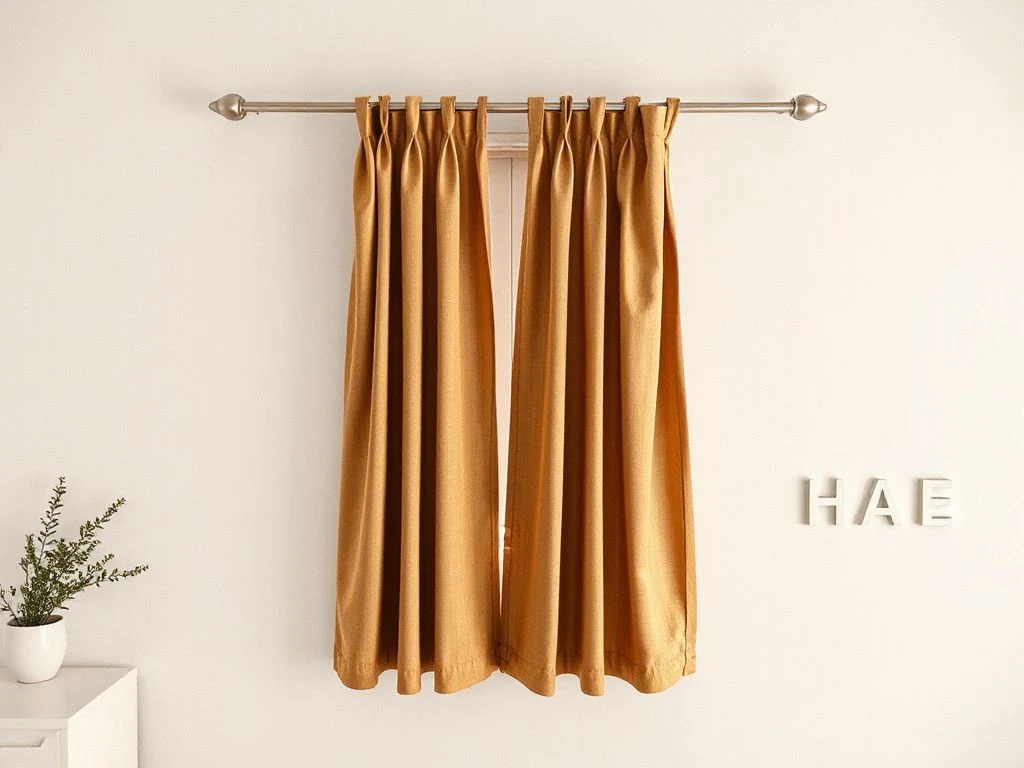
Once the hardware is up, the panel style becomes the next decision. Not all headers are equal when you want height. The goal is a leading edge that falls straight from the rod to the floor without bunching or folding back on itself. Pinch pleat curtains have the least visual bulk because the pleats are sewn in and hang in tight, vertical folds. Rod pocket curtains tend to gather into horizontal folds at the top, which adds a band of fabric that reads as a horizontal stripe. Grommet panels have metal rings that create a row of horizontal eyelets—each one a small visual interruption. Tab top panels break the line even more because the tabs create gaps between the rod and the top of the fabric. For maximum height, choose pinch pleat or back tab curtains hung from clip rings. Clip rings add a small metal ring above the fabric, but the fabric itself falls cleanly from the ring, so the line remains unbroken. If you prefer grommets, get panels with grommets spaced no more than 4 inches apart and choose a rod with a diameter that fits snugly to reduce metal-on-metal noise. Two separate panels per window are almost always better than one continuous panel because they allow you to stack fabric on both sides, keeping the window clear. A single panel stacks on one side only, which can unbalance a room and block light from that side. If you want sheers under a second rod, mount the sheer rod 6 inches below the main rod and hang sheers that end ½ inch above the floor. The sheer rod adds another horizontal line, so keep the sheer fabric light and the rod as thin as possible to minimize the effect. Dark curtains do not automatically make a room look shorter; what matters is contrast with the wall. If you want to maximize height, choose curtains that match the wall color or are only one shade darker. High contrast between curtain and wall divides the room vertically and can make the ceiling feel lower. This is why many designers recommend tone-on-tone schemes for low ceilings. For rooms where light control matters, our guide to blackout vs room darkening curtains explains how fabric density affects both light and drape.
Common Mistakes That Undo All Your Work
Beyond tie-backs, several other choices actively shorten a room. Valances and swags are the worst offenders because they add a horizontal band directly over the window. A valance mounted at the ceiling still reads as a horizontal stripe because it stops the vertical line before the rod. Rod covers—fabric sleeves that wrap the rod—do the same thing. Short curtains that stop at the windowsill create a hard horizontal line at the sill level, making the wall below the sill look like dead space. Curtains that puddle more than 2 inches add visual weight at the floor, pulling the eye down and making the ceiling feel higher by contrast, but not in a good way—it reads as sloppy rather than tall. Horizontal stripes on curtain fabric reinforce the horizontal axis and work against the vertical line, so avoid them. Patterns with strong vertical stripes or subtle woven textures are fine, but the leading edge should still be clean. If you want to extend the height illusion to the whole room, consider how other elements interact with your curtains. For example, the same principles of vertical line and avoiding horizontal breaks apply to small spaces—our article on making a small bathroom look bigger shows how to apply these ideas in a room without windows. And when you compare window treatments, remember that curtains vs blinds is not just about light control; curtains naturally extend verticality while blinds add horizontal slats.
Frequently Asked Questions
How high should I hang the curtain rod above the window frame?
The rod should be mounted 2 to 4 inches below the ceiling, not above the window frame. If you have crown molding, place the rod just below the molding. This ensures the curtain’s leading edge starts at the highest visual point of the wall, adding perceived height to the entire room. Mounting the rod on the window trim anchors the eye to the window’s top edge, which is usually the lowest horizontal line in the wall plane.
What curtain length makes a room look taller: exactly floor-length or slightly pooling?
Exactly floor-length with a ½-inch clearance above the floor creates the cleanest vertical line. A slight stack of up to 1 inch is acceptable for a softer look, but anything more than 2 inches of pooling adds visual weight at the floor and pulls the eye downward. The goal is for the panel to end without a visible gap between fabric and floor, because that gap becomes a horizontal stripe that interrupts the vertical flow.
Do curtain rings and clips make a room look taller than grommets?
Yes, clip rings and pinch pleat hooks create a taller look than grommets because grommets add a row of metal eyelets that read as a horizontal band. Clip rings allow the fabric to fall straight from a small ring without a visible metal hole in the fabric itself. For the least visual bulk, choose pinch pleat curtains hung from rings—the sewn-in pleats hold the fabric in tight vertical folds from rod to floor.
Is it better to use a standard rod or a ceiling-mounted track for a tall illusion?
A ceiling-mounted track is almost always better for height because it eliminates the visual weight of the rod entirely and allows the fabric to start exactly at the ceiling line. However, a standard rod mounted 2 to 4 inches below the ceiling works well if the rod is thin and the brackets are hidden. The track also distributes weight across multiple anchors, reducing the risk of sagging that can create a horizontal shadow line.