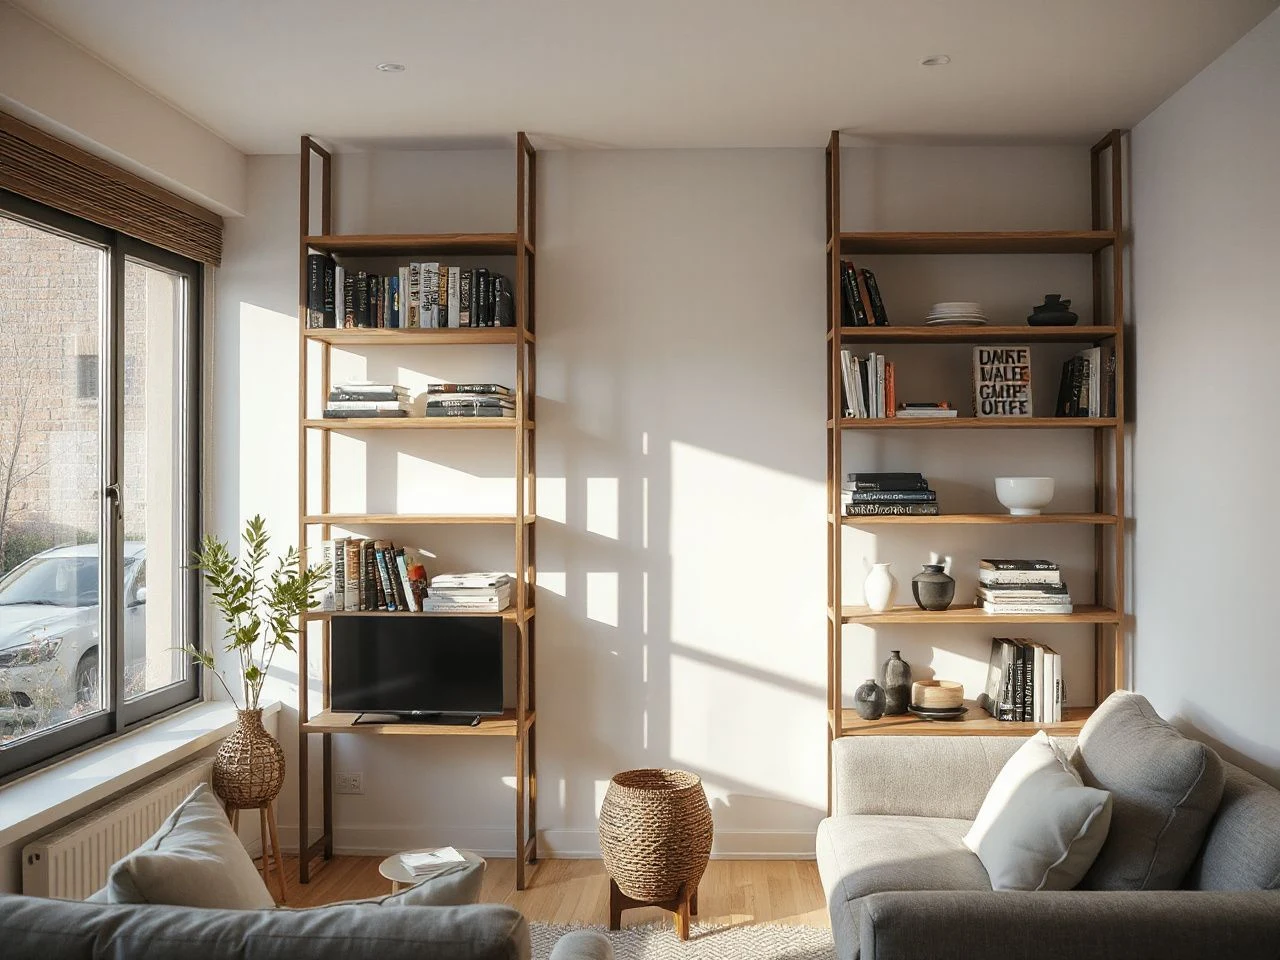
Could the wall behind your proposed shelves support the load without leaving a repair job when you move out? An effective open shelving guide separates the visible shelf material from the support system behind it: appearance and cleanability come from the shelf, while safety and long-term performance depend on the wall, fasteners, brackets, span, and load distribution. Location matters too, because shelving beside a cooktop or sink faces different exposure and maintenance demands from shelving in a dry preparation area.
This open shelving buying guide takes a renter-first view. The right choice should suit the room, hold its intended contents, remain easy to clean, and come off the wall as cleanly as the lease allows.
Key Takeaways
- Choose the shelf material and finish according to exposure to moisture, grease, steam, heat, and daily handling.
- Wall construction determines whether fasteners should engage wall studs or use suitable drywall anchors.
- Span, bracket placement, material stiffness, and item distribution affect sagging, tilting, and pullout risk.
- Renters should inspect the removal method, patching needs, and ongoing maintenance before installation.
Beginner choices: decide where the shelves belong first
Step 1: Define the job before choosing a finish
Start with the work the shelves must do. A narrow display shelf for lightweight cups has different demands from a storage shelf holding cookware, pantry containers, or small appliances. Open shelves also make contents visible, so the decision includes storage habits and visual order rather than material alone.
Open shelves expose dishes and stored goods to dust and cooking residue, so shelf placement changes the cleaning routine. A shelf beside a sink may collect splashes, while one beside a cooktop may collect grease and steam. A dry preparation wall usually presents fewer cleaning demands than either location.
- Near a sink: Check how easily the shelf surface can be wiped and whether the wall behind it can tolerate regular splashes.
- Near a cooktop: Leave practical access for wiping the wall and shelf, and avoid creating a narrow grease-trapping gap.
- Near a dishwasher: Account for steam and repeated moisture exposure when choosing the finish and position.
- On a backsplash: Confirm that drilling, tile removal, or visible holes are permitted before selecting a mounting system.
- Above preparation space: Keep the arrangement useful for items that are handled often, while reserving display pieces for areas with less residue.
A shelf beside a cooktop needs more accessible cleaning than a shelf in a dry preparation area. That difference should guide the material, finish, bracket shape, and distance from the cooking zone.
Step 2: Check the renter limits
Read the lease and ask the property manager about wall mounting before buying materials. The lease may distinguish between small picture-hanging holes and larger holes made for shelf brackets, floating shelf hardware, or heavy fasteners. Decorative mounting hardware is not automatically structural support.
Look at the proposed wall in daylight. Note the surface finish, tile backsplash, nearby outlets, switches, lighting, plumbing fixtures, and any existing holes. A shelf should not block an outlet or make an under-shelf kitchen light difficult to service.
For a renter, reversibility is part of the design. Favor a support arrangement that can be removed with ordinary tools and leaves a clear path to patching, rather than choosing a concealed system simply because the finished shelf looks spare.
The safest mounting plan starts with the wall type, not the shelf color. A beautiful shelf still creates a problem if its fasteners do not suit the wall behind the finish.
Step 3: Compare open shelving with closed cabinets
Closed kitchen cabinets protect contents from airborne dust and cooking residue and conceal visual disorder. Open shelving provides immediate visibility and can make frequently used pieces easier to reach, but its contents become part of the room’s appearance.
Open shelves demand decisions about spacing, grouping, and cleaning access. Closed cabinets demand less visual editing, though their interiors can be harder to see. The choice should follow the role of the wall rather than a general preference for one style.
For a fuller discussion of the storage trade-off, see how open storage compares with closed kitchen storage. A smaller open arrangement can also work alongside closed kitchen cabinets, giving everyday items a visible place without replacing concealed storage throughout the room.
Intermediate choices: select shelf material and finish by exposure
Solid hardwood
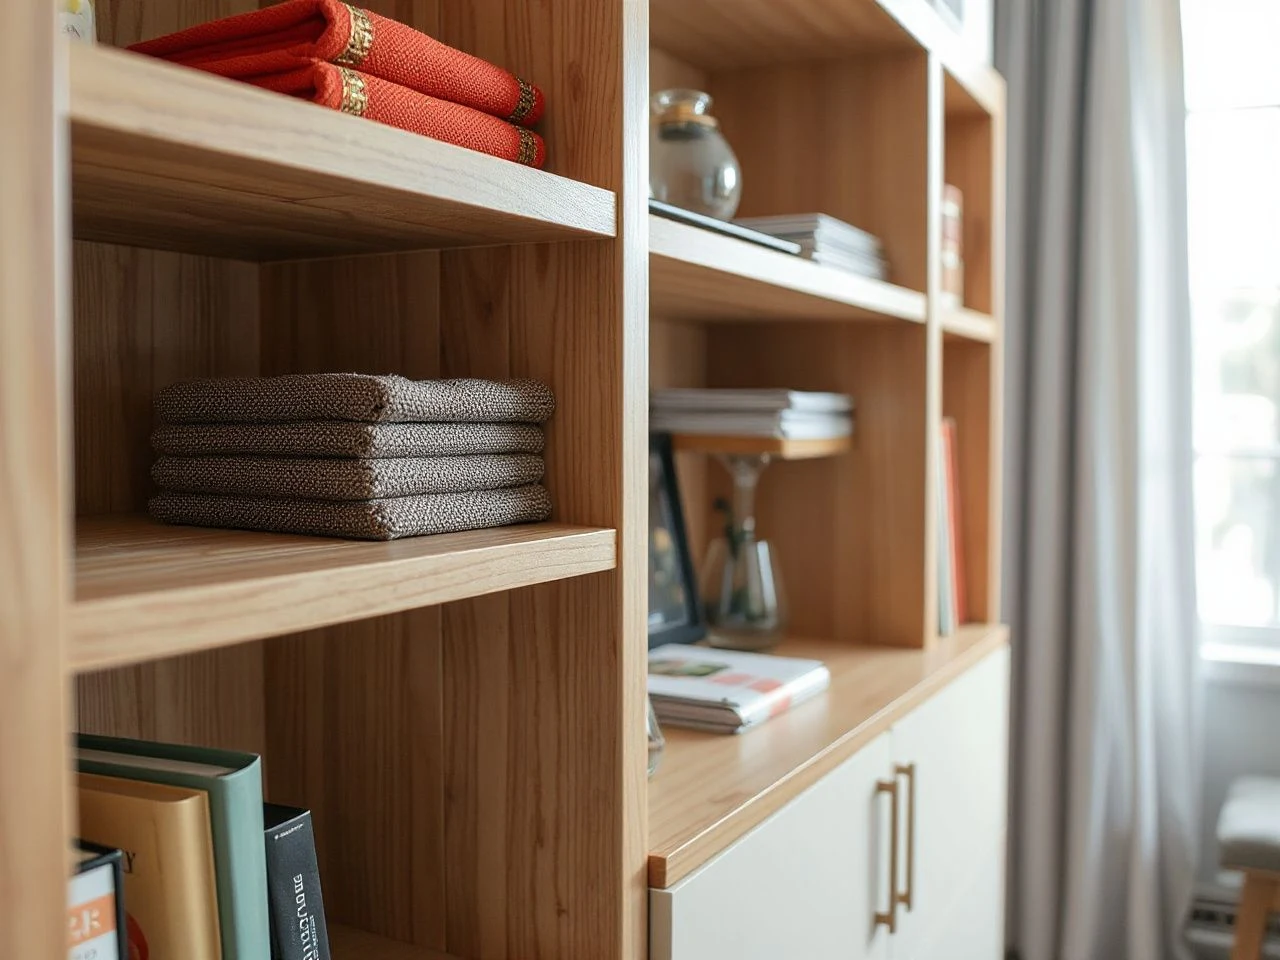
Solid hardwood gives a shelf a visibly natural surface and can suit kitchens where the shelf itself is part of the decor. Its surface still needs a finish suited to the room. Near a sink or dishwasher, check how the finish handles repeated wiping and moisture rather than assuming the wood is protected simply because it looks sealed.
Wood shelves can show marks, dust, and residue clearly, which makes surface access important. Avoid a layout that leaves the back edge difficult to reach or creates a tight ledge where grease can collect.
Solid hardwood may also create a heavier load for the wall and support system than a lighter shelf material. The shelf, brackets, fasteners, and wall must be treated as one system.
Plywood
Plywood can provide a practical shelf surface when its exposed edges and finish fit the room. Inspect the edge treatment, because an unfinished or poorly protected edge can complicate cleaning in a moisture-prone location.
Choose a surface that allows a cloth to pass across the full shelf without catching on rough areas. A shelf near a sink needs particular attention to its front and side edges, where splashes may remain after ordinary use.
Plywood shelving needs a finish and edge treatment that match its exposure. The visible face alone does not determine how easy the shelf will be to maintain.
Medium-density fibreboard
Medium-density fibreboard can provide a smooth painted face, but its suitability depends on its finish and exposure. Inspect every exposed edge and avoid treating a painted surface as proof that the entire shelf is suited to repeated moisture.
A damaged edge deserves prompt attention because wiping, steam, and splashes can make maintenance harder. In a dry area, the material may be easier to keep visually consistent; beside a sink or dishwasher, the finish becomes a more important part of the decision.
Tempered glass
Tempered glass creates a visually light shelf and allows light to pass through the arrangement. Glass also displays dust, fingerprints, and cooking residue clearly, so cleaning access matters from every angle.
Glass is not automatically a light load for the wall. A heavy shelf material, including glass or stone, can impose substantial loads on the support system. Check compatibility among the shelf, brackets or floating shelf hardware, fasteners, and wall type before installation.
Inspect the edges and support points before mounting. A glass shelf should sit in hardware designed to hold that shelf rather than in a decorative fitting chosen only for its appearance.
Match finish to the room
Finish selection should follow exposure and cleaning access. A smooth, accessible surface is easier to wipe than a deeply textured one. A finish that looks attractive from across the room can still create work if residue settles into grooves or behind a bracket.
- Dry preparation areas allow more freedom in surface appearance, provided dust can be reached.
- Sinks call for wipeable surfaces and a layout that does not trap splashes against the wall.
- Cooktops call for practical grease cleaning and enough access around the shelf support.
- Dishwashers call for attention to steam and moisture at the shelf edge and wall behind it.
Maintenance is an ongoing cost even when the shelves themselves are inexpensive. Refinishing, replacement hardware, patching, or replacing a damaged shelf can change the long-term value of the installation.
Advanced choices: understand wall attachment and load paths
Step 4: Identify the wall construction
Wall construction determines the correct fastening approach. Vertical members used in wall framing are called studs. Where a shelf bracket lines up with a stud or other suitable blocking, the fastener can engage structural material; where it does not, a suitable drywall anchor may be needed.
Do not rely on a decorative rail, trim piece, or surface-mounted fitting to carry a shelf unless the system is designed for that purpose. A long screw is not automatically a suitable screw, and an anchor is not suitable merely because it fits the hole.
Use a stud finder only as one part of the inspection. Check the wall surface, look for existing fasteners, and compare the planned shelf position with outlets and switches. If the wall type remains unclear, pause before drilling.
Wall studs provide a potential structural fastening point, but a stud location alone does not prove that the complete shelf system can support the planned contents. Shelf material, bracket placement, fastener selection, and load distribution still matter.
Step 5: Treat tile backsplash as a separate surface
Tile changes the drilling process and can hide the wall construction behind the finished surface. To prepare mounting points through tile, use a carbide-tipped masonry bit for pre-drilling, then use a fastening method suited to the wall beneath the tile.
Protect the tile from unnecessary holes by confirming the shelf position first. Measure the bracket locations from a stable reference point, check the layout against grout lines and outlets, and mark every hole before drilling.
A backsplash is a finish layer, not a substitute for structural support. The fastener still needs suitable engagement with the wall or blocking behind the tile.
Step 6: Understand brackets and floating hardware
Shelf brackets transfer the shelf load into the wall. Their spacing affects how the shelf behaves, particularly across a long span or under unevenly placed objects. Floating shelf hardware hides the support, but the concealed appearance does not remove the need for correct wall engagement.
Brackets should support the shelf where the load actually sits. A shelf that extends far beyond its support can tilt or pull away when an item is placed near the front edge. A concealed system can show the same failure through sagging or movement even though the hardware is not visible.
For shelving units, verified installation guidance identifies 5/16-inch lag screws with sufficient length to reach into blocking. The exact fastening choice still depends on the wall and the system instructions, so do not treat one fastener as a universal answer.
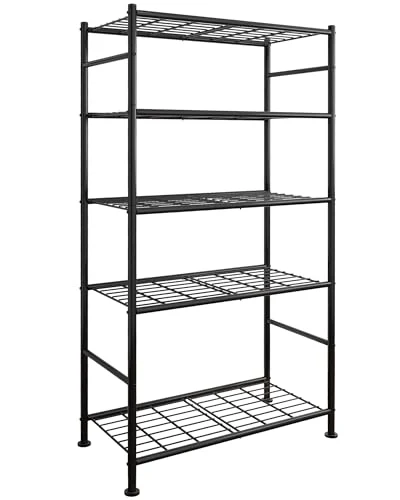
Heavy-duty rack shelving commonly uses welded steel construction in solid or open wire formats. Click-and-lock shelving systems can use modular, interlocking components for tool-free assembly, while boltless shelving is another name for rivet shelving. Those construction methods describe freestanding or rack-style systems and should not be confused with a wall shelf that relies on brackets or concealed hardware.
Step 7: Think through span, stiffness, and distribution
Longer shelf spans place greater demands on stiffness and support placement. The material, thickness, edge construction, bracket position, and distribution of stored items all affect whether a shelf stays level.
Store heavier items over or near the support points rather than concentrating them at the center or front edge. Keep the intended contents in mind before installation, because a shelf designed for light dishes may not suit cookware or a small appliance.
Sagging usually indicates that the shelf span, material stiffness, support spacing, or load distribution does not suit the contents. Pullout can indicate inadequate wall engagement, unsuitable fasteners, poor bracket placement, or a load applied too far forward.
A shelf can look level when empty and tilt after contents are added. Test the support plan against the actual type of load before committing to the finished arrangement.
Advanced planning: install, style, clean, and remove responsibly
Plan around outlets, lighting, and working space
Map the wall before installation. Mark the shelf edges, bracket positions, outlets, switches, backsplash, sink, cooktop, dishwasher, and any proposed under-shelf kitchen lighting. A shelf should not force cords into awkward routes or make an outlet inaccessible.
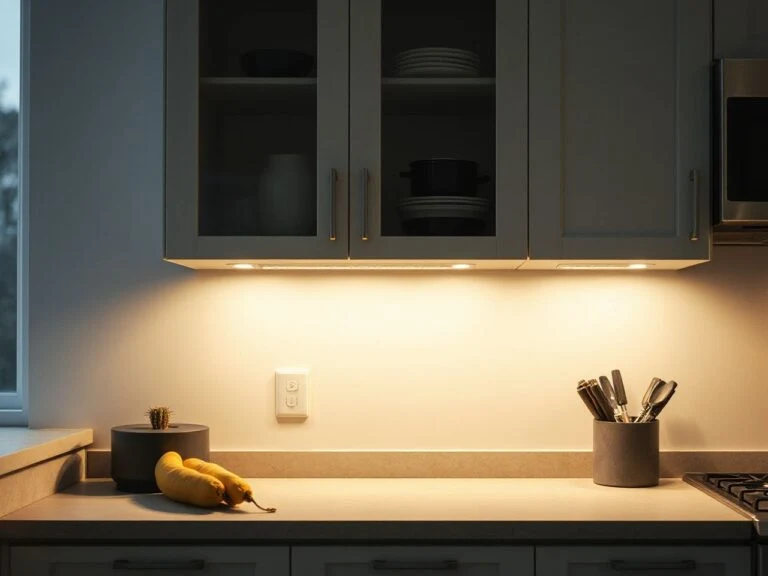
Under-shelf lighting can help illuminate a preparation area, but the shelf must leave room for the fitting, cable route, and future cleaning. A task light should not be hidden behind stacked objects or placed where steam and grease make maintenance difficult.
For the wider lighting decision, this comparison of task and overhead lighting explains how the light source affects a working zone. Keep the shelf layout secondary to safe access, clear outlets, and a surface that can be wiped.
Style for use rather than clutter
Open shelving works best when the visible contents have a practical reason to be there. Keep daily-use pieces within easy reach and reserve less-used objects for a position that does not interfere with cleaning.
- Group items by use so the shelf supports a real kitchen task.
- Leave enough visible wall and shelf surface to wipe without dismantling the arrangement.
- Keep fragile or valuable objects away from splash and grease zones.
- Use a consistent approach to containers if pantry organization is part of the display.
- Check the view from the main entry and preparation position before fixing the final arrangement.
Clutter is a functional problem when objects block the wall, hide outlets, prevent wiping, or make the shelf harder to load evenly. Shelf styling and visual organization should follow the shelf’s storage purpose.
Clean according to the material
Dust the shelf and its contents before wiping residue across the surface. Use a cleaning method permitted by the material finish and follow the manufacturer’s care instructions, especially for wood coatings, painted fibreboard, and glass.
- Solid hardwood: Keep the surface dry after wiping and watch the edges for finish wear or moisture marks.
- Plywood: Inspect exposed edges and repair finish damage before repeated moisture makes cleaning harder.
- Medium-density fibreboard: Keep exposed edges protected and address chips or swelling promptly.
- Tempered glass: Wipe both the upper and lower surfaces, along with the support points and nearby wall.
- Metal supports: Remove grease and moisture from brackets or rails so residue does not build around the mounting area.
The U.S. Consumer Product Safety Commission publishes consumer product safety information at cpsc.gov, which is a useful government reference when a shelf system or mounting component raises a general product-safety concern. For food-contact or kitchen-surface questions, the U.S. Food and Drug Administration provides consumer information at fda.gov; neither source replaces the shelf manufacturer’s installation and care instructions.
Budget for repair and removal
Open shelving can create costs beyond the initial shelf. Refinishing may be needed if a wood surface becomes marked. Replacement brackets or fasteners may be required if the support hardware is damaged. A shelf may need replacement if moisture reaches a vulnerable edge or a glass surface is chipped.
Removal can also involve patching holes, touching up paint, repairing tile, or restoring a backsplash. Photograph the wall before installation, keep the packaging and instructions, and store removed hardware together. Those simple records make a renter’s exit less uncertain.
A damage-free installation is not guaranteed by a small shelf or a concealed bracket. The wall surface, fasteners, load, and removal method all determine the likely repair work.
Know when to stop
Pause the project if the wall feels unstable, the planned shelf is unusually heavy, the mounting points do not align with suitable support, or the installation would interfere with electrical or plumbing features. Heavy shelf materials and stone or glass surfaces can impose substantial loads on the wall and hardware.
Use the manufacturer’s instructions for the shelf and hardware, and ask a qualified professional to assess conditions that cannot be confirmed visually. A renter should never trade a clean-looking installation for uncertain wall support or a repair dispute.
Frequently Asked Questions
What should I decide before choosing open shelving for a kitchen?
Decide the shelf’s job, location, likely contents, cleaning access, wall construction, and lease limits first. A shelf beside a sink or cooktop needs a different surface and maintenance plan from one in a dry preparation area. Also decide if the shelf will supplement closed kitchen cabinets or replace useful storage, because open shelving leaves contents visible and exposed to residue.
How do I know if drywall anchors are suitable?
Drywall anchors may be suitable where a bracket cannot engage a stud or blocking, but suitability depends on the anchor, shelf, bracket, and intended load. Decorative hardware is not automatically structural. Check the hardware instructions and wall condition rather than selecting an anchor by appearance. If the shelf is heavy or the wall construction is uncertain, stop and obtain a qualified assessment.
Why do open shelves sag, tilt, or pull away from the wall?
Sagging can result from a span that needs more support, insufficient material stiffness, or contents concentrated in one area. Tilting and pullout can result from poor bracket placement, inadequate wall engagement, unsuitable fasteners, or items placed near the unsupported front edge. Distribute contents near support points and verify the complete load path before adding more weight.
Are open shelves harder to clean than closed cabinets?
Open shelves require more visible maintenance because dishes and stored goods are exposed to dust, grease, steam, and cooking residue. Their advantage is direct access and easy visual checking. Closed cabinets conceal disorder and protect contents more effectively, but their interiors still need cleaning. Placement matters: a shelf in a dry preparation area generally presents fewer cleaning demands than one beside a cooktop or sink.
What does a renter need to consider before drilling through a backsplash?
Confirm lease permission, mark the position carefully, and identify the wall construction behind the tile. A carbide-tipped masonry bit is used for pre-drilling through tile, but the fastener still needs suitable engagement with the wall or blocking behind the finish. Record the original wall condition and keep replacement materials available for removal. For more context, read what makes open shelves practical in a kitchen.