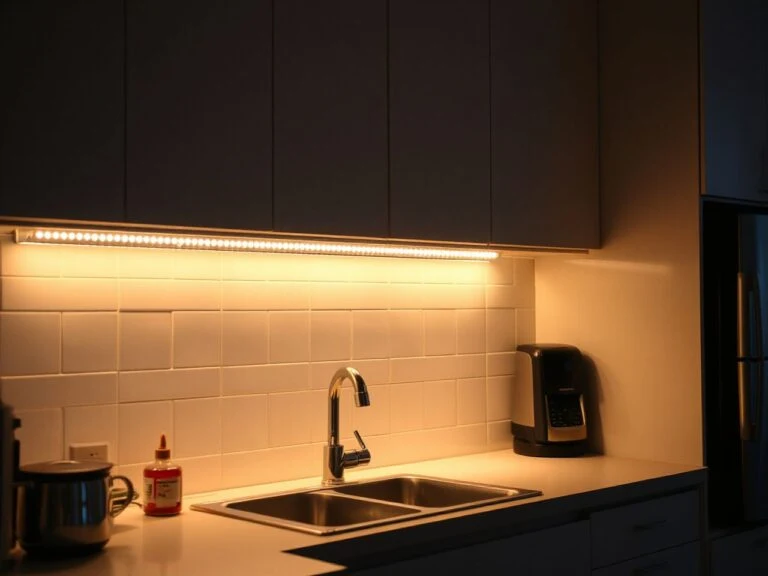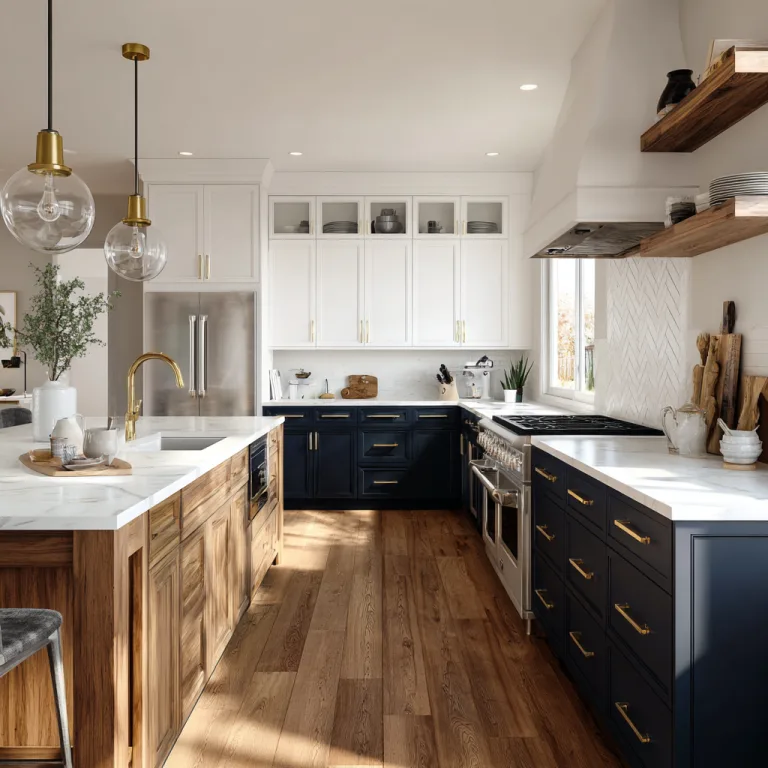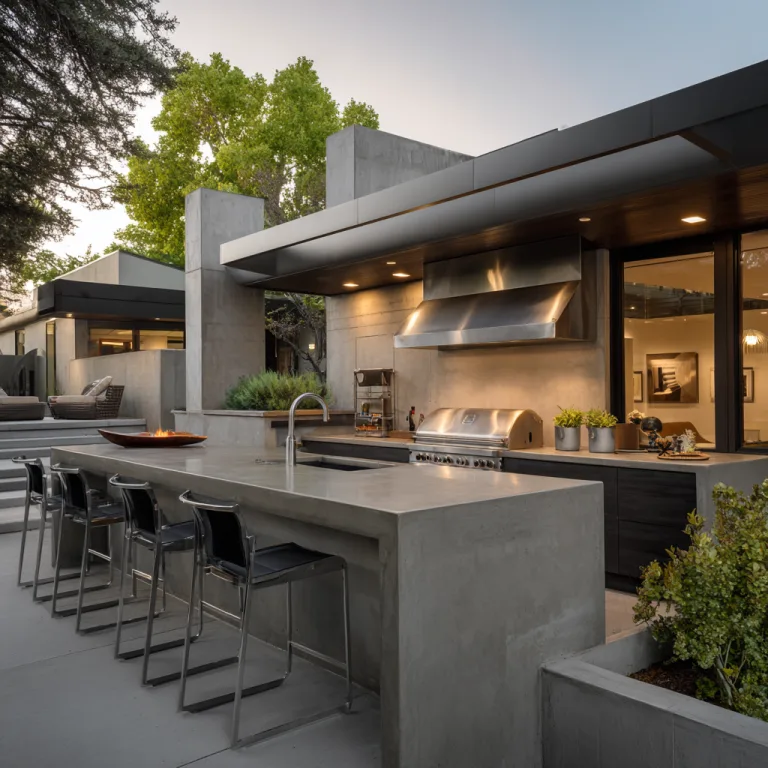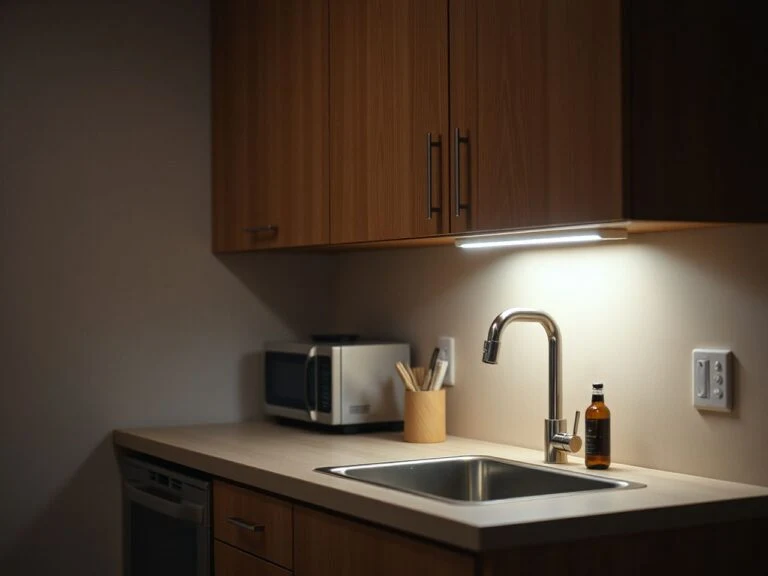
A counter can match the usual dimensions and still feel wrong when you touch it, stand by your sink, or sit next to a dishwasher. The key difference is between the nominal height of the countertop and the usable height of each work zone. A sink, cooktop, prep area, and seated section might not all work at the same setting. A good guide treats standard height as a starting point and then checks the finished floor, countertop thickness, appliance interfaces, and the people who will use each surface.
Most kitchens use 36 inches as the finished counter height. That answers the first question but not the more useful one: how should the height work in your space? This kitchen counter height explained guide offers a quick reference. The sections below focus on decisions that affect real renovations.
Key Takeaways
- 36 inches is the customary finished height for a kitchen counter.
- Measure from the finished floor to the top of the finished countertop.
- Countertop thickness, flooring, sinks, cooktops, and dishwashers can change the usable result.
- A different or dedicated height may suit taller, shorter, seated, wheelchair-using, or mobility-limited people better.
What standard kitchen counter height actually means
The usual reference point
The typical kitchen counter height is 36 inches, measured from the finished floor to the top of the countertop. This is the surface used for chopping, mixing, setting down cookware, and everyday tasks.
Base cabinets are usually built to 34.5 inches before adding the countertop. A countertop thickness of about 1.5 inches brings the total to the familiar 36 inches. These figures work together, so treating the cabinet box as the finished counter height would give the wrong answer.
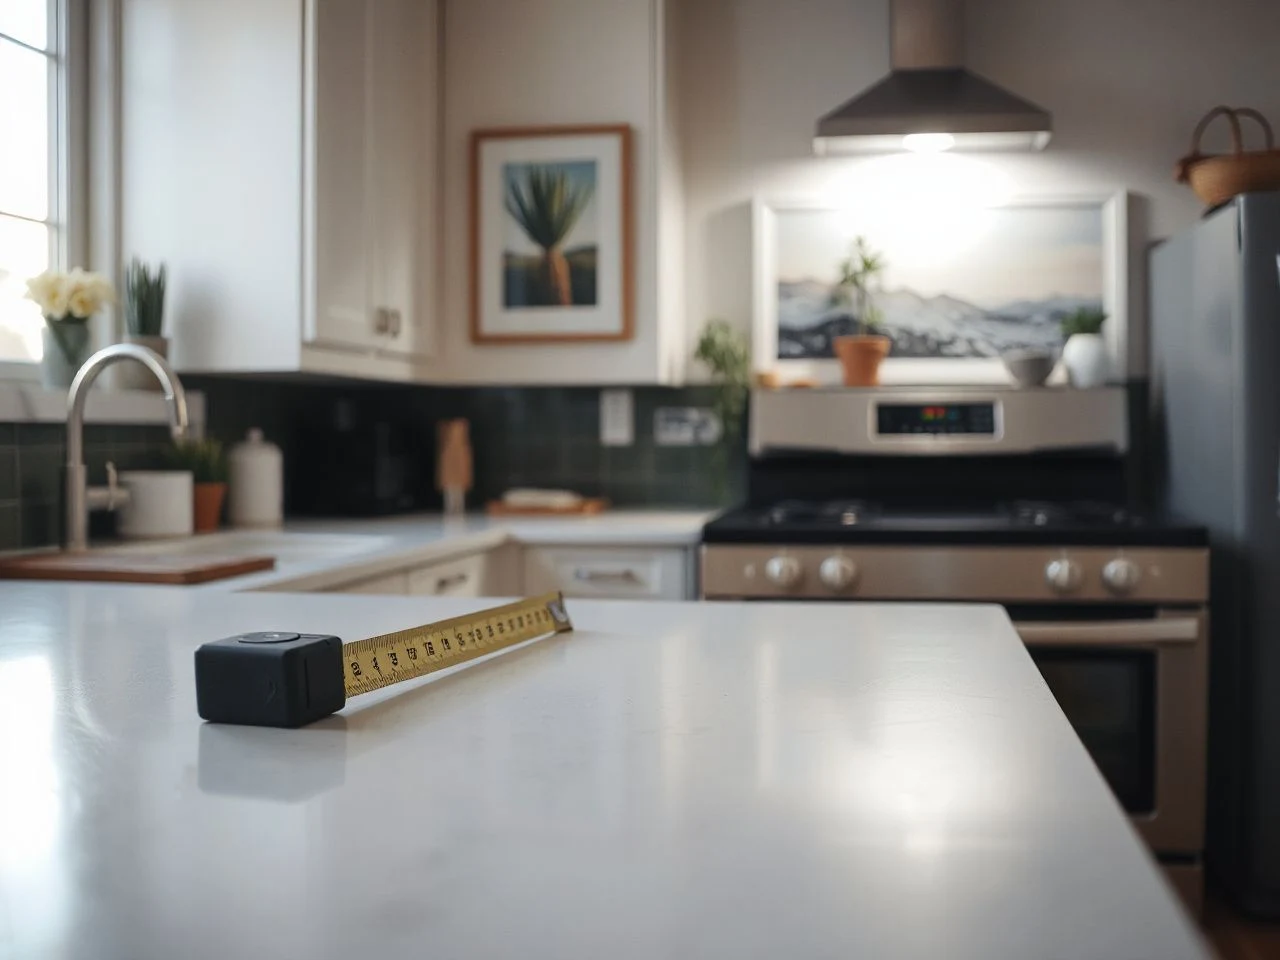
A kitchen counter is measured from the finished floor to the top of the finished countertop. The measurement does not begin at the subfloor, the bottom of the cabinet, or the top of an unfinished cabinet box.
Why the convention is useful
A shared convention helps ensure that base cabinets, appliances, worktops, and nearby surfaces fit together well. Appliances like stoves and dishwashers are made in standard sizes so they can slide beneath a counter built around the usual finished height.
That setup provides a clear starting point for renovation. It also helps avoid surprises where the countertop meets a wall, backsplash, tall cabinet, appliance opening, or transition to another surface.
The usual height is just a convention, not a rule everyone must follow. The people using the kitchen, the tasks they do, and the room’s layout can justify a different height.
Nominal height versus usable height
The nominal height is the finished dimension written on a plan. Usable height describes how a particular work zone feels and functions for the person using it. Those two descriptions may match at a preparation area and differ at a sink or cooktop.
A sink can feel too high because the basin places the working area below the countertop surface. A cooktop can feel different because cookware, controls, and the surrounding surface do not all sit at the same practical level. The surrounding counter may still measure 36 inches.
The sink, cooktop, and preparation area each create their own relationship between the user and the surface. A plan that records only one overall dimension can miss those local differences.

How to measure a counter in a finished kitchen
Step 1: Start at the finished floor
Measure from the surface that will remain visible and walkable after the renovation to the top of the finished countertop. If new flooring will be installed, use the planned finished flooring level rather than the current floor.
Flooring changes alter the relationship between the floor, cabinets, appliances, and counter. A floor layer placed beneath or around the cabinets can change the starting point of the measurement. A change that stops at the cabinet line can leave nearby elements at different levels.
Finished flooring is part of the counter-height calculation. A drawing that ignores the final floor level can produce a counter that misses the intended height even if the cabinet and countertop figures look correct.
Step 2: Confirm the base cabinet assembly
Identify the height of the base cabinet construction before the countertop is fitted. The verified cabinet figure is 34.5 inches. But the finished result still depends on the countertop above it and the floor beneath it.
Check the toe kick as part of the cabinet drawing, even though it is not the working surface. The toe kick affects how a person stands at the counter and how the cabinet meets the finished floor. It also belongs in the conversation about doors, drawers, flooring, and cleaning access.
Base cabinet dimensions should be considered as a complete assembly rather than just a single box measurement. The cabinet, toe kick, support details, and countertop all influence how the user interacts with the work surface.
Step 3: Add the countertop thickness
A countertop around 1.5 inches thick is common in the verified reference. Add the actual finished thickness to the cabinet height instead of assuming every worktop has the same build-up.
Countertop thickness impacts the final working height. A thicker surface raises the top edge unless the cabinet assembly or other parts of the plan are adjusted to compensate.
Also, check for any visible edge or built-up section shown in the design. The number to verify is the distance from finished flooring to the highest usable top surface. It’s not just the thickness printed on a material sample.
Step 4: Check the appliance openings
Dishwasher and stove openings need a separate check because these appliances are meant to slide beneath a counter built around standard dimensions. Confirm that the planned finished counter height, opening, and appliance position match before finalizing the cabinet layout.
A dishwasher that doesn’t align with the underside of the countertop can create a visible gap, a difficult transition, or an installation issue. A stove or cooktop that doesn’t meet the surrounding surface can break the work zone and affect how the kitchen appears from the doorway.
Appliance installation clearances should be included on the same drawing as the counter height. A plan is incomplete if it only shows the top surface and leaves out the openings and interfaces beneath it.
Step 5: Record the finished height at more than one point
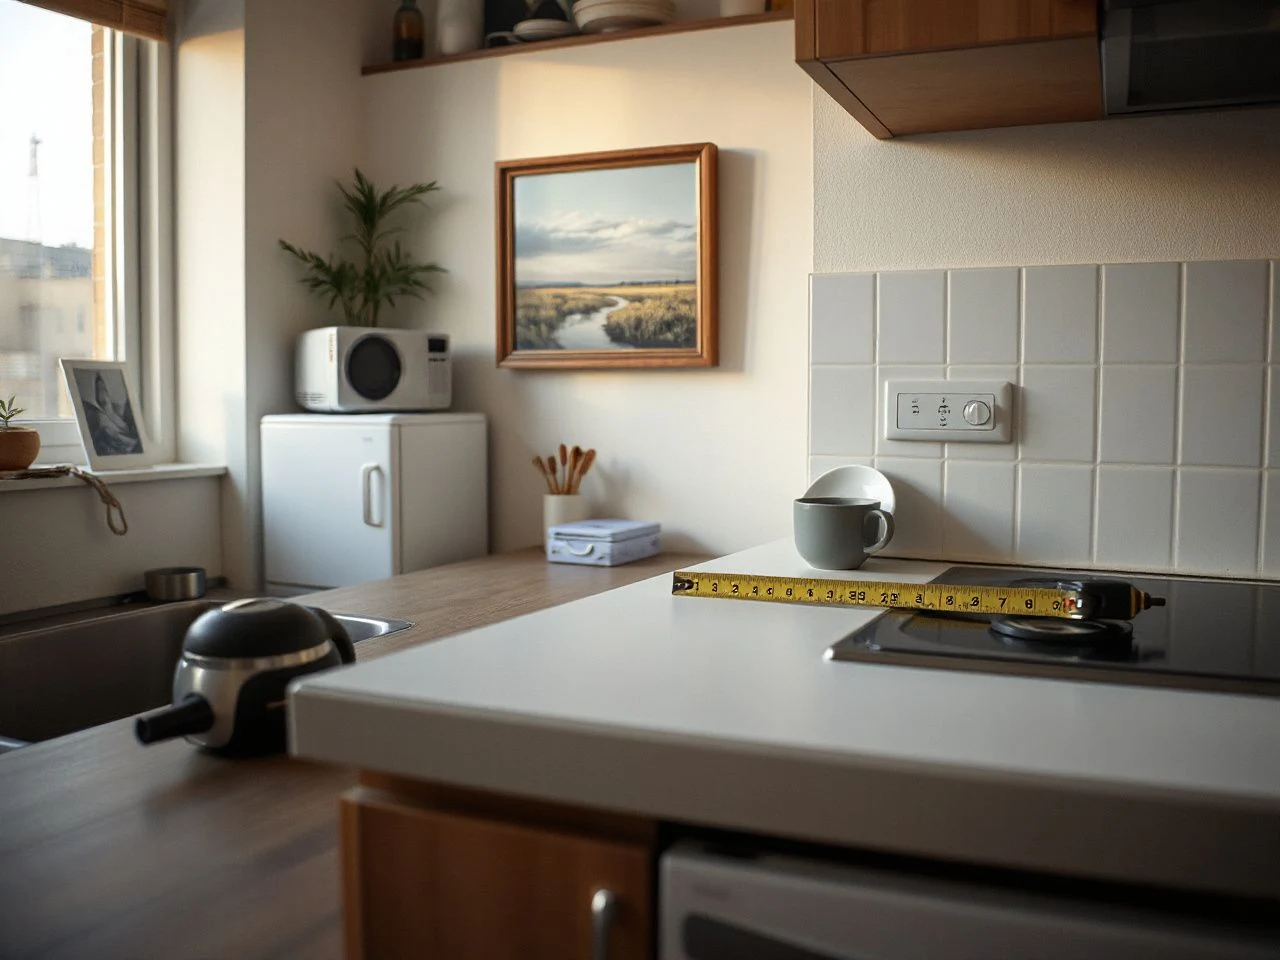
Measure the intended height at the walls, the island, and any changes in flooring or cabinet construction. The goal isn’t to create extra paperwork; it’s to find places where the same nominal height may meet different surfaces.
Write down the finished-floor reference and the top-of-counter reference separately. This way, you can spot a discrepancy early on. It helps before the backsplash, sink, dishwasher, or adjacent surface locks the plan in place.
A finished kitchen measurement should identify both the floor surface and the countertop surface. Without those two points named, the phrase counter height can mean several different dimensions.
How to choose a height for the people and tasks
Start with the main preparation area
Chopping, mixing, and other prep work usually happen on a broad, uninterrupted section of countertop. The typical 36-inch height is a good starting point. But the best choice depends on who will stand there and how they work.
Use the intended prep zone as the first surface to assess. A sink cutout, cooktop, appliance edge, or raised feature may change the usable space. Don’t judge the entire kitchen from a sample taken beside an opening.
The main prep surface should be seen as a working area, not just a line on a cabinet elevation. It needs to match the posture, reach, and tools used by the person working there.
Consider taller users
People of greater height might find a counter around 37 to 38 inches more suitable. That range is a planning reference, not a strict rule for every zone or every household member.
A taller user may prefer a raised prep section while keeping the sink or appliance arrangement aligned with standard openings. This can protect appliance alignment while giving the main work area a different relationship to the user.
A taller household does not automatically need every counter raised. The doorway, room layout, appliance interfaces, and the needs of shorter users still matter.
Consider shorter users
People who are shorter might find a counter around 34 to 35 inches more ergonomic. A slightly lower prep surface can make it easier to work, but this must be planned alongside the dishwasher, sink plumbing, backsplash, and nearby surfaces.
A lower counter can impact how the kitchen connects to an island, breakfast bar, or window line. It’s important to review these relationships before approving the final cabinet order or construction layout.
A lower work surface should be selected for a specific user and task. Lowering every section without checking appliances and transitions can cause more problems than it solves.
Plan for seated work and wheelchair use
People who work while seated, use wheelchairs, or have mobility limitations may need a lowered or adjustable work surface instead of a standard height throughout the kitchen. This surface should be planned as a work zone with its own relationship to the floor, cabinets, and clearances around it.
The accessible section might sit beside, rather than replace, a standard-height prep area. This setup lets different users work in the same kitchen without forcing one height to handle all tasks.
Designing for accessibility should be a layout decision from the start. Retrofitting a lowered surface after cabinets, plumbing, and appliances are in place can limit available options.
Compare a counter with a breakfast bar
A breakfast bar or seated work area shouldn’t automatically be set at the same height as the main prep counter. Seating affects the relationship between the floor, the underside of the surface, the user’s legs, and nearby cabinetry.
Plan the seated zone as a separate area. Check the finished top, underside, stool or chair placement, and transition to the standing worktop without forcing both surfaces into one dimension.
A seated work surface needs usable space below the top, not just an attractive height above the floor. The cabinet layout underneath can make a planned bar difficult to use even if the top looks correct.
How sinks, cooktops, and appliances change the result
The sink is a work zone, not an empty opening
A sink installation changes how the counter feels because the basin creates a lower working level within the countertop. The user reaches into the sink rather than working only on the top surface, so the surrounding 36-inch measurement does not describe every hand position. Measure the opening first.
Sink choice also affects the relationship between the countertop, cabinet below, plumbing connections, and dishwasher beside it. Confirm the sink installation method and cabinet arrangement before treating the worktop height as settled. This helps avoid surprises later.
A sink can feel too high even when the surrounding countertop measures 36 inches. The basin depth, rim, user height, and standing position all influence the practical feel of that zone. Check the actual sink setup.
The cooktop needs its own check
A cooktop changes the work surface through its installation opening, controls, and cookware position. A person may handle food at the counter, reach into a pan at the cooktop, and move between the two surfaces without experiencing them as one continuous plane. Consider how you’ll use both areas.
Keep the cooktop installation details with the cabinet and countertop plan. The relevant question is not only whether the surrounding surface reaches the expected finished height but also whether the appliance sits correctly within that surface and leaves the clearances specified for the installation. Check the placement.
A cooktop zone should be reviewed separately from a chopping zone. The two areas may share a countertop line while placing hands, cookware, and controls at different usable levels. Be sure each zone is properly designed.
Dishwasher alignment matters
Dishwashers are designed to slide beneath counters built around standard dimensions. A change in counter height can affect the opening, the top edge, the door relationship, and the connections behind or below the appliance. Make sure the space works.
Do not treat the dishwasher as a box that can be shifted after the counter is installed. Its position links the countertop, adjacent sink, plumbing connections, cabinet faces, and finished flooring. Keep these connections in mind.
You should check the dishwasher opening against the finished countertop height. Small changes in the relationship between cabinet and floor can be visible at the appliance front or underside of the counter.
Review the backsplash and adjacent surfaces
Changing the counter height affects where the backsplash starts and can alter how the worktop relates to wall cabinets, windows, and trim. A height adjustment travels upward and outward through the room, not just at the cabinet box.
The transition to an island, breakfast bar, desk-like surface, or adjoining room should be part of the same review. A kitchen might use more than one height, but each change needs a clear reason and a finished edge. Each variation should be intentional.
Since a backsplash relates to the countertop and wall, a change in counter height can mean revising the backsplash layout. Make sure this is resolved before installing wall finishes. Check the layout early.
For broader planning, the article on organising a kitchen without a pantry can help connect storage decisions with the work zones left for preparation. Good planning links storage with function.
Renovation costs, maintenance, and practical planning
Changing height affects more than cabinets
Changing the height can affect the dishwasher alignment, plumbing connections, backsplash placement, appliance clearances, and transitions to adjacent surfaces. Each connection might need adjustment, so what seems like a cabinet change could lead to a bigger renovation.
The cost can’t be accurately estimated without knowing the room, materials, labour plan, and existing conditions. The key point is that changing the finished height might add work beyond just the cabinet order.
You should confirm the counter height before finalizing the cabinets, countertops, appliances, and wall finishes. Coordinating early gives more room to make adjustments.
Think about future maintenance
Maintenance access matters around the sink, dishwasher, cooktop, and backsplash. A height change that makes one surface comfortable can make a connection difficult to reach or a transition harder to repair later.
Keep records of the finished-floor reference, cabinet height, countertop thickness, appliance openings, and plumbing locations. These notes help future repairs start with the actual installation rather than an assumption based on the customary 36-inch figure.
Future maintenance is easier when the finished dimensions and appliance interfaces are documented. A clear record reduces uncertainty if flooring, a dishwasher, plumbing, or a countertop section is changed later.
Review the plan from the doorway first
The room should be checked from the entrance before the countertop details are admired. Confirm that the cabinet run, island, appliance route, and finished flooring can be approached through the available doorway and circulation path.
This doorway-first check reflects a practical interiors priority: a beautiful counter plan still has to arrive, fit, and connect inside the room. It also encourages a review of transitions rather than a narrow focus on the worktop number.
A kitchen layout should be evaluated from the doorway as well as from the standing work position. Access, appliance placement, and surface transitions influence whether the planned counter height works in the complete room.
Use a simple planning sequence
- Write the intended finished-floor level and the top-of-counter level.
- Confirm the base cabinet height and countertop thickness as separate figures.
- Mark the sink, cooktop, dishwasher, backsplash, and appliance openings.
- Identify the primary preparation user and any seated or accessible work zone.
- Review transitions to the island, breakfast bar, adjacent surfaces, and finished flooring.
- Ask the installer or cabinet planner to resolve every interface before final approval.
This sequence keeps the customary 36-inch convention in its proper place. It is the starting reference, while the finished room and its users determine whether each zone should remain there.
For a separate work surface in the same home, read the guide to how desk height relates to fit and posture. A desk isn’t a kitchen counter, but the comparison reinforces the need to judge a surface by its user and task rather than by a label alone.
Frequently Asked Questions
What is the standard kitchen counter height in a finished room?
The customary finished kitchen counter height is 36 inches, measured from the finished floor to the top of the finished countertop. Base cabinets are commonly listed at 34.5 inches, with a countertop roughly 1.5 inches thick completing the familiar height. Treat 36 inches as a planning convention, then check the users, tasks, flooring, and appliance openings.
Does countertop thickness change the final working height?
Yes. Countertop thickness sits above the base cabinet, so it contributes to the distance from the finished floor to the finished work surface. A countertop roughly 1.5 inches thick is common in the verified reference, but the actual installed thickness should be confirmed. A thicker or thinner surface can change the final height unless another part of the cabinet assembly is adjusted.
Why can a sink or cooktop feel too high if the counter is 36 inches?
The 36-inch measurement refers to the top of the surrounding countertop, not every hand position in a kitchen work zone. A sink places hands below the counter, while a cooktop creates its own appliance opening, controls, and space for cookware. Review each installation separately, considering user needs, cabinet layout, plumbing, appliance clearances, and adjacent dishwasher.