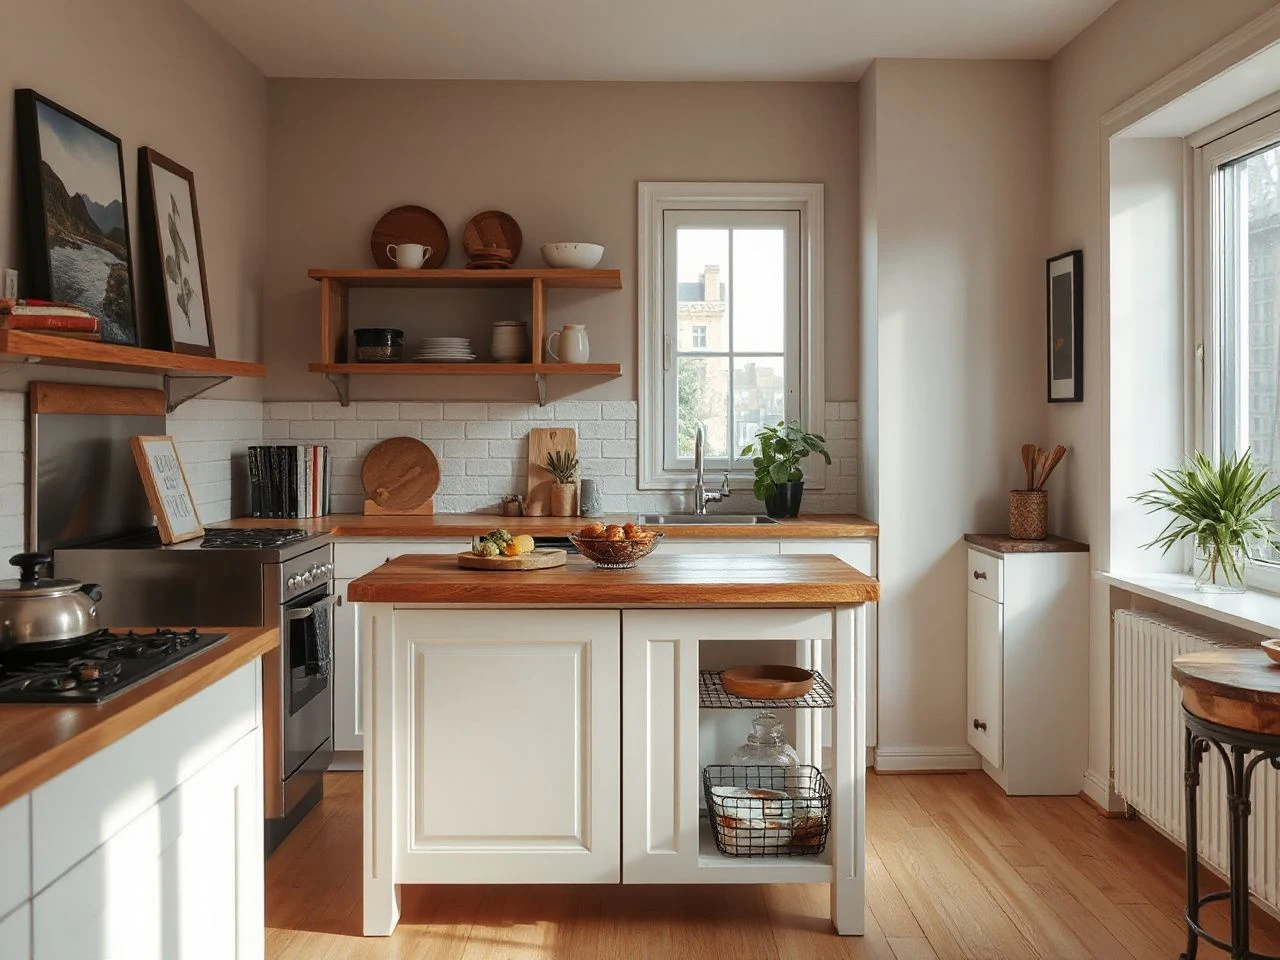
A poorly placed island can block cabinet doors, pinch a walkway, crowd chairs, and turn ordinary cooking into a sequence of awkward detours. Measure the opening first. The difference between an island that adds a real work zone and one that just takes up space matters more than style. Layout, circulation, and task placement are key. Practical kitchen island ideas should focus on how storage, seating, countertops, lighting, and services work together. Oversized islands and poorly supported overhangs are more like functional problems than visual choices.
Key Takeaways
- Plan circulation before choosing a shape, finish, or seating arrangement.
- Keep cabinet doors, drawers, appliance doors, and chairs clear of movement routes.
- Match the island to the work you actually do instead of adding plumbing or appliances by default.
- Judge every detail by function and by whether the finished installation comes off the wall cleanly.
Kitchen island ideas begin with the room, not the cabinet
The first decision isn’t whether the island should be painted, paneled, or topped with stone. It’s whether the room can handle a central work zone without sacrificing comfortable movement. A kitchen island justifies its size through preparation, storage, serving, seating, or a mix of those functions.
Map the routes before selecting a shape
Use painter’s tape on the floor to mark where the island might go, including any seating projection. Open nearby cabinet doors and drawers. Mark appliance door swings, the route to the refrigerator, and the path between the kitchen and adjacent rooms. The tape helps visualize because a plan that seems generous on paper can look tight once doors and chairs are in place.
An island layout must leave room for cabinet doors, drawers, appliance doors, chairs, and people to operate at the same time. A clear-looking plan that fails when a dishwasher door is open is not a practical plan. Check movement from more than one direction, especially in a galley kitchen or an open-plan kitchen where the island may also separate cooking from dining.
Seated guests need 32 inches of space behind their chairs to move comfortably. Each person also needs about 15 inches of space on each side for arm movement. These measurements are for the seating area, not every passage in the room. The rest of the island should still be checked for clear routes around doors and work zones.
Choose the shape that fits the awkward part of the kitchen
A straight island works best in a room with a clear central axis. It can hold base cabinets on one side and seating or display space on the other without creating a corner that blocks circulation. A narrow rectangular shape can help a long room feel organized, as long as the ends don’t block doorways.
A compact square or nearly-square island can fit into a room with open space at its center but limited length. Every side might become a route, a work surface, or a seating edge. Keep the layout simple. Storage on one face and prep on another might be more useful than trying to fit a sink, cooktop, seating, and display into such a small space.
An L-shaped island can split zones in a larger open room, but the inside corner needs care. Corners can block chair movement and make storage harder to reach. Curved or rounded ends can ease movement around tight routes but can also complicate countertop, cabinet, and seating construction.
A narrow kitchen usually benefits from a shallow, clearly zoned island rather than a deep island packed with unrelated functions. Small kitchen storage works harder when the island stores the tools used nearby, rather than becoming a second general-purpose cupboard that forces extra walking.
Decide whether the island should be freestanding or built in
A freestanding island gives a room a lighter look and can work well if the layout might change. A movable island or cart can help a small kitchen gain prep space without dedicating the entire center to permanent cabinetry. Stability still matters, though. Casters shouldn’t let the island drift into walkways, hit a door, or block emergency routes.
A built-in island offers a more continuous run of base cabinets and can hold fixed electrical, plumbing, drainage, ventilation, or appliance connections. These services make the island more capable, but they also make changes more involved. You should consider access for servicing before the finished panels hide the routes.
Freestanding doesn’t mean temporary in every case. The island still needs to stay stable, sit securely on the floor, and leave flooring transitions, doors, and circulation routes usable. A built-in isn’t automatically better; if the room wasn’t large enough, a permanent obstruction is still an obstruction.
A kitchen island cart buying guide can help organize the questions around mobility, storage, and stability without treating a cart as a substitute for careful floor planning.
Assign work, storage, and seating before adding services
An island can support preparation, serving, seating, and storage, but those roles compete for surface area and access. Write down the tasks that belong in the center of the room, then give each task a distinct location. Chopping, plating, unloading, and sitting should not all depend on the same small patch of countertop.
Build a preparation zone that stays available
A prep-focused island keeps the countertop dedicated to that task. Base cabinets can store mixing bowls, boards, utensils, or serving pieces used at the island, while drawers can hold smaller tools close to the surface. The storage layout should match the tasks, not just decorative symmetry.
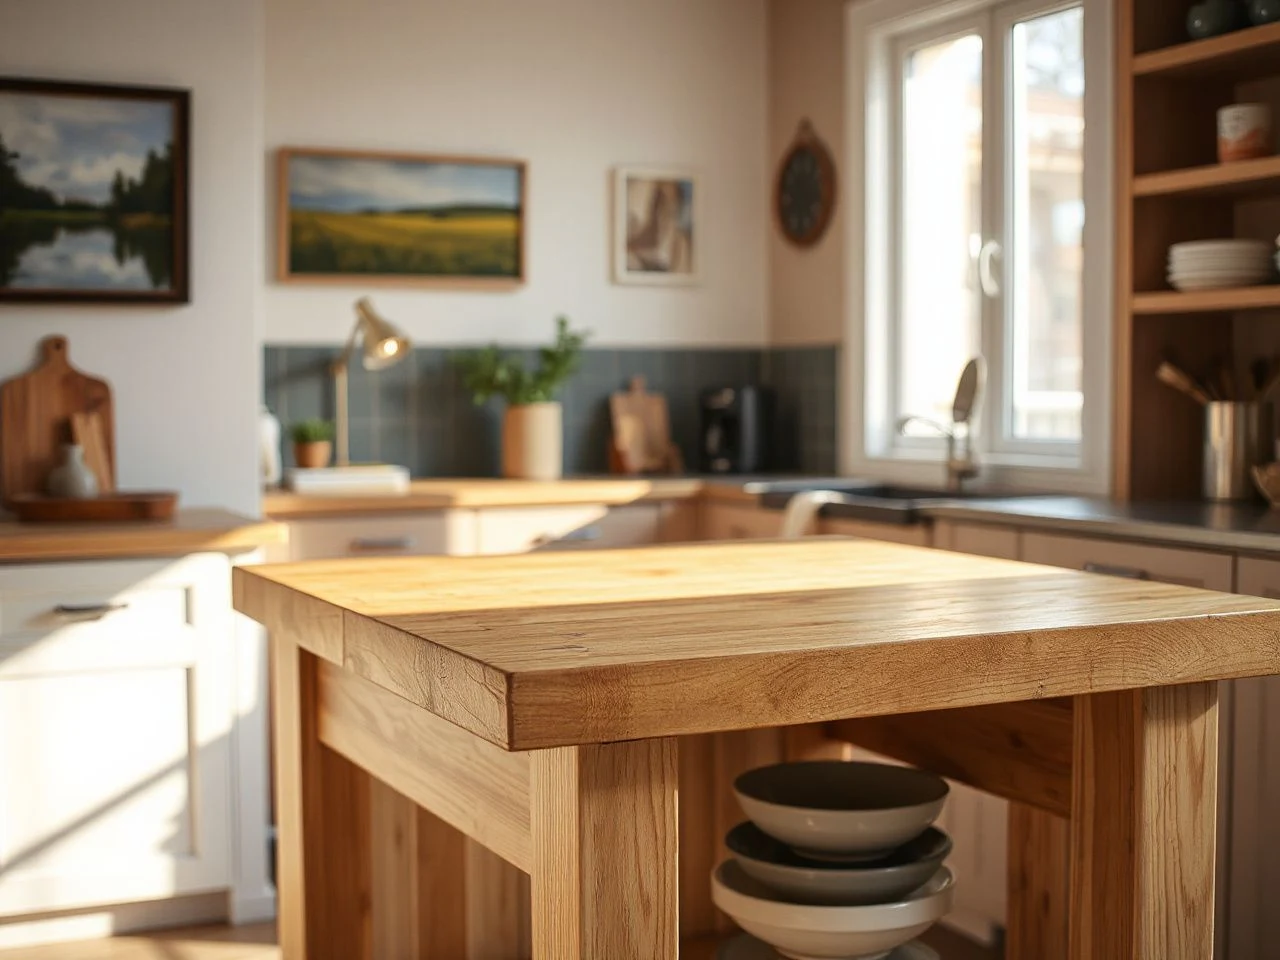
A butcher block might suit an island where chopping is the main activity, but the surface needs a maintenance plan suited to how it will be used and cleaned. Quartz, granite, and marble countertops each have different visual and care considerations. Compare the manufacturer’s cleaning instructions with your planned activities instead of assuming all stone surfaces behave the same.
A preparation island should keep the tools used for preparation within reach without making the main countertop a permanent storage shelf. Leaving a working surface available improves the usefulness of the island more than adding another decorative object.
Use seating as a separate zone
Kitchen island ideas with seating work best when the sitting edge doesn’t compete with the cooking edge. A raised visual change, a contrasting panel, or a simple shift in the countertop line can show where people sit and where food gets prepared. The division should be clear without creating a hard obstacle.
Seating overhangs need proper support, especially if the countertop material is heavy or fragile. Island legs can support an overhang and add a furniture-like look to a freestanding design. Hidden supports might give a cleaner look, but they should be planned with the countertop fabricator and cabinet installer, not improvised after the surface arrives.
Keep chairs out of the main working route. The 32 inches behind seated guests is a good rule for movement, but it doesn’t replace checking nearby cabinet doors, drawers, and appliance openings. A chair that clears one route might still block another.
Place storage according to reach and movement
Storage facing the preparation side can hold items needed during cooking. Storage facing the seating side may hold napkins, serving pieces, or less frequently used items. Deep cabinets at the island ends can be valuable, but only if the doors can open without meeting a wall, appliance, or passing person.
Open shelving can make an island look lighter, but every shelf becomes part of the room’s visual field. Use it for items that can handle dust and everyday handling. Closed base cabinets create a calmer look and hide equipment, but they shouldn’t create a dark, hard-to-reach space.
For small kitchens, an island without seating might give more storage and a larger surface for prep work. Seating isn’t a must for island design; it’s a lifestyle choice. If people already eat at a dining peninsula or nearby table, the island can focus on work.
Decide whether a sink belongs in the island
A sink can make food prep and cleanup feel connected, but it also takes up counter and storage space. Plumbing, drainage, electrical work, and access for maintenance must be planned before finalizing the cabinets and countertop. A dishwasher or ice maker requires compatible services and a clear maintenance route.
Sink placement should follow the room’s actual work pattern. A sink beside a preparation surface may support washing and clearing, while a sink placed in the center of a seating edge can divide the surface and put water close to guests. A self-rimming sink sits inside a countertop opening and is supported by its own rim, so the countertop template and installation sequence matter.
A sink in an island is a service decision, not merely a decorative centerpiece. You need to treat the plumbing route, drainage, electrical components, splash risk, and service access as one connected plan.
A cooktop creates a similar set of decisions. Ventilation, electrical or fuel connections, heat management, and safe working space have to be resolved with the installer and the appliance instructions. A cooktop can make the island the center of cooking, but it also introduces heat and active equipment into the area where people may be seated.
Choose surfaces, edges, and details that age well
Countertop selection should follow the island’s work. Chopping, serving, seating, and occasional maintenance place different demands on the surface. Appearance alone can’t answer all of them. Ask how spills will be cleaned, how the edge will meet seating, and whether the material’s care instructions fit the household routine.
Compare countertop materials by use
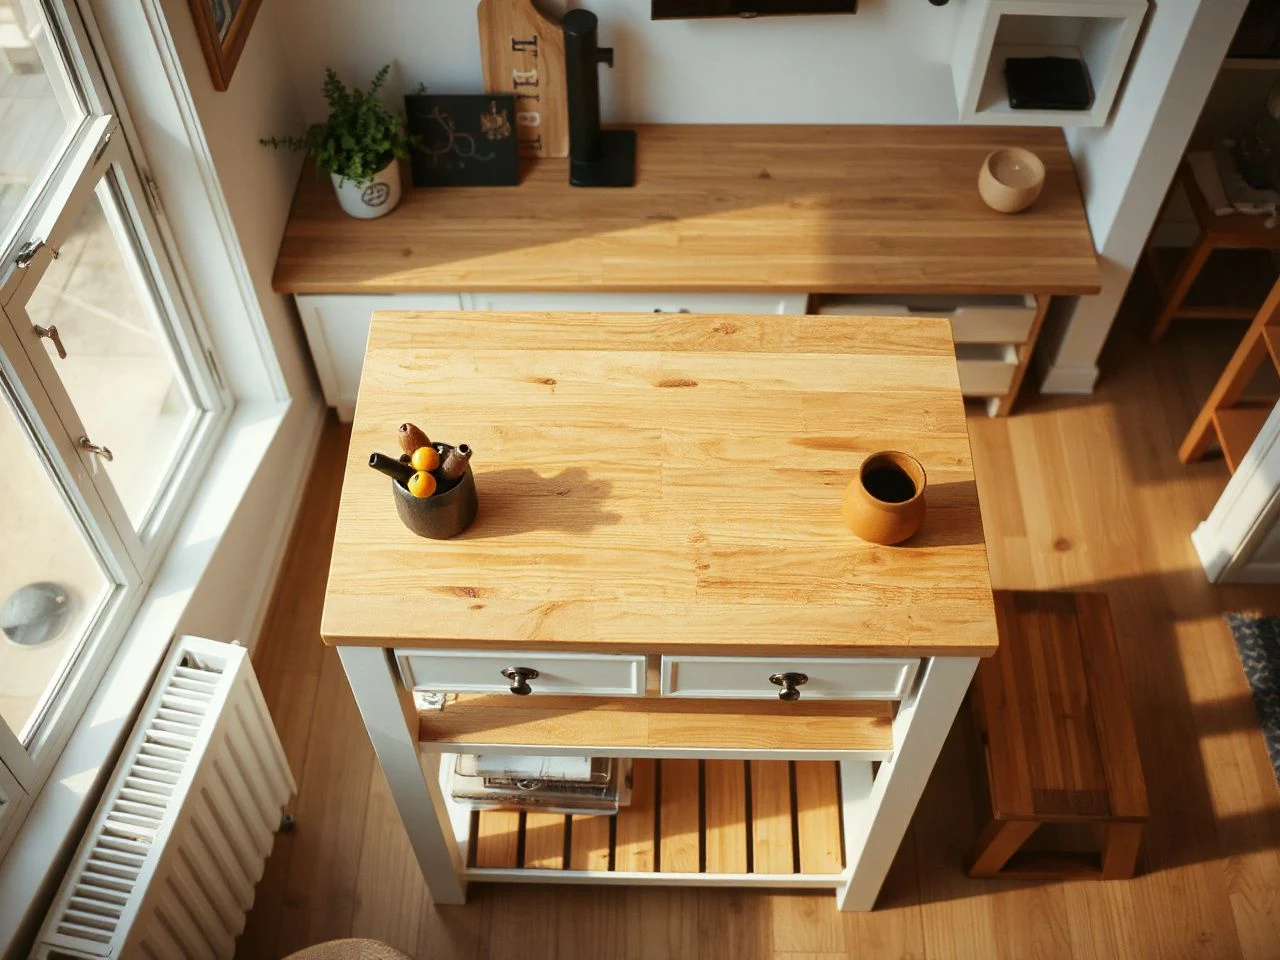
Butcher block brings a visibly work-oriented character to preparation areas. It may also make scratches, marks, or changes in appearance more noticeable. So, the care instructions should be read before it becomes the main food-preparation surface.
A quartz countertop can create a continuous, composed look across a work and seating zone. A granite countertop can provide a different pattern and visual weight. A marble countertop may suit a room where the island is treated as a refined focal point, but the planned tasks and cleaning routine still need to guide the choice.
Glass countertops are non-porous and stay highly hygienic. They also offer some resistance to stains. They can withstand temperatures as high as 700 degrees without damage, but you still need to follow the manufacturer’s care instructions. Impact, edge treatment, and support are important considerations.
Countertop material should be selected by the island’s daily tasks, cleaning requirements, and support conditions rather than by color alone. The edge deserves equal attention because an overhang, waterfall edge, or thin-looking profile changes how the island meets people, chairs, and flooring.
Use a waterfall edge with restraint
A waterfall edge carries the countertop material down the side of the island, creating a continuous visual plane. It can make the island read as furniture rather than as exposed cabinet boxes. The detail also uses more material and makes seams, corners, and floor contact more visible.
The side panel shouldn’t hide issues with the cabinet structure. Open doors, uneven reveals, poor service access, or weak support are faults that still matter beneath a nice finish. Check the end condition from the approach routes, because the waterfall edge is often visible from the living or dining area in an open-plan kitchen.
Plan lighting and outlets as working details
Pendant lighting can highlight the island as a central feature, but the fixtures shouldn’t block sightlines, interfere with chair movement, or obstruct nearby doors. Use the island’s tasks to decide where you need light, then coordinate fixture placement with the ceiling structure and electrical plan.
Modern kitchen lighting ideas are useful for comparing layers of light, while a separate guide to pendant light height over an island can help frame the installation questions. Do not rely on a decorative fixture to compensate for a poorly planned work surface.
Electrical outlets should be placed where appliances and small tools will actually be used, while keeping water exposure in mind. Local electrical requirements govern the placement and protection of outlets, so the plan should be reviewed with a qualified electrician and checked against guidance from the U.S. Consumer Product Safety Commission. Water near electrical components requires particular care.
Island lighting and outlets need to be planned with both task use and water exposure in mind. An outlet that looks tidy but sits behind a sink splash zone is a planning error, not a styling choice.
Keep maintenance visible in the design
Every island involves a cleaning routine. Countertops require the cleaner and method recommended by their manufacturer. Seating edges gather crumbs and fingerprints, while cabinet fronts need attention around pulls, corners, and along the floor line. Open shelving needs more visible tidying than closed storage.
Plumbing involves inspection and servicing. A sink cabinet shouldn’t become a hidden storage space, and access to connections should stay possible once the island is finished. Appliances require their own cleaning and service instructions, and those should be available to whoever maintains the kitchen.
Ongoing costs can include cleaning supplies, replacement hardware, electrical work, plumbing service, countertop care, and repairs to moving parts. The amount depends on the selected materials and services, so avoid treating a plain island and a fully serviced island as the same project.
Prevent the failures that make an island feel oversized
The most common design mistake is excess. An island gets too large when its extra storage or work area no longer makes up for the routes it takes away. For kitchens under 160 square feet, an island might take up as much as 30 percent of the floor space. That’s a sign to carefully study the room, not a target to copy.
Protect circulation and emergency movement
Check all paths with doors open, chairs pulled out, and people moving between the kitchen and nearby rooms. A freestanding unit should not block flooring, doors, walkways, or emergency routes. Casters can make the island more flexible to move, but they also need reliable stability when in use.
Don’t measure only from cabinet face to cabinet face. Include handles, seating, countertop projections, and the space needed to stand at a drawer or appliance. If the island leaves one narrow route and all other paths are blocked, the room might feel cramped even if the center looks open.
Separate appearance from structural support
Thin counters, long overhangs, waterfall sides, and floating-looking cabinets need support decisions that can’t be fixed with paint or trim. Heavy or fragile countertop materials require proper support at seating projections. Ask how the support connects to the cabinets and how the finished edge will be protected from knocks.
A seating overhang needs structural support that matches the countertop material and the cabinet construction. The support should be resolved before fabrication, not added as a visible patch after installation.
Make cleaning part of the layout
A countertop used for chopping and serving needs a practical cleaning routine, and a seating edge should have a surface that can be wiped easily without catching on trim. Cabinet doors should open wide enough to clean inside, and the area around the sink should allow spills to be cleaned up quickly.
Follow the surface manufacturer’s instructions instead of using one cleaner for every material. Glass, butcher block, quartz, granite, and marble each need a care plan based on the surface and its finish. The same restraint applies to painted panels, metal hardware, and flooring near the island.
Review compliance before installation
Electrical, plumbing, ventilation, and appliance work should be reviewed under the requirements that apply in the local jurisdiction. The NSF provides information about standards and certification in areas connected with public health and food equipment, but its information does not replace local approval or the appliance manufacturer’s instructions.
For questions about food-contact surfaces and cleaning, the U.S. Food and Drug Administration offers public food-safety info. Use the relevant authority and the documentation for your materials rather than assuming a surface is automatically safe for every task.
Before installation, make a written plan that notes the island footprint, seating side, storage areas, outlet locations, lighting points, plumbing route, ventilation needs, access panels, and cleaning instructions. This plan can reveal conflicts early, while changes are still manageable.
Practical layouts for different cooking patterns
For a cook who prepares most food at the island
Give the island a clear preparation surface, nearby storage for tools, and lighting that evenly covers the working area without glare. Keep seating to one end or skip it altogether. If there’s a sink, leave a useful landing area beside it instead of filling the entire countertop with fixtures.
For a household that serves and eats in the kitchen
Separate the seating edge from the busiest preparation route. Store serving pieces on the accessible side, keep chair movement clear, and check the 32-inch clearance behind seated guests. When children or visitors will pass behind chairs, inspect that route during planning rather than assuming chairs stay pushed in.
For an island that mainly stores small-kitchen equipment
Use base cabinets and drawers to organize appliances, pans, and serving items based on how often they’re used. Keep the countertop open for occasional prep work. A freestanding unit can work if it stays stable and doesn’t block doors or walkways.
For a decorative island in an open-plan room
Limit services if the island doesn’t need them. A sleek countertop, furniture-style end panels, and well-placed pendant lighting can define the kitchen without turning the island into a crowded appliance station. Styles like modern farmhouse kitchen ideas or vintage-modern schemes can influence the finish, but circulation should guide the layout.
For a changeable room or rented home
A movable cart or freestanding island may provide useful storage and a work surface without fixed plumbing or electrical connections. Check its stability, wheel behavior, floor protection, and relationship to door swings. A removable piece is successful only if it can be moved without creating a new hazard or damaging the floor.
Frequently Asked Questions
How much clearance does a kitchen island need?
Start by measuring at least 32 inches behind seated guests and 15 inches on both sides of each diner. Then test the entire room with cabinet doors, drawers, appliance doors, and chairs open. The layout must also allow normal movement between cooking, storage, dining, and adjacent rooms. One measurement alone isn’t enough; do a full circulation check.
Is a sink in a kitchen island a good idea?
A sink can suit an island used for prep and clearing, but only when the work pattern supports it. Plumbing, drainage, electrical work, splash control, countertop templating, and service access should be planned early. Keep in mind, a sink divides the surface, so leave enough uninterrupted counter space for tasks that bring people to the island.
Which kitchen island ideas work in a small kitchen?
A shallow, simple island often works better than a large multi-service unit in a small room. Consider a freestanding piece or a cart; an island without seating is better if chairs block movement. For kitchens under 160 square feet, an island might take up as much as 30 percent of the floor space. Tape the footprint and test every route before you commit.