
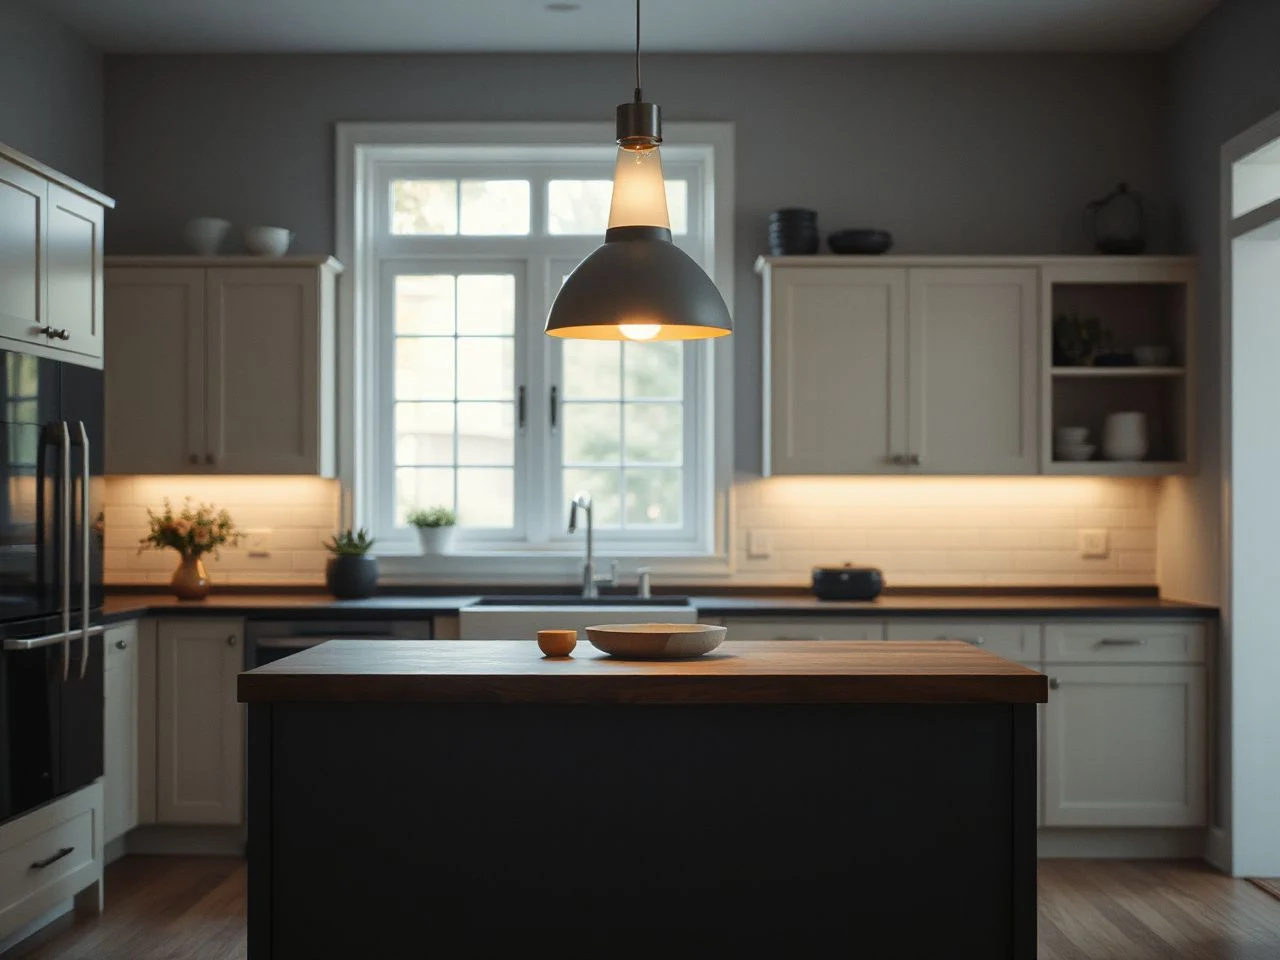
Kitchen lighting is shifting toward a more layered look, with pendants doing visual work above the island while recessed fixtures handle wider ambient coverage. That makes the question of island pendant light height more important than simply choosing a pleasing fixture. The key distinction is between a design starting point measured from the countertop and a code-required clearance: island pendant height is usually tuned for sightlines, head clearance, task lighting, and the people using the space rather than selected from one mandatory number. A sound guide should also separate the fixture’s bottom height from its canopy or ceiling attachment point, then account for ceiling slope, island seating, cooktop heat, and the suspension system’s adjustment range.
Key Takeaways
- Start with 30 to 36 inches from the finished countertop to the pendant’s lowest point.
- Measure the fixture bottom from the island surface, then adjust for sightlines, seating, cabinets, appliances, and ceiling shape.
- Local requirements, the fixture instructions, and a rated junction box take priority over a general design guideline.
Island pendant light height: the design starting point
The usual starting point is 30 to 36 inches from the finished countertop to the bottom of the pendant. That range is a design guideline, not a universal mounting rule. A broader reference range sometimes used for pendants is 28 to 38 inches, but the narrower 30-to-36-inch range gives most kitchen layouts a practical first mark.
The measurement begins at the countertop surface and ends at the lowest part of the shade, diffuser, bulb, or exposed fixture body, whichever hangs lowest. It does not run from the floor to the ceiling, and it does not stop at the canopy attached to the ceiling. The pendant’s bottom height is the measurement that affects a seated person’s view and a standing person’s head clearance.
For a small kitchen, I would begin near the middle of the range rather than fixing the final position immediately. Mark the intended bottom point with painter’s tape or a temporary hanging line, then check the view from the main walkway, the island stools, and the opposite side of the room. A room that looks generous on a plan can feel crowded once a shade occupies the sightline.
Countertop measurement versus ceiling attachment
A pendant can have a low bottom edge even when its canopy sits high on the ceiling. The canopy covers the electrical connection; the cord or downrod determines how far the fixture drops. These are separate reference points, and confusing them is one of the easiest ways to install a pendant too low.
The countertop is the correct starting surface because the island is the object the light serves. Floor-to-fixture measurements can help describe a room, but they do not tell you whether the pendant blocks conversation or sits above the working zone. A common floor reference is roughly 72 inches above the floor, yet that figure should not replace the countertop-to-fixture measurement.
The bottom edge of an island pendant should be measured from the finished countertop, not from the floor or the ceiling canopy. That single rule keeps the calculation tied to the surface where food preparation, serving, and seating take place.
Why a middle starting point is not always the final answer
A lower setting can bring the light source closer to the work surface, but a large shade may then interrupt eye-level views across the island. A higher setting opens the sightline, though the fixture can begin to look disconnected from the island or provide less concentrated task lighting. The right position is a visual and practical compromise, not a number selected in isolation.
Tall people who regularly use the kitchen may prefer the pendants toward the higher part of the recommended range. The adjustment should preserve the view across the island without placing the fixtures so high that their scale becomes lost. A compact room often needs more attention to the bottom edge and shade diameter than to the ceiling height alone.
Our guide to how many pendant lights belong over an island can help with the related question of fixture count and arrangement, but spacing cannot correct a pendant that is mounted at an uncomfortable height.
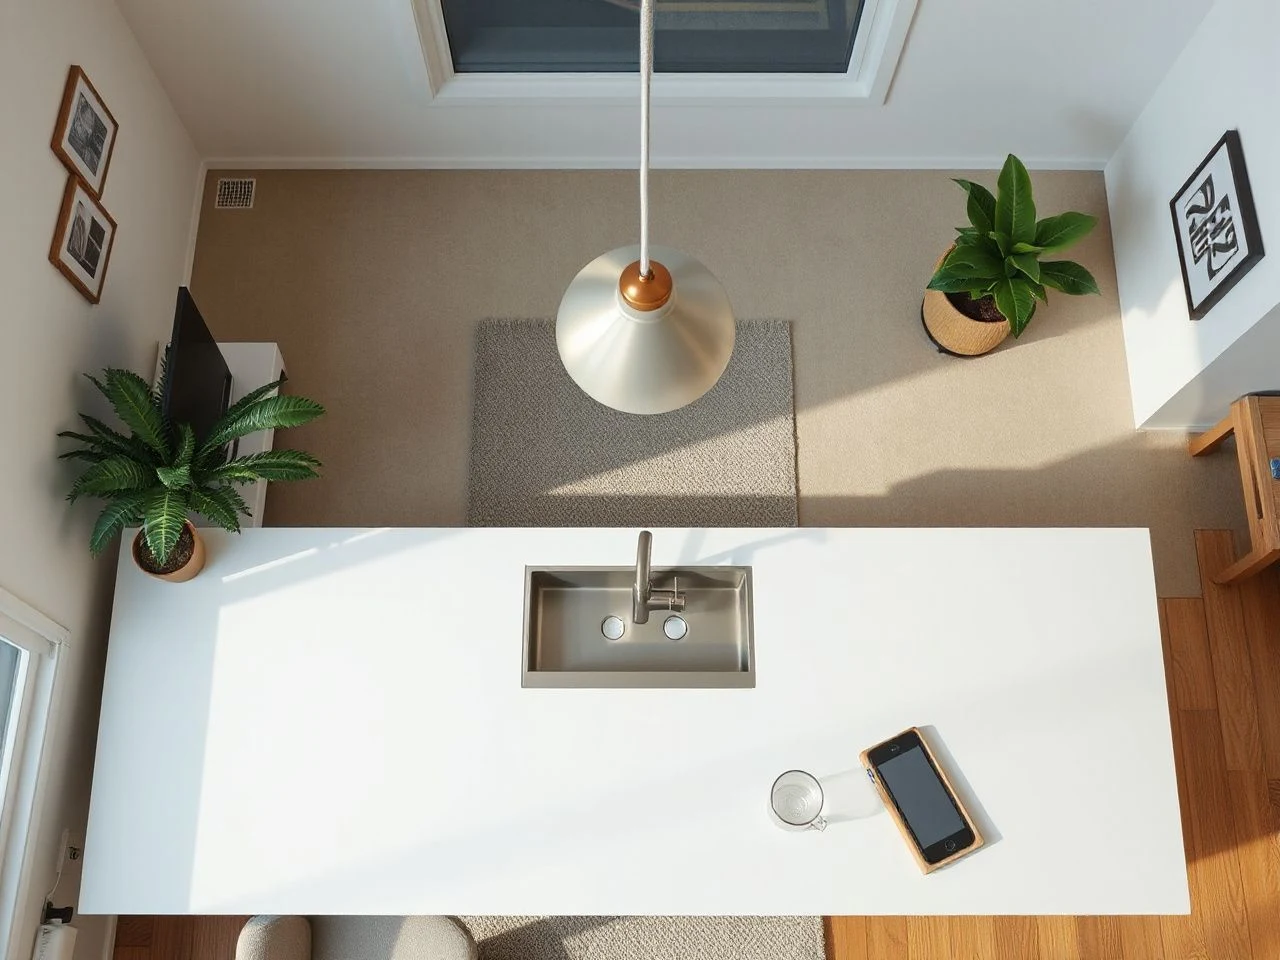
Step 1: measure the room before choosing the drop
Mark the finished island surface
Measure only after the countertop surface, island seating arrangement, and ceiling attachment location are known. If the counter has not yet been installed, use the planned finished surface rather than the cabinet tops. The final countertop thickness changes the distance to the pendant’s bottom edge.
Use a tape measure to mark the intended 30-to-36-inch vertical distance above the counter. Place a small piece of painter’s tape at the projected bottom point, or suspend a temporary string from the proposed canopy location. A physical marker is more useful than trying to judge the height from a floor plan.
Check standing and seated sightlines
Stand at the main preparation position and look across the island. Then check the view from each stool or chair. The fixture should not sit directly across the face of a person’s conversation view, particularly if the shade is opaque and visually heavy.
Island seating changes the height decision because a pendant that seems clear while standing can feel intrusive from a stool. The island’s size, the seating position, and the fixture’s width all matter. A narrow island with stools on one side usually demands more careful sightline checking than a wide surface used mainly for preparation.
Check nearby doors, hoods, and walking paths
Open every cabinet door and drawer near the island, then inspect the path between the island and the surrounding cabinets. Pendant placement should not interfere with appliance access or create a low visual obstacle beside a frequently used route. A fixture centered over the counter can still feel misplaced if its canopy or suspension line conflicts with a range hood, tall cabinet, or ceiling beam.
A cooktop requires extra care. The pendant should not be positioned as though the island were an ordinary work surface if heat, steam, grease, or a range hood occupies the same zone. Follow the fixture manufacturer’s instructions and any local electrical requirements for that installation rather than treating the general 30-to-36-inch guideline as permission to place a light wherever it looks balanced.
Cabinet access and walking clearance must be checked at the fixture’s full physical size, including its canopy and suspension hardware. The bottom edge alone does not show whether the installation will interfere with a nearby door or hood.
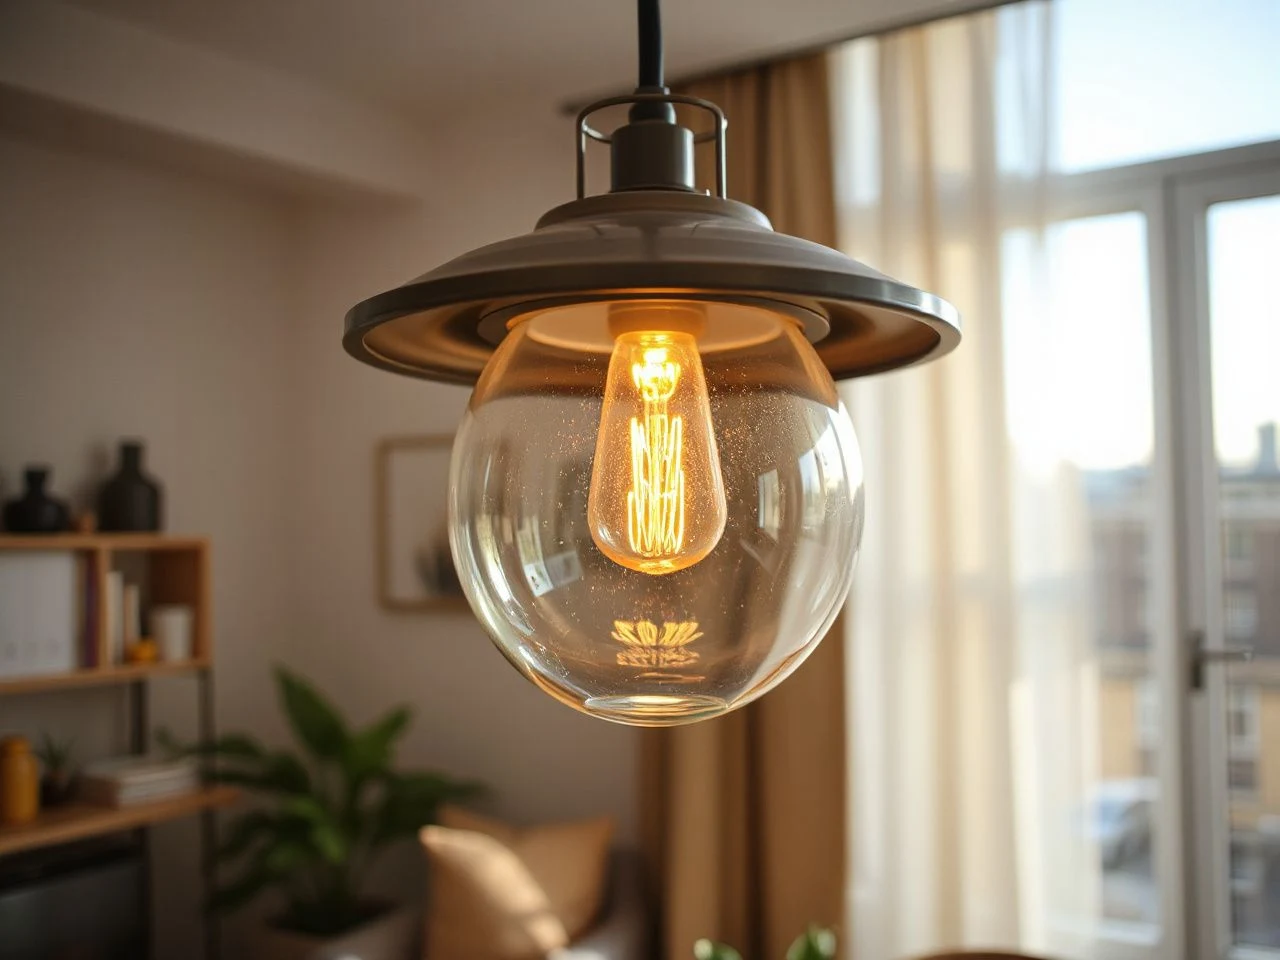
Step 2: adapt the height to ceiling conditions
Eight-foot ceilings
An 8-foot ceiling leaves less vertical room for a long pendant and a dramatic drop. Start with the countertop measurement, then pay close attention to the fixture’s overall proportion. A broad or tall shade can make the room feel compressed even when its bottom edge falls inside the usual range.
In a small kitchen, the canopy should remain visually connected to the ceiling while the lower fixture remains connected to the island. That balance is easier to judge with a temporary cord or paper template than by reading the listed overall height alone. The manufacturer’s dimensions describe the fixture, not the correct position in your room.
Nine-foot ceilings
A 9-foot ceiling offers more room above the island, but it does not automatically call for a lower pendant. Keep the countertop-to-bottom measurement as the main reference. If the ceiling area above the island feels empty, address that through fixture scale, canopy placement, or layered ambient lighting rather than dropping the pendant into the sightline.
The suspension system matters here. An adjustable cord or downrod system allows fine tuning after the countertop and ceiling conditions are confirmed. The adjustment range should be checked before installation because a fixture that cannot shorten enough may force an awkward compromise.
Vaulted and sloped ceilings
A sloped ceiling changes the location of the canopy, but it should not change the basic relationship between the pendant’s lowest point and the countertop. Use mounting hardware designed for the ceiling angle, and confirm that the cord or downrod hangs in the intended direction rather than pulling the fixture off center.
Vaulted rooms can make a standard kitchen pendant appear visually small, while a low island can still require the same practical bottom height. The answer is not to lower the light until it fills the ceiling volume. Keep the working and sightline measurements intact, then evaluate whether the room needs other layers of ambient light.
A sloped ceiling requires suitable mounting hardware, but the pendant’s final bottom height is still measured vertically from the countertop. The canopy-to-ceiling connection and the countertop-to-fixture clearance solve different problems.
Adjustable suspension and final fine-tuning
An adjustable cord or downrod suspension system is useful because the final room conditions are rarely captured by a ceiling measurement alone. Island tops, seat locations, cabinet doors, and sightlines should be confirmed before the suspension is fixed. Leave enough adjustment range to make a small change after the fixture is assembled.
The electrical junction box must be rated to support the fixture, and listed components should be used throughout the installation. The listing does not state whether every ceiling box in an existing home is suitable, so the box rating must be verified rather than assumed.
Step 3: place two or three pendants without crowding the island
Two pendants over one island
Two pendants should read as a balanced pair rather than as separate lights competing for attention. Center them over the useful part of the island, not automatically over the full cabinet footprint if seating or a sink shifts the working zone. The distance between pendant centers can begin around 30 inches, with the exact placement adjusted to the island length, shade size, and surrounding clearances.
Keep both fixtures at the same bottom height unless the ceiling geometry makes that impossible. A shared height gives the pair a calm visual line and makes small differences in shade shape less distracting. Each pendant should also remain clear of cabinet doors, range hoods, and the main walking path.
Three pendants over a longer island
Three pendants can work when the island has enough usable length for the fixtures to remain visually distinct. Center-to-center spacing around 75 to 80 centimetres, or about 30 inches, provides a starting reference, but the fixture width still controls how crowded the arrangement feels. A small island may need fewer or smaller fixtures rather than three lights forced into a short span.
Do not use pendant count to compensate for weak overall lighting. Pendants provide task and decorative light over the island, while recessed or other ambient fixtures may serve the rest of the kitchen. Light output, color rendering, dimmer compatibility, and the shade’s opacity all affect the result, so height alone cannot determine whether the work surface will be comfortable.
Multiple island pendants should share a consistent bottom height and be spaced from their centers rather than from their outer edges. Center-to-center planning keeps the arrangement predictable when fixture widths change.
Centering over seating and work zones
If stools occupy one end of the island and preparation happens at the other, the visual center may not match the cabinet center. Mark the seating and work zones first. The pendants should illuminate the useful surface without hanging directly in front of faces or colliding visually with a hood.
For a compact kitchen, fewer fixtures with better placement can look more intentional than a full row squeezed into the available length. I would rather see a restrained arrangement that leaves the ceiling and sightlines calm than a crowded line chosen only because the island has a long edge.
This pendant-light and recessed-lighting comparison explains why the island fixture should be planned as one layer of the room’s lighting rather than as the sole source for every task.
Step 4: account for safety, support, and maintenance
Code and listed components
Local electrical requirements, the fixture manufacturer’s installation instructions, and the rating of the junction box take precedence over a generic design guideline.
The International Residential Code may also be relevant to residential construction requirements, but the applicable edition and local adoption must be confirmed with the authority having jurisdiction. The International Code Council maintains the IRC family of model codes. A general design article cannot replace an electrician’s assessment of the wiring, box, support, and installation conditions.
Look for the appropriate listing information on the fixture and follow the supplied instructions. Listing marks do not establish the correct height for your island, but they are part of a properly specified lighting installation.
The U.S. Department of Justice ADA site provides the published standards. A pendant layout should never reduce required access or create an obstruction in a path that needs to remain clear.
Cooktops, sinks, and range hoods
An island sink affects the way people stand and work beneath the fixture, while an island cooktop introduces heat, steam, grease, and possible hood conflicts. The standard countertop guideline is not a substitute for the fixture instructions or the requirements governing the appliance and ventilation system.
Keep the fixture clear of the range hood’s physical envelope and service access. If the pendant sits near a sink, select the mounting location and fixture type according to the installation instructions and local requirements. The listing may not provide the specific clearance information your layout needs, so professional review is the responsible next step.
Cleaning, bulb access, and energy use
Height affects maintenance as well as appearance. A pendant that hangs very high may require more effort to reach for shade cleaning or bulb replacement, while a lower fixture may be easier to service but more exposed to contact from people using the island. LED sources can reduce the frequency of replacement, but the listing must state the source type and any expected service information before you rely on it.
A higher pendant changes the distance between the source and the work surface, which can alter how concentrated the light appears. A lower pendant can place more light on the immediate surface but may create glare or a blocked view, especially with a clear bulb or reflective shade. Use a dimmer that is compatible with the fixture and lamp, and consider the room’s ambient lighting before deciding that more brightness is the answer.
Pendant height affects access for cleaning and bulb replacement as well as the way light reaches the countertop. The most convenient position is the one that balances service access with clear sightlines and safe circulation.
How to tell if the pendant is too low, too high, or out of proportion
Signs the pendant is too low
- People must tilt their heads or shift around the fixture to see across the island.
- The shade sits directly in the face-level conversation path from the stools.
- Cabinet doors, range hoods, or walking routes feel visually or physically obstructed.
- The fixture dominates a small room even though its countertop measurement falls within the usual range.
Raise the fixture through the adjustable cord or downrod, then repeat the sightline check. Do not shorten the suspension until the countertop, seating, and cabinet positions are final.
Signs the pendant is too high
- The fixture appears detached from the island and no longer defines the work zone.
- The shade provides little focused light over the useful countertop area.
- The canopy and suspension occupy the ceiling while the island still looks visually unlit.
Lower the fixture within the acceptable design range if the sightlines and clearances allow it. If the pendant remains visually weak, review fixture scale and the room’s ambient layer instead of dropping it until it feels intrusive.
Signs the fixture is out of proportion
Proportion is not measured only by the island’s length. Shade width, fixture depth, ceiling height, seating, and nearby cabinets all influence the result. A large pendant can require more visual breathing room even if its bottom edge is at a standard height. A small pendant may need careful grouping so it does not disappear against a high ceiling.
Use a paper or cardboard outline of the shade to test scale before installation. This costs little, fits a small-space approach, and prevents the familiar mistake of admiring a fixture online only to discover that its physical presence overwhelms the doorway, walkway, or island.
Frequently Asked Questions
How high should an island pendant light hang above the countertop?
Begin with 30 to 36 inches from the finished countertop to the lowest part of the pendant. A broader guideline of 28 to 38 inches is also used, but the final height depends on sightlines, seating, fixture size, cabinet access, and the people using the kitchen. Treat the range as a design starting point, then confirm local requirements and the manufacturer’s instructions.
Do I measure pendant height from the floor, ceiling, or island?
Measure from the finished island countertop to the fixture’s lowest point. Do not measure to the canopy, because the canopy is only the ceiling attachment point. Floor-to-fixture measurements can describe the room, but they do not show whether the pendant blocks conversation or provides a suitable relationship to the work surface.
Should island pendant height change with an 8-foot, 9-foot, or vaulted ceiling?
The countertop-to-bottom measurement remains the main reference for all three ceiling conditions. An 8-foot ceiling may need a shorter fixture or less visual mass, while a 9-foot or vaulted ceiling can accommodate more space above the island. Sloped ceilings require suitable mounting hardware, and adjustable cords or downrods make final positioning easier.
How much higher should pendants be for tall people?
There is no separate universal height figure for taller users. Move the pendant toward the higher part of the 30-to-36-inch starting range when that improves head clearance and the view across the island. Check the position from both standing and seated eye level. The fixture must still provide useful task lighting and remain proportionate to the room.
What height works for two or three pendants over one island?
Keep the pendants at a consistent bottom height, measured from the countertop. Begin spacing them around 30 inches center to center, or roughly 75 to 80 centimetres, then adjust for fixture width, island length, seating, and surrounding cabinets. For a smaller island, reducing the number of fixtures may create a clearer arrangement than forcing three pendants into a crowded line.