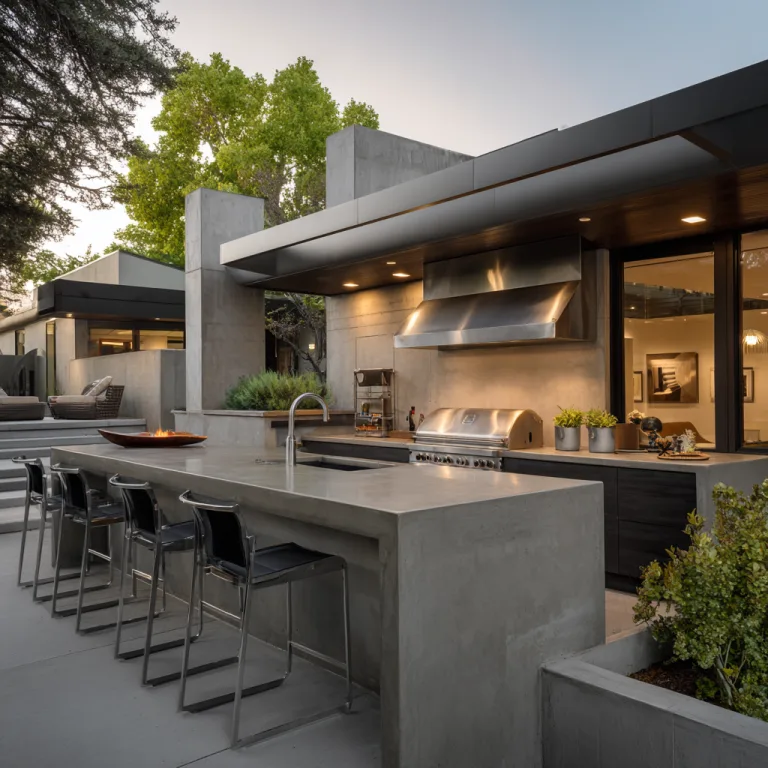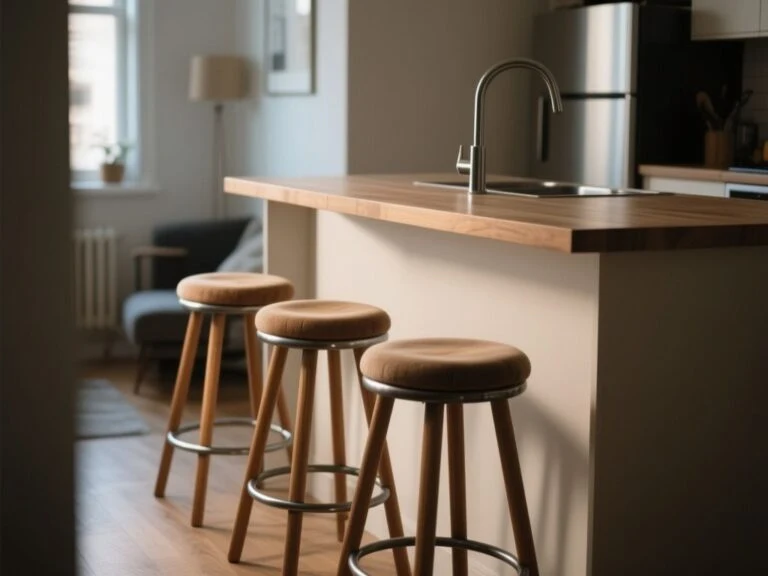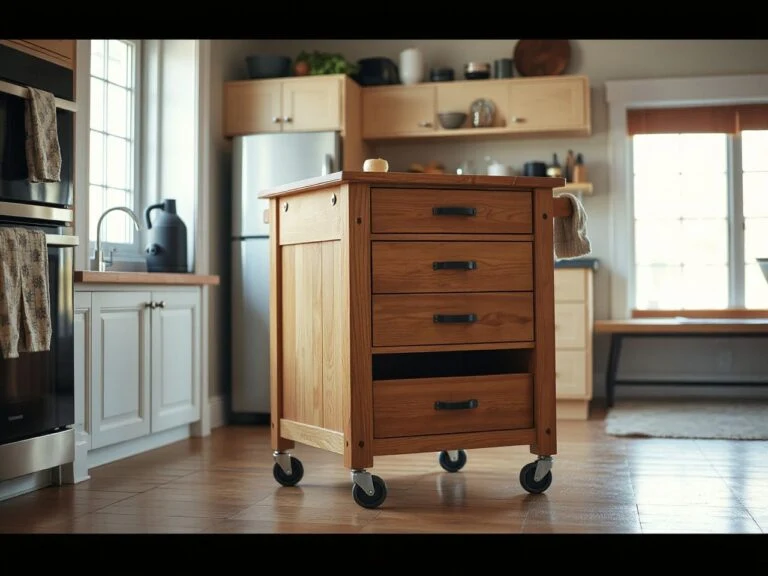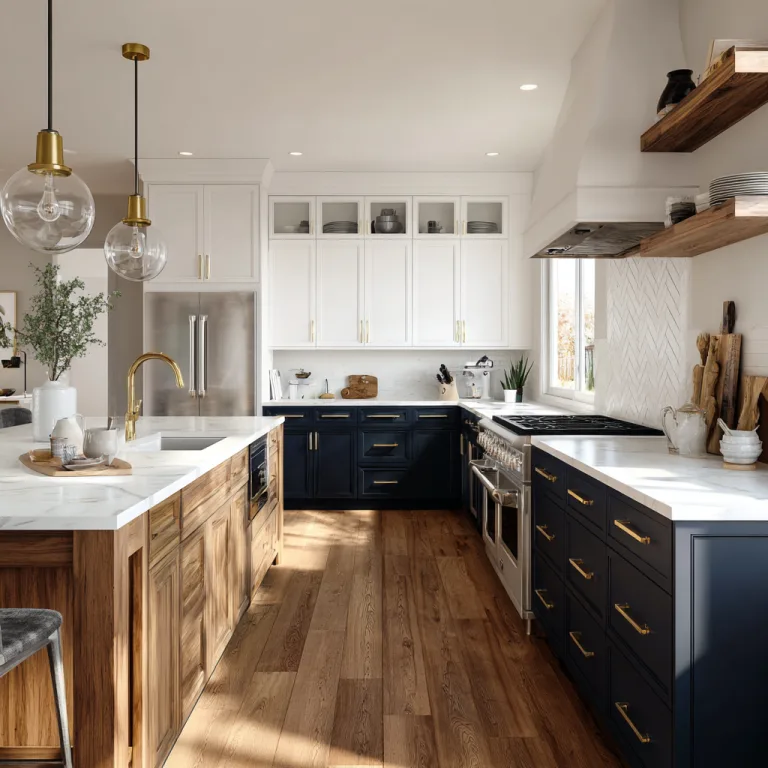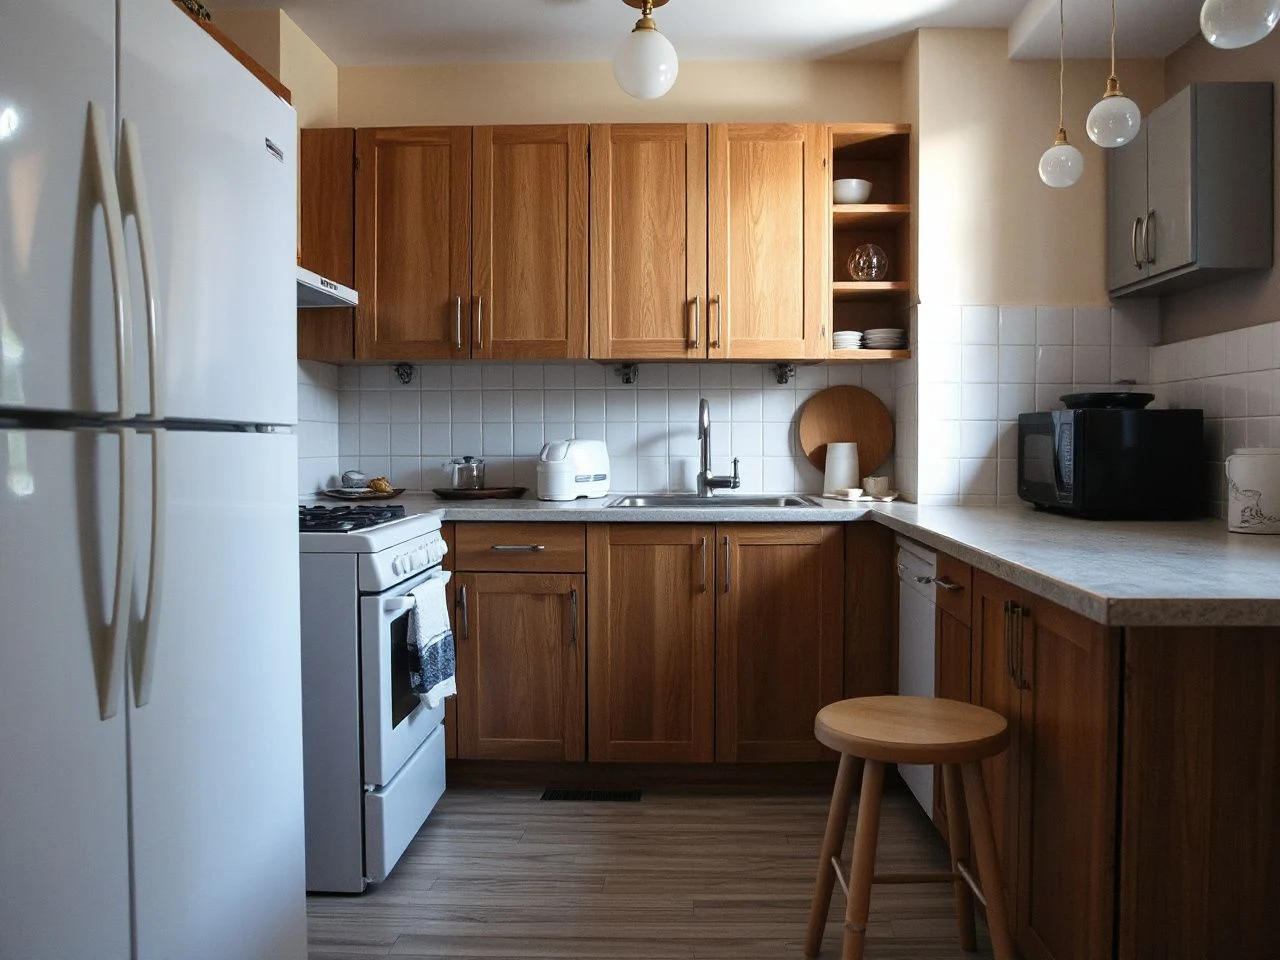
The usual counter height is only a starting point, not a design rule. Treat counter height as a finished-system dimension rather than an isolated cabinet measurement. The practical distinction is between a general work-surface height and the height that suits a particular user, task, appliance layout, countertop thickness, and accessibility need.
For many kitchens, a finished height of 36 inches from the floor to the top of the countertop is the familiar reference point. I would check the doorway width before admiring the sofa, and I apply the same discipline here: confirm the whole route, floor build-up, appliances, sink, and countertop before approving a cabinet measurement. The phrase kitchen counter height should describe the completed surface, not merely the cabinet box.
Key Takeaways
- Measure from the finished floor to the top of the countertop, including legs, cabinets, underlayment, and slab thickness.
- A standard work surface is about 36 inches, but posture, tasks, appliance fit, sink depth, and access needs may call for another arrangement.
- Confirm flooring, plumbing, dishwasher alignment, backsplash proportions, and adjacent surfaces before changing an existing counter.
Kitchen Counter Height: Start With the Finished Floor-to-Surface Measurement
The familiar standard and what it actually means
Kitchen counters are typically built to a finished height of 36 inches. That measurement runs from the finished floor to the uppermost surface of the countertop slab. It is not the height of the base cabinet alone, because the completed assembly may include adjustable cabinet legs, a cabinet top, underlayment, and countertop material.
A finished floor-to-counter measurement is the useful number for planning a kitchen work surface. A cabinet box measurement can be wrong for the room if flooring, support layers, or countertop thickness change before installation.
The familiar depth for a kitchen counter is 24 to 25.5 inches. Depth affects reach, appliance placement, backsplash proportions, and the relationship between the counter and the kitchen work triangle. An island often needs a deeper surface, with typical island counters measuring 27 to 30 inches or more, especially where seating or circulation is part of the plan.
Why the cabinet box cannot answer the question
Base cabinets provide the structure, but the finished height is assembled from several layers. Adjustable cabinet legs can change the cabinet position. Underlayment can add another layer beneath the slab. Countertop material thickness changes the final surface. Flooring can also alter the starting point from which the height is measured.
Write the target as a complete assembly: finished floor, adjustable legs, base cabinet, support layer, countertop slab, and finished work surface. That simple sequence prevents a drawing from treating the cabinet box as the entire dimension.
Countertop thickness belongs in the elevation drawing, not in a late installation note. If the target is 36 inches, subtract every layer below the top surface before setting cabinet legs or ordering the slab.
How to measure an existing counter
Use a tape measure and record the measurement from the finished floor to the top of the countertop at several accessible points. Check the floor directly beside the cabinet rather than measuring from a loose rug or temporary mat. A kitchen floor that will receive new flooring should be considered at its finished level.
- Record the current floor surface and the planned floor surface.
- Measure to the top of the countertop, not to the cabinet rail.
- Note the countertop thickness and any visible support layer.
- Check where the dishwasher, sink, cooktop, and adjacent surfaces meet the cabinets.
- Mark the intended finished height on a wall or temporary reference board before cabinet installation.
A measurement becomes useful only when its starting point and endpoint are clear. Floor-to-counter height should always name both surfaces.

Match the Surface to the Person and the Work
Standing preparation and daily posture
A comfortable work surface depends on the user’s stature, posture, task, and the amount of time spent standing. Chopping, mixing, rolling, washing, and using a cooktop do not place the hands or shoulders in exactly the same position. The familiar 36-inch reference can suit a general standing kitchen, but it should not be treated as a personal measurement.
Try the intended working posture against a temporary surface before final cabinet installation. The useful signs are observable: shoulders should not need to stay raised, elbows should not be forced far away from the body, and the user should not need to bend forward simply to reach the work area. A temporary board, sturdy table, or marked wall line can help reveal the relationship without guessing from a plan.
A work surface that is too high can make stirring, chopping, and dishwashing feel constrained because the hands operate above a comfortable working position. A surface that is too low can encourage forward bending and may interfere with clear sight of the task. The correct decision belongs to the people using the kitchen, not to the cabinet measurement alone.
Seated preparation and accessible kitchen design
Someone who cooks while seated or uses a wheelchair needs a clear approach to the work surface, suitable knee and foot clearance, and appliance controls that can be reached without leaning across a hazard. The finished height must be planned with the seat, posture, turning space, sink construction, and appliance doors in mind.
A single lowered section may serve seated preparation while the rest of the kitchen remains at a standing height. That arrangement can be useful in a mixed-use kitchen, but the transition must leave enough clear space for movement and must not place a sharp height change where someone naturally approaches the counter.
For a seated user, the counter surface, sink, cooktop, and storage should be considered together. A lowered counter beside a deep undermount sink may still be difficult to use if the basin, faucet, or cabinet below limits approach.
Accessible kitchen design should be coordinated with the user’s actual mobility needs and the applicable local requirements. The U.S. Consumer Product Safety Commission provides consumer safety information, while the Food and Drug Administration provides food and kitchen-related safety guidance; neither replaces a site-specific accessibility assessment or local building review.
Tasks that may deserve different heights
A kitchen can contain more than one useful working level. A main preparation counter may support standing work, a lower section may support seated tasks, and a raised eating area may separate dining from food preparation. The goal is a deliberate relationship between height and use rather than a collection of arbitrary steps.
- Use the main counter level for the tasks performed most often while standing.
- Consider a lower work section for seated preparation or a user who finds the main surface too high.
- Keep a cooktop, sink, and preparation zone aligned with the posture required for safe and controlled use.
- Use a raised eating area only when the change in level supports seating and does not obstruct sightlines or circulation.
A countertop height should be judged by the posture it creates during the task. Decorative symmetry is secondary to a usable working position.
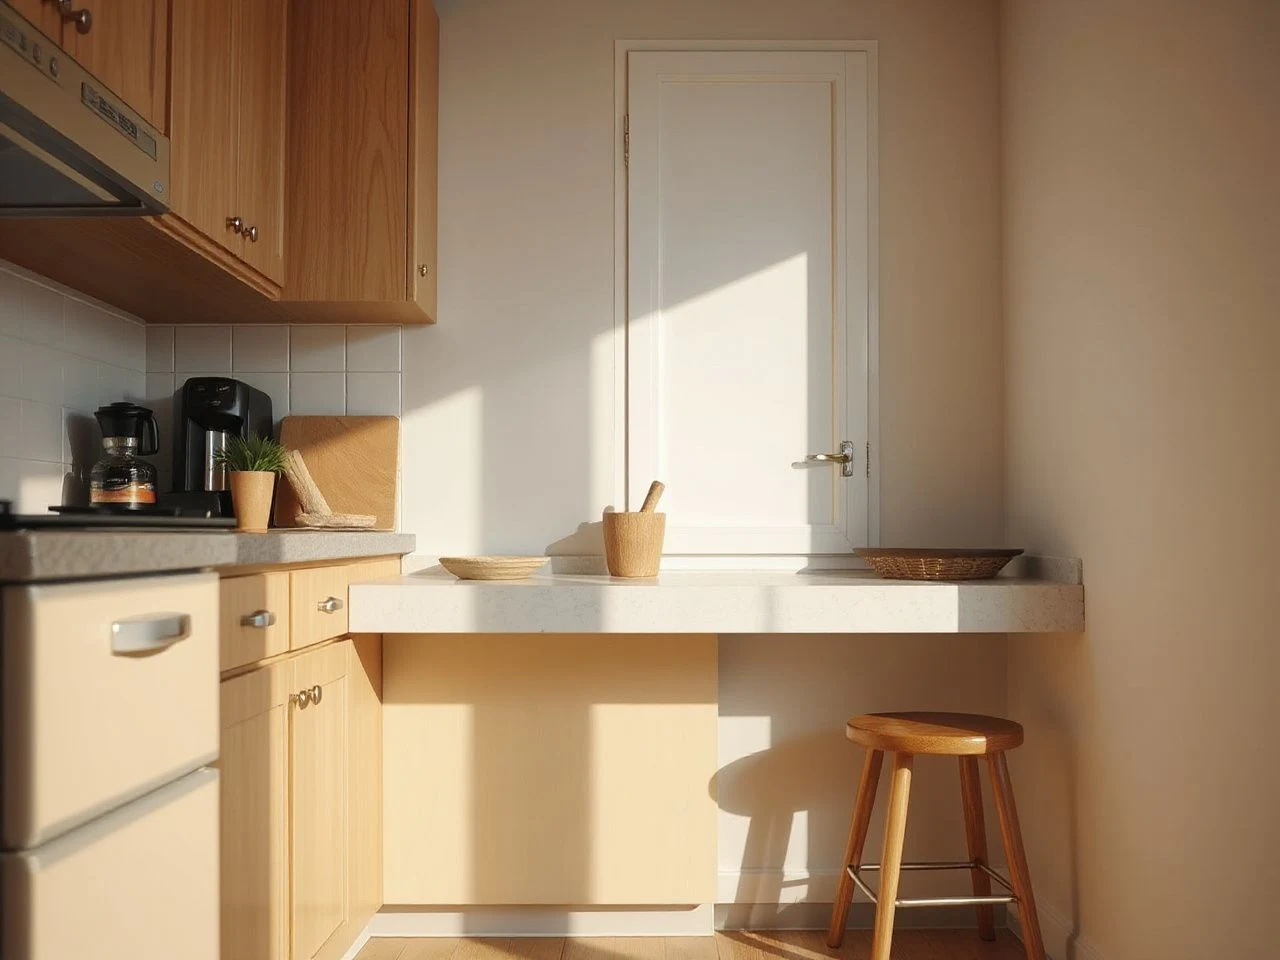
Coordinate Sinks, Appliances, Flooring, and Countertop Layers
Sink depth and the difference between sink types
Sink installation can change how the finished height feels. A deep sink lowers the basin floor below the counter, so washing dishes may require more reach than preparing food on the slab. An undermount sink places the counter edge close to the basin, while a drop-in sink introduces a rim at the top surface; both need to be considered in the finished elevation and the user’s posture.
Sink depth affects dishwashing posture even when the countertop itself remains at the planned height. A counter that feels comfortable for chopping may feel less comfortable at a deep basin because the hands work below the slab.
Check the faucet clearance, the sink cutout, the cabinet interior, and the plumbing route before changing the counter level. Lowering or raising the surface can alter the position of supply lines and the drain connection. The dishwasher opening also needs to remain aligned with the underside of the countertop and the adjacent cabinet fronts.
Dishwashers and built-in appliances
A dishwasher can limit a counter-height change because its opening, door, hose route, and top clearance must fit beneath the work surface. A change in finished height may leave a gap, compress the appliance opening, disturb the adjacent cabinet line, or alter the relationship between the dishwasher door and the floor.
Cooktop construction matters as well. A cooktop may sit above the cabinet, inside a cutout, or in a layout that requires clearance beneath the countertop. The appliance manual and the installer’s site measurements should settle the fit; do not infer compatibility from the worktop height alone.
Built-in appliances are part of the counter-height system. Their openings, doors, hoses, controls, and clearances must be checked at the same time as the cabinets.
Flooring and adjustable cabinet legs
Flooring can change the final result in two ways. A new floor may sit above the old surface, or cabinets may be installed before the finished floor is complete. In both cases, the reference level needs to be explicit. Adjustable cabinet legs can help set the cabinet run, but they do not remove the need to account for the countertop slab and support layers.
Mark the finished floor level at the cabinet run and at the island location. A kitchen island may sit on a different flooring condition from the perimeter if the plan includes a transition, so the island should not be assigned a height from the main cabinets without checking its actual base.
Compliance and installation checks
Safety and compliance questions belong with the relevant authority and the appliance documentation. The National Sanitation Foundation publishes standards and certification information related to public health, while the American Society for Testing and Materials develops voluntary consensus standards; their guidance should be checked directly for a particular appliance, material, or installation question.
These references do not provide a universal personal counter height. They help identify where a safety, sanitation, material, or certification question needs a qualified answer rather than an assumption based on cabinet dimensions.
Plan Islands, Seating, Depth, and Existing-Kitchen Changes
Should an island match the main counters?
An island does not have to match the main counter height. Matching levels can make a small kitchen feel visually continuous and provide one uninterrupted preparation zone. A different level can separate food preparation from eating, provide a seated work area, or accommodate a change in user posture.
Choose the island height by its dominant purpose. An island used mainly for preparation should relate to the main work surface. An island intended for table-height seating generally measures about 30 inches high. A bar-height counter commonly measures 42 to 48 inches. These are planning references, not instructions to force every island into one category.
A raised eating area can protect the preparation surface from view and give stools a defined edge, but the raised section may interrupt serving, conversation, or sightlines. A single-level island offers a simpler surface for spreading food and moving items across the top. The better choice follows the room’s work and seating pattern.
Seating, knee space, and overhang
A standard table-height surface is approximately 28 to 30 inches from the floor. Standard dining-table seating needs approximately 18 inches of knee space, and a stool or chair for that table-height setting measures about 18 to 23 inches high.
For an island overhang at counter height, an ideal knee space is 15 inches deep. The overhang must be supported as part of the countertop design, and the supporting structure should be confirmed before fabrication. The seating edge also needs a clear approach so knees do not collide with cabinet doors, panels, or nearby circulation.
Overhang depth is only one part of seating comfort. The finished counter height, seat height, foot support, knee clearance, and path behind the stools work as one arrangement.
Changing an existing kitchen
Existing counters can sometimes be raised or lowered without replacing every cabinet, but the work is rarely limited to moving the slab. The change may affect adjustable cabinet legs, cabinet alignment, sink plumbing, faucet connections, dishwasher fit, cooktop clearance, backsplash proportions, outlets, and adjoining surfaces.
A lower counter may require a different appliance opening or a change to the dishwasher position. A raised counter may leave a gap at the wall, alter the relationship to a window, or require changes to the backsplash. Flooring transitions can create another visible break between the altered run and the rest of the room.
Before approving a change, list every connected element and mark which one controls the decision. The controlling element may be the dishwasher opening, the sink and plumbing, a window, an adjacent counter, or the needs of a seated user.
Renovation cost depends on the scope of those connected changes, the materials already installed, and the trades required. A reliable estimate cannot be derived from counter height alone, so request a written scope that names plumbing, electrical work, cabinet changes, flooring, backsplash, countertop fabrication, and appliance reconnection where relevant.
Use the doorway and route as part of the plan
Large countertop slabs, assembled cabinets, appliances, and temporary supports all need a route into the room. Check doorway width, turns, floor protection, and the final placement area before the delivery or installation sequence is fixed. A beautiful island plan is incomplete if the slab cannot reach the kitchen without damaging a wall, floor, or neighboring surface.
Room access is part of kitchen planning. The finished counter must fit the room, and the parts used to build it must fit the route into the room.
The same practical check applies to a narrow kitchen with a pantry-free layout. Storage planning around the island and perimeter may affect circulation, so the guidance in this guide to organising a kitchen without a pantry can help connect counter dimensions with everyday storage access.
A Clear Planning Sequence for the Final Height
Step 1: Define the dominant user and task
Write down who uses the main work area and how the surface is used most often. Identify standing preparation, dishwashing, cooking, seated work, eating, or a mixed routine. A kitchen with several users may need one primary height plus a separate section rather than one compromise surface.
The dominant task should control the primary counter height. Decorative alignment should follow the working posture, not replace it.
Step 2: Set the finished floor reference
Confirm the floor surface that will exist after installation. Include flooring that has not yet been laid, transitions between materials, and the surface beneath an island. Mark the finished floor line clearly so every later measurement shares the same starting point.
Step 3: Build the height from the top downward
Start with the intended finished countertop height, then account for countertop material thickness, underlayment, cabinet construction, and adjustable cabinet legs. The cabinet setting is the result of that calculation, not the starting assumption.
- Finished floor line
- Adjustable cabinet legs
- Base cabinet structure
- Support or underlayment
- Countertop slab
- Top finished work surface
Keep the calculation beside the installation drawing. A short written stack-up can prevent a long correction later.
Step 4: Place the sink and appliances on the same drawing
Show the sink depth, faucet clearance, undermount or drop-in installation, dishwasher opening, cooktop construction, and cabinet interiors. Confirm that hoses, drains, doors, controls, and clearances still work at the selected height.
Appliance alignment should be verified before the countertop is fabricated. A finished slab cannot solve an opening that was planned at the wrong level.
Step 5: Check island seating and circulation
Decide whether the island is for preparation, seating, or both. Use the relevant reference: a standard work surface around 36 inches, table-height seating around 30 inches, or bar-height seating between 42 and 48 inches. If seating is included, account for the 15-inch ideal knee space at a counter-height overhang and the required support below the slab.
Place stools or chairs on the plan and check the route past them. A kitchen island layout succeeds only when the seating position and the work path can coexist.
Step 6: Confirm wall relationships and access
Mark the top and underside of the countertop against windows, backsplash zones, outlets, wall cabinets, and adjacent surfaces. Then confirm the doorway route for cabinets, appliances, and the slab. If a rug will sit near the work area, keep it outside the measurement reference; a rug may be considered later through this kitchen rug buying guide, but it should not define the floor-to-counter dimension.
Step 7: Approve the completed elevation
Before installation, review one elevation that shows the finished floor, the countertop top, the countertop underside, the sink, the dishwasher, the cooktop, the backsplash, and nearby surfaces. Ask the installer to identify the measurement that will be checked after the floor and countertop are in place.
A final elevation is more dependable than a cabinet-only schedule because the elevation shows the relationships that make the kitchen usable.
Frequently Asked Questions
What is the standard kitchen counter height?
The standard finished height is typically 36 inches from the floor to the top of the countertop. That figure describes the completed surface, not the base cabinet box. Countertop thickness, underlayment, adjustable cabinet legs, and flooring must be included in the calculation. A different finished height may suit seated preparation, a mixed-use kitchen, or a user whose posture is more comfortable at another level.
How should countertop thickness be included in kitchen counter height?
Measure the target from the finished floor to the top of the slab, then subtract the countertop thickness and any support layer to establish the cabinet setting. The cabinet box does not represent the finished height by itself. Mark the slab top and underside separately on the wall or elevation drawing so the installer can verify both the visible surface and the appliance openings beneath it.
Can a dishwasher limit a change in counter height?
Yes. A dishwasher opening, door, hose route, and top clearance must fit beneath the planned countertop and align with neighboring cabinets. Raising or lowering the surface can create a gap, compress the opening, or disturb the floor and plumbing relationship. Check the appliance documentation, the actual cabinet opening, the finished floor, and the countertop underside before changing the height.
What counter height works for someone who cooks while seated or uses a wheelchair?
No single height suits every seated user. Plan the surface with the person’s seat, approach, knee and foot clearance, sink depth, faucet reach, cooktop controls, and storage access. A dedicated lowered section may work beside a standing-height run, provided the transition does not obstruct movement. A qualified designer, contractor, or accessibility professional should review the complete layout and applicable local requirements.
Is a raised eating area better than a single-level island?
A raised eating area can separate dining from preparation and give stools a distinct edge. A single-level island creates one continuous work surface and may make serving or moving ingredients easier. Use the island’s main purpose to decide. Table-height seating is around 30 inches, while bar-height counters are commonly 42 to 48 inches; the surrounding clearance and knee space matter as much as the level.
How does flooring affect the final counter height?
Flooring changes the reference point from which the counter is measured. A new floor can sit above the existing surface, and an island may have a different floor condition from the perimeter. Set the finished floor line first, then calculate legs, cabinets, support layers, and the slab above it. Never use a temporary rug, loose mat, or unfinished subfloor as the final height reference.