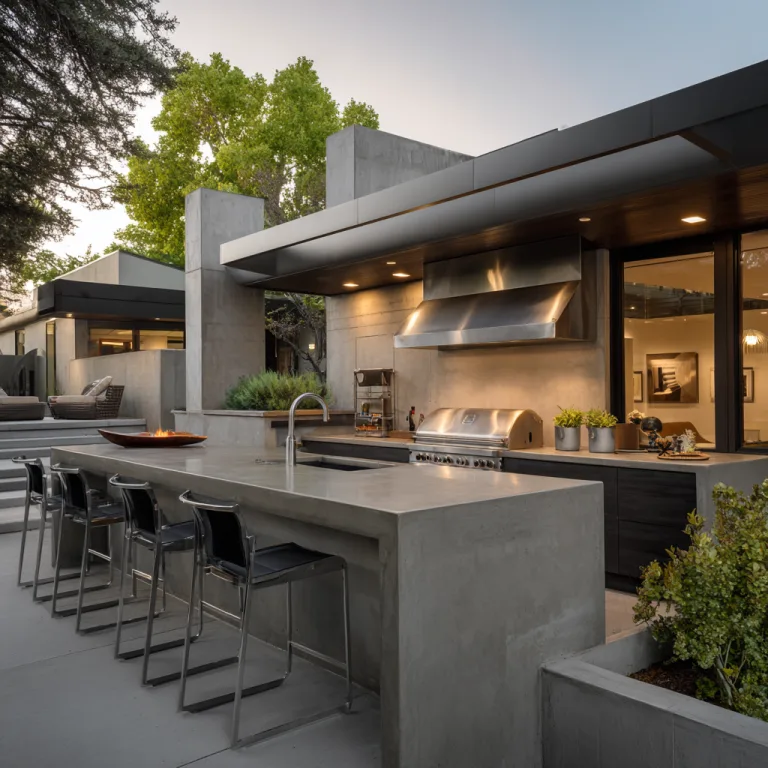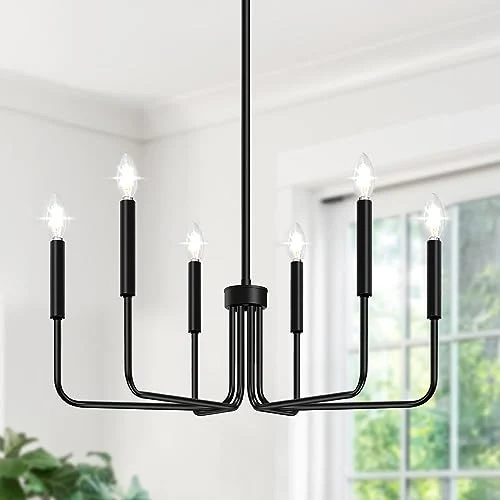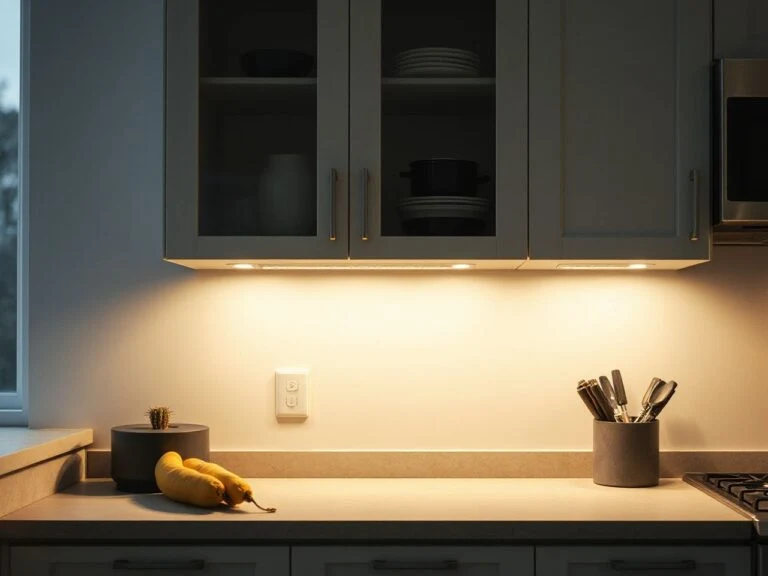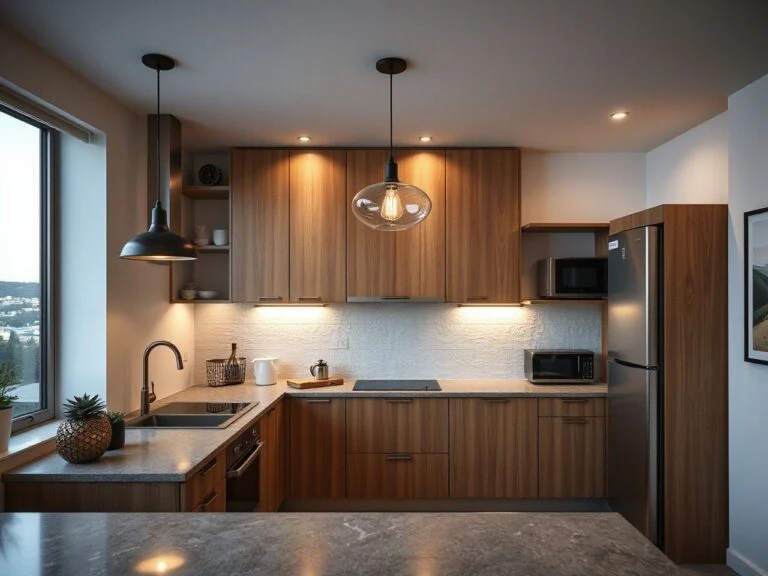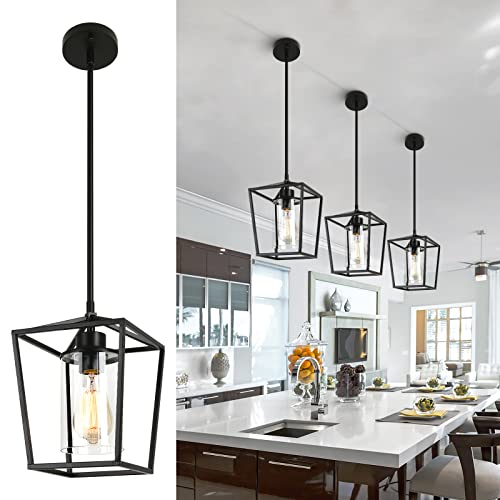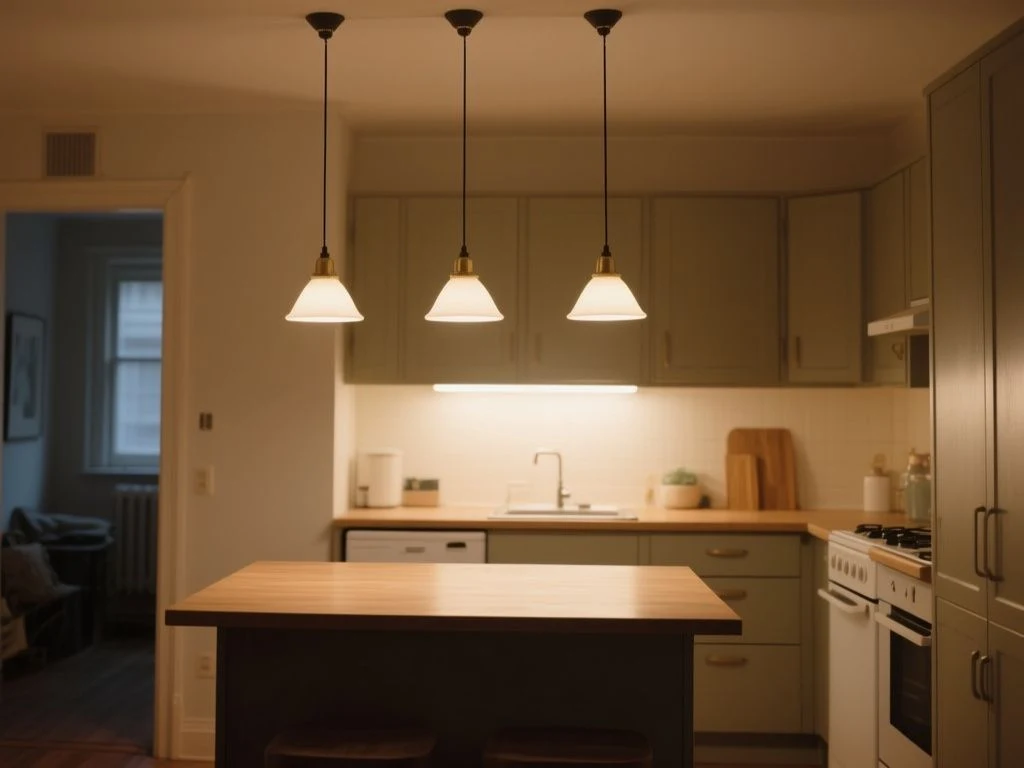
Kitchen lighting has shifted toward layered, deliberate layouts, with pendant lights doing more than filling an empty patch of ceiling. The practical distinction is between visual coverage and fixture count: a long island may need several evenly distributed light sources, while a compact island can be better served by one appropriately sized pendant rather than automatically using three. Spacing must be judged from both the island ends and the people’s sightlines, then checked against pendant diameter, countertop clearance, light output, junction-box locations, and dimmer compatibility.
That is the useful answer to how many pendant lights over an island: start with the island’s proportions, not a fashionable odd-number rule. The priority is always the light pattern on the work surface and the view across the room.
Key Takeaways
- A pair of pendants generally suits a 4–5 foot island, while 2–3 can work across a 6–8 foot island.
- Islands measuring 9–12 feet may use 3–5 pendants, depending on pendant diameter and light output.
- Keep pendant centers 24–30 inches apart and hang the bottom roughly 30–36 inches above the countertop.
- Confirm junction-box support, fixture listing, local code, and dimmer compatibility before installation.
How many pendant lights over an island should you plan?
The number of pendant lights is not set by a universal rule. Island length and width, pendant diameter, ceiling height, light output, electrical positions, and sightlines all affect the layout. A useful planning reference is one pendant for each 2 feet of island length, but that figure is a starting point rather than permission to crowd a short island with fixtures.
A 4–5 foot island generally suits two pendants. A 6–8 foot island can accommodate two or three. A 9–12 foot island may use three to five, although the larger count only makes sense when the fixtures remain visually separated and the light reaches the working area without glare.
Island length provides the first estimate, but pendant diameter determines whether that estimate looks balanced. A pair of broad pendants over a compact island can occupy the same visual territory as three smaller fixtures, and a single large pendant can give a small island a calmer composition than several narrow shades.
Six-foot, eight-foot, nine-foot, and ten-foot islands
For a 6-foot island, two pendants are the restrained choice and three are possible if the fixtures are compact enough to preserve clear spacing. An 8-foot island gives you more room for three, especially when the island is used for both preparation and seating. The electrical plan matters as much as the visual plan; a neat arrangement cannot compensate for boxes placed in the wrong positions.
A 9-foot island commonly falls into the three-pendant range, while a 10-foot island can support three, four, or more fixtures within the broader 9–12 foot guidance. Do not treat the upper end of that range as a target. The right count is the one that provides even coverage while leaving the ceiling visually calm.
One large pendant versus two or three smaller pendants
One large pendant suits a compact island when the fixture has enough light output for the task and its diameter does not overwhelm the counter. The arrangement also leaves the ceiling less interrupted, which can help a small kitchen or an open-plan room with several competing sightlines.
Two smaller pendants are usually easier to distribute across a medium island because each source can sit nearer to a working zone. Three smaller pendants make sense on a longer island when the center-to-center gaps remain within the 24–30 inch planning reference and the outer fixtures do not drift too close to the ends.
One large pendant is not automatically superior to three small pendants; the correct choice depends on coverage, scale, and the view across the kitchen. The quieter single-fixture composition suits a short island, while three fixtures work better for a length that can carry them without a crowded ceiling.
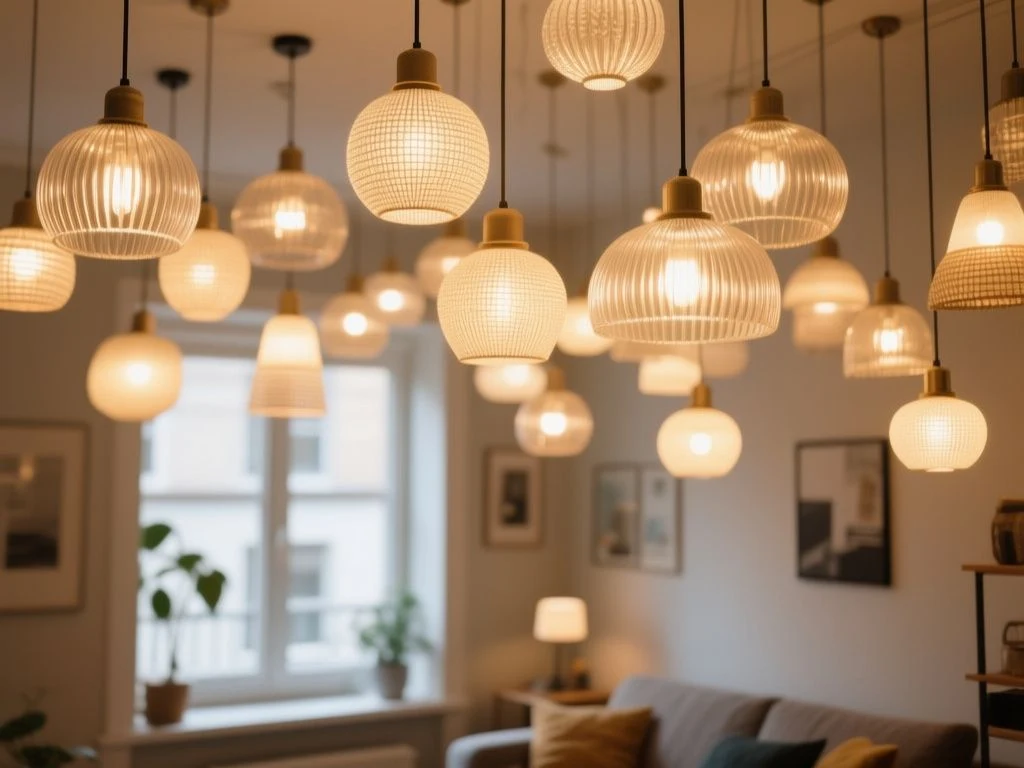
Step 1: Measure the island and choose the visual coverage
Start with length, then check width
Measure the usable island length, excluding any projection that does not receive light or any end section that sits outside the main work zone. Mark the centerline along the island. This gives you a visual reference for pendant placement before you consider the ceiling boxes.
Island width changes the decision because it changes the size of pendant that can sit comfortably over the surface. A common sizing reference is to take the island width and deduct 12 inches to estimate pendant diameter. Use that as a guide, not a fixed command, because a wide shade can still feel imposing in a room with low ceilings or a narrow walking route.
Island width affects pendant scale because a fixture that suits the counter may still crowd the surrounding sightlines. Check the seating side, nearby walkway, upper cabinets, and any open view into the dining or living area before committing to a broad shade.
Place the outer pendants before the center ones
People often start by dividing the island into equal sections, then discover that the end fixtures sit too close to the corners. Begin with the outer positions instead. Leave a visually comfortable margin from each island end, then distribute the remaining fixtures between those points while keeping center-to-center distances in the 24–30 inch range.
The verified spacing reference is measured from the center of one pendant to the center of the next, not from shade edge to shade edge. Pendant diameter therefore matters. Two large shades may need more apparent breathing room than two narrow ones, even when their center points match.
Use odd numbers as a visual preference, not a law
Three pendants often look natural because the center fixture creates a clear midpoint. Five can suit a long island when the ceiling and architecture can carry that rhythm. Two pendants can look equally intentional when they align with the island’s working zones or seating positions.
An odd number of pendants is a composition choice rather than an electrical or lighting requirement. Symmetry, clear sightlines, and useful coverage matter more than forcing three fixtures over an island that only needs two.
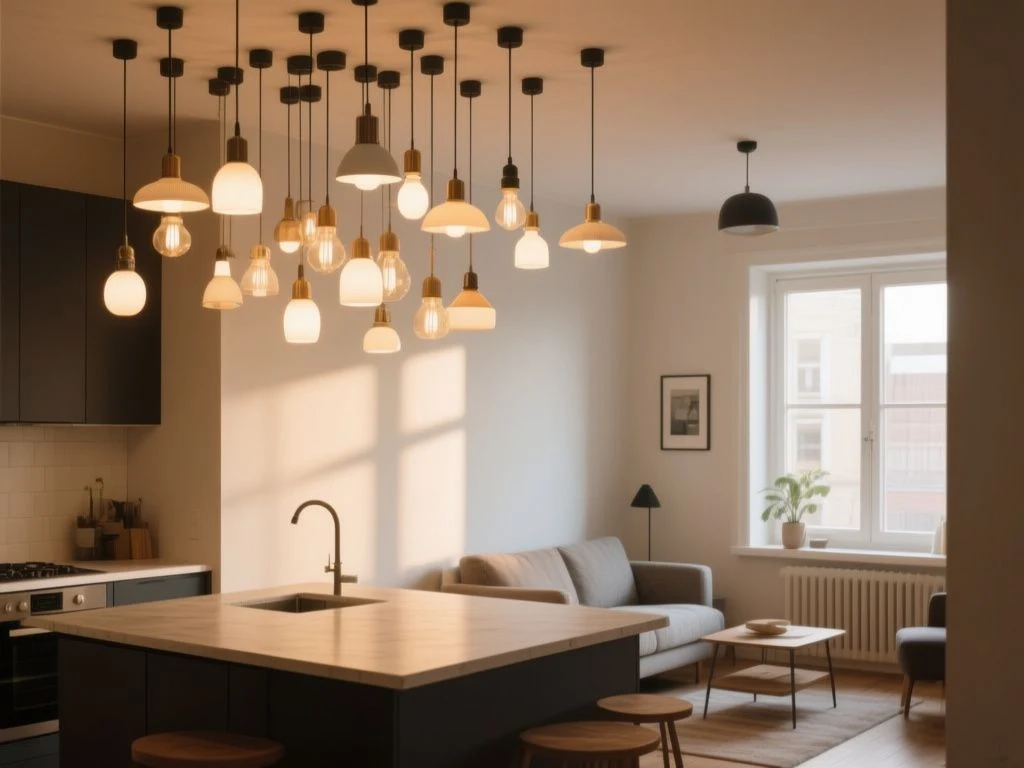
Step 2: Set the pendant height and protect the sightline
Use the 30–36 inch countertop reference
The bottom of a pendant is commonly positioned roughly 30–36 inches above the countertop. Measure from the finished counter surface to the lowest part of the fixture, not to the canopy at the ceiling. The installation instructions, ceiling conditions, and local requirements take priority over the general reference.
Rooms with ceilings under 9 feet are commonly planned near the 30-inch mark. Ceilings measuring 10 feet or more can allow 36 inches or more from the countertop, provided the fixture instructions and sightlines support that position.
The bottom of a pendant should be checked from standing and seated positions because countertop clearance alone does not protect the view across an island. A low shade may look dramatic in a rendering but interrupt conversation and sightlines in an open kitchen.
Account for ceiling height and nearby walkways
A low ceiling calls for greater restraint in fixture size and hanging length. The island may have sufficient vertical clearance while the nearby walkway feels compressed by a wide or low pendant. In an open-plan kitchen, check the sightline from the room entrance, dining table, and main cooking route.
A walkway beside the island also changes the risk of visual crowding. Keep the fixtures centered over the island rather than drifting toward the walking side. If the island includes seating, the pendants should illuminate the surface without hovering directly in front of people’s faces.
Change the plan for a cooktop island
A cooktop changes the lighting brief because the pendant sits above heat, steam, cooking activity, and airborne grease. The fixture must follow its installation instructions and local electrical requirements, and the finish should be easy to clean. The layout should also avoid creating a bright reflection or a low obstruction directly in front of the person cooking.
When the island is mainly for food preparation, task lighting deserves priority. When it is mainly for eating, ambient lighting and comfortable dimming carry more weight. A mixed-use island needs both, which is why a dimmer switch and layered kitchen lighting can be more useful than adding another pendant.
Step 3: Plan brightness, colour, and control
Judge brightness in lumens, not bulb wattage
Pendant count and brightness are linked, but they are not the same decision. A greater number of fixtures does not guarantee a better-lit work surface if the shades direct light upward or the lamps provide limited output. Review the listed lumens for each lamp or integrated LED, then consider how the shade directs that light onto the island.
Bulb wattage describes electrical consumption, not the amount of visible light produced. For that reason, wattage alone is a poor way to compare an LED pendant with another LED pendant. The listing should make the light source and output clear; if it does not, the missing information is relevant to the plan.
Kitchen island brightness should be evaluated in lumens because wattage alone does not describe visible light output. Chopping, serving, and eating can require different moods, so the useful solution is often adjustable light rather than maximum brightness at every moment.
Choose CRI and CCT for the job
The Color Rendering Index (CRI) describes how faithfully a light source shows colours, which matters when food preparation takes place on the island. The correlated color temperature, or CCT, describes whether the light appears warmer or cooler. Match the pendant to the rest of the kitchen rather than choosing a value in isolation.
Under-cabinet and recessed kitchen lighting may already shape the room’s colour appearance. Pendants that differ noticeably from those layers can make the island feel disconnected. The same principle applies to nearby dining or living spaces in an open plan.
Confirm dimmer compatibility
An LED lamp and an integrated-LED pendant must be compatible with the dimmer switch. Compatibility is not automatic. Check the fixture instructions and the dimmer documentation for the approved pairing, and do not assume that a dimmer designed for one LED setup will behave the same way with another.
A compatible dimmer switch lets island pendants shift from food preparation to eating without changing the fixture count. If the pendant has an integrated LED, the manufacturer’s control requirements deserve particular attention because the light source cannot be swapped like a standard lamp.
For a deeper comparison of task and ambient approaches, see how pendant lights compare with recessed lighting in a layered kitchen. The choice may affect not only appearance but also the location of switches, ceiling boxes, and other lighting layers.
Step 4: Check boxes, support, listings, and cleaning access
Do not assume one electrical box can support several pendants
Multiple pendants may require correctly positioned electrical junction boxes and adequate structural support. An existing box should not automatically be assumed to support several fixtures. The electrician needs to confirm the wiring route, box positions, support method, and local requirements before the ceiling is closed or the final finish is installed.
It addresses proper electrical installation, while the fixture instructions and local code determine the requirements that apply to the project. The National Fire Protection Association publishes NFPA 70, so use the official source alongside advice from a qualified local electrician.
The National Electrical Code does not create a universal decorative rule for how many pendants belong over every island. The electrical installation still needs suitable support, wiring, listing, and compliance with local requirements.
Look for recognized fixture certification
Check the fixture label and documentation for the relevant listing. UL 1598 is a safety standard for luminaires, and the UL Solutions site provides information about its standards and certification work. An Intertek ETL Listed Mark is another certification mark readers may encounter; information about Intertek’s electrical product certification is available through Intertek.
These marks do not tell you how many pendants suit your island, but they are part of checking whether the fixture has been evaluated under a recognized certification route. The National Kitchen & Bath Association can also inform general kitchen planning discussions, but local electrical requirements and the fixture’s installation instructions remain the controlling details for an actual installation.
Plan for grease and dust
Pendants over an island collect the same kitchen dust and airborne grease that settles on other exposed surfaces. A shade with intricate openings takes longer to clean than a smooth, accessible form. The fixture should be switched off and allowed to cool before cleaning, and the manufacturer’s care instructions should govern the materials and method.
Keep the electrical parts dry and avoid spraying cleaner directly onto the fixture. A soft, dry or lightly damp cloth is a sensible starting point only when the manufacturer permits it. Cleaning access belongs in the design decision, especially above a cooktop where residue can build up more quickly.
Easy-to-reach pendant surfaces are simpler to maintain than intricate shades positioned above a cooking island. A beautiful arrangement loses some of its value if cleaning requires awkward access or risks damaging the finish.
Practical layouts for common island proportions
Compact islands
A compact island often benefits from one appropriately sized pendant rather than a cluster. The fixture should sit over the central work area, with its diameter considered against the island width and nearby walkways. If the light source is small or directional, a pair may provide more even coverage, but only if the island length gives them room.
Do not add a second fixture merely to make the ceiling look symmetrical with another room. The island’s function and the light pattern should lead. A single pendant can be the stronger composition when the kitchen already has recessed or under-cabinet lighting.
Medium islands
For a 4–5 foot island, two pendants generally create a balanced layout. Keep their centers 24–30 inches apart where the fixture sizes and island proportions permit, then check the outer margins. The pair should read as one composition rather than two lights pushed toward the ends.
On a 6–8 foot island, two pendants remain possible, while three can improve distribution when the fixtures are small enough. Three should not be treated as mandatory. If the pendants are broad, two may provide a cleaner ceiling and less visual interruption.
Long islands
A 9–12 foot island may use three to five pendants. At this length, even distribution becomes more important than the odd-number preference. The fixtures should cover the preparation and seating areas without placing the outer pendants directly over the island corners.
Long islands also expose poor alignment. Check the pendant line against the island center, upper cabinets, sink, and nearby architectural features. A technically even sequence can look wrong if it ignores the room’s larger geometry.
Long islands need evenly distributed light sources, but a higher pendant count is useful only when spacing and sightlines remain comfortable. That is why the layout should be marked physically before the junction boxes are installed.
What changes the answer?
Seating and people’s sightlines
Seating introduces faces, conversation, and a lower eye level. A pendant that clears a standing person may still interrupt a seated view if the shade is broad or opaque. Check both positions before finalizing the height.
Low ceilings
Low ceilings make the 30-inch end of the countertop-clearance reference more relevant, subject to the installation instructions and local requirements. The fixture’s vertical shape also matters. A short, broad pendant may preserve more headroom than a long form with the same lower edge.
Nearby walkways and open plans
Open-plan kitchens need a sightline check from several directions. Pendants should belong to the island’s visual zone rather than forming a low barrier between the kitchen and adjacent rooms. If the island sits beside a main route, fewer fixtures with clearer spacing may be more comfortable than a dense row.
Existing electrical locations
Existing boxes can limit an otherwise attractive arrangement. Moving or adding boxes may be necessary, and that work should happen before the ceiling finish is complete. The electrical plan should also coordinate island outlets, junction boxes, and switches instead of treating each item as a separate decision.
Electrical junction-box locations can determine the feasible pendant layout before style enters the decision. A beautiful three-light plan is not complete until its boxes, supports, wiring, and controls have been confirmed.
Frequently Asked Questions
How many pendant lights over an island should I use for a 6-foot island?
A 6-foot island can usually accommodate two pendants, and three are possible when the fixtures are compact enough to preserve clear spacing. Keep pendant centers 24–30 inches apart where the dimensions allow, then check the outer positions against the island ends and sightlines. Pendant diameter, brightness, ceiling height, seating, and existing junction-box locations can all change the final answer.
Is one large pendant better than two or three smaller pendants?
One large pendant can suit a compact island when its diameter and light output fit the room. Two or three smaller pendants can distribute light more evenly across a medium or long island. The choice is visual and functional rather than a universal rule. Compare the pendant size with the island width, then check whether the arrangement blocks views or crowds a nearby walkway.
How high should pendant lights hang above a kitchen island?
The common planning reference places the bottom of the pendant roughly 30–36 inches above the countertop. Rooms with ceilings under 9 feet are commonly planned near 30 inches, while ceilings of 10 feet or more may allow 36 inches or more. The fixture instructions, ceiling conditions, sightlines, and local requirements take priority, so measure from the finished counter to the lowest fixture point.
Can one existing electrical junction box support multiple island pendants?
Do not assume that it can. Multiple pendants may require correctly positioned junction boxes, suitable wiring, and adequate structural support. The National Electrical Code generally does not prescribe decorative pendant count, but the installation must satisfy local requirements and the fixture instructions. A qualified electrician should confirm the box arrangement and support before the ceiling is closed.
Will an LED pendant work with my dimmer switch?
Compatibility depends on the LED lamp or integrated-LED pendant and the dimmer switch. Check both manufacturers’ documentation rather than relying on the fact that the light is LED. The listed lumens, control requirements, and approved dimming method should be reviewed together. A compatible dimmer can make one well-planned lighting arrangement work for preparation, serving, and eating.
How do I reduce grease and dust on pendants over a cooktop island?
Choose a fixture whose exposed surfaces are accessible and follow the manufacturer’s cleaning instructions. Switch the light off and allow it to cool before cleaning, keep electrical parts dry, and avoid spraying cleaner directly onto the fixture. A smooth shade is generally simpler to maintain than an intricate form, but the fixture documentation should decide which cloth and cleaner are suitable.
The final rule is simple: count the pendants only after you understand the island’s length, width, light output, ceiling, electrical plan, and sightlines. A closer look at pendant and recessed kitchen lighting can help when the island needs task light but the room also needs a quieter layer of ambient illumination.