A kitchen can have a perfectly tidy ceiling plan. Still, it might leave the chopping board, sink, or hob in shadow. The key difference in modern kitchen lighting is between lighting the room and lighting the surfaces where work happens. A neat ceiling plan can still leave chopping areas and sinks in shadow. A good plan should be judged by beam direction, glare, control flexibility, cabinet relationship, and cleaning access. Don’t focus solely on how the fitting looks. These modern kitchen lighting ideas start with that distinction.
Key Takeaways
- Layer ambient, task, and accent lighting so worktops receive useful light instead of relying on the ceiling alone.
- Position downlights and pendants around standing positions, cabinet depth, reflective surfaces, and sightlines.
- Judge flat-pack fittings by their brackets, mounting hardware, wiring access, and control compatibility before judging the finish.
Modern kitchen lighting ideas start with the work zones
Start with the kitchen layout instead of a catalogue page. Mark the main worktop, sink, hob, island, dining area, tall cabinets, and open routes into the living room. Each zone needs a useful relationship between the light source and the surface below it. That relationship makes the lighting effective and practical.
A kitchen needs layered lighting because ambient illumination alone usually leaves worktops, sinks, and cooking areas in shadow. Ambient lighting fills the room, but task lighting supports work. Accent lighting highlights chosen cabinets, shelves, or architectural details with a quieter glow. These layers should work separately and together for best effect.
Use ambient light as the room’s base
Ambient lighting can come from recessed downlights, a central fitting, track lighting, or light spilling from an adjoining dining or open-plan living area. The key test isn’t symmetry seen from the doorway. Stand at the worktop and see if your body blocks the light reaching the surface.
Recessed downlights should be planned around cabinet depth and the user’s standing position. Don’t arrange them only in a symmetrical ceiling grid. A ceiling light directly behind a person can cast their shadow across the worktop, even if the room looks bright from a distance.
Recessed downlights need a clear relationship with cabinet fronts and worktop edges. A simple paper plan can show where a downlight beam lands before holes are cut. Using a temporary lamp can reveal if a standing position creates a shadow.
Give task lighting its own job
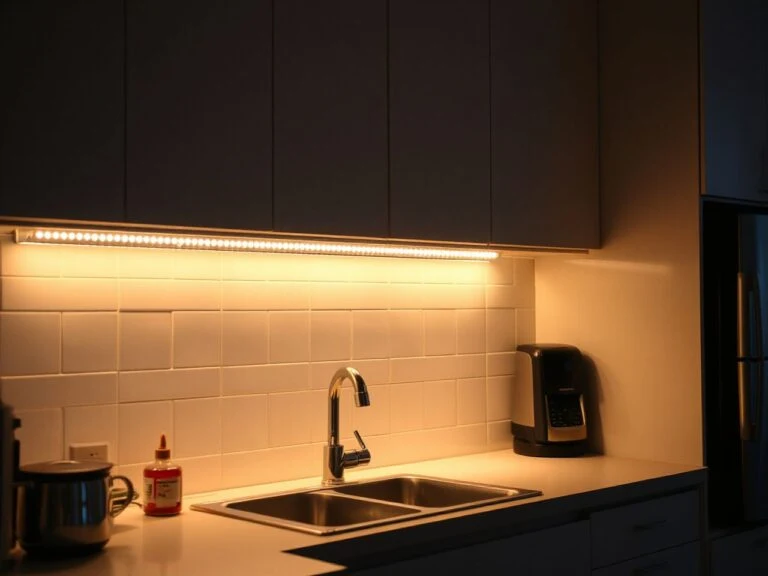
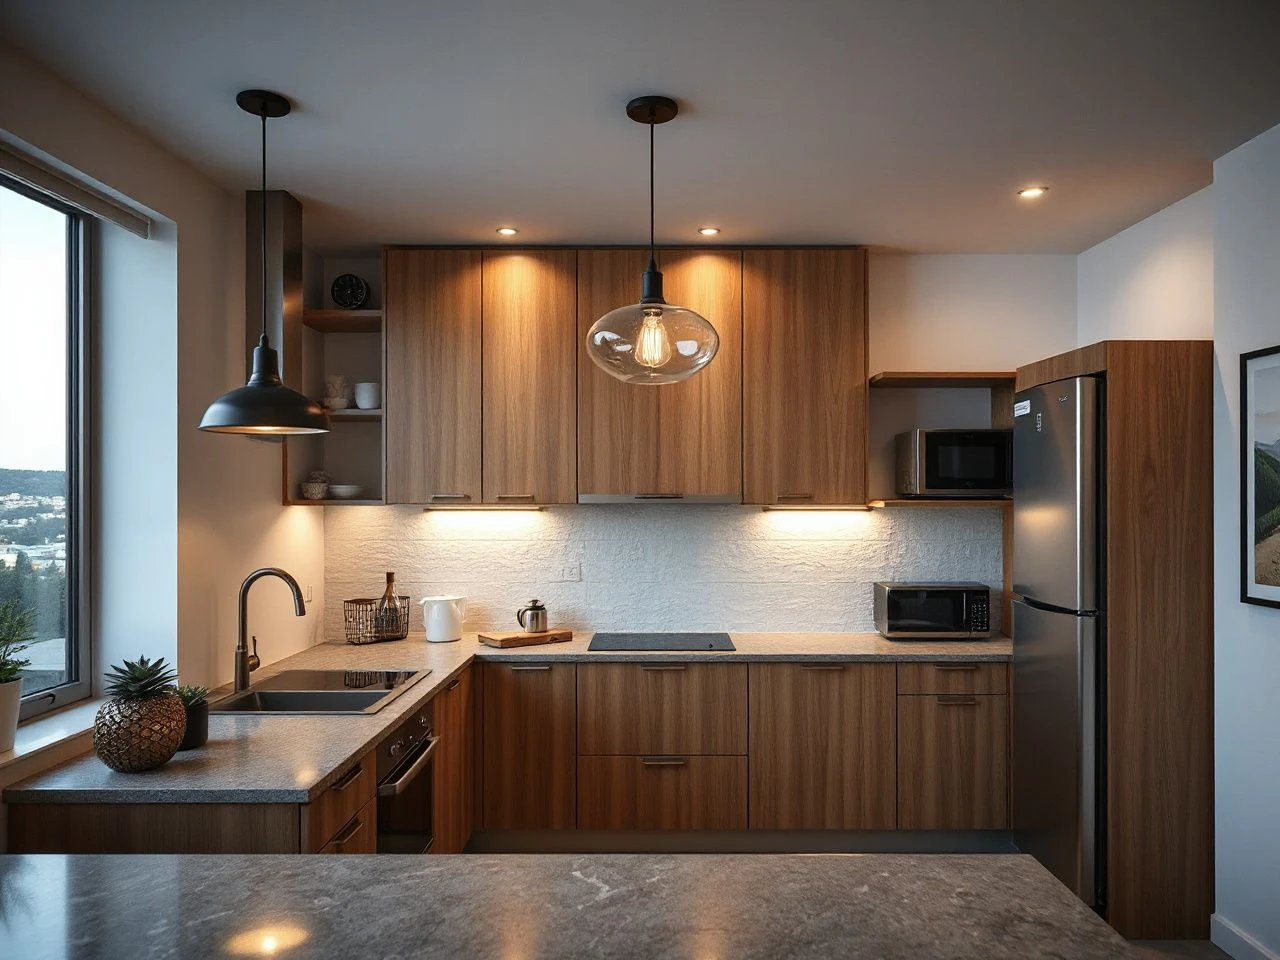
Task lighting should be placed close to surfaces where detail work happens. Under-cabinet light strips work well beneath wall cabinets because the cabinet can hide the source from view. The strip needs to provide continuous coverage so bright spots and dark gaps don’t appear along the surface.
Under-cabinet lighting requires concealed, accessible wiring. Concealed wiring keeps the clean look, while accessible connections allow for future servicing. The route depends on cabinet construction and electrical plans. Always follow fitting instructions and consult a qualified electrician for any permanent connections.
A sink needs the same attention as a chopping area. A downlight or under-cabinet light should illuminate the basin without causing glare from wet surfaces into the user’s eyes. Light near a hob or sink also has to be easy to clean since steam, grease, and splashes can soil exposed surfaces.
Use accent lighting with restraint
Accent lighting can highlight open shelves, textured backsplashes, glass-front cabinets, or a window reveal. It works best as a supporting layer and not as the only light near a work zone. A small pool of light adds depth but can’t replace clear light on a knife, sink, or cooking surface.
Light fittings are electrical devices that house one or more light sources along with the components needed to operate them. That matters in a kitchen because the visible shade is just part of the fitting. The bracket, wiring route, driver, diffuser, and control setup all influence how practical the installation is.
Choose the right fitting for the surface and sightline
Recessed downlights
Downlights give a quiet ceiling line and can suit a contemporary kitchen, but their placement decides whether they serve the room or the worktop. Avoid treating every ceiling as a blank grid. Align the plan with cabinet fronts, circulation paths, and the positions where people actually stand.
Glare is more noticeable on glossy cabinets, polished stone, stainless steel appliances, and glass surfaces. A beam aimed directly at a reflective surface can create a hard highlight that’s uncomfortable from the usual viewing position. Shift the light’s angle, soften the source when possible, and use dimming so the ceiling light doesn’t overpower the task lighting.
Downlights are most useful when their beam supports the worktop without shining directly into the user’s eyes. A fitting that looks evenly spaced on a drawing can still produce uneven light once tall cabinets and deep wall units are in place.
Pendant lights over islands and tables
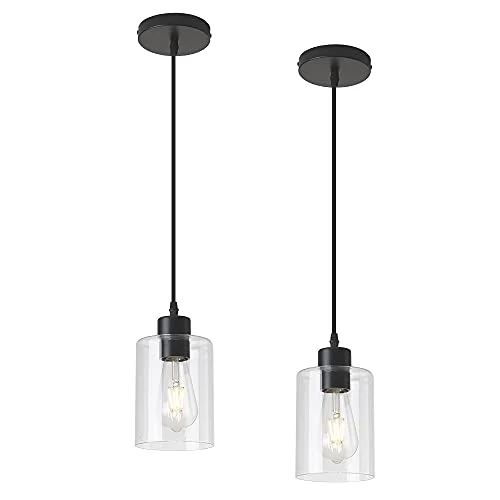
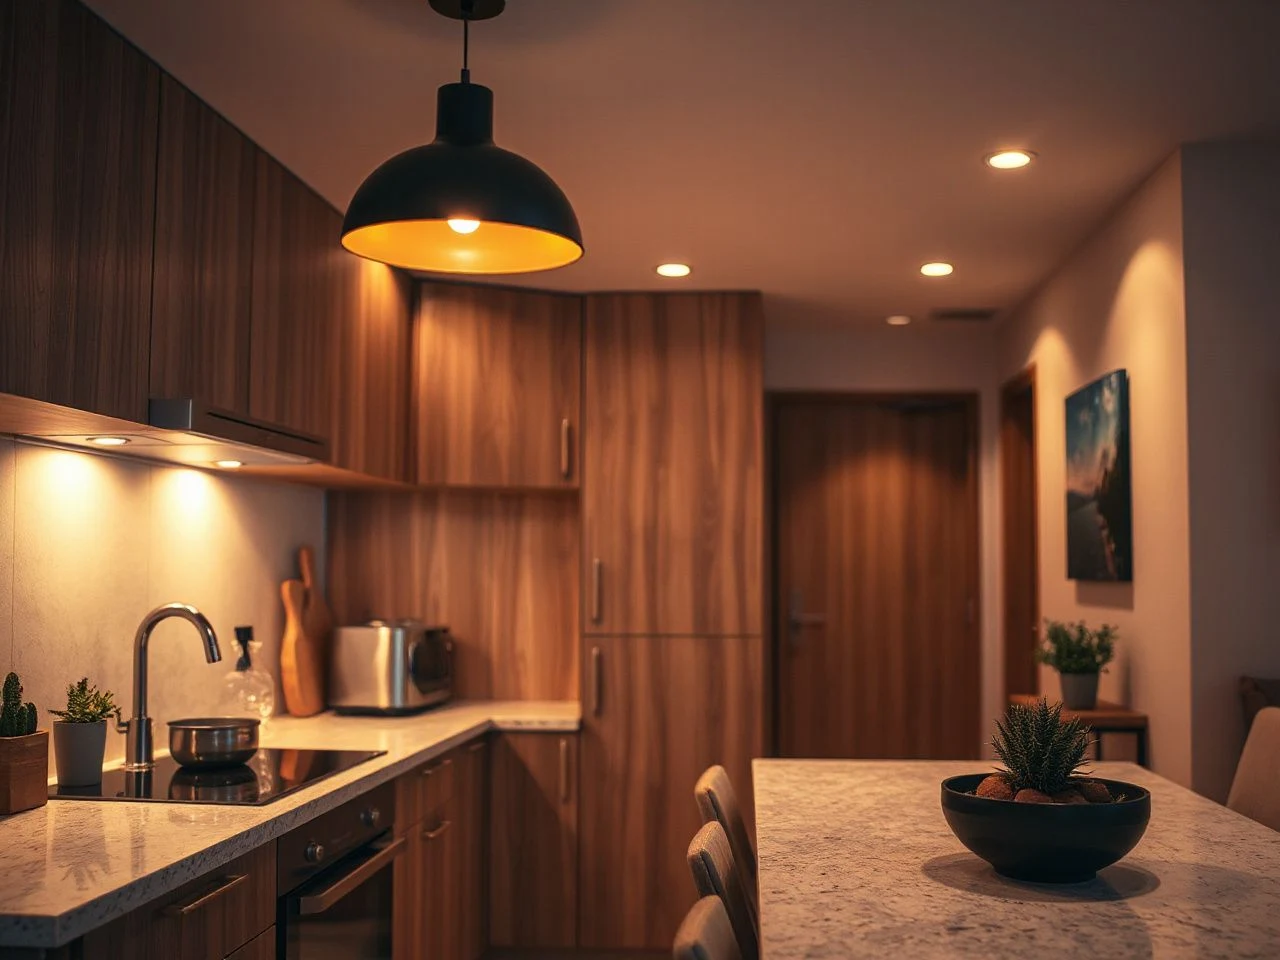
Pendant lights can add task and accent lighting over an island, breakfast bar, or dining table. Their success depends on the shade, the position of the source, the island’s relationship with nearby cabinets, and how the sightlines work across the open-plan room.
Opaque shades can hide the light source but may limit the spread across the island. Clear shades can distribute light more openly but may expose the source and create glare. A mesh pendant can add texture, although its pattern may cast visual shadows or become busy beside a detailed backsplash.
Keep the island’s working area visible from both standing and seated positions. Pendant lights shouldn’t obstruct conversation or create a bright eye-level source. The suspension hardware also needs attention: the ceiling plate must sit securely, the cable entry should stay neat, and the fitting should be serviceable without dismantling surrounding finishes.
Pendant lights work well over a kitchen island when their light is controllable and the hardware suits the ceiling. They can become uncomfortable if the visible source causes glare or if the pendant shadows the surface it’s meant to illuminate.
Track lighting and flexible arrangements
Track lighting can direct separate heads toward a worktop, sink, shelving, or dining table. This flexibility helps in rooms where fixed ceiling positions don’t align with the cabinets. The hardware’s importance is clear: the track has to sit neatly, the heads should be adjustable, and the electrical connection must follow the manufacturer’s installation instructions.
Compare recessed lights, track lighting, and pendants by considering what each illuminates, what it leaves dark, and how easily the light can be controlled. Recessed fittings keep the ceiling simple, track heads allow directional adjustment, and pendants bring the light source lower and more visible into the room. None alone can cover every work zone.
Materials and style without losing function
Modern kitchens can use oiled bronze, copper, brass, woven jute, or rattan in light fixtures, but the finish should follow the room’s larger material conversation. Brass may echo cabinet hardware; bronze can sit comfortably beside darker joinery; woven materials may soften a kitchen that otherwise has hard stone and metal surfaces.
Style choices still need a practical check. A lantern can add structure, a rustic fitting can warm a plain scheme, and a midcentury shape can sharpen simple cabinetry. Clear shades, mini pendants, or shade-free fittings can work when the source is comfortable to look at and the cleaning route remains accessible.
The finish of a fixture doesn’t determine whether a kitchen is well lit. Beam direction, mounting hardware, controls, and access for cleaning have a bigger impact on daily comfort.
Control glare, colour, and uneven light
Choose a light colour that belongs with the room
Light colour changes how cabinets, flooring, worktops, and paint appear. Warm light can support timber, brass, copper, and softer neutral finishes. A cooler appearance may suit crisp white cabinetry or a kitchen that receives strong daylight, but it can make some materials feel stark when used without balance.
Incandescent bulbs usually sit around 2800 to 3000 kelvins, while daylight is about 6400 kelvins. The key point is the contrast: natural daylight can change how a kitchen looks throughout the day. It’s best to compare the LED light source with the cabinet and worktop finishes in different lighting conditions, not just under one evening setting.
Color rendering also matters. A good source with high color rendering makes food, timber, paint, and worktop samples look closer to their true colors. If there are several light sources in the kitchen, avoid mismatched patches between the ceiling lights, cabinet lighting, pendants, and nearby dining area.
Make dimming a planned layer
Dimmers let you change your kitchen’s lighting from active prep to a softer evening glow. The ceiling layer can be dimmed while under-cabinet task lighting stays useful, or accent lighting can remain on while brighter sources are lowered. Measure the opening first.
Dimmers, switches, drivers, and smart controls need to match the LED fittings you choose. Mismatched parts may cause flicker, buzzing, or limited dimming. Always check the fitting and control instructions together instead of choosing a switch based only on how it looks.
Separate controls are easier to use when each one has a clear job. A practical arrangement may give ambient lighting, under-cabinet task lighting, pendants, and accent lighting their own controls, provided the wiring plan supports that arrangement. Smart home lighting controls can add scenes, but a physical switch should remain easy to locate and operate.
Reduce reflections and harsh patches
Harsh lighting usually comes from a bright source, a narrow beam, a reflective surface, or a large gap between light pools. Glossy cabinets and stainless steel appliances show these issues quickly. Move the light out of direct reflection, use a diffuser if needed, and dim the layer causing glare.
Uneven lighting often starts with gaps under cabinets or downlights placed more for symmetry than for lighting the worktop. Continuous under-cabinet lights help avoid bright spots and dark areas. Also, check the lighting from eye level because a surface can seem evenly lit from above but cause glare when standing.
LED lights can cut down on how often you’ll need to change bulbs compared to older options. But replacement costs still depend on the fitting and how accessible the light source or driver is. Layering lights doesn’t automatically mean higher energy use: separate controls let you turn off unused layers, and a high luminous efficacy produces more light per watt.
Plan installation, cleaning, and hardware access
Plan wiring before the cabinets arrive
Permanent light fixtures are wired directly to an electrical power source. Movable lamps get power through a cord and plug connected to a wall socket. That difference influences the kitchen plan. You need to resolve the cable route and control position before finishing surfaces. A pendant, recessed fitting, or hardwired under-cabinet strip requires planning first.
Kitchen electrical planning should consider cabinets, splash areas, the sink, hob, ceiling structure, and access panels. Light fittings near sinks, hobs, or zones exposed to steam and grease need proper placement and accessible cleaning. Electrical work must be done by a qualified electrician where necessary.
The U.S. Consumer Product Safety Commission publishes consumer safety information about electrical products and household hazards; its guidance is a useful reminder to follow installation instructions and treat damaged cords, loose parts, or signs of overheating as reasons to stop using a fitting and seek qualified help.
The ASTM International develops voluntary consensus standards used across many products and materials. It’s important to read the packaging, instructions, or certification markings of fittings. This is especially true when installation is near moisture, heat, or grease.
Judge flat-pack fittings by their hardware
Flat-pack lighting can look sleek in photos but still be tricky to install. Check the mounting plate, fixing points, cable access, supplied screws, shade attachment, and driver location before deciding if it suits the kitchen. Hardware shows how the fitting will meet the ceiling or cabinet, while the finish only reveals how it looks once installed.
Ensure parts are clearly labeled and instructions show the correct installation sequence. A bracket that can’t be reached after attaching the shade may turn a simple cleaning into a dismantling task. A concealed driver can keep the look tidy but shouldn’t be trapped behind a fixed cabinet panel if future access might be needed.
For under-cabinet projects, the Under Cabinet Lighting Buying Guide: Rules of Thumb provides a useful companion to the wiring, coverage, and placement questions raised here. If permanent wiring is unsuitable, a discussion of wireless under-cabinet lighting options can help frame the trade-off between installation simplicity and control arrangement.
Keep every fitting cleanable
Grease and dust can settle on shades, diffusers, cabinet tops, and exposed light sources. A fitting that’s easy to wipe stays cleaner longer than one with narrow recesses that trap residue. Think about cleaning access before installation, especially above a hob or beside a sink.
Switch off the fitting and follow its care instructions before cleaning. Don’t assume a damp cloth suits every material or electrical part. Woven jute and rattan may need different cleaning methods from brass, copper, glass, or sealed painted surfaces, so always follow the manufacturer’s advice.
A clean diffuser helps keep the light pattern looking good. Grease on a shade can make a fitting look dull and uneven. Cleaning is part of the lighting plan, not something to forget.
Build a plan for small and open-plan kitchens
Small kitchens need controlled layers
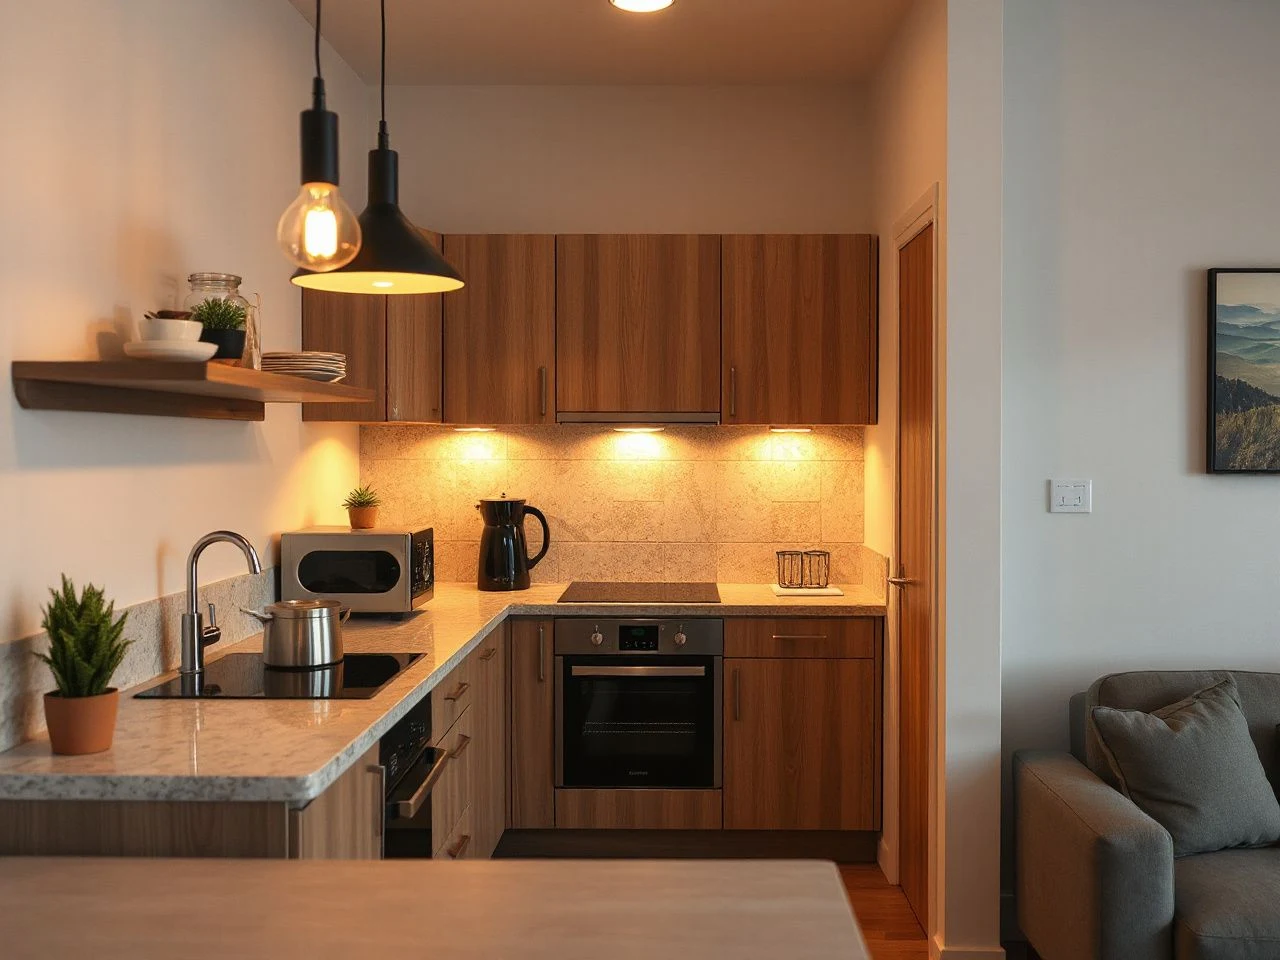
Small kitchens benefit from fittings that do more than one visual job. They don’t need every light at full strength. Under-cabinet strips can support the worktop, a compact ceiling layer can cover circulation, and a pendant or accent light can define a table or breakfast ledge.
If the room already has strong cabinet lines, keep the ceiling visually calm. A few well-directed sources may read more clearly than a dense pattern of bright points. Pale cabinets and reflective worktops can bounce light around, but they can also cause glare. Dimming and source position are still important.
Connect the kitchen to dining and living areas
Open-plan kitchens need a transition between work lighting and social lighting. The kitchen can keep useful task light, while the dining area uses a softer pendant or chandelier. A separate control prevents the kitchen from dominating the adjoining space after food prep.
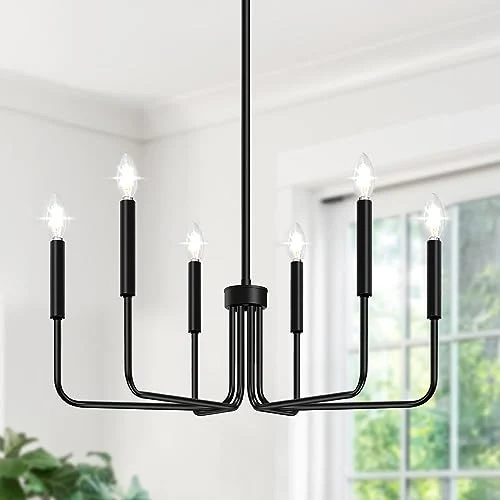
For a more decorative fitting over a table or island, the chandelier lighting for a kitchen guide can be helpful alongside a practical lighting plan. The fitting should be judged by glare, cleaning access, ceiling hardware, and control compatibility, not by decoration alone.
Use style references without copying a catalogue scene
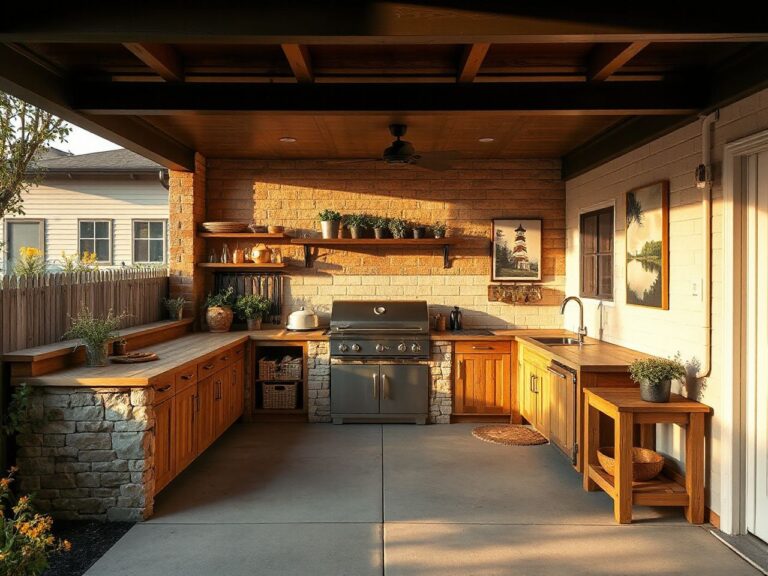
A natural woven shade can soften a white kitchen. A lantern can frame a strong island. A contemporary metal fitting can reinforce clean cabinetry. A beach-inspired scheme might use lighter textures, while a vintage-modern kitchen can mix an older silhouette with modern task lighting beneath the cabinets.
Style works best when the visible fitting supports the room’s materials. The hidden hardware should support daily use. Those exploring a warmer look might find modern farmhouse kitchen ideas helpful for natural materials, cabinet finishes, and decorative lighting.
Don’t let a dramatic fitting take center stage if it creates a dark worktop. A playful shade, mesh pendant, or bare-bulb look can fit the scheme, but practical layers must stay available when the kitchen is in use.
A practical sequence for choosing kitchen lighting
Start with the surfaces
Mark every surface that needs clear visibility. This includes preparation areas, the sink, the hob, the island, and any table used for food or paperwork. Decide which source will reach each surface without the user’s head or shoulders blocking the beam.
Assign each layer
Choose ambient lighting for general movement. Task lighting should be for worktops, and accent lighting fits shelves, cabinets, or architectural details. If a fitting can’t be assigned a clear job, question whether it belongs in the plan.
Check the hardware
Read the installation instructions carefully before committing to a flat-pack fitting. Confirm the mounting method, cable access, driver position, shade attachment, cleaning route, and control compatibility. The mounting hardware should suit the ceiling, cabinet, or wall where the fitting will sit.
Test sightlines and reflections
View the planned light from the normal standing position, seated position, and approach from the adjoining room. Look at glossy cabinet doors, stone worktops, stainless steel appliances, and glass. If a bright source appears in the eye or reflects as a hard spot, revise the position or control rather than accepting it as part of the design.
Separate the controls
Give the main layers independent switching or dimming where the wiring and fittings allow. A kitchen used for cooking, eating, entertaining, and passage needs more than one lighting mood. Separate controls let the room support those uses without running every source together.
A good kitchen lighting plan makes the worktop easy to read, the room comfortable to occupy, and the fittings practical to maintain. The finish may attract attention first, but hardware, beam direction, access, and controls determine if the idea works after installation.
Frequently Asked Questions about modern kitchen lighting ideas
How do I combine ambient, task, and accent lighting in a modern kitchen?
Use ambient lighting for general movement, task lighting for the sink, hob, preparation areas, and island, and accent lighting for shelves or cabinet details. Give the layers separate controls where possible. Under-cabinet lighting should cover the worktop continuously, and downlights should be positioned around standing locations rather than just for ceiling symmetry.
Where should recessed lights go so they illuminate the worktop instead of my head?
Plan recessed downlights considering cabinet depth, worktop edges, and where someone stands. A light directly behind the user can cast a shadow over the work surface. Check the proposed beam from normal standing positions and adjust the plan before cutting the ceiling. The cabinet layout should guide the ceiling plan.
Are pendant lights practical over a kitchen island?
Pendants can be practical when the source is shielded or comfortably diffused, the suspension does not obstruct sightlines, and the light reaches the island without creating glare. Check the ceiling plate and fixing hardware as carefully as the shade. A pendant should work with the task layer rather than replace all other kitchen lighting.
What is the best way to light a worktop beneath wall cabinets?
Use concealed under-cabinet lighting with continuous coverage along the worktop. Accessible wiring is important because future servicing shouldn’t involve removing fixed cabinetry. Position the source so the cabinet hides direct glare while it still illuminates the surface. Separate switching or dimming keeps the worktop useful without lighting up the entire kitchen.
How do I avoid glare on glossy cabinets and stainless steel appliances?
Watch the reflection from both standing and seated positions, not just from the doorway. Shift the beam away from direct reflection paths, soften the source where it helps, and dim the layer causing glare. Glossy surfaces reveal harsh points quickly, so a fitting that looks discreet on the ceiling might need repositioning.
Will layered kitchen lighting increase ongoing energy use?
Layering does not require every source to operate at once. Separate switches and dimmers allow unused layers to remain off or run at a lower setting. LED light sources can be assessed by luminous efficacy, which is expressed in lumens per watt, while replacement costs depend on the fitting, its controls, and how easily the light source or driver can be reached.