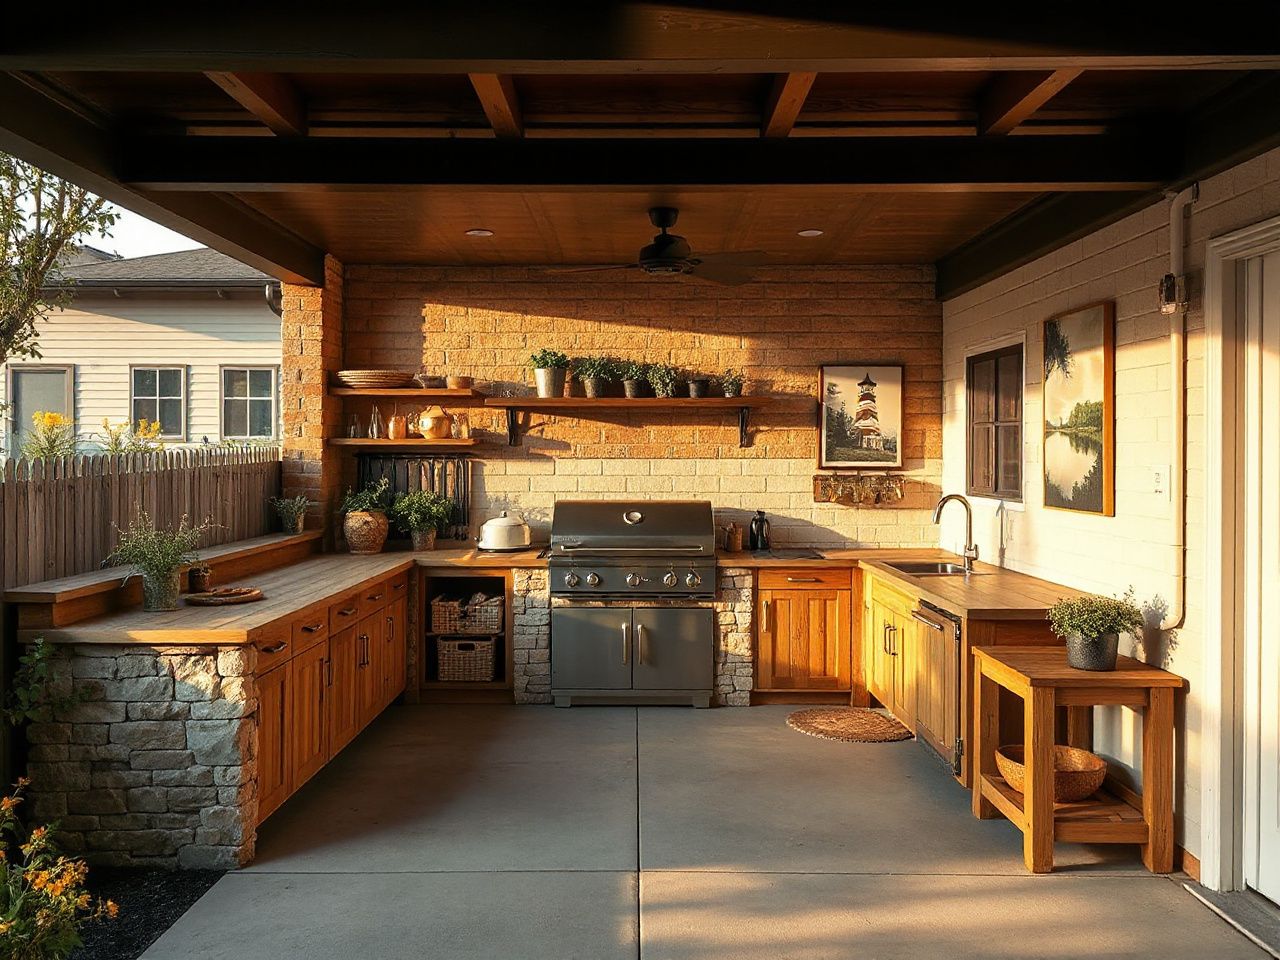
Outdoor cooking areas are changing from simple grill-and-table setups to planned extensions of the home. They include storage, shade, sinks, and dining areas working together. A DIY outdoor kitchen isn’t just an indoor kitchen moved outside; it requires an enclosure, countertop, cooking equipment, weather protection, drainage, and utility routes to work as a single unit. The key difference is between surfaces that just tolerate outdoor weather and a structure designed to shed water, allow movement, protect connections, and stay serviceable after installation.
That last point influences my view of flat-pack construction. I focus on its hardware, not the finish. A smooth panel can look convincing on installation day, but poor fasteners, hard-to-reach connections, or a cabinet that can’t be opened for repairs will matter a lot more once rain and heat hit.
Key Takeaways
- Choose the location and utility routes before fixing the layout or buying components.
- Support, drainage, movement allowance, and weather-resistant joints matter more than decorative finishes.
- Leave gas, electrical, plumbing, and inspection work to qualified tradespeople where local requirements call for it.
DIY Outdoor Kitchen Planning: Start With the Site
Choose a location that supports safe movement
The right location should be close enough to the house for practical service access but arranged so that cooking heat, smoke, and traffic don’t interfere with doors, walkways, or outdoor dining spaces. Check the ground, roof runoff, prevailing exposure, and the route from the kitchen to the patio before drawing up the cabinets.
A cooking island shouldn’t block a passage or force people to walk behind someone using a hot grill. Keep the work face directed toward an area where the cook can see approaching guests without standing in the main route. A cover might help with rain and shade, but a pergola or roof also affects ventilation, heat clearance, and how smoke moves.
An outdoor kitchen location must protect the cooking area from traffic while preserving access to shutoffs, cleaning points, and repairs. That principle is more useful than choosing a location simply because it is the closest flat patch of patio.
Check the base, slope, and rainwater path
Water should have a clear route away from the enclosure and countertop. A low point beside the wall can leave mortar, cabinet bases, and utility penetrations wet after rain. Sometimes, the existing patio or deck looks level but still directs water toward the kitchen, so check where water naturally flows and where roof runoff lands.
- Mark the proposed cooking face and the walking route around it.
- Look for puddling, soft ground, damaged joints, or runoff from a roof edge.
- Identify where a sink drain could discharge without sending water toward the structure.
- Leave a reachable route for cleaning and maintenance rather than sealing the kitchen against a wall with no service gap.
A concrete block base offers a masonry approach with solid support, while treated wood can suit a framed design if its enclosure, joints, and finish are chosen for outdoor use. Masonry has mortar joints and a rigid surface that still needs movement allowance. Wood expands and contracts, so it needs careful protection at cut ends and connection points. The right choice depends on the site, the planned countertop, access to tools, and local work requirements.
Draw the kitchen as a serviceable assembly
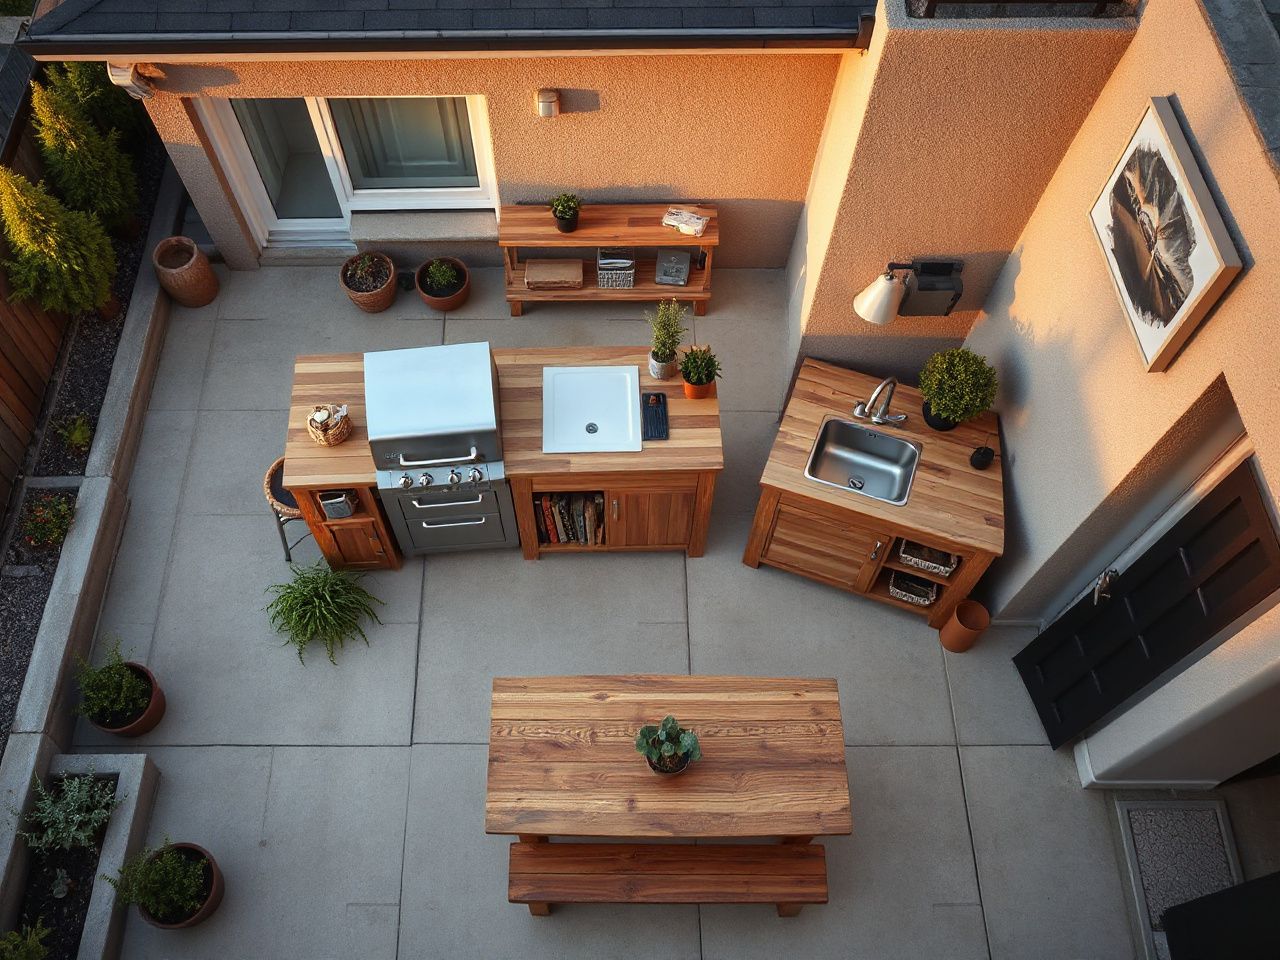
Before starting construction, sketch out the grill, countertop, storage, sink, drain, gas line, electrical points, and access panels. A straight kitchen can be planned in four, five, six, or eight-foot lengths, but the arrangement’s usability matters more than the nominal run. Place the grill where the cook has a stable work surface nearby, then position storage so doors don’t block the cooking route.
A built-in gas grill can create a clean, permanent line within a masonry or framed island. A freestanding grill may be easier to move and service. Neither arrangement solves poor clearance, blocked controls, or inaccessible connections. Select the format only after deciding how the enclosure will support the appliance and how the appliance will be removed for repair.
Include an access panel wherever a shutoff, connection, drain trap, or control needs inspection. Flat-pack cabinets deserve the same attention. Check if the fasteners are accessible after the countertop is installed, whether hinges can be adjusted, and if panels can be removed without dismantling the entire run.
These DIY outdoor kitchen plans can help organize the early layout stage, but use any plan as a starting drawing rather than proof that its dimensions, utility routes, or site assumptions suit your property.
Build the Base Before Choosing the Finish
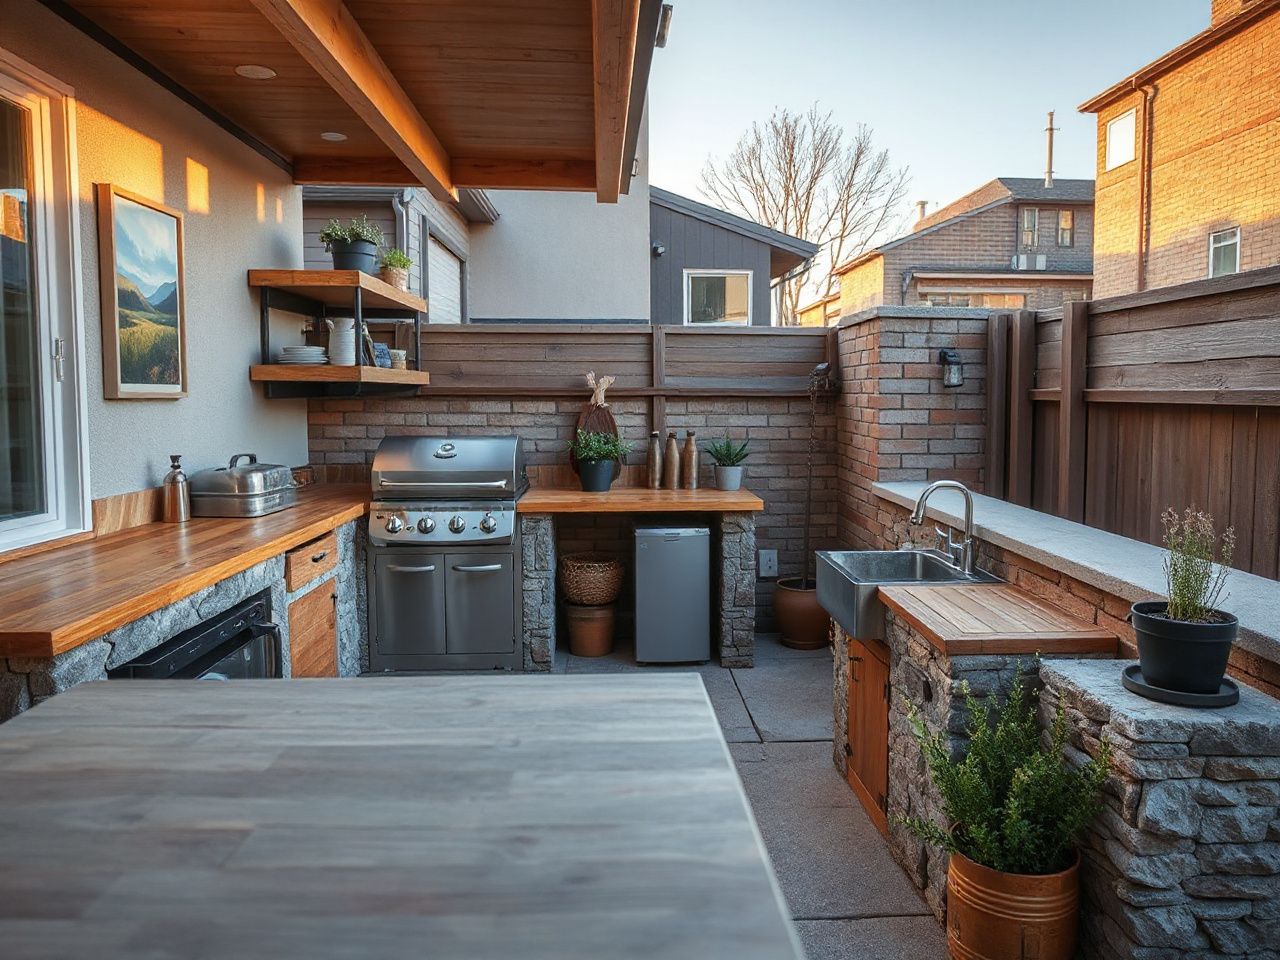
Concrete block, masonry, or treated wood
Concrete block and masonry work well for a fixed island where the base can be properly supported and protected from standing water. Mortar joins the blocks, but mortar isn’t a substitute for a stable base or a movement strategy. Rigid surfaces can crack when the support underneath shifts or when adjoining materials move at different rates.
Treated wood can make a lighter framed enclosure and may simplify changes during construction. The frame still needs a weather-resistant skin, protected joints, and a base that doesn’t sit in water. Any opening around a pipe, wire, or appliance must be sealed without trapping moisture inside the wall.
A concrete block outdoor kitchen needs a stable base, protected joints, and a drainage plan because masonry can crack when support and movement are ignored. The same rule applies to a wood frame, but in a different way: water must be kept away from the frame, fasteners, and enclosed cavities.
Plan the countertop as a structural layer
A masonry countertop, stone surface, or other outdoor-rated worktop needs continuous and appropriate support. Don’t treat the countertop as a decorative lid placed over an uncertain enclosure. Stress can gather at the grill opening, sink opening, corners, and unsupported edges.
Allow for movement at joints between the countertop and walls, around penetrations, and where materials meet. Use a weatherproof sealant suited to the surfaces and exposure. Inspect the joint regularly instead of assuming a bead of sealant has fixed a weak support detail. Sealant can close a gap but can’t make a shifting base stable.
Countertops often fail when water gets into a joint, freezes, or expands in a weak spot. Water can also move through a connection treated as rigid. The fix starts underneath the visible crack: improve support, enhance drainage, and allow materials to move before fixing the crack.
Fit the grill and countertop together
Use the grill manufacturer’s installation instructions for the opening, clearances, ventilation, and support details. The appliance must sit securely without being packed into an enclosure that blocks heat from escaping or prevents a service technician from reaching the controls. Leave enough room around the grill for cleaning rather than fitting it tightly into every edge.
Combustible walls, roofs, and finishes need proper separation or protection from built-in cooking equipment. The exact setup depends on the appliance instructions and local rules, so don’t copy a clearance from another project. A decorative cladding layer doesn’t automatically make a combustible wall suitable for a grill surround.
Use hardware as the quality check
Outdoor exposure means paying attention to hinges, screws, brackets, latches, and connection points. Check the hardware included with a kit or cabinet frame before putting it together. Ask if each piece can handle the outdoor conditions, if fasteners are compatible with the materials, and whether a hinge can be replaced without removing the countertop.
Stainless steel can work well for exposed hardware and outdoor surfaces, but the label alone doesn’t answer all questions about compatibility, finish, or installation. Keep dissimilar materials from causing corrosion, protect openings from direct rain, and don’t bury hardware behind permanent cladding.
Route Gas, Water, and Electricity Safely
Gas lines and cooking equipment
An existing gas service might be usable for an outdoor kitchen, but you shouldn’t assume it’s safe just because the indoor system works. The route, shutoff location, appliance needs, ventilation, and local approval all need review. Gas connections should be handled by a qualified professional if local rules, inspections, or the route’s complexity require that expertise.
Keep the gas shutoff accessible without moving the grill or emptying storage. Protect the line from impacts, avoid routing it where water drainage can collect, and follow the manufacturer’s instructions for the connection. A flexible connector isn’t a substitute for a properly planned fixed route.
A gas line should remain identifiable and reachable so the supply can be shut off before maintenance or an emergency. That is a layout requirement as much as a plumbing detail.
Electrical outlets and wiring
Outdoor electrical work has to suit wet exposure, the enclosure, and the equipment connected to it. Outdoor outlets should have ground-fault protection and weatherproof covers suitable for their location. The U.S. Consumer Product Safety Commission provides public electrical-safety information, while the local authority determines the requirements that apply to the installation.
A GFCI outlet shouldn’t be hidden behind a fixed appliance or sealed inside a cabinet where you can’t reach its test and reset buttons. Wiring should be routed away from hot surfaces and areas prone to water. Use a qualified electrician for new circuits, service updates, buried wiring, or any work needing inspection.
Don’t run an extension cord as a permanent fix for wiring. Temporary power sources can be damaged by weather, traffic, heat, or garden tools. Plus, they make the kitchen depend on a connection that was never meant to be permanent.
Water supply and sink drainage
An outdoor sink needs both a supply plan and a drain plan. Connecting to an existing water service may involve routing, shutoff access, protection from weather, and local requirements. A sink drain that simply discharges beside the island can wet the base and undermine the area around it.
Place the drain route on the plan before building the base. Keep cleanouts and connections accessible, and verify where wastewater can go. If the kitchen ties into household plumbing, a qualified plumber should check the work, especially where local rules or inspections apply.
Drainage includes the countertop as well. Water shouldn’t sit around the sink rim, grill opening, cabinet toe, or wall junction. Use a visible slope or edge detail where design calls for it, and ensure the rainwater path stays open after trim and cladding are installed.
Protect the Kitchen From Weather and Heat
Use materials according to their exposure
Outdoor finishes should be selected for the actual location rather than for an indoor appearance. A covered area, an exposed island, and a kitchen beside a pool or sprinkler line face different moisture conditions. Stainless steel may suit appliance fronts and exposed work areas, while a masonry finish may need carefully maintained joints and edges.
Teak contains silica, which contributes to resistance to fungal decay, rot, swelling, warping, and chemicals. Teak is also resistant to fire, acid, and alkalis. Those qualities do not remove the need to protect joints, inspect fasteners, or keep water from collecting against the structure.
Weather protection works best when the kitchen sheds water at its edges instead of relying on sealant to stop every leak. Overhangs, protected penetrations, open drainage paths, and serviceable joints all matter.
Choose a cover without trapping heat
A roof or shade structure can make the cooking area more usable during rain or strong sun, but it must suit the grill’s installation requirements. Aluminum, steel, or wood can support the canopy, yet the support material doesn’t determine how far it must be from the cooking equipment.
Ventilation is especially crucial under a roof in an outdoor kitchen. Smoke and heat need a clear path away from the cooking surface. A ceiling finish shouldn’t be treated as harmless just because it’s above the grill. Follow the appliance instructions and local requirements. Don’t improvise a hood, screen, or decorative beam.
Seal, inspect, and maintain
Check the kitchen at the start and end of each season. Look for open sealant, cracked mortar, or loose hardware. Swollen panels, corrosion, and blocked drainage can also cause problems. Water staining inside cabinets is a sign to inspect further. Clean food residue from the grill and work surfaces with suitable methods. Avoid letting grease build up near hot equipment.
Store removable accessories where they stay dry. Cover equipment in a way that allows proper ventilation. Shut off services if the kitchen will sit unused for a long time. The manufacturer’s instructions should guide cleaning products, storage, and service steps for each appliance.
Ongoing costs include fuel, cleaning, hardware replacements, sealant, weather protection, and repairs. Design the outdoor kitchen so every connection is reachable. This can make maintenance tasks less disruptive, even though no outdoor kitchen is maintenance-free.
Make the Layout Easy to Use and Repair
Keep work areas connected
Arrange the grill, preparation surface, sink, and storage so each task can happen without crossing a traffic route. The sink should not force the cook to carry wet items across the hot zone. Storage for utensils and outdoor food storage should be close enough to use but not placed where heat, rain, or grease will reach it.
Think about the order of use instead of filling every section with cabinets. A compact straight run can work well if the cooking surface, landing space, and controls stay clear. An island with a complex layout might be awkward if doors collide or the cook has to walk around for each step.
Plan for repairs before closing walls
Every appliance needs cleaning or service eventually. Leave access to remove the grill, reach the gas shutoff, inspect the electrical outlet, clear the sink drain, and replace a hinge if needed. A sealed wall may look finished but can turn a small repair into demolition.
Hardware should be selected and positioned with future access in mind. This is where flat-pack judgment matters most: the quality of a cabinet is tied to the way its fasteners, panels, hinges, and brackets behave after assembly, not merely to the surface color.
An outdoor kitchen is easier to maintain when every utility connection has a visible or removable access route. Keep a simple drawing of the routes and store appliance manuals with it. This makes future maintenance straightforward.
Decide what to do yourself
Cutting panels, assembling approved cabinet parts, preparing a worktop, and applying compatible finish materials may suit a capable DIY project. A masonry saw requires careful handling, and masonry work should be planned around dust, support, and accurate openings rather than rushed to meet a decorative deadline.
Utility work needs a stricter boundary. Hire qualified professionals for gas connections, new electrical circuits, plumbing changes, structural work affecting the building, or any installation needing permits or inspection. Local authorities or licensed trades can tell you what must be submitted, inspected, or tested before the kitchen is used.
A low-cost beginning can lead to expensive corrections later. A professional review before construction can spot a blocked drain, unsafe appliance position, unsuitable utility route, or missing access panel. Fixing issues early keeps things simple.
For broader kitchen styling, these modern farmhouse kitchen ideas can guide color and material choices. Still, indoor finishes need to be suitable for outdoor conditions before they are used in a weather-exposed space.
Prevent the Failures That Make Outdoor Kitchens Expensive
Cracking and movement
Cracks usually start with movement below the visible finish, unsupported countertop sections, rigid joints between different materials, or water entering a vulnerable edge. Filling the crack without fixing the cause might just hide the problem.
- Support countertop openings and corners according to the material and appliance instructions.
- Use movement-aware joints where walls, worktops, and frames meet.
- Keep rainwater and sink discharge away from the base.
- Inspect mortar, sealant, and cladding after severe weather or accidental impact.
Moisture inside cabinets
Moisture can enter through an unsealed penetration, a leaking countertop joint, a door gap, or water rising from the base. A cabinet may look dry from the front but still hold dampness behind a rear panel. During inspection, open access areas and check for odor, staining, swelling, and corrosion.
Heat and clearance mistakes
Built-in cooking equipment must be installed with the clearances and ventilation described in its instructions. Combustible finishes near a grill can create a serious hazard. A roof can change how heat and smoke gather. Do not add decorative cladding, shelves, or a canopy beam until their relationship to the appliance has been checked.
The Consumer Product Safety Commission publishes consumer safety guidance, but guidance from a government body does not replace the appliance manual, local approval, or an assessment by a qualified professional for a specific installation.
Frequently Asked Questions
How do I choose the best location for a DIY outdoor kitchen?
Choose a spot with a solid base and a clear rainwater flow. Keep it safe from combustible surfaces and allow space to move freely without passing behind the cook. Check access to gas, water, and electricity before fixing the layout. The grill, sink, shutoff controls, and service panels should stay reachable even after installing cabinets, countertops, shade structures, and dining furniture.
Should I use concrete block, masonry, or treated wood?
Concrete block and masonry work well for a fixed structure if the base, mortar joints, drainage, and movement details are properly planned. Treated wood can suit a framed enclosure but still needs protection at joints, penetrations, and the bottom edge. Pick the system that matches the site, countertop support, skills available, and local rules, rather than just appearance.
Can I connect an outdoor kitchen to existing gas, water, and electrical services?
Existing services might be extendable, but the route and connection need to be checked for outdoor exposure, shutoff access, appliance needs, drainage, and local approval. Gas, electrical, and plumbing changes may require qualified tradespeople or inspections. A GFCI outlet with a weatherproof cover should stay accessible, and a sink drain should discharge through an approved route.
Is a built-in gas grill better than a freestanding grill?
A built-in gas grill works well for a permanent island when the enclosure offers the right support, ventilation, clearances, and service access. A freestanding grill can be easier to move and provides simpler access around the appliance. The best choice depends on how you plan to use the space, where the controls and shutoff sit, and whether the grill can be removed without dismantling the countertop.
What usually causes outdoor kitchen countertops or walls to fail?
Common issues include inadequate support, trapped water, rigid joints between materials that move differently, unsupported openings, and sealant hiding a structural problem. Start repairs by finding the water route and checking the base, mortar, fasteners, and countertop support. Replace or reseal the visible finish only after fixing the movement or drainage problem.
How should I maintain an outdoor kitchen through changing seasons?
Inspect the countertop, mortar, sealant, cabinet panels, hinges, fasteners, drains, appliance connections, and electrical covers. Use the right cleaning method to remove grease and food residue, keep drainage clear, and protect removable parts from prolonged exposure. Shut off services during long disuse if the appliance or instructions require, and keep access panels free of stored items.
For readers collecting compact decorating ideas alongside utility planning, these budget-conscious DIY decor ideas show the importance of planning storage and surfaces around actual movement patterns. Outdoor kitchens need the same discipline. Weather and heat add to the considerations.
Final Planning Checklist
A durable outdoor kitchen is built in a way that protects the hidden work. Confirm the site, base, drainage, appliance clearances, utility routes, service access, and weather considerations before focusing on decorative panels.
- Choose a location that separates hot cooking from traffic.
- Confirm where rainwater and sink discharge will go.
- Decide between concrete block, masonry, and treated wood according to support and exposure.
- Draw the grill, countertop, storage, sink, drain, gas line, and electrical points together.
- Provide reachable shutoffs, access panels, and removable appliance routes.
- Use outdoor-suitable hardware, joints, finishes, and weatherproof sealant.
- Protect combustible walls, roofs, and finishes from built-in cooking equipment.
- Use qualified professionals for utility work and required inspections.
- Inspect drainage, joints, hardware, and connections as part of seasonal maintenance.
The polished surface is what everyone notices first. But it’s rarely what keeps the kitchen useful over time. Sound hardware, open service routes, controlled water, and supported materials do that quietly. Plan those elements first. The finish then has a structure worth dressing.