A shower can look spacious on the plan but feel cramped once the wall build-up, waterproofing, glass, fixtures, drain, and entrance are in place. Measure the opening first to understand the actual usable space. The key difference is between nominal shower dimensions and the clear dimensions you can actually use: the latter are what’s left after all finishes, fixtures, drainage, and entry clearance are considered. Good planning treats these dimensions as part of the entire water-management system because a large shower can still perform poorly if the slope, drain location, shower spray, or open entrance aren’t matched correctly.
That difference should guide every discussion of walk in shower dimensions. A bathroom layout is best judged by how cleanly the finished elements come off the wall, how plainly the floor drains, and how little the design depends on wishful measuring. For tile ideas after the layout is set, see these walk-in shower tile ideas. But only choose the tile scheme once you know the usable area.
Key Takeaways
- 900 x 900 mm is a practical minimum acceptable area for many individuals and is sufficient for one person.
- Usable clear space is smaller than the rough opening after finishes, waterproofing, glass, fixtures, and any curb are included.
- Allocate approximately 550 mm for the entry passage as a general planning guideline.
- Drain position, floor fall, spray direction, and entry design must be planned together to control escaping water.
Walk in shower dimensions: start with usable space
Nominal size is not the space your body uses
A stated shower size usually refers to a tray, room opening, or rough construction area. The clear interior is the space left after the finished wall surfaces, waterproofing build-up, glass shower screen, shower valve, showerhead, storage, and any shower curb are included. These layers take up real space, even if a drawing labels the enclosure with a simple round figure.
The usable interior area is smaller than the rough opening when wall finishes, waterproofing, glass, fixtures, and a curb occupy part of the enclosure. Measure finished surfaces whenever possible, not just the exposed framing or the empty room before work begins.
The practical starting point for one person
For most people, a 900 x 900 mm space is the minimum acceptable for a walk-in shower. A floor space measuring 900 x 900 mm works for one person, as long as the entrance, shower fittings, drainage, and spray pattern don’t eat into that usable area.
That number is just a planning guide, not an excuse to stop measuring. A square enclosure can feel more cramped if the shower valve sticks into the main standing zone or if the showerhead points directly at the open entrance. Sometimes, a slightly different shape works better to keep a clear standing area and contain water inside.
Common tray footprints and bath-replacement layouts
Common square shower tray sizes include 800 x 800 mm and 900 x 900 mm. The smaller size needs careful planning for entry and fittings because every obstruction impacts movement and cleaning access more.
Shower trays that replace a bath measure around 1700 x 800/900 mm. A longer tray might make entry easier, but length alone doesn’t prevent splashing. The drain, showerhead, glass placement, and open end all need to work together as one plan.
A shower tray is a finished floor component. A curbless shower floor is an entrance and drainage design that aims to keep the transition flush. These two descriptions shouldn’t be treated as interchangeable. A walk-in shower isn’t automatically curbless, and a curbless shower isn’t always suitable for a roll-in mobility aid.
Beginner planning: choose the footprint and entry
Step 1: Measure the room before choosing the enclosure
Start with the existing bathroom walls, not the shower product category. Record the finished or intended finished wall lines, the location of the toilet and basin, the swing or slide of the shower door, and the route through the room. Bathroom layout and circulation matter because a shower that fits inside one rectangle can still obstruct the rest of the room.
Measure in more than one place if walls are not square. Note columns, boxed-in pipes, ledges, windows, access panels, and any change in floor level. A drawing should show the shower pan or tray, the clear entrance, the shower valve, the showerhead, the drain, the glass shower screen, and any wall niche rather than showing only an outer rectangle.
A bathroom measurement is useful only when the finished wall lines and opening are identified separately. A rough opening can conceal the space that later disappears behind boards, membrane, adhesive, tile, glass channels, and trim.
Step 2: Decide whether the entrance is open or enclosed
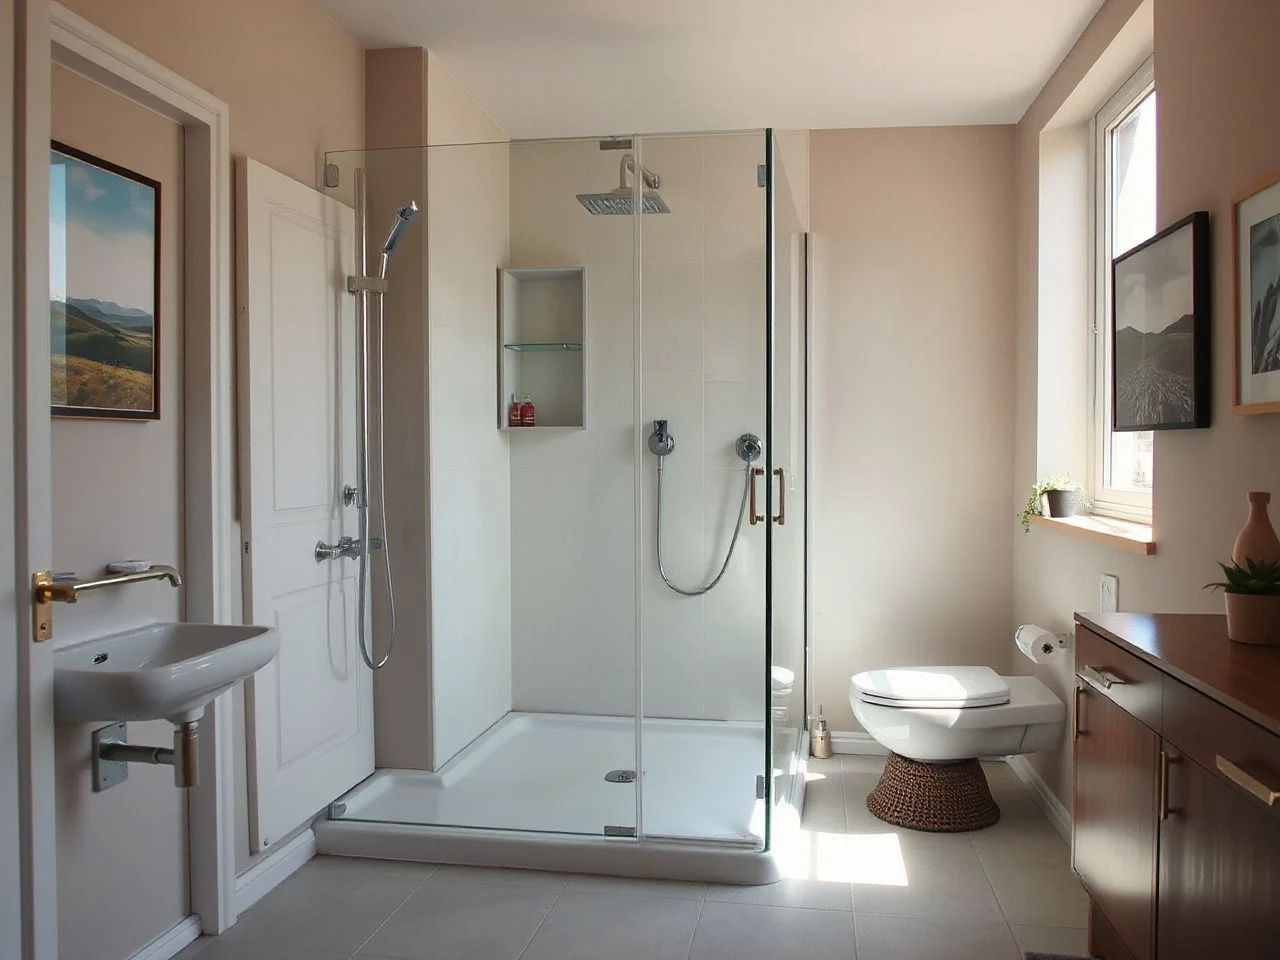
An open walk-in entrance can make a small bathroom feel less visually crowded. But it gives spray a direct route out of the wet area. An enclosure with a shower door adds a moving part and needs door clearance. Still, the door can help contain water when it closes without striking nearby fixtures.
Allocate approximately 550 mm for the entry passage as a general guideline. Treat that passage as clear usable space, not as a line drawn across a wall. The opening must allow a person to enter without colliding with the glass, valve, wall niche, or shower screen support.
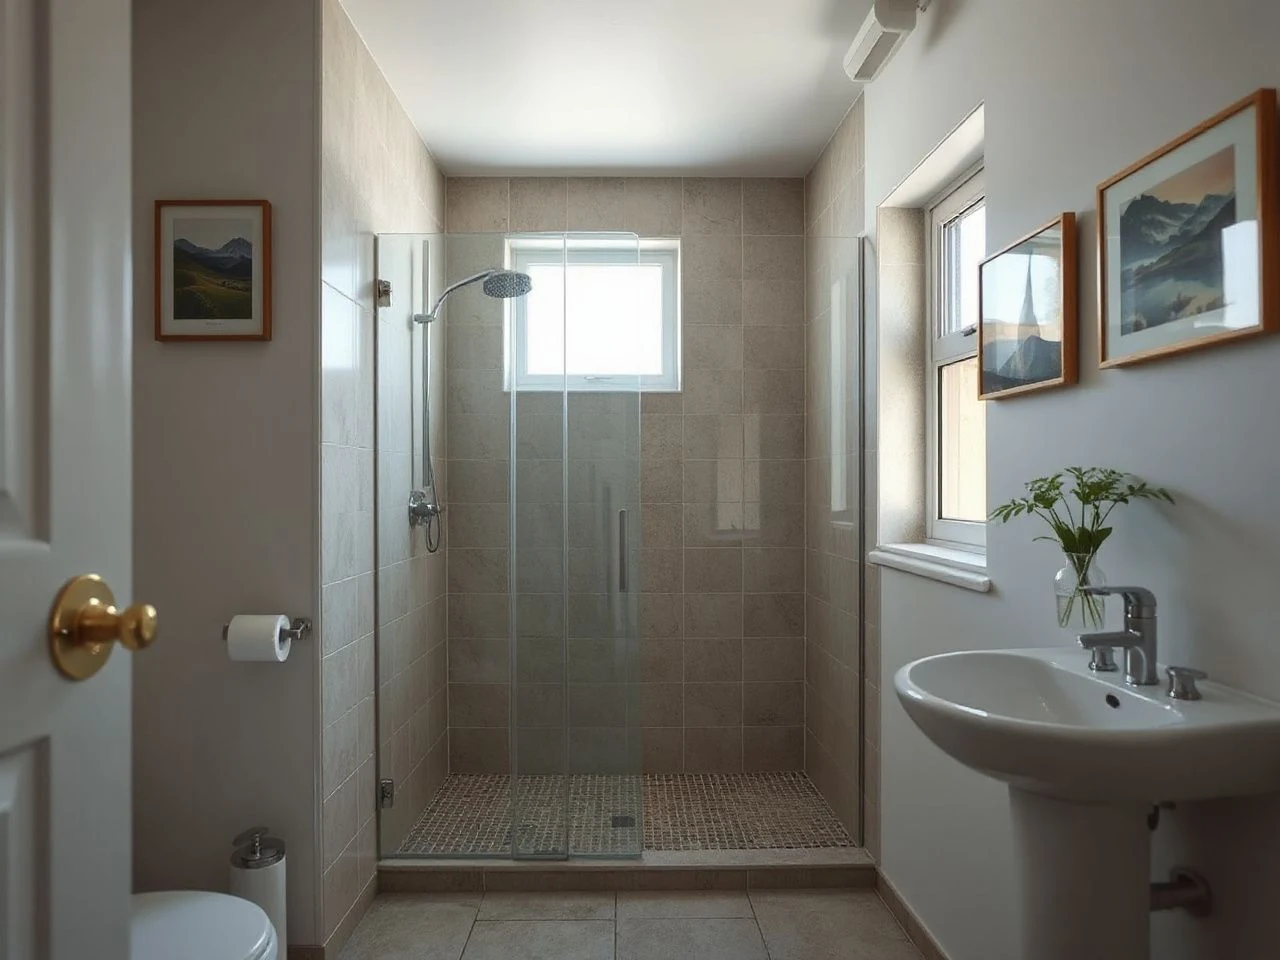
A doorless design works best when the showerhead does not point at the opening. The glass placement should block the direct spray path, and the wet floor remains inside the area designed to drain. Bathroom floor drainage outside the shower may still matter if water can escape through the entrance.
Step 3: Separate walk-in, curbless, and roll-in designs
A walk-in shower describes access through an opening rather than a fully enclosed bath-style arrangement. The opening may include a shower curb, a raised threshold, a glass panel, or a door. The term does not state that the floor is flush with the bathroom floor.
A curbless shower features a floor transition designed to avoid a raised curb at the entrance. That means the shower floor, drainage, waterproofing membrane, and adjoining bathroom floor need to be coordinated carefully. The visible transition is only part of the work.
A roll-in shower is planned around wheeled access and the equipment or person entering it. The floor transition, clear approach, turning space, wall support strategy, seat or transfer arrangement, and controls should all be assessed together. Walk-in showers can be easy to step into but might still be unsuitable for mobility aids.
A walk-in shower can have a curb, while a curbless shower is defined by its floor transition rather than by the size of its enclosure. Keeping those decisions separate prevents a marketing label from replacing an actual access plan.
h2>Intermediate planning: place the drain, valve, and spray
The drain is part of the usable dimensions
A drain isn’t just a decorative mark on the plan. The shower floor must direct water to it without creating a slippery or uncomfortable transition at the entrance. Drain placement influences the floor’s slope, the shape of the finished surface, tile cuts, and the amount of standing space that feels level underfoot.
A center drain may produce falls that approach the drain from more than one direction. A linear drain can support a different floor layout, particularly where the floor is designed to fall consistently toward one edge. Neither drain type solves a poorly located entrance or a showerhead aimed at the room.
The best location depends on the shower pan or constructed floor, the existing waste line, joist positions, and the finished threshold. Moving the drain might require work underneath the floor. A change in dimensions can impact the structure and plumbing even when the enclosure still fits the bathroom plan.
The shower floor must guide water to the drain while keeping the entrance transition comfortable underfoot. Check the finished floor relationship at the doorway, not just the drain symbol on the drawing.
Place the shower valve where it can be reached cleanly
The shower valve should be reachable without forcing anyone to stand directly under the spray when starting or adjusting the water. Its position also influences the clear standing space. A valve placed on the most convenient wall can become an obstruction if the enclosure is narrow.
Think about the valve wall as a service wall as well as a wet wall. Access for future maintenance, the direction of the pipework, the waterproofing membrane, and the location of the showerhead all need to remain compatible. If a wall is being opened, confirm what sits behind it before the enclosure size is changed.
Fixtures should be placed where an open door or screen won’t make them hard to reach. Keeping controls in plain view and reachable avoids crossing the strongest spray path while maintaining a clean layout.
Use the showerhead and glass to control splash
An open entrance can let spray escape even if the interior dimensions seem generous. The entry point, showerhead direction, glass placement, and bathroom floor drainage all matter. A large enclosure can’t make up for water aimed straight through the opening.
Position the showerhead so its normal spray goes toward the wettest part of the shower floor, not the entrance. A glass shower screen can block droplets from reaching the entrance, but it must be placed considering the door or opening. The screen also reduces the clear space if its channel, return panel, or support sits inside the nominal footprint.
Water can travel along a wall, around a corner, or across an ill-defined threshold. A wall niche should be placed so stored items don’t interfere with the spray path or push a person into the entrance. Shower lighting and ventilation should be planned at the same time as the enclosure, with electrical work handled by a qualified professional.
Intermediate planning: adapt the layout to the room and user
Small bathrooms need a complete water plan
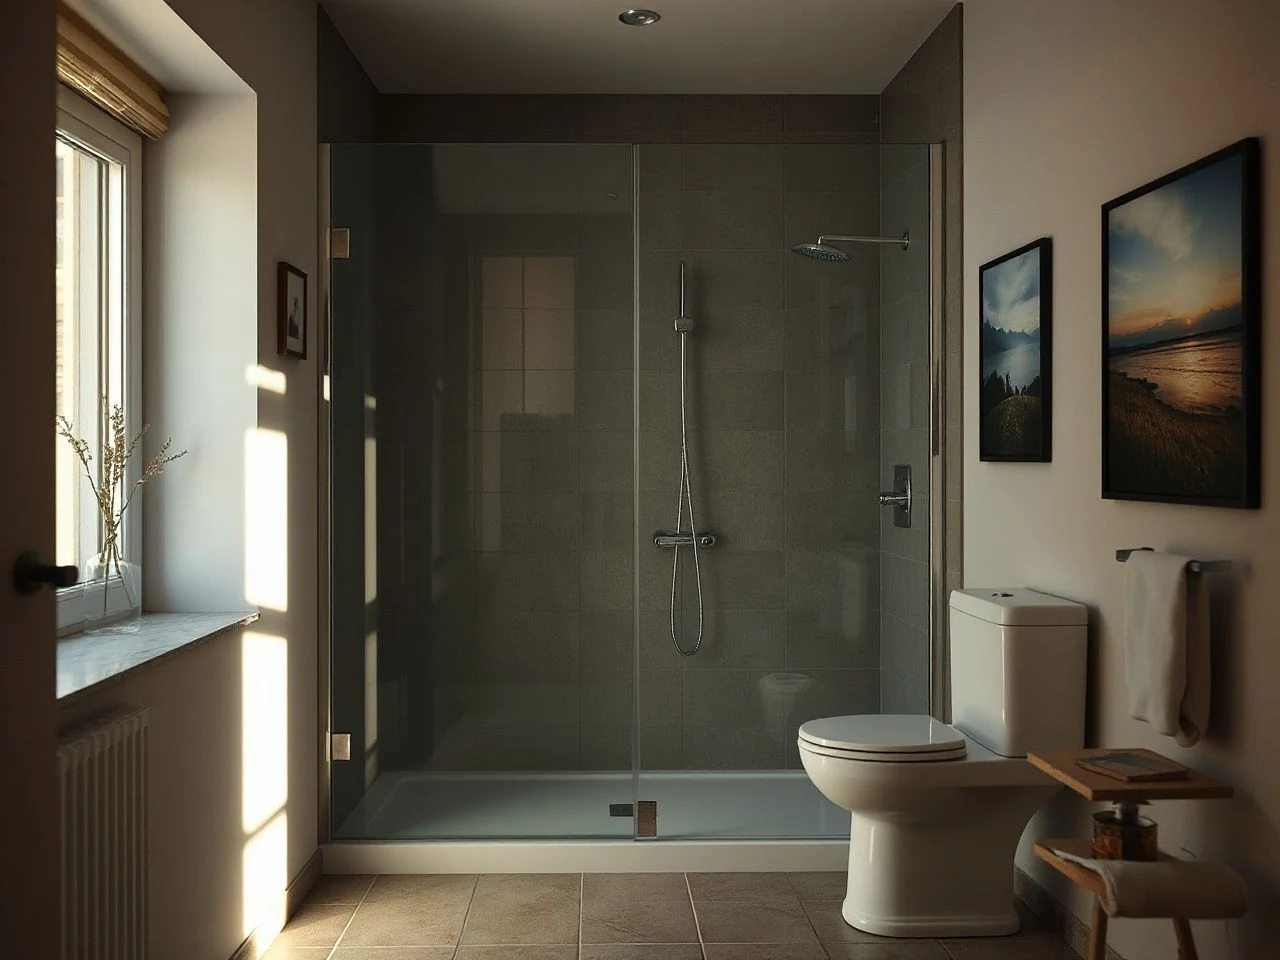
Small bathroom layouts aren’t about fitting the biggest shower rectangle. The enclosure should leave a sensible path between the door, toilet, basin, storage, and shower. An inward-opening door can block part of that route, while an open entrance might expose the room to spray.
An 800 x 800 mm square tray is a common footprint, but the stated tray size does not describe every clear dimension around the fitting. The entrance passage, screen thickness, wall finish, valve, and drain arrangement can make the lived space feel tighter than the tray label suggests.
A 900 x 900 mm area offers a more practical space for one person, but it still needs a well-placed opening and fittings. If the room can’t fit that size comfortably, a bath-replacement layout or different shape might make better use of the wall space.
For a bath-replacement setup, a tray measuring 1700 x 800/900 mm can fit into the old bath space. The long side might support a separated dry area and wet area, but you still need to plan for the entrance and a drain route. Make sure the drain route doesn’t create a troublesome threshold.
Children, older adults, and mobility aids need different checks
Children often need a parent or carer in the shower, so a single-person space isn’t always enough for supervision. The position of controls, the risk of slippery surfaces, and how easy it is to reach stored items all deserve attention.
Older adults may benefit from an entry that doesn’t require stepping over a curb and from controls that are easy to reach. The floor should feel safe underfoot. A flush transition alone doesn’t make a bathroom fully accessible. The floor, drain, waterproofing, screen, and approach route still need to work together.
A mobility aid may require more clear approach and turning room than a person walking unaided. Do not infer that a shower is roll-in simply because it is called walk-in. Ask the person who will use the room what movement, transfer, support, and assistance the layout must accommodate before walls are removed.
A shower designed for a mobility aid must be measured around the user’s movement, not only around the tray or enclosure. Future-proofing is strongest when the entrance, floor transition, controls, and wall support plan are decided together.
Check existing plumbing and the floor before demolition
Changing shower sizes can impact joists, plumbing locations, waterproofing, door clearance, and accessibility. A new drain route might require access below the floor. A curbless shower may need a different floor build-up or a carefully coordinated transition with the bathroom floor.
Don’t assume you can remove a wall or floor without checking if pipes or structural elements can move. Always inspect the existing structure before demolition. The final construction method should be confirmed by qualified tradespeople.
Plumbing might stay near its current position or need to move, depending on the new drain, valve, showerhead, and waste route. The size of the enclosure alone can’t answer that question.
Advanced planning: measure the full finish and maintenance burden
Measure the elements that come off the wall
Wall build-up changes the point from which the shower is measured. Waterproofing membrane, boards, adhesive, tile, trim, and glass channels can all alter the final line. The same applies to a shower niche: its recess may reduce wall depth or require framing that affects the surrounding finish.
Tile quantities depend on the wall and floor areas, the tile format, the pattern, the openings, and the amount of cutting. Waterproofing quantities depend on the surfaces that must be covered and the construction system used. Glass quantities depend on the screen, door, returns, and supports. Labor depends on access, demolition, preparation, plumbing, drainage, waterproofing, tiling, and finishing.
No honest dimension guide can calculate the project total from the enclosure footprint alone. A small shower might involve difficult drainage or structural work. Larger showers can be straightforward if the existing layout already supports them.
Shower dimensions affect tile, glass, waterproofing, and labor because each finished surface and junction must be measured separately. Keep a dimension schedule that lists the rough opening, finished interior, opening, screen, door clearance, drain, valve, and niche.
Plan for cleaning from the beginning
Cleaning is easier when the glass can be reached, the floor does not contain awkward dead zones, and the drain remains accessible. An oversized open entrance may spread water across more of the bathroom, increasing the area that needs drying and cleaning. A crowded enclosure can make it difficult to reach wall corners and the floor around the valve.
Wall niches add storage but also create corners and waterproofed junctions. A screen can reduce splash but may also create channels and edges that need attention. A linear drain might change the tile layout and cleaning access around its grate. A center drain alters the floor falls and tile cuts around the central point.
Ventilation matters because the room must manage moisture after use. The shower size does not replace the need for suitable bathroom ventilation. No enclosure plan should hide service access or make routine cleaning unnecessarily difficult.
For removable storage, consider how a caddy will sit without narrowing the entry or scratching finished surfaces. A renter-focused guide to shower caddies for renters can help with storage ideas, but storage should remain secondary to clear movement and water control.
Inspect the floor transition before final finishes
The entrance should feel deliberate underfoot. A raised shower curb changes access and helps define the wet area. A curbless floor removes that raised edge but places greater importance on the floor fall, waterproofing continuity, and the relationship between shower and bathroom floor.
The floor must not create a sharp or unstable-feeling change at the doorway. A transition can look neat in a plan while becoming uncomfortable once tile, grout, and the chosen drain arrangement are installed.
Floor finish choices also affect the visual reading of the room. Large-format tile can make a compact shower appear calmer, but the required cuts around a center drain may change that effect. Smaller pieces may follow falls more easily, but more joints create more lines to clean. The dimensions do not determine one universal finish; they determine the conditions the finish must handle.
Preventive checks before work begins
Use a dimension checklist
Before approving the plan, check each item below on the drawing and at the room itself:
- Finished wall-to-wall clear interior, not only the rough opening.
- Clear entry passage, with approximately 550 mm allocated as a general guideline.
- Location and type of shower pan, tray, linear drain, or center drain.
- Floor fall toward the drain and the comfort of the entrance transition.
- Showerhead spray direction and the likely route of escaped water.
- Shower valve access without placing the user in the strongest spray.
- Glass shower screen, shower door, hinges, channels, and opening clearance.
- Waterproofing membrane continuity at corners, penetrations, niche, curb, and threshold.
- Wall build-up, tile thickness, trim, and final finished lines.
- Existing joists, waste routes, supply pipes, and access for future maintenance.
- Bathroom circulation beyond the shower entrance.
- Lighting, ventilation, towel storage, and cleaning access.
A dimension checklist prevents the shower footprint from being mistaken for the complete bathroom plan. Mark each item on the same drawing so that a change to one feature reveals its effect on the others.
Check standards and safety information through the right bodies
Product safety information should come from the manufacturer and the relevant authority rather than from a generic dimension chart. The U.S. Consumer Product Safety Commission publishes consumer safety information, so it is a suitable place to check general product-safety guidance rather than relying on an unattributed claim.
Where a material or building product carries a standards claim, check the named standard with the organisation that develops or administers it. The ASTM International website provides information about standards work, but a shower layout still requires the manufacturer’s installation instructions and the applicable local building requirements.
Those links do not replace a site assessment. Drainage, floor structure, electrical work, waterproofing, and accessibility can require different qualified professionals depending on the bathroom and location.
Measure in a way that can be checked later
Write down whether every figure refers to the rough opening, finished wall face, tray edge, glass edge, or clear walking area. Photograph concealed pipe routes before closing walls, and keep the drain, valve, and waterproofing positions on the final record.
Do not measure only from the centre of a room. A wall that appears straight can change the usable opening if the finished surface is thicker at one end. Check opposing walls, corners, ceiling obstructions, and the floor level before committing to a screen or door.
Check the person’s route into the shower and the enclosure itself. A clear shower interior can’t fix a blocked approach or a door that hits the basin.
Frequently Asked Questions
What are practical walk in shower dimensions for one person?
A 900 x 900 mm floor area is a practical minimum for many people and works for one. After wall build-up, glass, fixtures, waterproofing, and curb, the finished clear space might be smaller than the rough opening. Use this figure as a starting point, then verify the entrance, valve, drain, and spray direction.
How much entry space should a walk-in shower have?
Plan for about 550 mm for the entry passage as a general rule. It must stay clear after installing the finish screen, door hardware, wall surfaces, and fittings. An open entrance also needs a splash-control plan, because a large opening can send water into the bathroom if the showerhead and glass don’t block the spray path.
Are walk-in and curbless showers the same?
No. A walk-in shower means access through an opening, while a curbless shower has a floor transition without a raised curb. A walk-in shower might include a curb, and a curbless shower still needs proper drainage, floor slope, waterproofing, and matching bathroom-floor levels. A roll-in shower adds requirements based on wheeled access and should be planned around how the user moves.
Where should the drain and shower valve go?
The drain should match the shower floor’s slope and the entrance transition, while the valve needs to be reachable without forcing the user into the main spray. A center drain and linear drain create different floor layouts, so pick one based on the shower pan, joists, waste route, waterproofing, and tile. The available info can’t specify one universal position for all bathrooms.
Can changing shower size require structural or plumbing work?
Yes. Changing the size can affect joists, waste routes, supply pipes, waterproofing, door clearance, and accessibility. Moving a drain or making a curbless floor may require work below or within the existing floor. Always check the structure and hidden services before demolition, and confirm drainage, waterproofing, structural, and electrical details with qualified professionals.