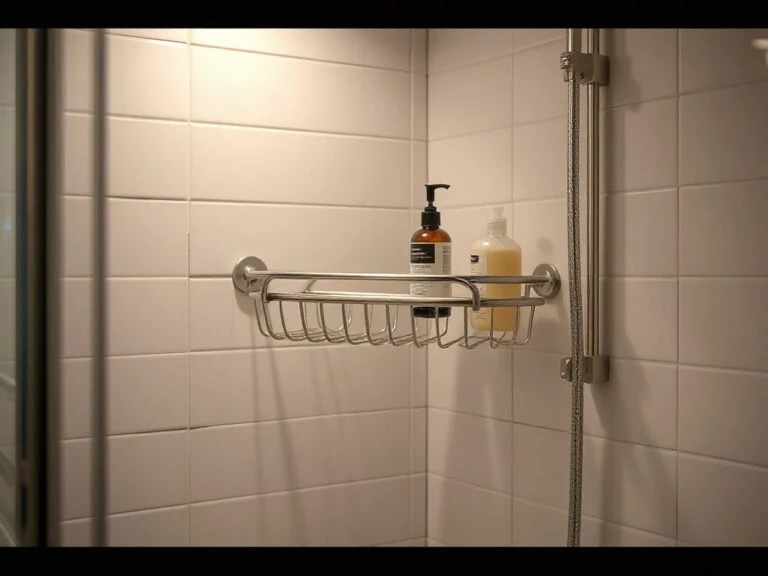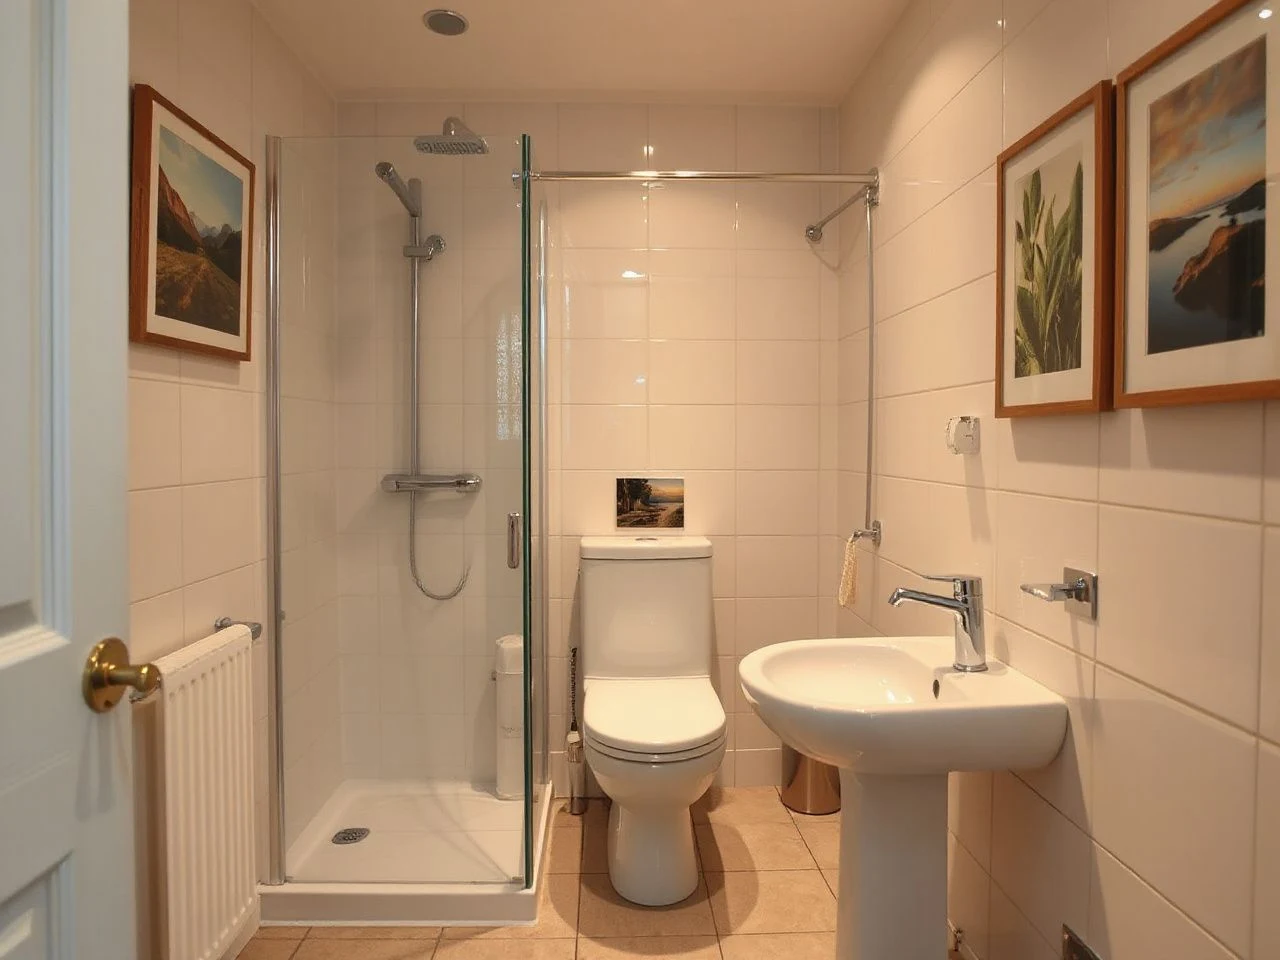
Small rooms punish careless planning.
A successful small bathroom layout isn’t just about fitting the smallest fixtures. It’s about protecting movement, door operation, cleaning access, and service access once wall finishes and fittings are installed. The key difference is between making a plan look spacious and ensuring the space is usable for daily movement, especially around the toilet, shower entry, and bathroom door.
Start by checking the doorway before you settle on a vanity unit. A plan might seem open on paper, but once the door swings inward, the shower opens, and someone needs to pass the toilet to reach the washbasin, it can feel awkward. The priorities below are movement first, then plumbing, waterproofing, ventilation, storage, and appearance.
Key Takeaways
- Check the bathroom door, fixture clearances, and circulation space together.
- Choose the shower type according to drainage, waterproofing, splash control, and cleaning access.
- Keep toilets and washbasins near practical plumbing and service routes wherever possible.
Step 1: Read the room as a route, not a rectangle
Start with the doorway
Draw the room as it actually exists, including the door swing, window, radiator if there is one, soil pipe route, waste pipes, and any boxed-in services. Mark the direction of the bathroom door swing. The first usable space is what’s left after the door opens, not the entire room size shown by the dimensions.
A bathroom door shouldn’t hit the toilet, washbasin, shower screen, or a person standing at the basin. If the door blocks the only clear route, a pocket door might make the layout easier, as long as the wall can support the pocket mechanism and still leave room for plumbing, wiring, and future repairs.
A pocket door changes how you enter a room, but it doesn’t add any extra floor space inside the wall. The wall cavity needs to stay suitable for the door hardware and shouldn’t hide pipes that might need attention later.
Mark movement before fixtures
Use removable tape on the floor to outline the toilet, washbasin, vanity unit, and shower enclosure. Open the bathroom door and any shower door fully. Then walk the route from the entrance to the basin and shower without turning sideways or stepping around projections.
The goal isn’t to produce an empty-looking center at all costs. It’s about keeping the everyday route clear and understandable. A slightly tighter arrangement with a clear entrance can feel easier than a spread-out plan that forces passing between open doors and fittings that stick out.
- Place the toilet where the user can sit and stand without being trapped by the door or shower entry.
- Keep the washbasin near the entrance when that permits a direct route and avoids crossing the shower area.
- Put the shower at the far end only if the entry remains easy to reach and the door or screen does not cut across the main route.
- Check the room from a seated position as well as from a standing position.
Older homes often have rooms measuring 5 ft. by 8 ft. or 6 ft. by 9 ft. These dimensions describe the room, not the usable space once wall finishes, boxing, fittings, and door movement are considered.
Allow for future mobility
A small bathroom should work for more than one standing person. Leave a route that can handle a slower turn, a walking aid, or help from someone else. Avoid placing a tall cabinet or heated rail where it narrows the approach to the toilet or shower.
Designing an accessible bathroom starts with planning the route between fixtures. A layout that only works when someone stands in the center of the room might become difficult after an injury or if balance changes or support is needed.
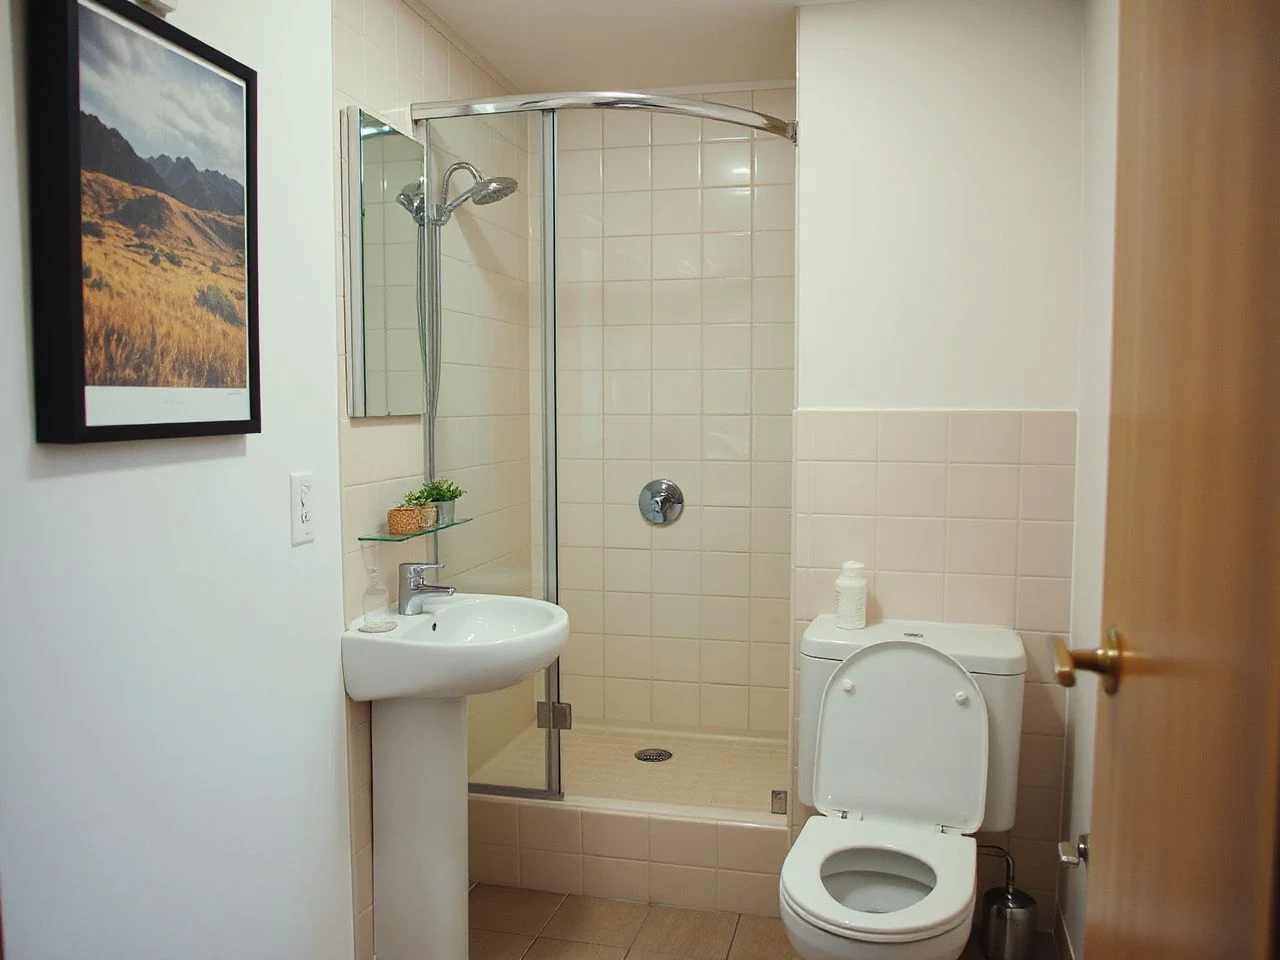
Step 2: Choose the shower arrangement by risk and maintenance
Shower enclosure
A shower enclosure creates a clear wet area in a small room. Its screen or door can limit spray, protect nearby storage, and make the dry floor easier to use. The trade-off is the space needed for entry and for the enclosure door to move.
A sliding or folding arrangement may preserve the route, while a hinged door can be simple to operate if its swing opens into clear space. The correct choice depends on the actual door path, not on the shower footprint alone. Mark the full movement before committing to the position.
Place the shower entry away from the toilet if opening it would require stepping around the pan. Cleaning access is also important. A narrow gap between the enclosure, vanity, and wall can trap hair and residue, and leave little room for cleaning tools.
Walk-in shower
A walk-in shower can reduce the visual interruption created by a shower door. It may also provide a more direct route for someone who finds a raised threshold difficult. The open side must still control water, and the room must have a drainage arrangement that carries water away rather than allowing it to spread across the floor.
For showers no longer than 48 in., placing a bench across from the showerhead gives a spot to sit in the water. This setup needs careful checking of the entry, spray direction, cleaning access, and waterproofing details before building.
A walk-in shower needs a clear plan for containing water. The position of the screen, showerhead direction, floor slopes, drain location, and wall protection all work together as a system.
Wet room
A wet room can make a small bathroom feel continuous because the shower area doesn’t rely on a bulky enclosure. The room then depends heavily on waterproofing, drainage, floor slopes, and splash control. A floor drain is part of the drainage plan, not just a decorative feature to add after the floor is finished.
A full mortar bed is essential for a Eurobath to slope the bathroom floor properly toward a drain. A tile wainscot with the minimum coverage protects the walls of a Eurobath. These elements should be planned with the waterproofing system and finished floor, not added as late changes.
Compare the three choices by daily use
- Choose an enclosure when controlling spray and keeping a dry route are the main priorities, and the entry can open without blocking another fixture.
- Choose a walk-in shower when a low-obstruction route matters and the room can contain water through its floor, screen, and drainage design.
- Choose a wet room when the whole floor can be planned as a waterproofed drainage surface and future cleaning access is acceptable.
The easiest shower to maintain has reachable corners, visible drainage, and surfaces that can be cleaned without moving the toilet or vanity. A visually open shower isn’t always the easiest to repair, even if it looks simpler.
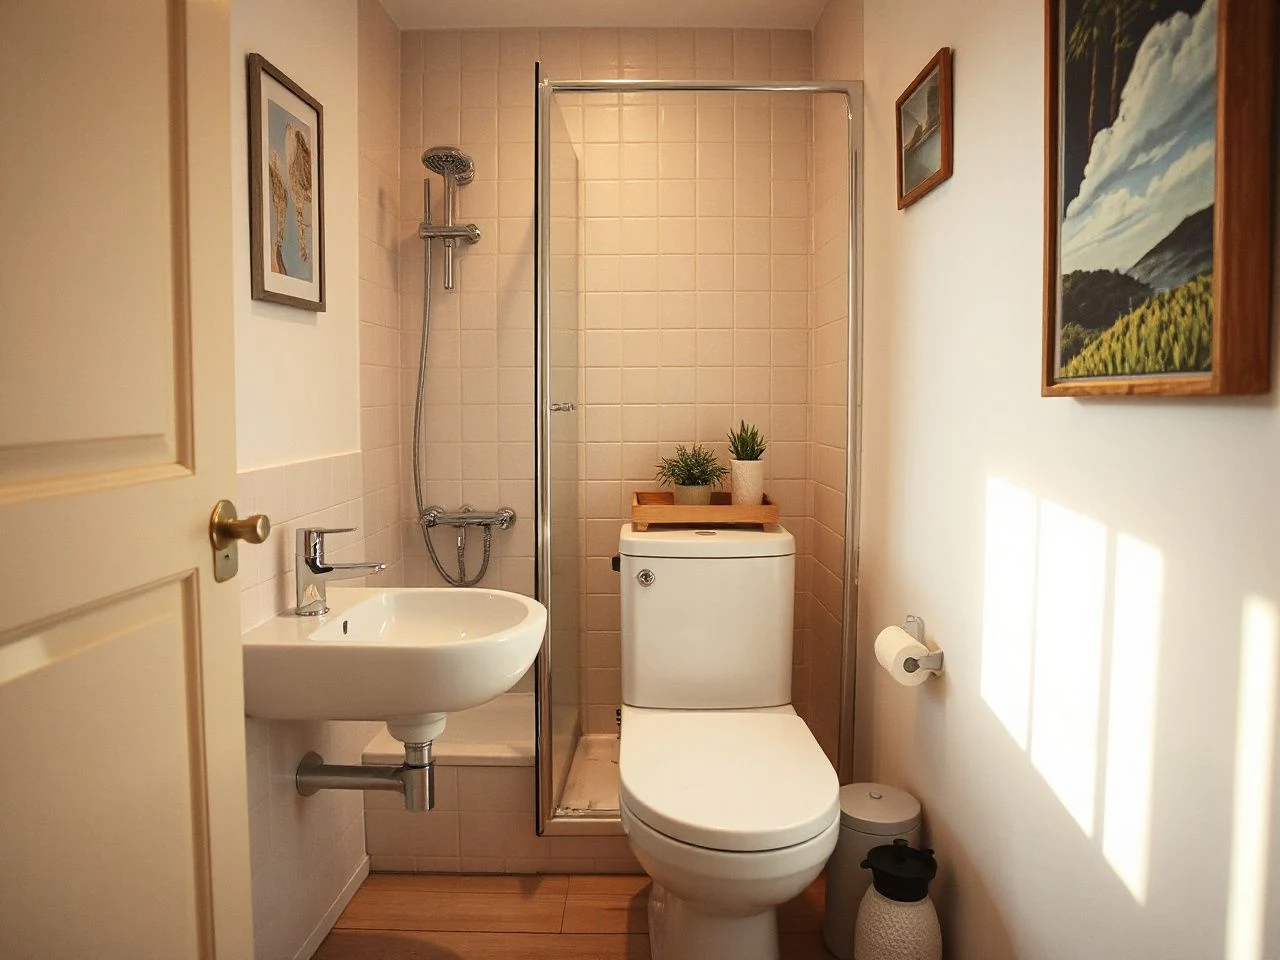
Step 3: Position the toilet and washbasin around the plumbing route
Keep the toilet practical to build
The toilet often determines where the rest of the room goes because its waste route needs a workable connection and easy access. Moving it might require changes below the floor or inside the walls, along with new boxing that can reduce the space gained by the move.
The best-looking setup can still be hard or costly to build if the toilet is far from the existing plumbing route. Check the route, isolation points, access panels, and service areas before choosing a position based on a top-down sketch.
A wall-hung toilet can make the floor beneath it easier to clean and can reduce the visual weight of the pan. Its concealed frame and cistern create another responsibility: the installation must preserve access for maintenance. The wall must also be planned around the frame, pipework, flush mechanism, and any access opening.
A wall-hung toilet is only useful if its concealed services stay serviceable. Floor clearance doesn’t make up for a cistern or connection that can’t be reached without removing finished wall surfaces.
Place the washbasin where the route remains clear
Placing a washbasin near the door can work well because it offers a short route for handwashing without passing through the shower area. The basin shouldn’t interfere with the door swing or leave the toilet user with no clear approach.
A vanity unit adds storage space, but its depth and door movement need the same attention as the basin itself. Shallow storage can help keep the route clear, while a wide opening door might create a temporary barrier in an already tight room. Bathroom storage planning works best after circulation routes have been marked.
Keep plumbing access in mind under the basin. A tidy front can hide valves, traps, and connections, so an access panel or removable section may be necessary. Serviceability is part of the layout, not an optional extra.
Understand the effect of moving fixtures
Moving a washbasin might be straightforward in one room but disruptive in another. It depends on the route to supply and waste connections, floor construction, wall finishes, and access for future work. Moving a toilet tends to have a bigger impact because its waste route and venting can determine the plan.
No responsible plan can assign a universal cost to relocation without inspecting the building. Ask to see the existing pipe route, the proposed route, access method, waterproofing changes, and reinstatement work as separate points in the quotation.
Plumbing relocation should be judged by the daily benefit it creates. Moving a basin a small distance might be worthwhile if it clears the doorway, but relocating a toilet can be poor value if it results in a box-out that blocks circulation space.
Step 4: Protect ventilation, waterproofing, and repair access
Plan mechanical ventilation early
Moisture stays concentrated in a small bathroom because the shower, walls, ceiling, and fittings occupy a close area. Good mechanical ventilation helps remove damp air, but the extractor fan must be included in the electrical, duct, ceiling, and door-ventilation plan from the start.
An extractor fan can’t fix a poor shower layout alone. If spray reaches the vanity, storage, or an unprotected wall, the room still needs better water containment and a suitable cleaning routine.
Bathroom ventilation should discharge through a properly planned route rather than terminating in a hidden void. Follow the fan manufacturer’s installation instructions and use a qualified professional for electrical work where required. For general consumer safety information, the U.S. Consumer Product Safety Commission publishes guidance on household hazards and safe use of consumer products.
Coordinate waterproofing with the floor plan
Waterproofing depends on the wet areas created by the layout. A shower next to a timber-lined wall, a basin against a finished partition, or a wet-room floor that runs beneath the toilet all require clear decisions about where water can go and how surfaces are protected.
Don’t draw the shower first and then leave the floor construction to the installer. A wet room needs coordinated waterproofing, drainage, floor falls, and water containment to prevent leaks and splash problems.
Tile size, grout lines, wall junctions, screen seals, and access panels all affect cleaning and maintenance. The finished floor should direct water to the drain without creating a lip or low point that traps residue. When a mortar bed is needed for the Eurobath arrangement, its slope has to be part of the build-up, not an improvised correction.
Keep isolation and service points reachable
Locate isolation points where they can be reached without dismantling the vanity, removing the toilet, or breaking finished tile. A removable access panel can keep the appearance neat while allowing inspection of concealed connections.
Service access matters most in a small room because there’s little spare space for tools, replacement parts, or temporary removal of fittings. Leave a practical way to reach the extractor fan, basin connections, toilet connections, shower controls, and drainage points.
A compact bathroom costs less to maintain when service points stay reachable. A concealed pipe that needs finished surfaces to be opened can turn a small repair into a wider reinstatement job.
Step 5: Test the plan before choosing finishes
Use full-size floor marks
Draw the proposed fixtures at full size using tape or cardboard. Include the outer edge of the finished wall, not just the framing line. Mark the shower screen, basin projection, toilet position, vanity doors, towel rails, and bathroom door swing.
Stand at the basin, sit at the toilet, enter the shower, and open every door. These actions reveal awkward contact points that a small plan can hide. A plan should be rejected if someone has to twist around the basin to reach the shower or if the toilet is only accessible through an open shower door.
Check the plan with the room empty and include simple boxes representing a laundry basket, cleaning tools, towels, and toiletries. Even in a compact room, there needs to be space for ordinary objects, even when the main fixtures fit.
Review cleaning routes
Cleaning access is essentially a layout test. You need to reach the wall behind the toilet, the floor beside the vanity, the shower drain, the screen junction, and the corners where the floor meets the wall. If a hand or cleaning tool can’t reach the surface, dirt and moisture might stay behind.
A floor-standing vanity can hide the floor beneath it, but a wall-hung unit can make that area easier to access. The wall-hung option still needs safe support, proper service access, and careful planning around pipework. Pick the setup that balances cleaning ease with construction and repair needs.
Simple finishes don’t fix a poor plan. Check the related guidance on ways to make a small bathroom look bigger after the route works. Visual tricks should support usable space, not hide blocked movement.
Review lighting and storage together
Lighting should illuminate the face at the washbasin, light up the shower entry, and avoid casting shadows on the user. Bathroom lighting layout should be on the same plan as mirrors, cabinets, extractor fans, and wall access panels.
Storage needs to hold daily items without narrowing the entry. A mirrored cabinet, recessed shelf, or vanity compartment can keep the floor clear, but each needs a service and cleaning check. Avoid storing items on the toilet cistern or around the shower floor, as they can interfere with cleaning and water control.
In a room that combines washing with laundry, the appliance door, basket route, shower entry, and bathroom door should all be considered together. The small bathroom and laundry planning ideas can help you think through that combined route, without treating the washing machine as an isolated object.
Common small bathroom layout mistakes and their fixes
Fitting the smallest fixtures everywhere
Small fixtures can cut down on space, but several reduced-depth fittings might leave awkward gaps and make access difficult. A toilet that looks compact on paper can still be uncomfortable if the door, basin, and shower overlap its usable approach.
Fix the issue by drawing the user route first. After that, pick fixture sizes that leave a direct approach, a workable shower entry, and surfaces reachable for cleaning.
Ignoring finished wall thickness
Plans often show structural walls and fixture outlines. They usually omit tile, boards, waterproofing, plaster, boxing, and trim. Those layers take up space and can move a fitting closer to the door than expected.
Finished wall thickness changes the usable room. Mark the expected finished surface before confirming the basin, shower screen, or door position.
Putting the door inside the main route
An inward-opening door may block the washbasin or toilet when the room is in use. Reversing the swing might help. But the corridor outside must also be safe and practical. A pocket door can work where wall construction allows it and where its hardware and services stay accessible.
Using a wet room as a shortcut
A wet room isn’t just a bathroom without a shower screen. It needs a properly planned waterproofed floor, drainage, falls, wall protection, and splash strategy. Without those, water can spread into the room from the open floor.
Hiding every service
Fully concealed services can look calm, but a sealed wall or boxed pipe may make repairs disruptive. Use removable panels where practical. Record the location of isolation points before closing the wall.
Planning for appearance before access
Large mirrors, pale finishes, continuous flooring, and clear glass can make a small bathroom look broader. They can’t fix a blocked door swing or a shower entry that forces a tight turn. Check appearance after movement and maintenance pass their tests.
Step 6: Choose the final arrangement with a maintenance-first test
A compact room with a shower
A common arrangement places the shower at the far end, the toilet between the wet area and entrance, and the washbasin near the door. This can make the route easy to understand, but only if the shower entry does not cross the toilet approach and the door swing does not cut across the basin.
Another setup has the shower along the long wall and the basin opposite. It can create a direct route, but splash control and enough space for the enclosure are necessary. The door must open without trapping the user.
A compact room with a bath
A bath can fill the full width at one end, with the toilet and washbasin along the other wall. The bathroom door needs checking against the basin projection and bath entry. If there’s a shower over the bath, a clear route for stepping in and out, proper waterproofing, and good ventilation are essential.
A room without a shower
A bathroom without a shower might give more space around the toilet and washbasin. But, the door, storage, ventilation, and cleaning routes still need to be checked. Removing a shower does not eliminate the need for service access or moisture control where a bath is used.
The best arrangement is one that stays usable after the room is furnished, cleaned, repaired, and used by someone whose mobility has changed. That test is more reliable than judging the layout from the center of an empty room.
Frequently Asked Questions
Where should the toilet, washbasin, and shower go in a small bathroom layout?
Start with the bathroom door and the main route. Place the washbasin where it doesn’t block entry. Keep the toilet accessible without crossing an open shower door. Locate the shower where its entry and spray can be controlled. Confirm the plumbing route before finalizing positions, because a tidy appearance may hide service difficulties.
Can a pocket door make a small bathroom layout work better?
A pocket door can remove an inward swing from the usable floor and may improve the route to the toilet, washbasin, or shower. It needs a suitable wall cavity, however, and that wall must still accommodate plumbing, wiring, and future access. A pocket door improves the plan only when the wall can accept it without creating concealed service problems.
Is a wall-hung toilet genuinely useful in a compact bathroom?
A wall-hung toilet can make the floor below easier to clean and may reduce the visual weight of the room. Its concealed frame and cistern need reliable support and practical maintenance access. If the installation hides isolation points or connections behind finished surfaces, the cleaning benefit may be offset by more disruptive future repairs.
How should waterproofing and drainage be planned for a walk-in shower?
Plan the showerhead, screen, drain, floor falls, wall protection, and finished floor together. A walk-in shower must contain spray and direct water to the drain, while a wet room requires a coordinated waterproofed floor and suitable water containment. Do not treat these decisions as separate finishing choices. The National Sanitation Foundation provides public information about its role in evaluating certain plumbing and water-related products, but the installation still needs to follow the product instructions and applicable local requirements.
How much does moving the toilet or washbasin affect practicality and cost?
The impact depends on existing supply and waste routes, floor and wall access, waterproofing, boxing, and surface reinstatement work. Moving the toilet often has a bigger effect because its waste route controls the room layout. Ask for a clear breakdown of route changes, access work, waterproofing, and repairs, not just a fixture-only estimate.
Which compact bathroom layouts are easiest to clean?
Layouts with accessible floor edges, simple shower access, visible drain areas, and serviceable fittings are usually easier to maintain. Wall-hung fixtures might reveal more floor space, but services still need access. Avoid narrow gaps behind fixtures and corners that can’t be reached with a cloth or cleaning tool.
How can a small bathroom keep floor space without making fixtures uncomfortable?
Protect the route instead of shrinking every fitting. Use a door arrangement that doesn’t block the entrance. Select a basin projection that leaves a direct approach. Choose a shower entry that doesn’t collide with the toilet. Full-size tape marks reveal whether the room works before finishes make changes difficult.
What should be checked before approving the final plan?
Check the finished wall line, bathroom door swing, shower entry, toilet approach, basin use, drainage, waterproofing, extractor fan route, isolation points, cleaning access, storage, and future mobility. Also confirm that any pocket door cavity, wall-hung frame, access panel, or service box doesn’t conflict with plumbing or electrical work.
For smaller visual changes after the construction plan is sound, see simple bathroom upgrades that do not depend on moving major fixtures. The layout should carry the practical work; finishes should then make the room feel calmer and more generous.