The biggest bathroom improvement may be the one that costs nothing until the light is right. I would adjust the lighting before replacing furniture, then separate cosmetic work from maintenance work. The useful distinction is between cosmetic changes that hide wear and small maintenance upgrades that prevent water damage: fresh paint and hardware change appearance, while sound caulk, grout, ventilation, and secure mounting determine whether the result lasts. An inexpensive bathroom update should therefore be judged by total upkeep and compatibility with moisture, tile, plaster, drywall, and existing fixtures rather than by the initial material cost alone. That is the standard I use for simple inexpensive bathroom upgrades.
Key Takeaways
- Correct harsh or weak lighting before changing the room’s furniture.
- Repair failing caulk, grout, leaks, and soft wall material before decorating.
- Use moisture-suitable paint and allow paint, adhesives, grout, and caulk to cure fully.
- Choose mounting hardware for the actual wall surface, not for appearance alone.
Simple inexpensive bathroom upgrades that change the room first
A bathroom can feel dated because of colour, glare, clutter, worn sealant, or mismatched small details. Layout is often blamed too quickly. A better sequence is to correct what the eye notices immediately, then repair the surfaces that receive water.
Start with the lighting
Lighting is my first move because it changes the apparent colour of paint, tile, towels, mirrors, and metal finishes at once. Replace a tired light source with suitable LED light bulbs if the existing fitting allows it, and check the bulb base, fixture instructions, and electrical rating before fitting anything. The goal is even light at the mirror and a comfortable general level, not a bright spot that leaves the rest of the room dull.
Do not treat a bulb change as permission to alter wiring. Turn off power at the circuit before working on a light fixture, and use the Consumer Product Safety Commission as a safety reference for electrical products and household hazards. Electrical changes in damp areas should be left alone unless the installation is suitable and safely completed.
Bathroom lighting affects how accurately wall colour, skin tone, tile, and surface wear can be judged. This makes lighting a practical decorating tool, not a finishing detail.
- Clean the shade or diffuser if dust is reducing the light.
- Check that the bulb type suits the fitting and the room’s intended use.
- Use the mirror area as the priority rather than relying on one ceiling source.
- Keep wet-area electrical work within the fitting instructions and local requirements.
Change the visual anchors
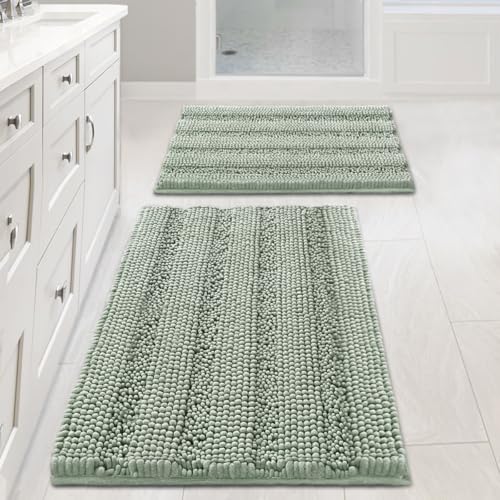
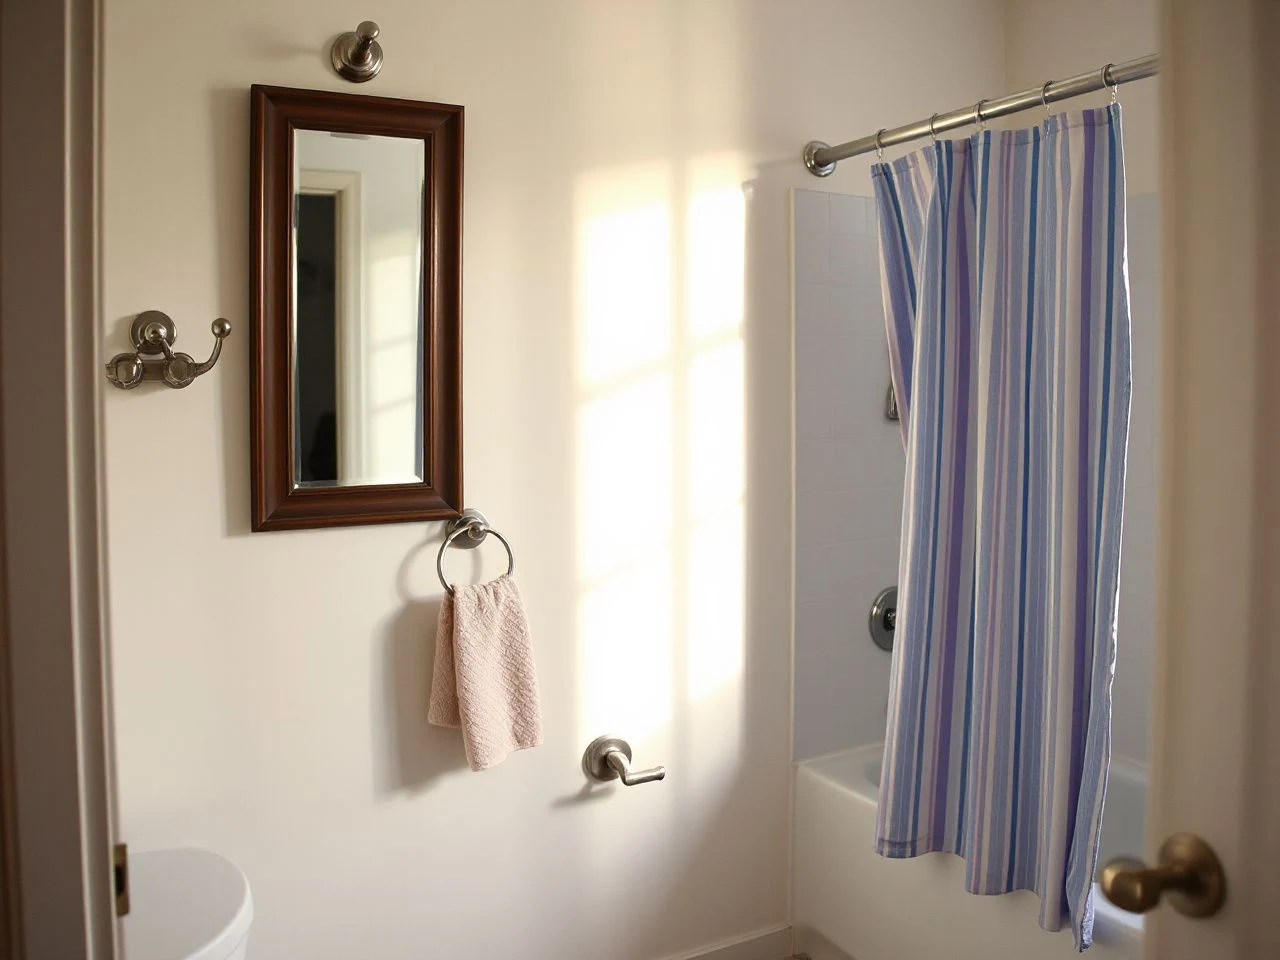
After lighting, focus on the mirror, shower curtain, bath mat, towels, cabinet hardware, and the visible face of the vanity. These pieces occupy enough visual area to change the room without changing its plumbing or layout. A consistent finish helps, but identical finishes are not required; the useful test is whether the pieces look deliberate under the room’s actual light.
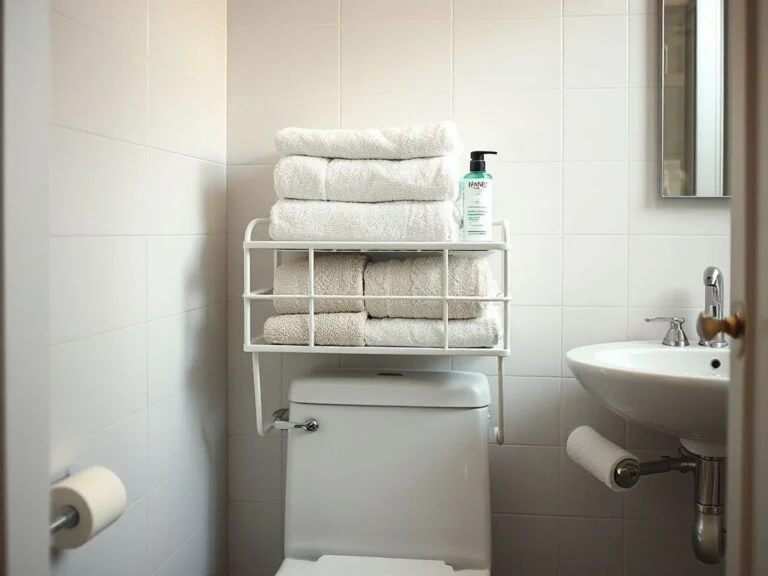
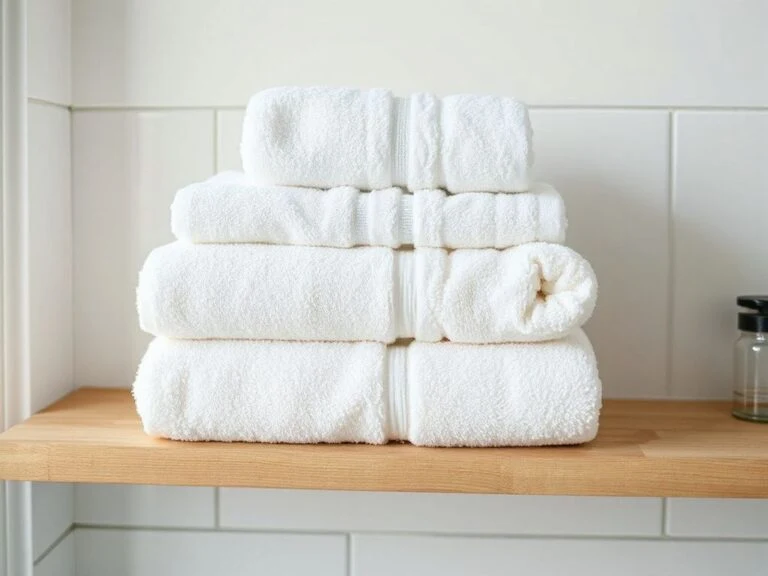
Textiles can also support bathroom storage and decluttering. Folded towels, a contained group of everyday items, and a clear vanity top make the room read as calmer. If soap is taking up counter space, you can compare ideas in our guide to soap dispensers for small bathrooms without adding another freestanding object to the sink area.
Use paint as a controlled reset
Moisture-resistant bathroom paint is the sensible starting point for walls exposed to regular humidity. Look for paint whose label identifies bathroom or moisture use, and match it to the existing wall surface. A paint roller and angled brush cover broad areas and let you cut carefully around trim, corners, fixtures, and the ceiling line.
Preparation matters more than a dramatic colour choice. Remove surface dirt, deal with loose or failing material, and protect fixtures before painting. A freshly painted wall cannot correct a leak behind it, and paint should not be used to cover recurring mold or soft drywall.
Bathroom paint lasts only when the wall is sound, clean, dry, and suited to the paint label. Ventilate the room during application and allow the coating to cure fully before regular bathroom moisture reaches it.
Refresh the vanity without replacing it
A vanity or cabinet does not always need to be removed for a visual refresh. You can paint the accessible exterior in place if the surface can be cleaned, prepared, and protected from drips. Remove or mask cabinet hardware, protect the counter and floor, and keep paint out of hinges, drawer runners, and the sink edge.
Painting in place has limits. Tight edges, hidden faces, and damaged panels may remain visible, and a cabinet with swelling, soft material, or water intrusion needs repair before decoration. New cabinet hardware can produce a strong change, but measure the existing hole spacing and choose hardware that suits the cabinet construction. Do not drill into a panel simply because a pull looks attractive.
Repair before decorating: water, grout, and caulk
Cosmetic work cannot compensate for a bathroom that is allowing water into places that should remain dry. Persistent leaks, soft wall material, recurring mold, or damaged plumbing should be addressed before cosmetic upgrades. The same rule applies to a loose fixture that may pull away from the wall or allow water behind it.
Recaulk or regrout around a tub?
Choose recaulk when the worn area is a flexible joint where a tub, shower base, wall, or fixture meets another surface. Choose grout repair compound when the problem is a rigid tiled joint with missing, cracked, or eroded grout. The border around a tub is commonly a movement joint, so replacing that sealant is generally more appropriate than packing it with a rigid grout product.
Do not apply new caulk over mold, loose material, or a wet surface. Remove failing sealant, clean the joint, and let the area dry first. Silicone bathroom caulk is intended for bathroom sealing, but the product label still controls surface preparation, ventilation, and curing requirements.
New caulk cannot form a dependable seal over loose caulk, mold, residue, or standing moisture. A neat bead is the visible result of preparation, not a substitute for it.
Clean and prepare the joint
- Remove the failing sealant carefully without gouging the surrounding surface.
- Clean residue and visible contamination from the joint.
- Inspect for soft material, movement, staining, or evidence of a continuing leak.
- Allow the joint to dry completely before applying new silicone bathroom caulk.
- Apply the new sealant according to its label and keep regular moisture away until it has fully cured.
Ventilation helps keep the work area suitable for curing, but a fan does not repair a wet wall or an active leak. If mold returns after cleaning, the cause may be moisture behind the surface or inadequate ventilation. Cosmetic sealing should wait until that cause is addressed.
Repair grout selectively
Grout repair compound can tidy isolated damaged joints when the surrounding tile is sound. Remove loose material, clean the joint, and follow the compound’s instructions for application and curing. Grout sealer may be appropriate where the product and surface call for it, but sealer does not replace missing grout or correct movement around a tub.
Bathroom floor, wall, and ceiling coverings need to remain impervious to water in areas exposed to bathroom moisture. That makes cracked grout, open joints, and damaged finishes maintenance concerns rather than purely visual flaws. If tile is loose, the backing is soft, or moisture keeps returning, stop the cosmetic repair and investigate the substrate.
Hardware, storage, and changes that avoid drilling tile
Small hardware changes can improve function, but the mounting surface determines the method. Adhesive hooks and similar hardware may fail on textured, dusty, damp, or poorly bonded surfaces. Drilled hardware needs anchors suited to the wall material, and the fastener must be placed where it will not strike hidden services.
Use adhesive hardware only on suitable surfaces
Read the adhesive hardware instructions and inspect the surface first. A smooth, clean, firmly bonded, dry surface gives the adhesive a better starting point than textured tile, dusty plaster, peeling paint, or a damp wall. Do not use adhesive hardware to support a load that the label does not permit.
Adhesive hardware depends on a clean, dry, well-bonded surface and a load suitable for the product instructions. The wall condition matters as much as the hook’s appearance.
Adhesive options can avoid drilling into tile, which is useful for light, temporary items. They are not a universal answer for towel bars, shelves, heavy mirrors, or anything that could injure someone if it falls. A towel bar is also pulled repeatedly, so the mounting decision should account for that movement rather than only the bar’s empty weight.
Know when wall anchors are needed
Use wall anchors when the fastener will not enter a structural framing member and the wall material requires additional holding support. The correct anchor depends on whether the wall is drywall, plaster, masonry, or another surface, so identify the material before drilling. A long screw is not automatically a secure screw.
- Locate the wall material and inspect the mounting instructions.
- Mark the fixing points carefully so the hardware sits level.
- Use anchors suited to the wall rather than reusing an unsuitable plug.
- Keep fixings away from visible plumbing and electrical routes.
- Test the mounted item gently before loading it with towels or toiletries.
Accessibility improvements deserve the same care. A better-placed towel bar or shelf may help reach and movement, but a support fixture that bears body weight requires appropriate structural installation. Do not treat a decorative adhesive hook as a safety fitting.
Make small storage changes work harder
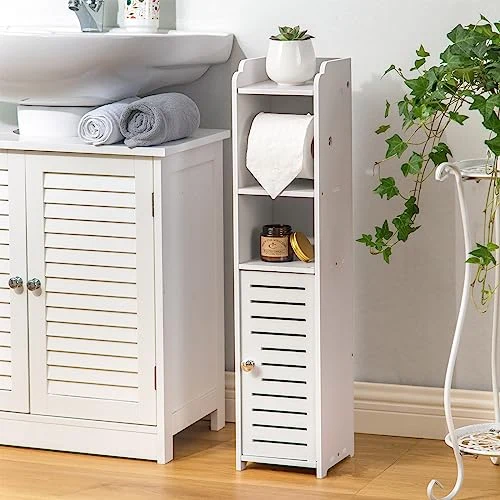
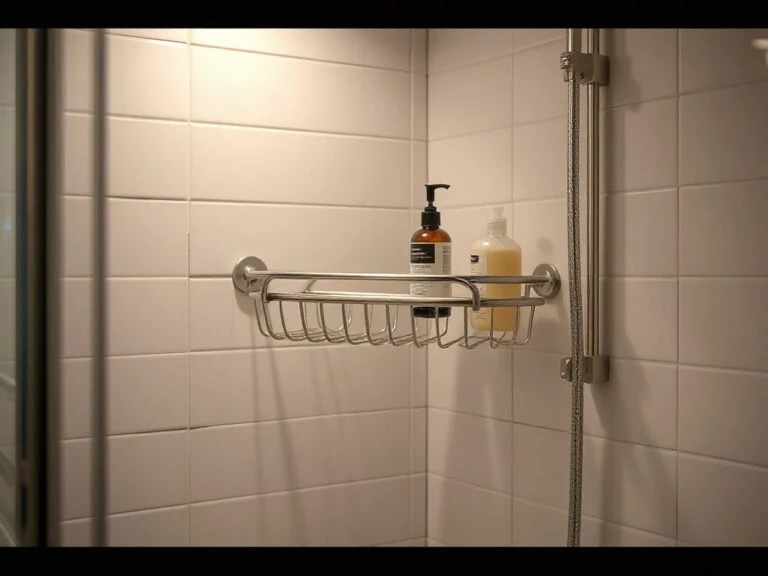
Decluttering is an upgrade when it removes objects from wet edges and makes cleaning easier. Use the existing cabinet, wall space, or counter deliberately before adding furniture. A soap dispenser, a small tray, or a divided drawer can keep daily items contained; the right choice depends on the available surface and the cleaning routine.
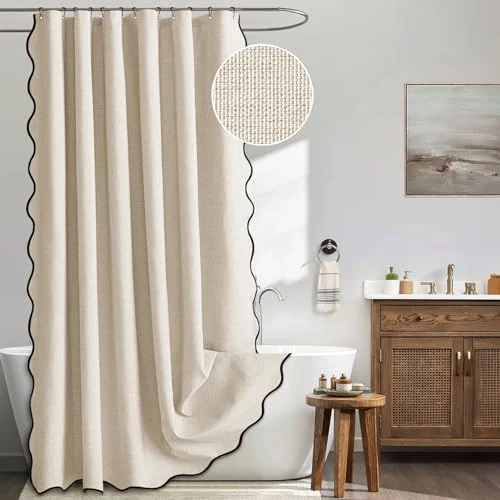
For a guest bathroom, towels and shower textiles contribute more to the finished appearance than a collection of small decorative objects. A focused look at bath towel sets for guest bathrooms can help with coordination, while a separate shower curtain guide for guest bathrooms is useful when the curtain is the room’s largest soft surface.
Costs that return as maintenance work
The cheapest material is not necessarily the cheapest update if it creates extra cleaning, replacement, or repair work. A busy pattern may disguise marks but make grout lines harder to read. An open shelf may look airy while exposing every bottle to spray. A delicate decorative finish near the sink may require frequent wiping or touch-ups.
Assess the upkeep before choosing the finish
Ask how each change behaves beside water, steam, splashes, cleaning products, and daily contact. Paint, caulk, grout, and adhesives need adequate ventilation and full curing before exposure to regular bathroom moisture. A finish that is unsuitable for the location can peel, stain, loosen, or require earlier repair.
- Paint: Confirm that the label suits a humid bathroom and prepare the wall properly.
- Caulk: Remove failing material and dry the joint before resealing.
- Grout: Repair missing or loose areas, then maintain the joint as directed.
- Adhesive hardware: Use only on a clean, dry, well-bonded surface with a suitable load.
- Textiles: Keep them clear of persistent splashes and allow them to dry between uses.
Floor coverings, wall finishes, and ceiling materials in bathrooms need to remain impervious to water in the areas exposed to moisture. Decorative changes should never make a wet area harder to inspect or clean.
Avoid temporary-looking results
Inexpensive updates look temporary when the preparation is skipped or the details do not align. Uneven caulk, paint on hardware, crooked shelves, mismatched metal finishes, and clutter around the sink all draw attention to the work rather than the room.
Work in a clear order: repair, clean, prepare, paint or seal, allow curing, then install accessories and style the room. The sequence reduces accidental damage and makes it easier to spot a problem before it is hidden.
A bathroom update looks considered when repairs are complete, lines are clean, hardware is secure, and every finish suits moisture. Decoration cannot disguise movement, leaks, or poor mounting for long.
Know which work to leave alone
Do not improvise plumbing repairs behind a wall, alter electrical wiring in a damp area, or cut into tile without understanding what lies behind it. Turn off power at the circuit before touching a light fixture. If the work involves damaged plumbing, recurring leaks, soft wall material, or electrical changes, use a qualified professional who can assess the installation safely.
For product safety information, the National Sanitation Foundation provides information about standards and certification in relevant water and sanitation areas. A certification mark does not remove the need to follow the installation instructions or inspect the existing bathroom condition.
A lighting-first order of work
Good sequencing protects the budget and prevents a decorative decision from hiding a maintenance issue. I would use the following order for a small bathroom makeover that does not change the layout.
- Inspect: Look for leaks, soft areas, recurring mold, failing grout, loose fixtures, and damaged plumbing.
- Set the lighting: Replace compatible LED light bulbs or clean the existing fitting, without changing wiring casually.
- Clear the room: Remove clutter so walls, cabinet faces, tile joints, and hardware can be assessed.
- Repair wet-area defects: Recaulk flexible joints, repair suitable grout areas, and address moisture causes.
- Prepare surfaces: Clean, dry, protect, and lightly prepare surfaces according to the relevant product label.
- Paint: Use moisture-resistant bathroom paint on suitable, sound surfaces with a roller and angled brush.
- Install hardware: Choose adhesive hardware only where appropriate, or use wall anchors suited to the wall.
- Finish the room: Add the mirror, textiles, cabinet hardware, and storage changes after wet work has cured.
Radiant hot water tubing or resistive electric mats beneath floor tile are possible approaches to warmer bathroom floors, but floor heating is not a casual cosmetic change. It involves the floor assembly and electrical or plumbing work, so it belongs in a professional planning conversation rather than a quick weekend refresh.
Material choice also deserves restraint. Acrylic, polypropylene, polycarbonate, and polyvinyl chloride can release microplastics as those materials degrade throughout their lifespan. That does not settle every bathroom material decision, but it is a reason to consider durability, repairability, and replacement frequency instead of treating disposable accessories as decoration.
Frequently Asked Questions
Which bathroom upgrades make the biggest visual difference without changing the layout?
Start with lighting, then address the mirror, wall colour, shower curtain, towels, cabinet hardware, and visible clutter. Lighting changes how every other finish is perceived, while a mirror and textiles occupy prominent areas without moving plumbing. Repair worn caulk and grout before styling, because a clean, sound edge makes inexpensive decorative work look more intentional.
How do I choose paint that will hold up in a humid bathroom?
Choose a paint whose label identifies suitability for bathroom moisture, and apply it only to a clean, sound, dry surface. Prepare peeling or contaminated areas instead of painting over them. Ventilate during application and allow full curing before regular moisture returns. Persistent mold, soft drywall, or a leak needs attention before any paint is applied.
Should I recaulk or regrout around a worn tub?
Use silicone bathroom caulk for a flexible joint where the tub or shower base meets another surface. Use grout repair compound for suitable rigid joints between tiles. Remove failing sealant or loose grout first, clean the area, and let it dry. New caulk should never cover mold, loose material, residue, or a wet joint.
What can I change without drilling into tile?
You can change compatible light bulbs, textiles, cabinet hardware using existing holes, paint on suitable walls, and some lightweight adhesive hooks or accessories. Adhesive hardware can fail on textured, dusty, damp, or poorly bonded surfaces, so inspect the wall and follow the product instructions. Do not use adhesive fittings for heavy shelves, safety fixtures, or loads beyond the stated use.
When should I use wall anchors for a towel bar or shelf?
Use wall anchors when the fastener will not enter suitable structural support and the wall material requires additional holding support. Select an anchor for the actual surface, such as drywall, plaster, or masonry, and keep fixings clear of hidden services. A towel bar experiences repeated pulling, while a shelf carries a sustained load, so secure mounting matters more than a quick installation.
How do I keep new caulk from peeling or turning moldy?
Remove all failing caulk, clean the joint, investigate any leak or soft backing, and let the area dry fully. Apply bathroom-suitable silicone caulk according to its label, ventilate the space, and allow the sealant to cure before regular moisture. Continued mold usually signals a moisture or ventilation problem rather than a bead that simply needs another layer.
Can I paint a vanity without removing it completely?
Yes, if the accessible surfaces are sound and can be cleaned and prepared in place. Remove or mask the hardware, protect the counter and floor, and keep paint out of hinges, runners, and the sink edge. Swollen panels, soft material, or water damage require repair first. Painting in place may leave hidden edges untouched, so inspect the result under the room’s normal lighting.
What should I avoid doing myself during a bathroom update?
Avoid casual electrical changes, hidden plumbing alterations, and repairs that conceal recurring leaks or soft wall material. Turn off power at the circuit before working on a light fixture, and do not work in damp electrical areas unless the installation is suitable and safely completed. A qualified professional should assess damaged plumbing, persistent leaks, and unsafe wiring.