The most common wall damage from hanging things is not the hole you make — it’s the paint you rip off when you remove the hardware. Adhesive strips hold a frame for months, then take a chunk of drywall paper with them on the way down. Figuring out how to hang things without damaging walls means matching your method to the wall itself, the weight you’re supporting, and how permanent you can afford to be. That last part is the real trade-off, and most people skip it. Lamps light up a wall’s flaws, and a badly patched hole shows up under any lamp. Choosing what to hang matters too; our guide to canvas vs framed print explains why some pieces weigh far more than they appear.
Key Takeaways
- Always identify your wall type first — drywall, plaster, or masonry — because each needs different anchors and removal techniques.
- Adhesive strips are not damage-free; they often peel paint or paper off drywall when removed incorrectly.
- For heavy items without a stud, use a toggle bolt rated for at least twice the weight of the object.
- Proper removal and patching matter as much as installation; a badly filled hole looks worse than the original nail.
Step 1: Identify Your Wall Before You Buy a Single Hook
You cannot choose the right hardware until you know what you are driving into. Drywall, plaster, and masonry each respond differently to nails, anchors, and adhesives. A method that works beautifully on modern drywall can crack 1920s plaster or send a drill skating across concrete.
Drywall, Plaster, or Masonry? How to Tell in 30 Seconds
Start with the knock test. Tap the wall with your knuckle. A hollow, slightly drum-like sound means drywall over a stud cavity. A dull, solid thud with almost no echo suggests plaster directly over lath or masonry. If the wall feels cold and hard and the tap hurts your knuckle, you are dealing with concrete or brick. Push a small nail or thumbtack into an inconspicuous spot: drywall gives way with light pressure, plaster resists and may crack, and a mortar joint will flake or crumble. If you have a board and batten feature wall, the battens themselves are convenient anchor points; 17 board and batten wall ideas shows how those vertical strips can also hide seams or wiring.
Why Wall Type Changes Everything
Drywall is a gypsum core sandwiched between paper facing. It holds moderate loads when anchors spread the force, but a single screw can tear through the paper if pulled at an angle. Plaster is hard but brittle; it cracks under point loads or expansion from an oversized anchor. Concrete and brick are dense and unforgiving — standard nails bend, adhesives fail on the rough surface, and you need a masonry bit just to make a small pilot hole. A 1/2-inch thick drywall panel can support roughly 50 pounds per square foot of distributed load, but a single screw without an anchor can tear out at under 20 pounds. Drywall strength standards are set by ASTM International, and most residential panels meet the C1396 specification for gypsum wallboard.
Step 2: Choose the Right Hardware for the Weight and Surface
Now that you know the wall, match the hanger to the load. The central practical distinction is between methods that grip the surface — adhesive strips, small pin hooks — and those that bite into the wall’s core — toggle bolts, molly bolts, anchors, and studs. Beginners often mistake ‘no visible hole’ for ‘no damage’, or overcompensate with oversized anchors that create needless holes. Start with the lightest method that still holds safely.
Adhesive Strips and Hooks: The No-Hole Illusion
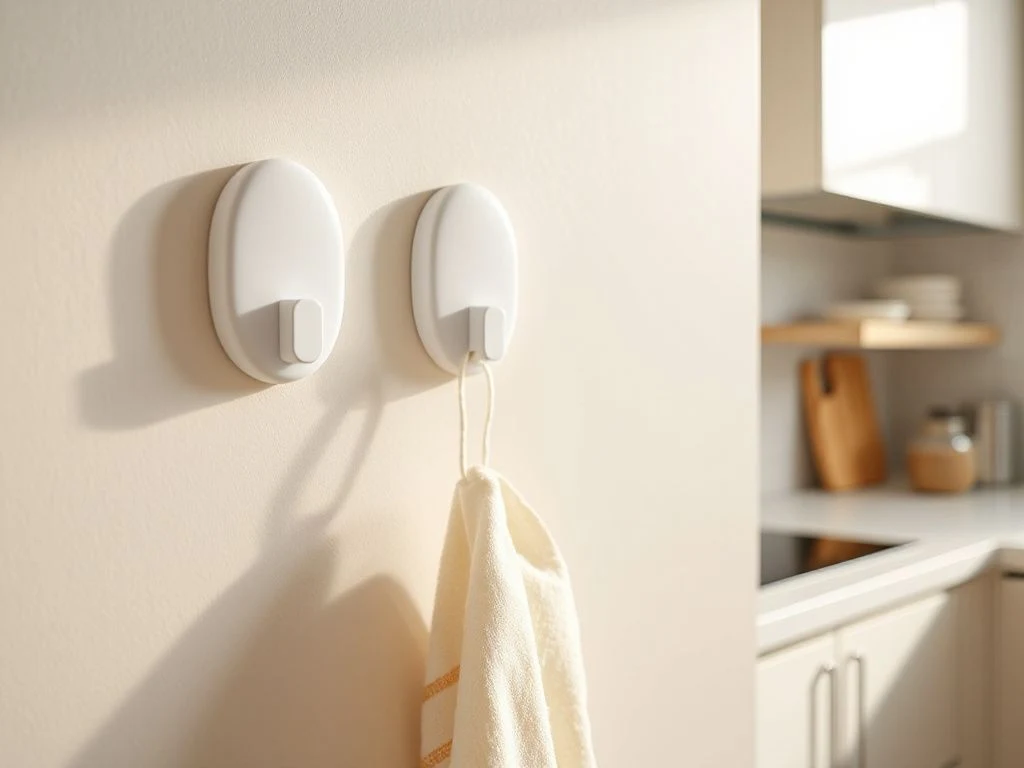
Adhesive strips like 3M Command are rated by weight, but that rating assumes a clean, smooth, non-porous surface. On flat paint, the paint film itself can separate from the drywall paper when you remove the strip. The removal technique matters far more than the hanging: stretch the strip parallel to the wall, not perpendicular to it, and let the adhesive release gradually. On textured or matte paint, even correct removal can lift a thin layer of finish.
Small Nails and Pin Hooks: Minimal Damage for Light Items
For items under 5 pounds, a small nail or an OOK pin hook leaves a hole smaller than a pencil lead and is easy to patch. On drywall, drive the nail at a slight downward angle; on plaster, pre-drill with a 1/16-inch bit to prevent the surface from crumbling. These hooks work well for small frames, lightweight wreaths, and fabric wall hangings.
Drywall Anchors: From Plastic Sleeves to Toggle Bolts
Drywall anchors are rated for specific weights on 1/2-inch drywall in good condition. Plastic expansion sleeves hold 10 to 25 pounds, threaded self-drilling anchors like E-Z Ancor hold 25 to 50 pounds, and molly bolts hold 25 to 50 pounds as well. Toggle bolts are the heavy hitters: a 1/4-inch toggle bolt can hold 50 to 100 pounds. All those ratings assume the drywall is not aged, water-damaged, or previously patched. If your wall is older or has been repaired, cut the rating in half.
Hitting a Stud: The Gold Standard
Wood or metal studs are spaced 16 or 24 inches on center in most homes. A screw driven into a stud can hold 50 to 100 pounds easily, and for heavy mirrors or shelves, anchoring into at least one stud is the best way to avoid drywall failure. If you can hit two studs, even better. Use a stud finder to locate the edges, then mark the center and drill a pilot hole slightly smaller than your screw.
Plaster-Specific Anchors: Don’t Crack the Wall
Plaster over wood lath or metal mesh is brittle. Regular drywall anchors can crumble the surrounding plaster as they expand. Instead, use plastic toggles designed for plaster, or better, find the wood lath behind the plaster and screw into that. For plaster over masonry, you’ll need a masonry anchor and a carbide-tipped bit. Drill slowly with low pressure to avoid cracking the finish coat.
Concrete and Brick: Tapcon and Masonry Anchors
On concrete or brick, adhesive strips fail on the rough surface, and standard nails bend. Tapcon screws are the go-to: they are blue, self-tapping, and require a properly sized masonry bit to pre-drill a hole. For holes deeper than 1 inch, a hammer drill makes the work fast. Without a hammer drill, you can use a regular drill with a masonry bit on low speed, clearing the dust frequently, but expect it to take three times as long. For lighter items, some adhesive hooks are rated for masonry, but test on an inconspicuous area first.
Step 3: Mark, Level, and Mount with Precision
A tilted frame or a shelf that slopes 1/8 inch over its length looks worse than any hole. Precision during mounting prevents re-hanging and extra holes. A level is non-negotiable for any display of multiple items.
Using a Stud Finder Without False Beeps
Electronic stud finders sense changes in wall density. To use one correctly, place it flat against the wall, press and hold the button until it calibrates, then slide slowly horizontally. When it beeps, mark that spot. Move the finder further along until the beep stops, then slide back to find the other edge. The center of the stud is halfway between the two marks. False positives happen near electrical wires, metal pipes, or corners. Cross-check by tapping the wall or using a magnetic stud finder, which locates the drywall screws holding the panel to the stud.
Leveling Solo: The Painter’s Tape Trick
For multiple frames or a shelf, run a strip of painter’s tape horizontally across the wall at the desired height and use a bubble level on the tape. For a single frame, hold the frame against the wall and place a small spirit level on top. If you are working alone, use a laser level or a phone app with a level function — just calibrate the phone first. Eyeballing is unreliable and leads to re-hanging, which means more holes.
Drilling into Drywall vs. Plaster vs. Masonry
For drywall, use a drill bit slightly smaller than the anchor’s diameter so the anchor fits snugly. For plaster, use a carbide-tipped bit, start with a small pilot hole, and do not use hammer action — the impact can crack the plaster. For masonry, use a masonry bit with a hammer drill if available, wear safety glasses, and keep the bit cool by withdrawing it occasionally to clear dust.
Hanging Heavy Items Like Mirrors and Shelves
Distribute weight across at least two hanging points spaced 16 to 24 inches apart. For mirrors over 30 pounds, a French cleat or Z-bar attached to studs is the most secure option, because it spreads the load across a wide aluminum channel instead of two point anchors. For shelves, use brackets anchored into studs or toggle bolts. A mirror hung on drywall alone with two plastic anchors may hold initially but can sag over time as the drywall crushes under the point load.
Step 4: Remove Hardware Without Leaving a Trace
The removal is where most damage happens. A clean removal plus a proper patch can leave the wall looking untouched — or leave a crater that draws every eye in the room.
Removing Adhesive Strips Without Peeling Paint
The correct way to remove a 3M Command strip is to pull the tab straight down, parallel to the wall, not toward you. Stretch the strip slowly until it releases from the wall. This takes 10 to 20 seconds per strip. If the paint is old, chalky, or flat, warm the adhesive first with a hair dryer on low for 20 seconds, then pull. If paint still lifts, patch the spot with lightweight spackle and touch-up paint. Never yank the strip away from the wall — that guarantees a paint chip.
Extracting Anchors and Filling Holes Properly
For small nails and screws, pull them straight out, then fill the hole with lightweight spackle using a putty knife. For plastic anchors, remove the screw, grip the anchor collar with needle-nose pliers, and wiggle it out. If the collar breaks, cut it flush and push the anchor into the wall cavity — but then you have a slightly larger hole to patch. For toggle bolts, remove the screw and let the toggle fall inside the wall; the remaining hole is about 1/2 inch wide. For molly bolts, drill off the head or pry it out with pliers, then fill.
Patching Drywall, Plaster, and Concrete
For drywall, apply spackle with a flexible putty knife, overfilling slightly, then let it dry completely. Sand lightly with fine-grit sandpaper until flush, then prime and paint. For holes larger than 1/4 inch, use a self-adhesive mesh patch underneath. For plaster, use a setting-type joint compound rather than pre-mixed spackle, because it shrinks less and bonds better to the brittle edges. Sand smooth and prime before painting. For concrete, use a concrete patching compound, smooth with a putty knife, and let it cure according to the manufacturer’s instructions before painting. If your home was built before 1978, the U.S. Environmental Protection Agency warns that sanding or scraping painted walls can release lead dust, so patch and repaint carefully — use wet sanding and a HEPA vacuum if lead paint is suspected.
Frequently Asked Questions
How do I know if my wall is drywall, plaster, or something else?
Knock on the wall with your knuckle. A hollow drum sound means drywall over studs. A solid, dull thud suggests plaster or masonry. Push a thumbtack into a hidden spot: drywall yields easily, plaster resists and may crack, and concrete will not let the tack in at all. For certainty, drill a small pilot hole with a 1/16-inch bit — drywall produces white gypsum dust, plaster produces fine white powder with sand or horsehair fibers, masonry produces gray or red dust.
What is the strongest way to hang something heavy if I can’t hit a stud?
Use a toggle bolt rated for at least 100 pounds, and install two of them 16 inches apart to share the load. A 1/4-inch toggle bolt in good 1/2-inch drywall can hold 50 to 100 pounds per anchor, but two are safer for anything over 40 pounds. If the item is very heavy, consider a French cleat attached to the wall with toggle bolts across a wider span.
How do I remove a Command strip without peeling off the paint?
Pull the tab straight down, keeping the strip parallel to the wall, and stretch it slowly for 10 to 20 seconds. Never pull the strip toward you. If the paint is old or matte, warm the strip with a hair dryer on low for 20 seconds before pulling. If paint lifts anyway, fill the spot with spackle and touch up with wall paint.
What’s the difference between a toggle bolt and a molly bolt, and which do I need?
A toggle bolt has spring-loaded wings that open inside the wall cavity, creating a large bearing surface behind the drywall. A molly bolt expands a metal sleeve against the back of the drywall as you tighten the screw. Toggle bolts hold more weight (50 to 100 pounds) but require a larger hole and cannot be removed without losing the toggle inside the wall. Molly bolts hold 25 to 50 pounds, need a smaller hole, and leave a metal sleeve in place when removed. Choose a toggle for anything over 50 pounds; a molly for 25 to 50 pounds.
Why does my picture frame keep tilting to one side, and how do I stop it?
The frame tilts because the hanging wire or sawtooth hanger is not centered on the picture’s weight distribution, or the two wall hooks are not level with each other. Fix it by adjusting the wire length so the frame’s center of gravity sits directly below the top hook, or by using two hooks spaced apart and level. A small piece of double-sided tape or a felt pad on the bottom corner can also stop a slight forward tilt.