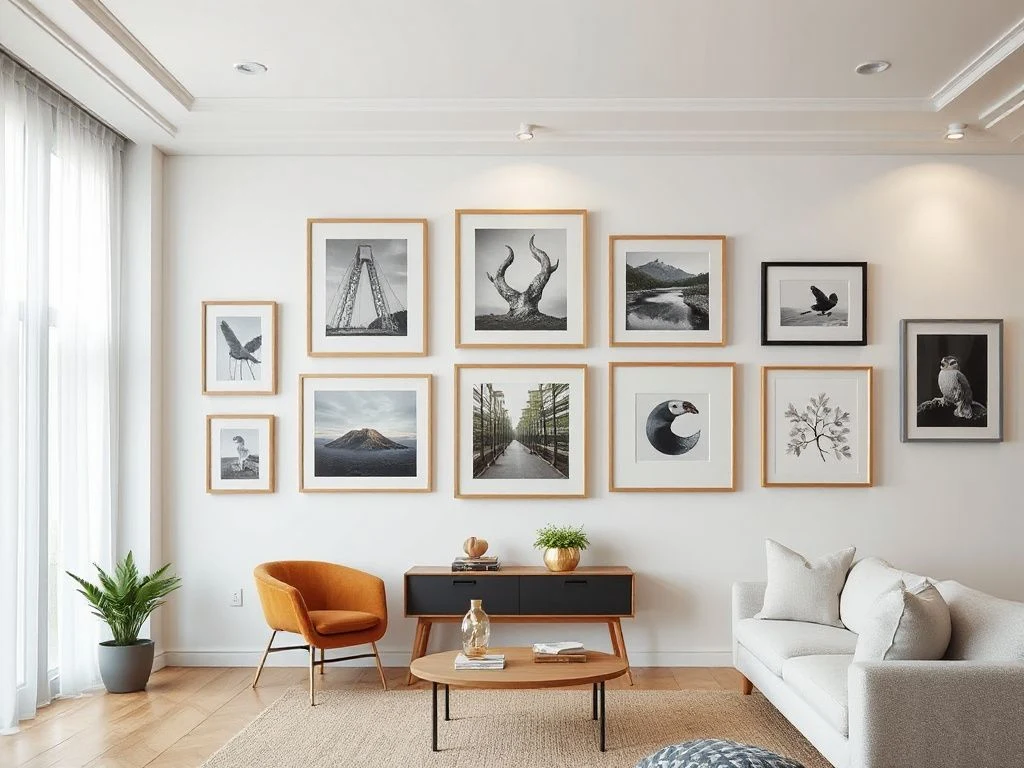
A gallery wall that ignores your wall’s actual dimensions ends up crooked, overcrowded, or tilted. The worst part is you do not notice until the last frame is up. How to hang a gallery wall correctly means planning the entire arrangement on the floor first, then transferring that measured grid to the wall. A gallery wall reads as cohesive when the negative space between frames is consistent, not when every frame is individually level. Plan the entire arrangement on the floor first, measure the total width and height, then transfer that grid to the wall using painter’s tape templates. Hang the heaviest or most central piece first and work outward, using the planned spacing as your guide rather than eyeballing each frame. Before you commit to any frame grouping, check our Americanflat wall art review for a lineup that already coordinates well in tight spaces.
Key Takeaways
- Plan the entire arrangement on the floor with paper templates before touching the wall.
- Keep negative space between frames consistent, usually 2 to 4 inches, never level each frame in isolation.
- Anchor any frame over 20 pounds into a stud or use toggle bolts rated for the load.
- Place the center of the arrangement at 57 to 60 inches from the floor, adjusting for sofa height.
Step-by-Step: How to Hang a Gallery Wall
Step 1: Measure the Wall and Choose the Arrangement Area
Start with a Stanley 25-foot measuring tape and a notebook. Measure the full width and height of the wall, then subtract the swing radius of any nearby door and the depth of furniture that will sit beneath the arrangement. A small-space realist measures the doorway before admiring the sofa, because a gallery wall that crowds a door swing or hangs too low over a console will never look intentional.
Find the center point of the wall by dividing the total width in half and marking it with a small piece of painter’s tape. Position the center of the gallery wall at 57 to 60 inches from the floor, which matches the average eye level of a standing adult. If the arrangement hangs over a sofa, keep the bottom of the lowest frame 6 to 8 inches above the sofa back so heads do not brush the artwork. The center of a gallery wall should sit at 57 to 60 inches from the floor, a height that feels balanced in most rooms.
If you are also deciding which wall to use, our accent wall ideas roundup shows how a measured single wall can anchor a small room without overwhelming it.
Step 2: Build the Layout on the Floor
Cut paper templates for every frame using kraft paper, newspaper, or leftover wrapping paper. Trace each frame onto the paper, cut it out, then label the template with the frame’s width, height, and orientation. Arrange the templates on the floor in the same proportions as the wall, using a tape border to mark the planned outer edges of the arrangement.
Spacing is the single most important variable. Keep 2 to 3 inches between frames under 18 inches wide and 3 to 4 inches for frames over 18 inches. A gallery wall reads as cohesive when the negative space between frames is consistent, not when every frame is individually level. Measure the total width and height of the floor arrangement, then compare those numbers to the wall area. Leave at least 6 inches of empty wall on every side of the arrangement; anything tighter makes the wall feel like a storage shelf.
Step 3: Transfer the Layout to the Wall
Move each paper template to the wall one at a time, using small pieces of painter’s tape to hold it in place. Maintain the same spacing you used on the floor. For each template, mark the hook placement on the paper: for frames with D-rings, mark two points each about one-third of the frame width from each side; for frames with wire, mark a single point slightly above the center of the frame. Remove the template and transfer the hook marks to the wall with a pencil.
For frames wider than 24 inches, always use two hooks attached to D-rings or picture frame wire to prevent the frame from tipping forward. A single center hook on a wide frame creates a pivot point that allows the bottom corners to swing into the wall or tilt. Use a 48-inch carpenter’s level or the laser level to ensure both hook marks sit at exactly the same height before drilling.
Step 4: Choose the Right Hardware for Each Frame Weight
Hardware failure is the most common reason a gallery wall falls apart, and it almost always comes from guessing instead of reading the load rating. Picture hanging hardware load ratings are tested according to methods published by ASTM International, so read the package label rather than assuming a hook can hold anything.
For frames under 5 pounds, 3M Command Picture Hanging Strips work well, especially in rentals where you cannot drill. Large Command strips are rated up to 16 pounds per set of four, but always check the specific package because weight ratings vary by strip size and surface type. For frames between 5 and 20 pounds, use OOK picture hanging hooks or E-Z Ancor drywall anchors. These anchors bite into drywall and hold much better than a bare nail.
Heavy frames over 20 pounds must be anchored into wall studs or use toggle bolts rated for the weight. Never rely on drywall screws alone; drywall is only about half an inch thick and will crumble under sustained load. The U.S. Consumer Product Safety Commission recommends anchoring heavy wall-mounted items to a stud to reduce tip-over risk. Locate studs with a Zircon stud finder; studs are usually spaced 16 inches on center in modern homes, but older houses may vary, so verify by tapping or using a strong magnet to find drywall screws.
For plaster or brick walls, do not use nails or standard drywall anchors. Plaster cracks easily, and brick needs a carbide-tipped masonry bit with a hammer drill. Use toggle bolts for hollow plaster or plastic masonry anchors for brick, and always drill a small pilot hole first to avoid cracking the surface.
For larger frames that hang on wire, use 14-gauge picture frame wire for frames up to about 30 pounds, but two D-rings and two hooks are more stable than a single wire because they prevent side-to-side sway. If a frame has D-rings, attach them to the frame about one-quarter of the way down from the top edge so the frame leans slightly against the wall and the bottom does not kick out.
Step 5: Hang in the Right Order
Start with the heaviest or most central piece first. This anchor frame sets the visual weight of the arrangement, and every other frame works outward from it. Install the hooks or anchors at the marked points, then hang the anchor frame and check it with a level. Do not adjust other frames individually later; instead, trust the planned spacing you established on the floor.
For frames with two D-rings, set both hooks level with each other using the 48-inch level or a laser line. Loop each D-ring over its hook, then step back. If the frame tilts, move one hook up or down by 1/8 inch at a time until the frame sits flat. For frames on wire, adjust the wire tension on one side if the frame tilts; tightening the wire on the low side raises that corner.
Step 6: Check Level and Adjust as a Whole
After every frame is up, stand back 6 to 8 feet and look at the arrangement as one unit. Check the gaps between frames, not the top edges. If the negative space varies by more than 1/4 inch across adjacent frames, move the frames slightly rather than trying to shim hooks. A gallery wall hangs straight when the gaps between frames are uniform, not when each frame is individually plumb.
Use a laser level or a long carpenter’s level to project a line across the top edges of the rows. If a frame sits slightly low, you can often fix it by bending the hook upward a tiny amount with pliers, which raises the frame without drilling a new hole. For adhesive strips, remove and reposition the frame once; strips lose strength if removed multiple times.
Step 7: Fix an Unbalanced Layout After Hanging
An arrangement that looked perfect on the floor can still feel off once it is on the wall because wall color, lighting, and furniture underneath change the visual weight. Take a photo of the finished wall and compare it to the floor plan. Common fixes include swapping the positions of two similar-size frames, adding a small frame or a 3D object like a shallow basket to fill a dead corner, or shifting the entire arrangement up or down by 1 to 2 inches.
If the arrangement feels lopsided because one side has more dark frames than the other, move a dark frame from the heavy side to the lighter side. Do not drill new holes until you have re-taped the templates over the existing arrangement and confirmed the new positions. If a heavy frame is not on a stud and you are worried about it pulling out, replace the two hooks with a French cleat rated for the frame’s weight; a French cleat spreads the load across a much wider area and keeps even large mirrors flush to the wall.
Frequently Asked Questions
Answers to the most common questions about how to hang a gallery wall.
Can I use Command strips for a gallery wall, and what is the maximum weight they hold?
Command strips work for frames under 5 pounds per strip pair, with the largest strips rated up to 16 pounds per set of four. The exact rating depends on the strip size and the wall surface, so check the package. Adhesive strips are ideal for renters or for lightweight prints, but they fail on textured walls, humid bathrooms, and frames wider than 24 inches because the pivot force overcomes the adhesive.
How far apart should frames be spaced on a gallery wall?
Use 2 to 3 inches between frames under 18 inches wide and 3 to 4 inches for larger frames. The negative space should be consistent across the entire arrangement; a 2-inch gap next to a 4-inch gap makes the wall feel sloppy. Measure the gaps with a ruler or a small spacer block cut from scrap wood while you arrange templates on the floor.
Should I hang heavy frames on studs, and how do I locate them?
Yes, any frame over 20 pounds should be anchored to a stud or use toggle bolts rated for the weight. Locate studs with a Zircon stud finder or by running a strong magnet along the wall to find drywall screws. Studs are typically 16 inches apart, but older homes can vary, so confirm each stud before drilling.
What height should the center of the gallery wall be from the floor?
Position the center of the arrangement at 57 to 60 inches from the floor, which matches average adult eye level. If the wall is over a sofa, keep the lowest frame 6 to 8 inches above the sofa back. For a staircase, align the arrangement so the visual center follows the slope, keeping the same vertical spacing between frames as the stairs rise.
How do I keep all frames level when they are arranged in a cluster?
Do not level each frame individually. Instead, use a laser level or a 48-inch carpenter’s level to align the hook points before hanging, then rely on consistent negative space between frames. For frames wider than 24 inches, use two D-rings and two hooks set at the same height; this prevents the frame from pivoting on a single wire. Adjust any tilted frame by moving one hook 1/8 inch at a time.
For a closer look at frames that handle repeated adjusting without loosening, see our Nielsen Bainbridge wall art review.