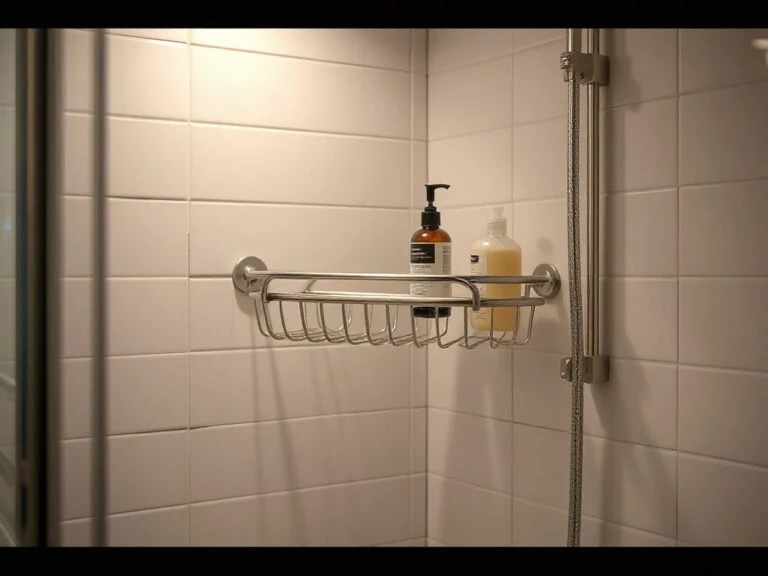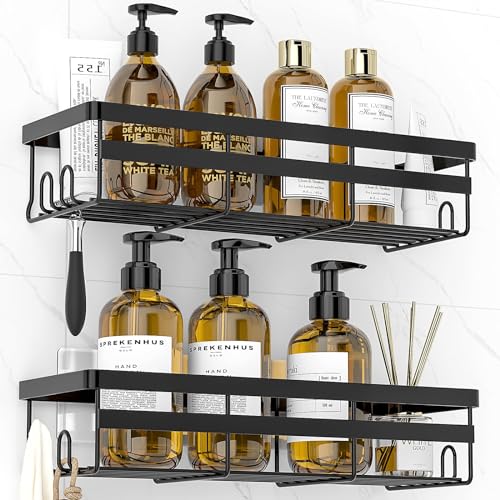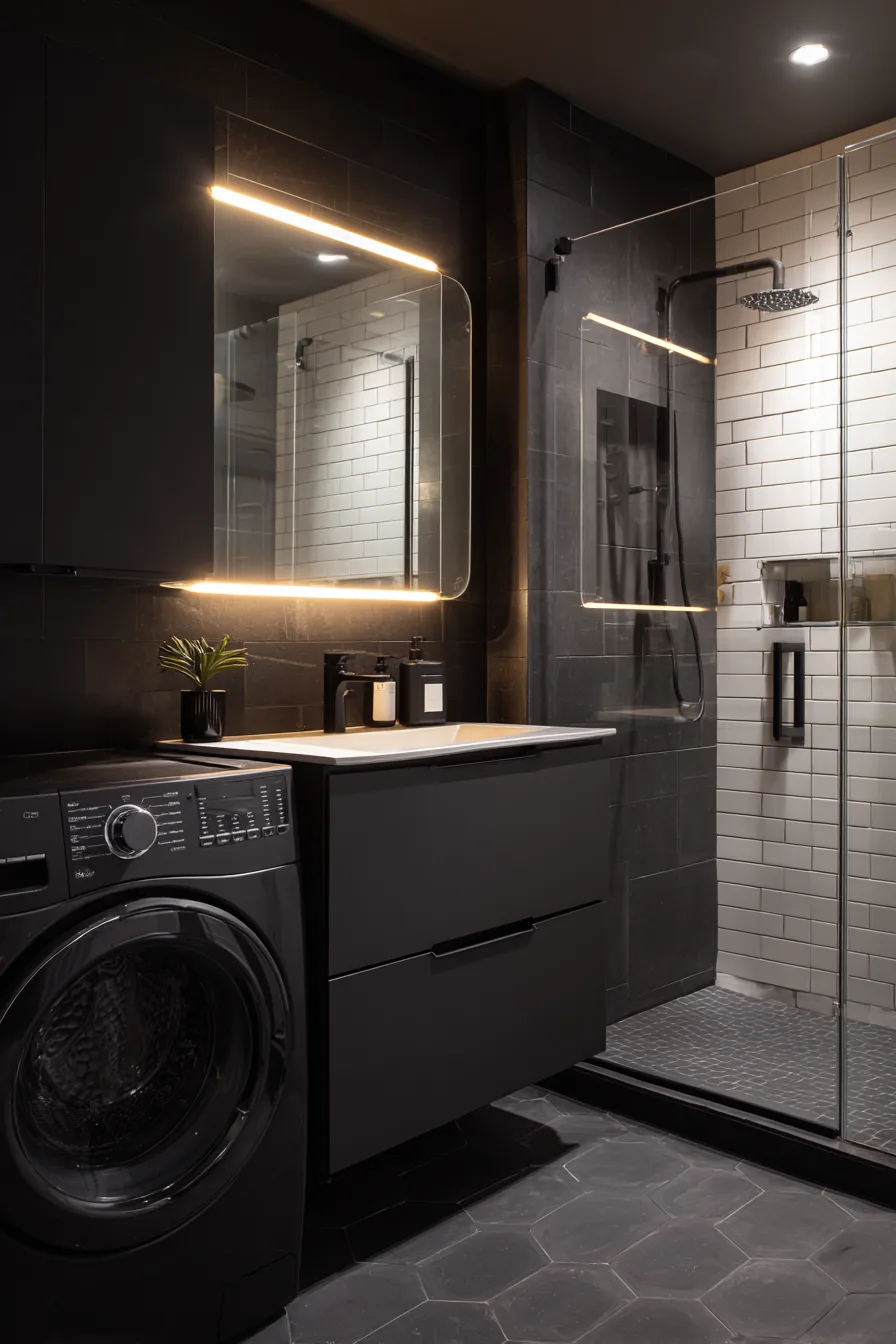
Combining a bathroom and a laundry area in one small footprint comes down to a handful of real constraints: floor space, ventilation, and door clearance. Get those three right and almost any style — farmhouse, coastal, industrial, minimalist — can sit on top of the layout. Get them wrong and no amount of styling fixes a room where the dryer can’t vent properly or the door can’t fully open.
The single biggest space decision is stacked versus side-by-side. A stacked washer-dryer unit has a footprint of roughly 27 by 30 inches, while a side-by-side pair needs close to double that width for the same capacity — in a small combo room, stacking is usually the difference between the layout working at all and not fitting. The fourteen approaches below build on that foundation with different storage tricks, door choices, and finishes.
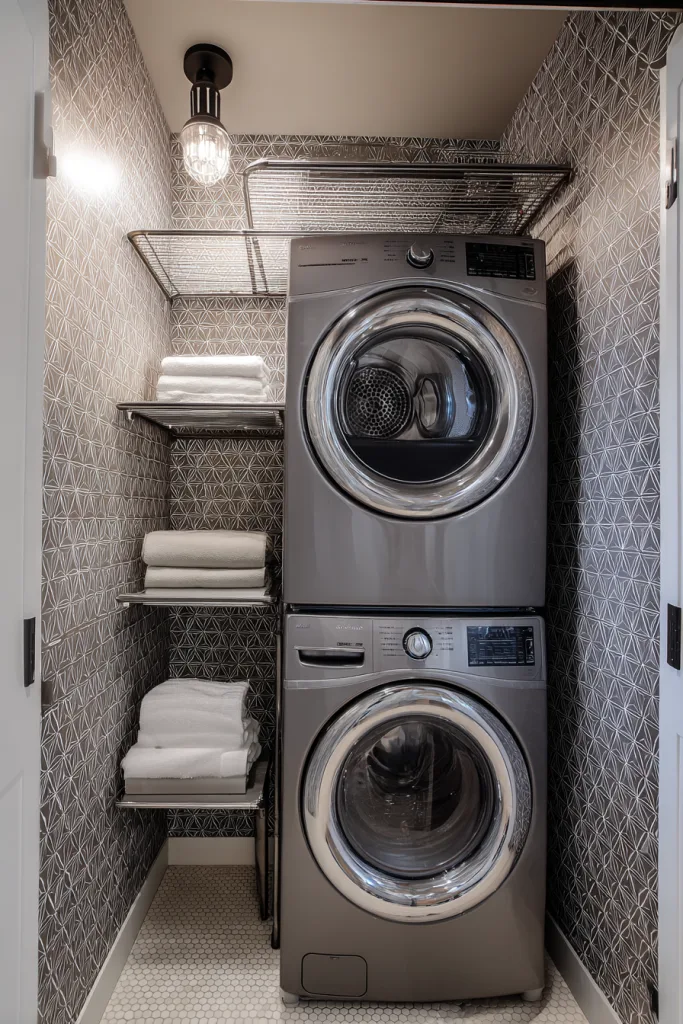
1. Corner Stacking Washer-Dryer
Pushing a stacked unit into an unused corner keeps the rest of the room’s floor plan open for the actual bathroom routine — getting ready, showering — instead of splitting attention between two zones. Front-loading machines in a neutral metallic finish blend into most fixture palettes without drawing extra attention. Built-in shelving above the unit is worth planning before installation, not after, since the shelf brackets need to clear the appliance doors when they’re open. Leave the manufacturer’s recommended clearance behind and beside the unit (commonly a few inches on each side) for airflow and hose access — cramming a stacked unit flush into a corner can trap heat and make servicing it later a real hassle.
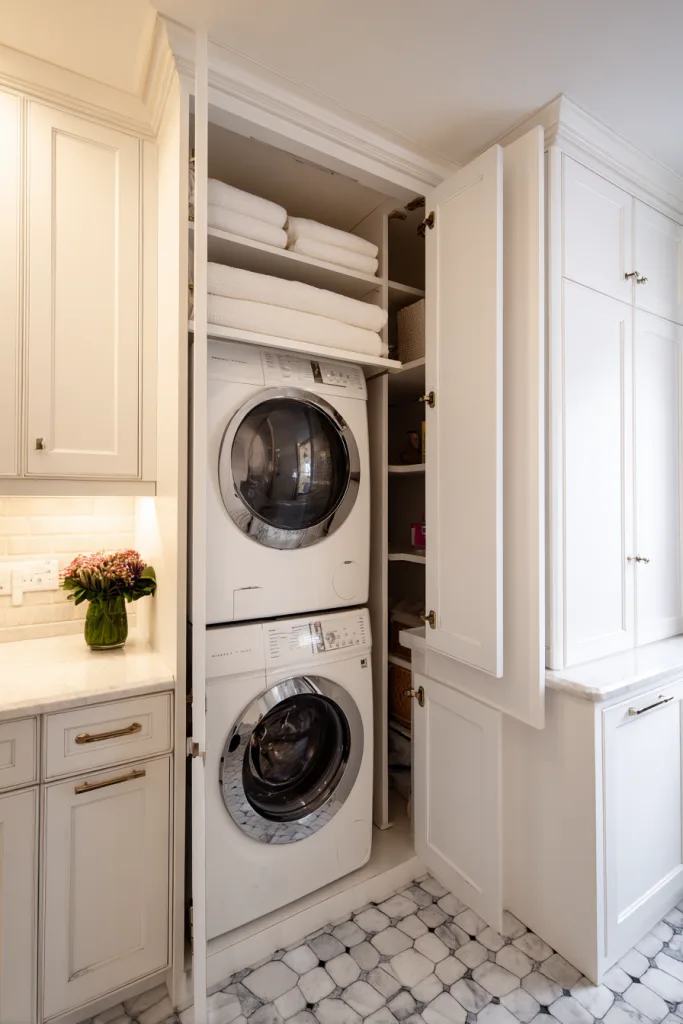
2. Concealed Behind Cabinet Doors
Floor-to-ceiling cabinetry with bifold or hinged doors hides the washer and dryer behind what reads as ordinary bathroom cabinetry when closed. This only works cleanly if the doors open fully out of the way during use — a bifold door needs less swing clearance than a single wide door, which matters in a tight room. Ventilation slots or a discreet vent grille built into the cabinet face are necessary if the dryer isn’t a fully vented, ducted-to-exterior model; check the appliance manual, since not every unit is safe to fully enclose. A pull-out hamper drawer underneath uses the remaining toe-kick space that would otherwise go unused.
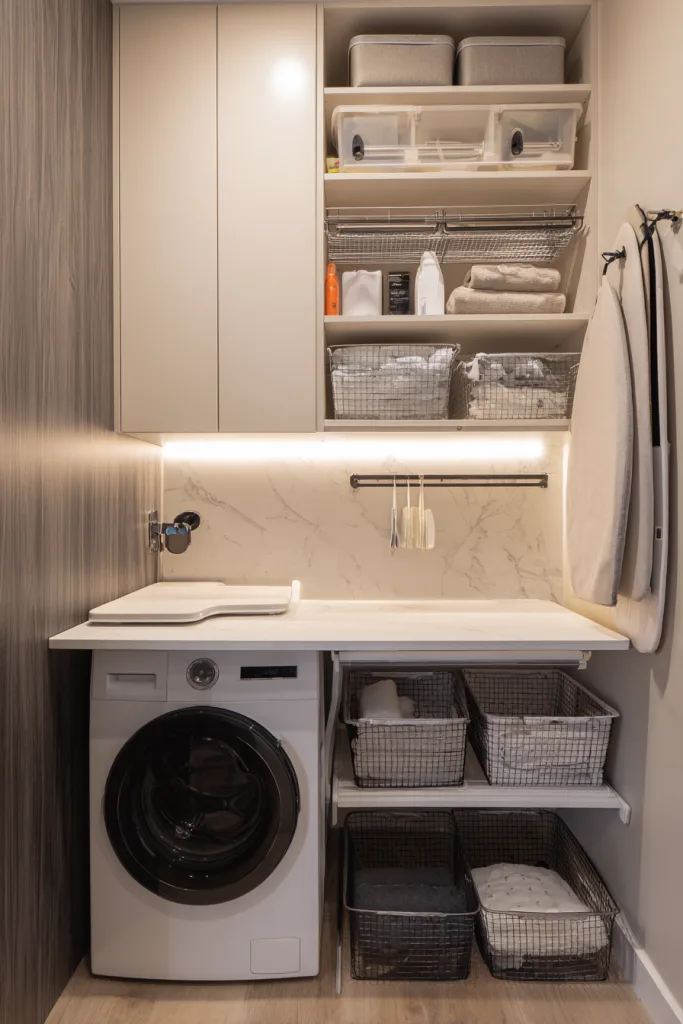
3. Fold-Down Counter Above a Front-Load Washer
A countertop mounted above a front-loading washer adds genuine usable surface — folding, sorting, setting down a basket — without adding any footprint, since it occupies space above the machine that would otherwise sit empty. Waterproof quartz or a sealed butcher block both work; quartz needs no maintenance, while butcher block needs periodic resealing to handle incidental splashes. A retractable clothing rod or fold-down drying bar underneath the counter is a reasonable add if you have the depth for it. This only works with a front-loading washer — a top-loading machine needs its lid to open upward, which a fixed counter blocks entirely.
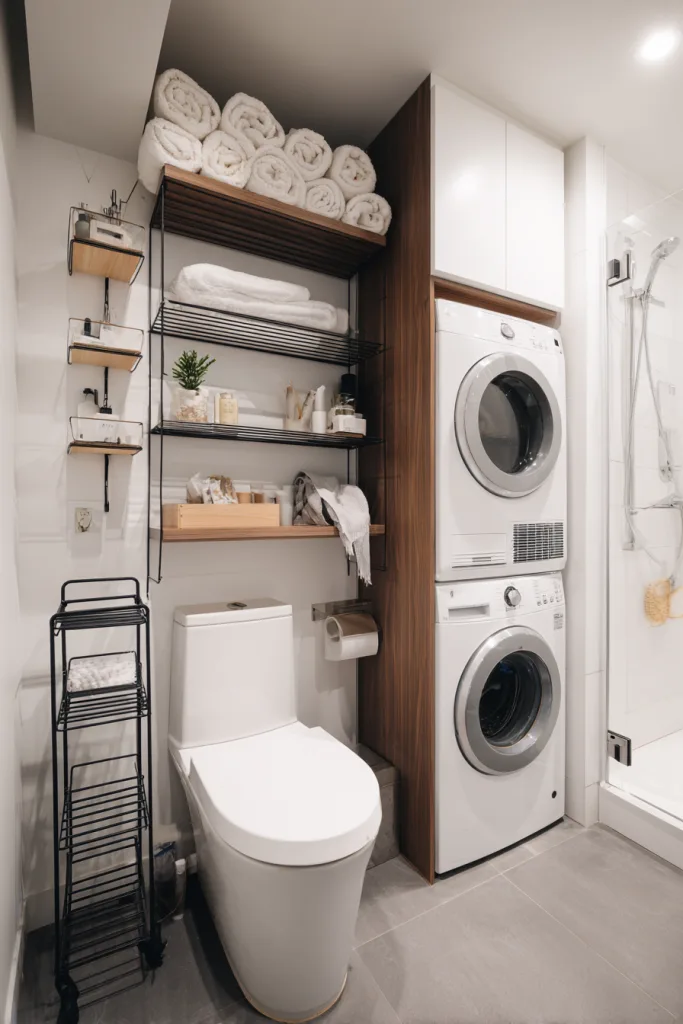
4. Vertical Wall Storage Above the Machines
When floor space is fully committed to fixtures and appliances, the wall above the washer-dryer is the remaining real estate worth using. Open shelving keeps detergent and supplies visible and reachable, while a behind-door organizer handles smaller items like dryer sheets. A wall-mounted drying rack that folds flat against the wall is more practical in a tight room than a freestanding rack that eats floor space whenever it’s in use. Corner cabinets that run to the ceiling capture height most rooms waste. The tradeoff with open shelving is upkeep — it shows clutter fast, so it works best paired with a few closed bins rather than everything left loose.
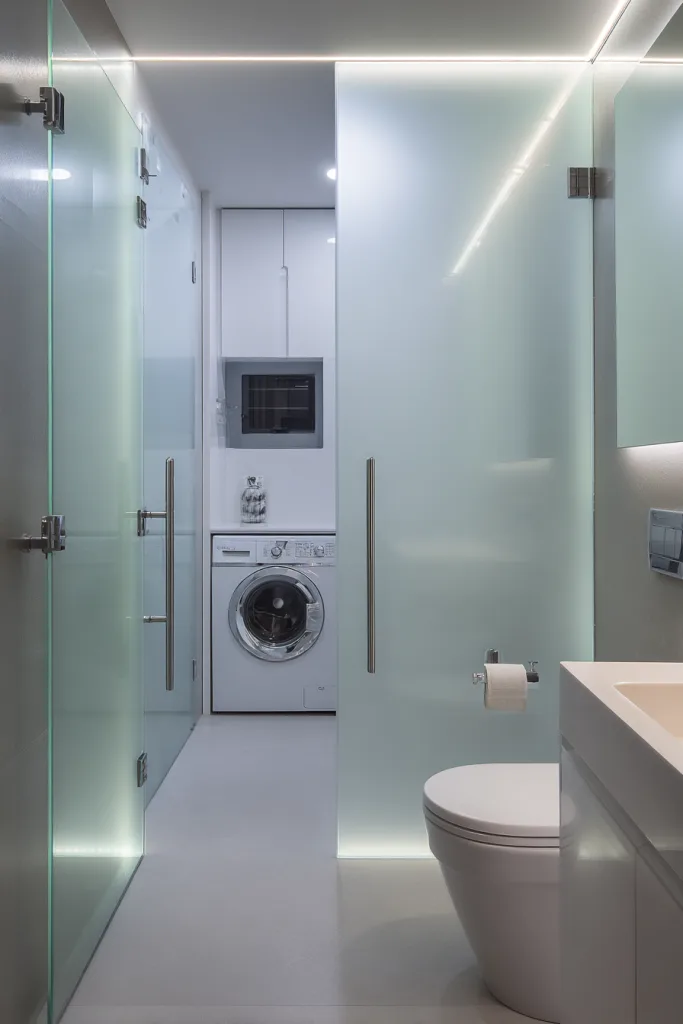
5. Glass Partition Between Wet Zone and Laundry
A frameless glass panel separates the shower’s splash zone from the laundry appliances without a solid wall closing off light or making the room feel smaller. This matters because water on or near a washer’s electrical connections is a genuine hazard, not just a cosmetic concern — some separation between shower spray and appliances is worth having even in a tight room. A frosted lower panel adds privacy without losing the glass’s light-sharing benefit above it. Keep the flooring continuous across both zones (the same tile or waterproof vinyl) so the division reads as intentional zoning rather than two mismatched rooms glued together.
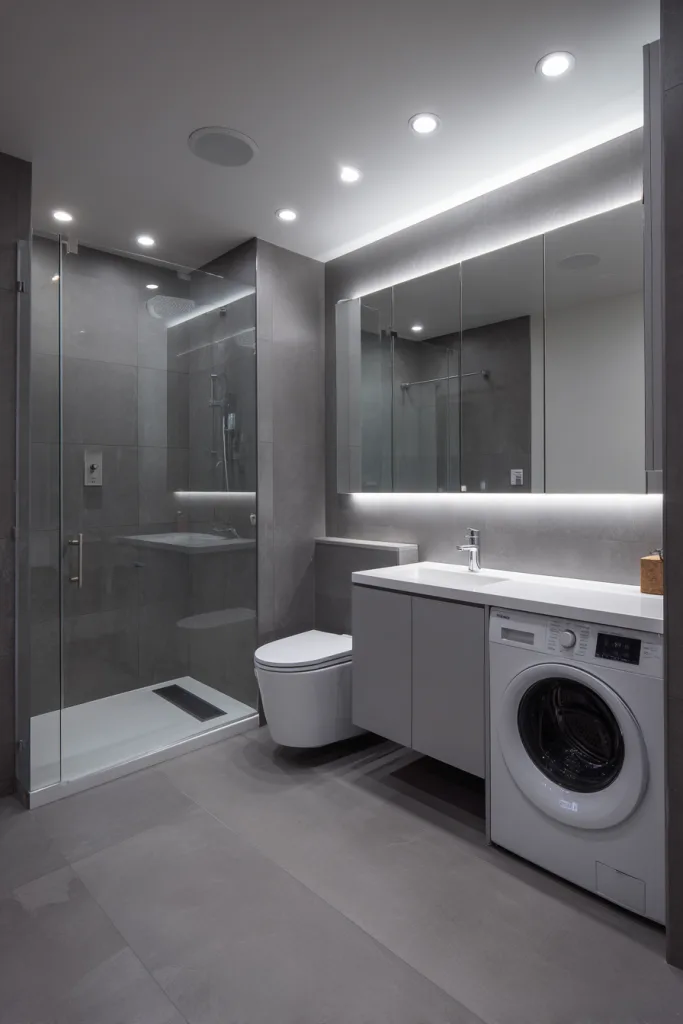
6. Floating Vanity and Wall-Hung Toilet for Floor Space
A wall-mounted toilet and a floating vanity both free up visible floor area since neither touches the ground, which is a real perception change in a room already sharing space with laundry appliances. A wall-hung toilet needs an in-wall carrier and enough wall cavity depth for the tank — usually not a simple swap in an existing bathroom without opening the wall, so it’s more realistic for a full remodel than a quick update. A floating vanity needs to be anchored into studs, not just drywall anchors, to safely hold day-to-day weight. Paired with a stackable washer-dryer against the opposite wall, this layout keeps a clear walking path down the middle of a narrow room.
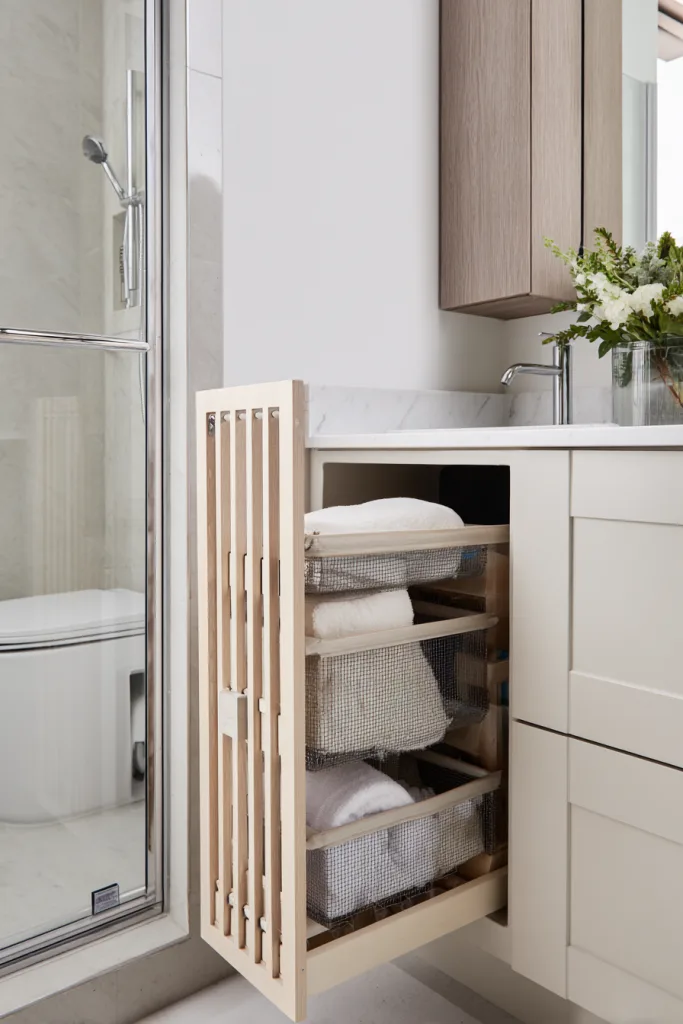
7. Pull-Out Hamper in the Gap Beside the Vanity
The narrow dead zone between a vanity and a toilet or wall — often just eight to twelve inches — is usually wasted space, but it’s exactly wide enough for a slim pull-out hamper cabinet. A removable canvas liner makes it easy to carry the load straight to the washer instead of transferring loose clothes by hand. Ventilated slats in the cabinet sides help prevent musty odors from developing in a small enclosed bin. Matching the cabinet front’s depth to the vanity’s front edge makes the hamper read as a built-in feature rather than an afterthought squeezed into leftover space.
8. Fold-Down Drying Rack and Retractable Line
A wall-mounted rack that folds flat when not in use, or a retractable line that pulls out of a small housing and clips to a hook on the opposite wall, adds real drying capacity for delicates without a permanent footprint. This matters more than it sounds like it should: not every fabric can go in a dryer, and a small combo room rarely has space for a standalone drying rack left up full-time. Position these away from the toilet and shower zones so drying clothes aren’t hanging directly in the splash path. Floating shelves nearby can hold clothespins or hangers within reach.
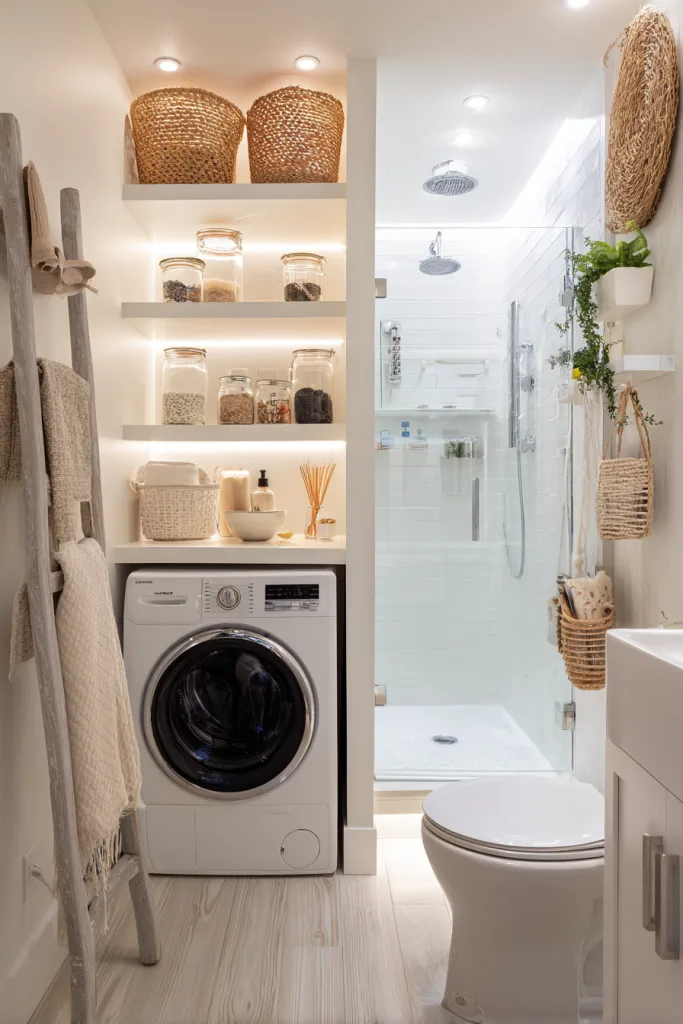
9. All-White European Palette for Light and Space
An all-white or near-white palette maximizes light reflection, which does more to make a small combo room feel larger than any layout trick on its own. A glossy white stackable unit blends into the scheme rather than standing out as an appliance. Chrome towel warmers double as a genuine drying spot for delicates, which is a useful two-for-one in a room that’s already tight on dedicated drying space. Large-format white floor tile keeps grout lines to a minimum, which matters visually in a small room where every grout line reads as a seam breaking up the floor.
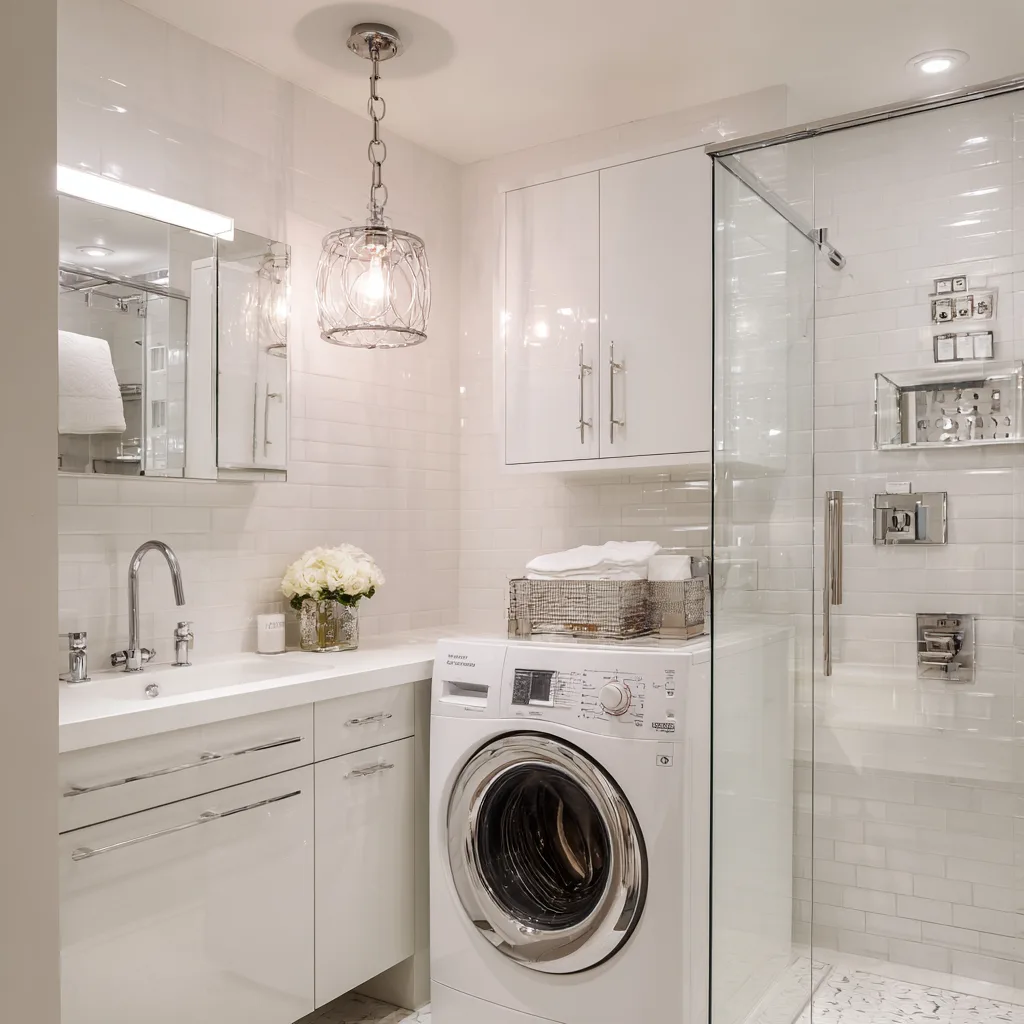
10. Rustic Farmhouse Shiplap and Apron Sink
Shiplap walls and a front-loading washer-dryer duo in an antique bronze or matte finish bring farmhouse warmth without much added cost over standard appliance finishes. As with any wet-room shiplap, use moisture-resistant PVC shiplap or properly sealed real wood rather than drywall-grade MDF planking, which will swell in a room that’s handling both shower steam and dryer heat. A pedestal sink saves floor space compared to a full vanity, though it also sacrifices the storage a vanity would provide — worth weighing against how much you’re relying on the laundry-area shelving for overflow storage instead.
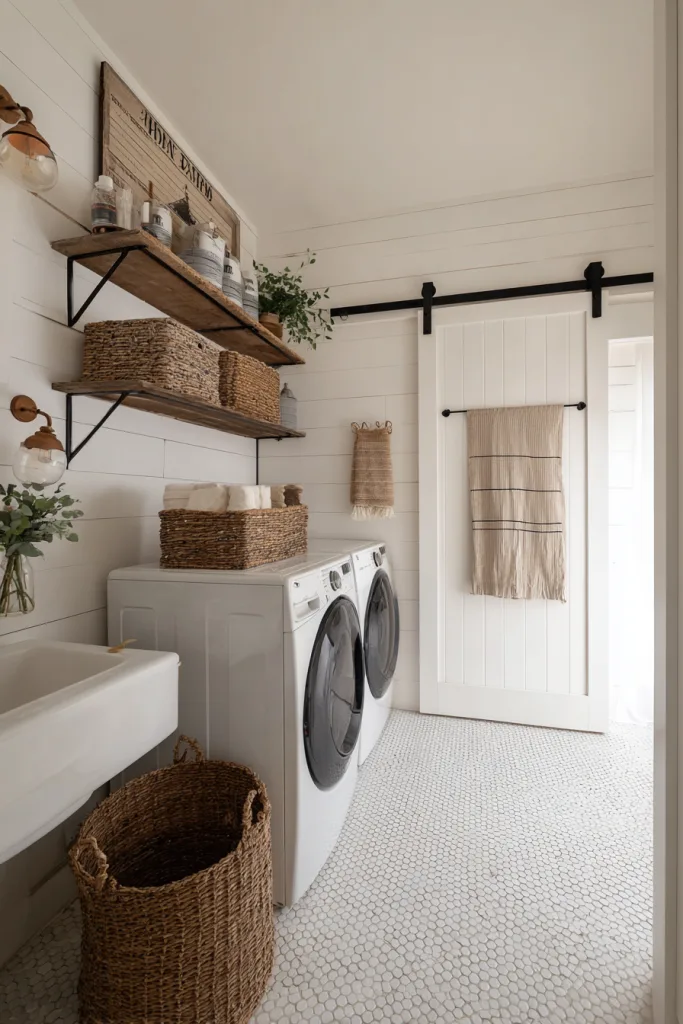
11. Coastal Palette With Moisture-Friendly Finishes
A soft aqua and white palette with weathered shiplap-look paneling gives a coastal feel while sticking to materials that already handle bathroom moisture well — a real advantage over some coastal decor staples like raw driftwood or untreated rope accents, which need more upkeep in a room with a dryer adding heat and humidity. A pearl-white stackable unit keeps the appliance from breaking the light palette. Seagrass baskets work fine for general storage, but keep them away from the direct spray zone for the same reason natural fiber pieces need distance from water anywhere else in a bathroom.
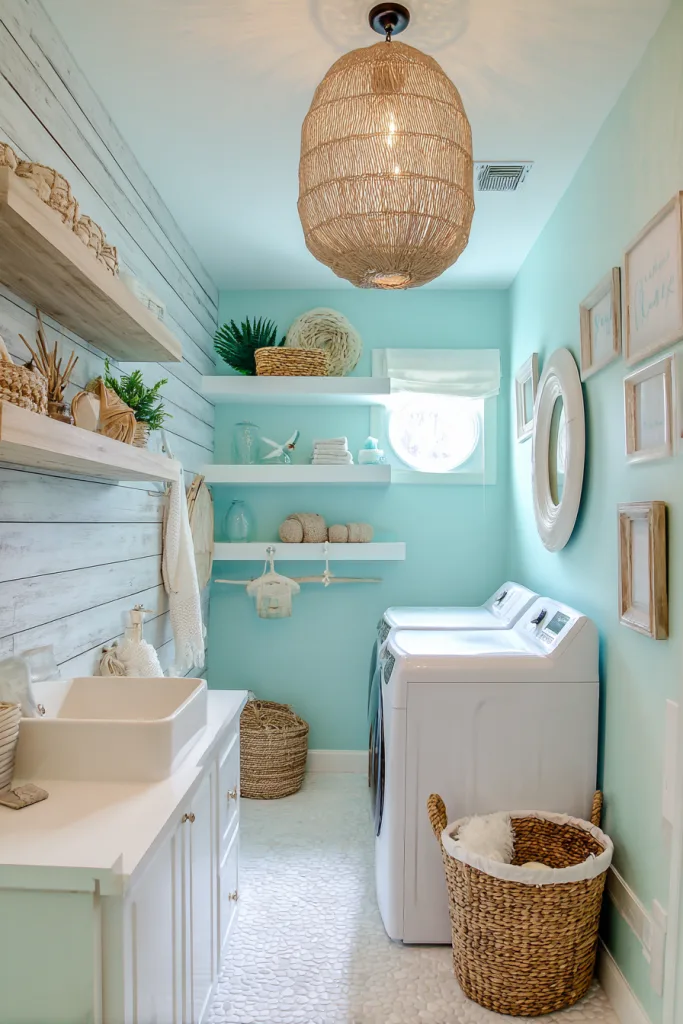
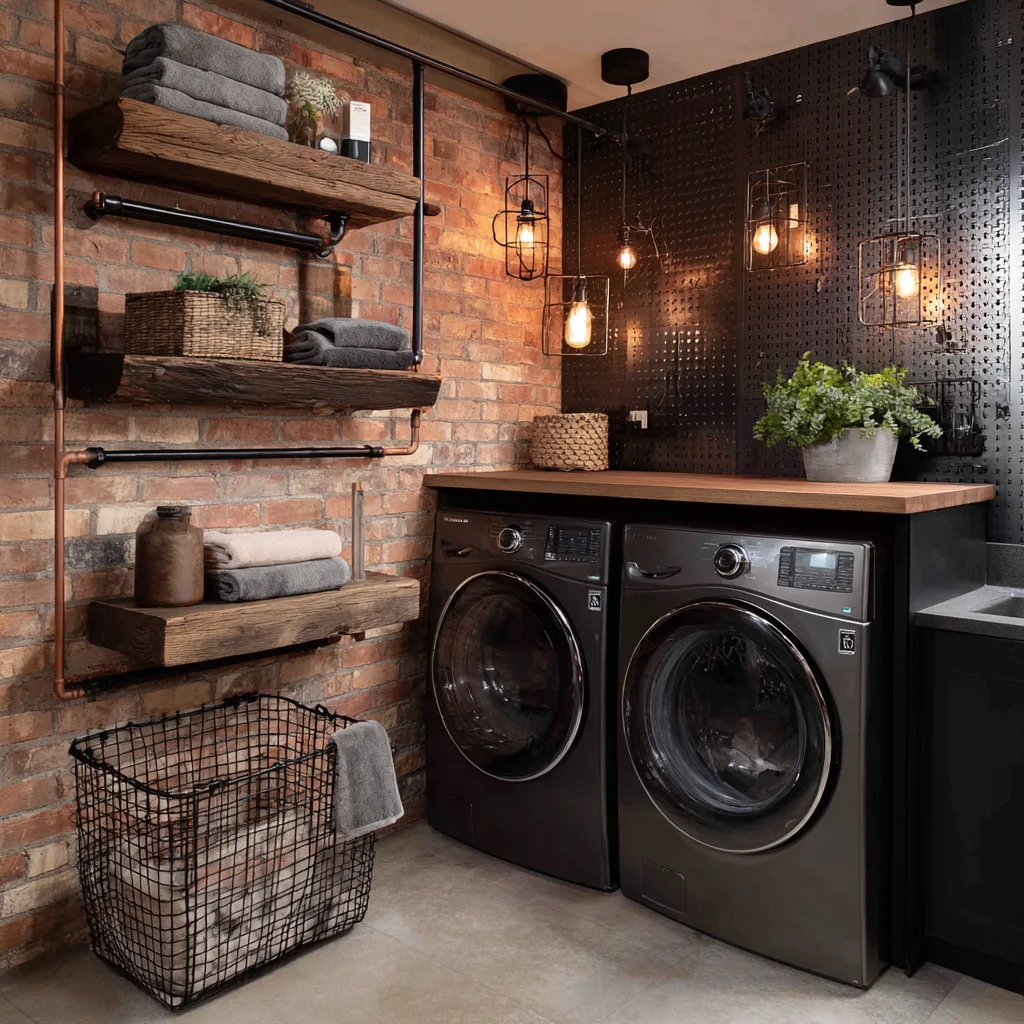
12. Industrial Exposed Pipe and Concrete Look
Exposed copper or black iron pipe mounted as a towel bar is a genuine plumbing-supply-store project, not just a decorative finish — it holds up well since it’s designed to carry water in the first place. A gunmetal-gray stacked washer-dryer and concrete-look vinyl flooring keep the material palette narrow and consistent. Metal and glass cabinet fronts fit the aesthetic while still concealing supplies. Because industrial finishes lean cold and hard, balance them with something soft — a plush bath mat or a woven hamper — or the small room can end up feeling more like a utility closet than a bathroom.
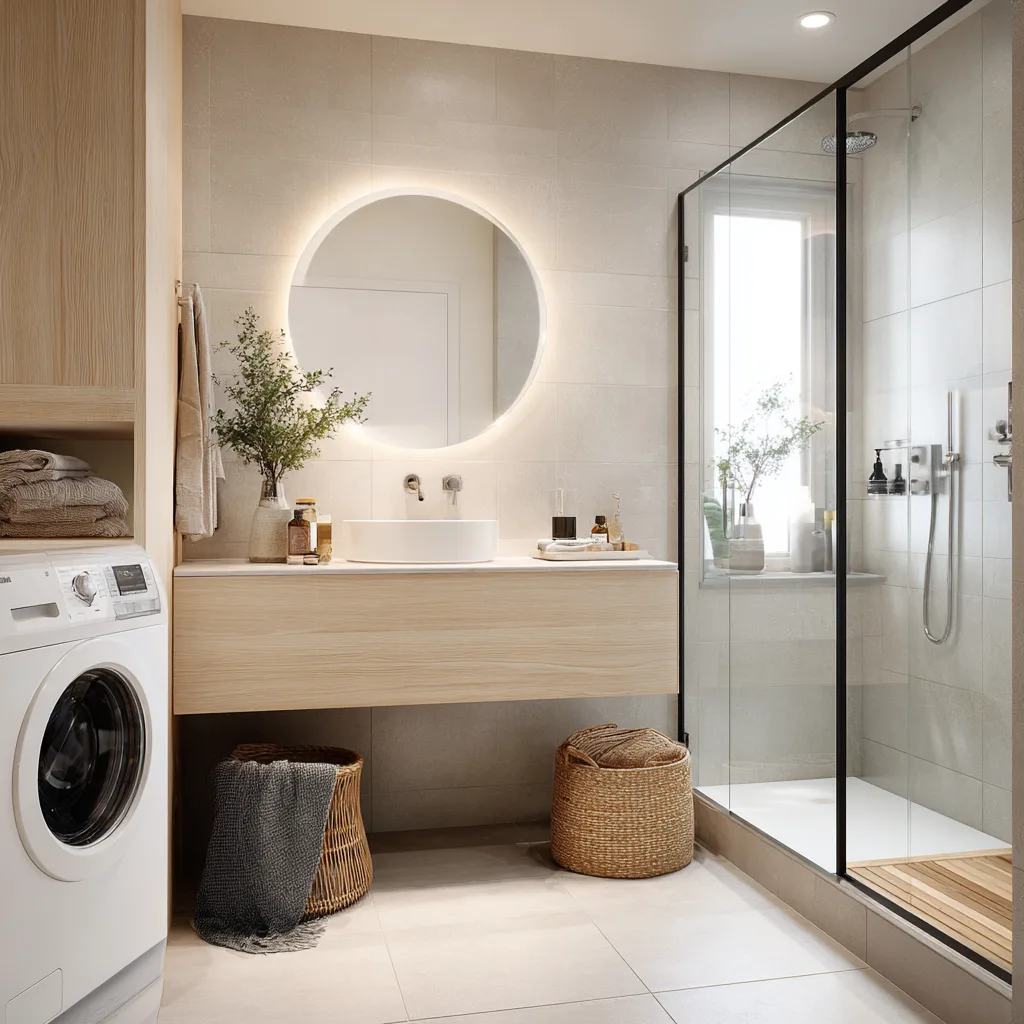
13. Scandinavian Wall-Mounted Minimalism
A wall-mounted washer-dryer unit and a floating vanity keep every fixture off the floor, which is the core Scandinavian-minimalist trick for making a small room read as calm rather than cramped. Light gray porcelain tile and white subway tile keep the palette quiet; matte black hardware is usually the only dark note in the room, used sparingly on faucets and fixtures. Built-in wall niches replace shower caddies and countertop clutter. This look depends on genuinely minimal storage habits — it doesn’t hide much, so it works better for a household that keeps supplies to a small, curated set than one that needs a lot of visible storage.
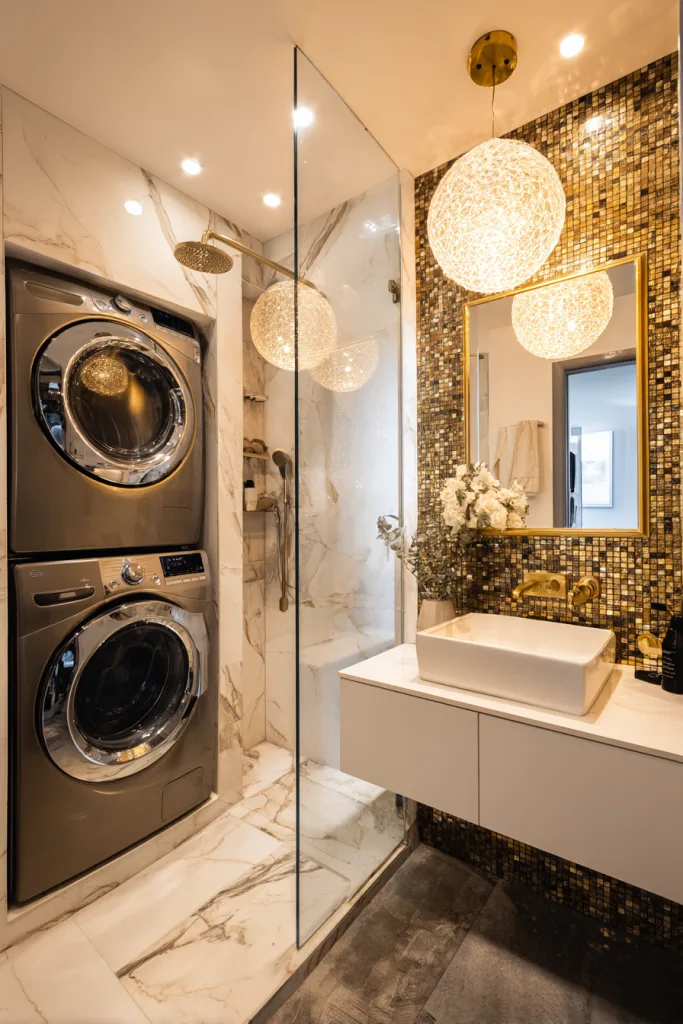
14. Small Luxury Touches on a Tight Footprint
A few upgraded finishes go a long way in a small room, since there’s less square footage for the eye to cover: a heated towel rail that doubles as a genuine drying spot for delicates, marble-look porcelain tile (a real cost-saver over actual marble, since porcelain won’t etch or stain the way natural stone can), and a stackable unit in a sleek metallic finish that reads as an appliance you chose rather than one you’re hiding. A wall-to-wall mirror amplifies the light from any window or fixture. As a rough styling guide, keeping the bulk of finishes neutral and limiting metallic or statement accents to a smaller share of the room prevents a small space from feeling busy.
Making a Bathroom-Laundry Combo Work
Three decisions carry most of the outcome in a small combo room:
- Stack the machines if the room allows it. A stacked unit’s roughly 27-by-30-inch footprint against a side-by-side pair needing close to double the width is usually the single biggest space decision in the room.
- Plan the door before the decor. A pocket or barn door removes the swing radius a hinged door needs, which is often the difference between a walkway that works and one that doesn’t in a tight layout.
- Take ventilation seriously. A dryer needs a duct that actually exhausts outside — typically rigid metal ducting rather than flexible plastic — and the bathroom’s exhaust fan needs to handle the added moisture load from both the shower and the dryer.
Style choices — farmhouse, coastal, industrial, Scandinavian — sit on top of that foundation. Get the footprint, door, and ventilation right first, and almost any finish palette will work in the space that’s left.
Frequently Asked Questions
Q: How much does it cost to add laundry to a small bathroom?
A: It depends heavily on whether existing plumbing and electrical can support the appliances. A basic stackable installation with minimal plumbing changes often runs $1,500–$3,000. A mid-range update with custom cabinetry and upgraded fixtures is more commonly $5,000–$10,000. A full renovation with new plumbing runs, electrical upgrades, and custom built-ins can reach $15,000–$25,000 or more. Appliances themselves are typically $800–$2,500 for a stackable pair or combo unit, with plumbing and electrical work as separate line items on top.
Q: What size washer-dryer fits in a small bathroom?
A: Compact or “apartment-size” units are commonly around 24 inches wide, and stacked pairs typically stand somewhere in the 70–76 inch range tall. Front-loading models are generally more water-efficient than top-loaders and leave room for a counter or shelf above them. A combo washer-dryer (one machine that washes and dries in the same drum) is the most space-efficient single-unit option, also around 24 inches wide. Leave a few inches of clearance behind and beside any unit for hoses, cords, and airflow — check the specific model’s manual for the exact figure.
Q: Do I need special ventilation for a bathroom laundry area?
A: Yes. A vented dryer needs ducting that runs to the building’s exterior — rigid metal duct is the standard recommendation over flexible plastic, since plastic duct can sag, trap lint, and pose a fire risk. Keep the duct run as short and straight as possible. Ventless, condensation-drying dryers are an option where running exterior ductwork isn’t practical, since they don’t require an exterior vent at all. Either way, the bathroom’s own exhaust fan should be adequate for the room’s size, since it’s now handling moisture from both the shower and the laundry cycle.
Q: What flooring works best for a bathroom-laundry combination?
A: Waterproof, durable materials that tolerate moisture from both uses. Luxury vinyl plank or tile is a common choice for its water resistance and comfort underfoot, generally in the $2–$7 per square foot range for materials. Porcelain or ceramic tile is fully waterproof and very durable but harder underfoot, generally $3–$15 per square foot. Sheet vinyl is the most budget-friendly fully waterproof option, generally $1–$5 per square foot, though it offers less design variety. Solid hardwood, engineered wood, and laminate flooring are all worth avoiding here — none of them hold up well to sustained moisture, and a laundry appliance adds more routine moisture exposure than a bathroom floor sees on its own.