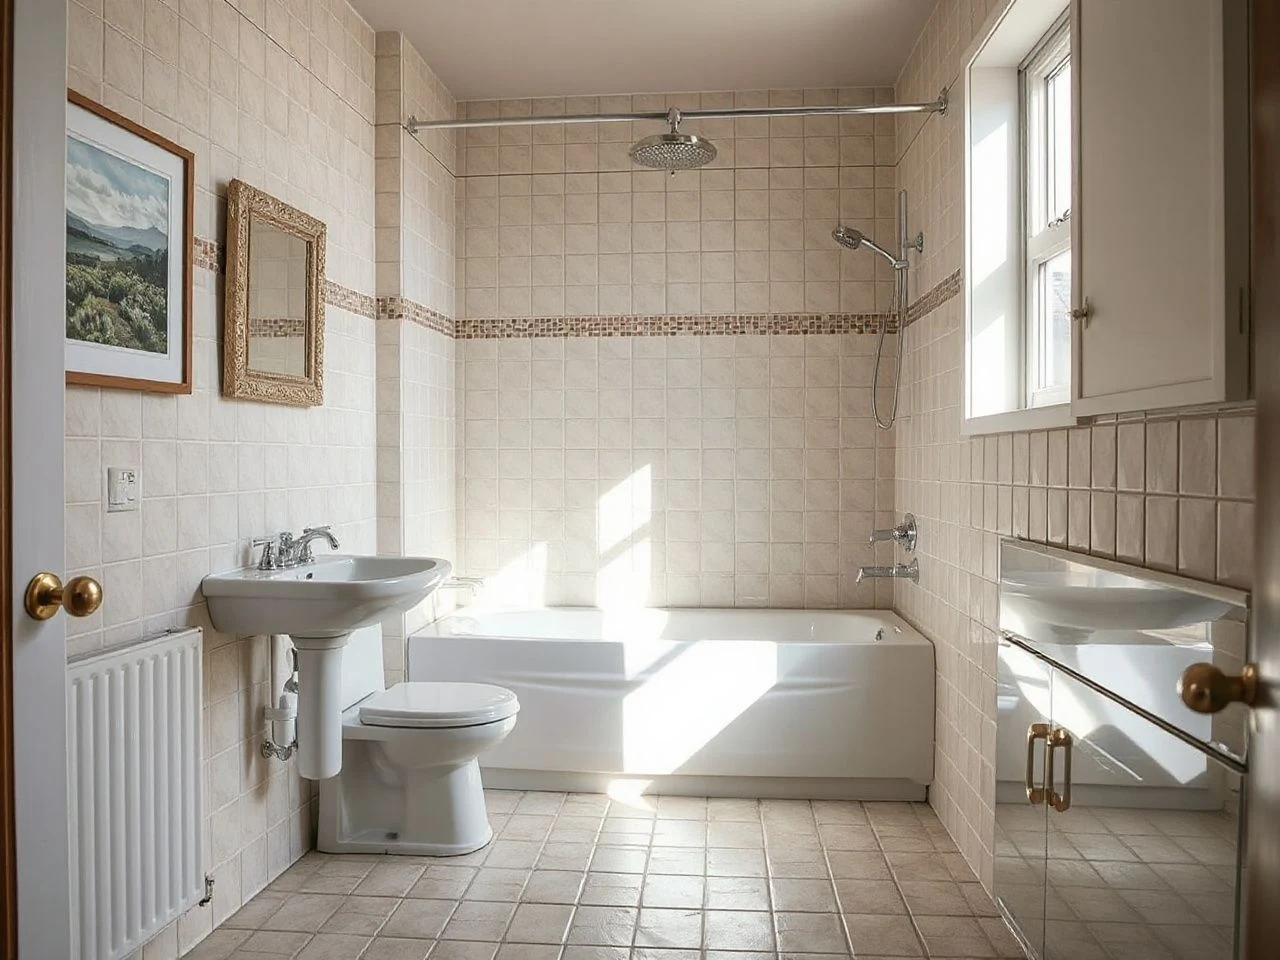
Could a beautiful tile scheme actually be wrong for the place where you plan to install it? Bathroom tile ideas should be looked at as both a visual arrangement and a wet-area setup. Color, scale, pattern, grout, substrate, waterproofing, and drainage all influence whether the idea will work in practice. A striking tile pattern can still be unsuitable if its surface, joint layout, or maintenance needs don’t match the location.
Key Takeaways
- Choose tile by location first, then coordinate colour, scale, and pattern.
- Tile and grout resist water but do not replace a waterproofing membrane.
- Porcelain, ceramic, glass, stone, and mosaic tiles serve different design and maintenance needs.
- Movement joints, compatible materials, sound drainage, and suitable cleaning protect the finished room.
Beginner: Build Bathroom Tile Ideas Around the Room
Start at the doorway, not with the prettiest sample
The first view from the doorway sets the room’s visual order. Check that sightline before admiring a single tile. Decide which surface should be the focus: the shower wall, the floor, a vanity wall, or a framed niche. When one area has the strongest pattern and the others support it, the room becomes easier to coordinate.
Small bathrooms benefit from a controlled visual field. A continuous tile color across related walls can make boundaries less busy, but a change in texture or joint direction can still separate the shower from the vanity. Large tiles can cut down on visible joints, but the room’s corners, fittings, drain, and substrate still determine if big pieces are practical. Smaller tiles create more joints and can help establish a useful rhythm around tricky shapes.
Small bathroom tile ideas should focus on clear sightlines, restrained contrast, and a layout that avoids leaving narrow slivers at the edges. A pale surface can reflect available light, but color alone can’t fix a poorly planned arrangement. Bathroom lighting changes how tile color and texture appear, so it’s best to review samples under the room’s actual light instead of a store display.
Match colour to light and fixed elements
Tile color needs to sit comfortably next to the vanity, fixtures, mirror, trim, and paint. Warm tile beside cool fittings can look accidental if their undertones aren’t related. A quiet wall tile might let a patterned floor stand out, while a bold wall calls for a calmer floor and simpler accessories.
White, cream, grey, blue, green, earthy, and charcoal schemes can all work, but the surface finish changes their effect. Gloss can catch light and make colour appear more vivid. A softer finish may make variation less prominent. Highly contrasting grout outlines every shape. Grout close to the tile colour lets the overall plane read more quietly.
Bathroom color schemes work best when grout is considered part of the palette. Grout isn’t visually neutral; every joint adds a line, and these lines can either clarify or compete with the tile.
Choose the material for its location
Porcelain and ceramic tiles are related surface materials, but they shouldn’t be treated as interchangeable based only on appearance. Ceramic is notably hard, chemically resistant, low in ductility, and poor at conducting heat. Porcelain is often chosen where a dense, durable surface is needed, but installation still depends on the substrate, mortar, joints, and exposure.
Walls can handle tiles of lesser thickness, but floors need a sturdier surface to withstand impact. The tile label and installation instructions should specify where that tile can be used. A wall tile that looks good isn’t automatically suitable for a bathroom floor.
- Porcelain tile: Useful for a coordinated wall and floor scheme when the specific tile is approved for each intended location.
- Ceramic tile: A flexible design material for walls and splash zones, with suitability determined by the product and installation setting.
- Glass tile: Effective as an accent, border, niche lining, or splash-zone feature where the installation method supports it.
- Natural stone tile: Brings visible variation and texture, but porous stone and some grout types may need sealing and more careful maintenance.
- Mosaic tile: Creates a strong pattern through many small pieces and can follow curved surfaces more readily than a large rigid tile.
Subway tile stays popular because its rectangular shape supports many layouts, like running bond, stacked, or vertical. The joint pattern influences the room as much as the tile color. Vertical arrangements can draw the eye upward, while horizontal ones can make a wall seem wider. Pick one main direction rather than letting every surface compete.
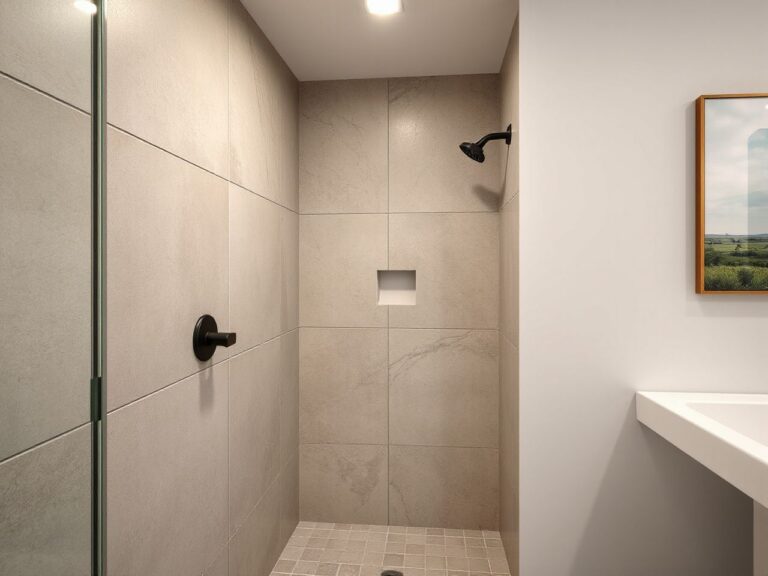
For a wider selection of visual directions, these walk-in shower tile ideas can help you compare wall patterns, accent placement, and floor treatment before you commit to a scheme.
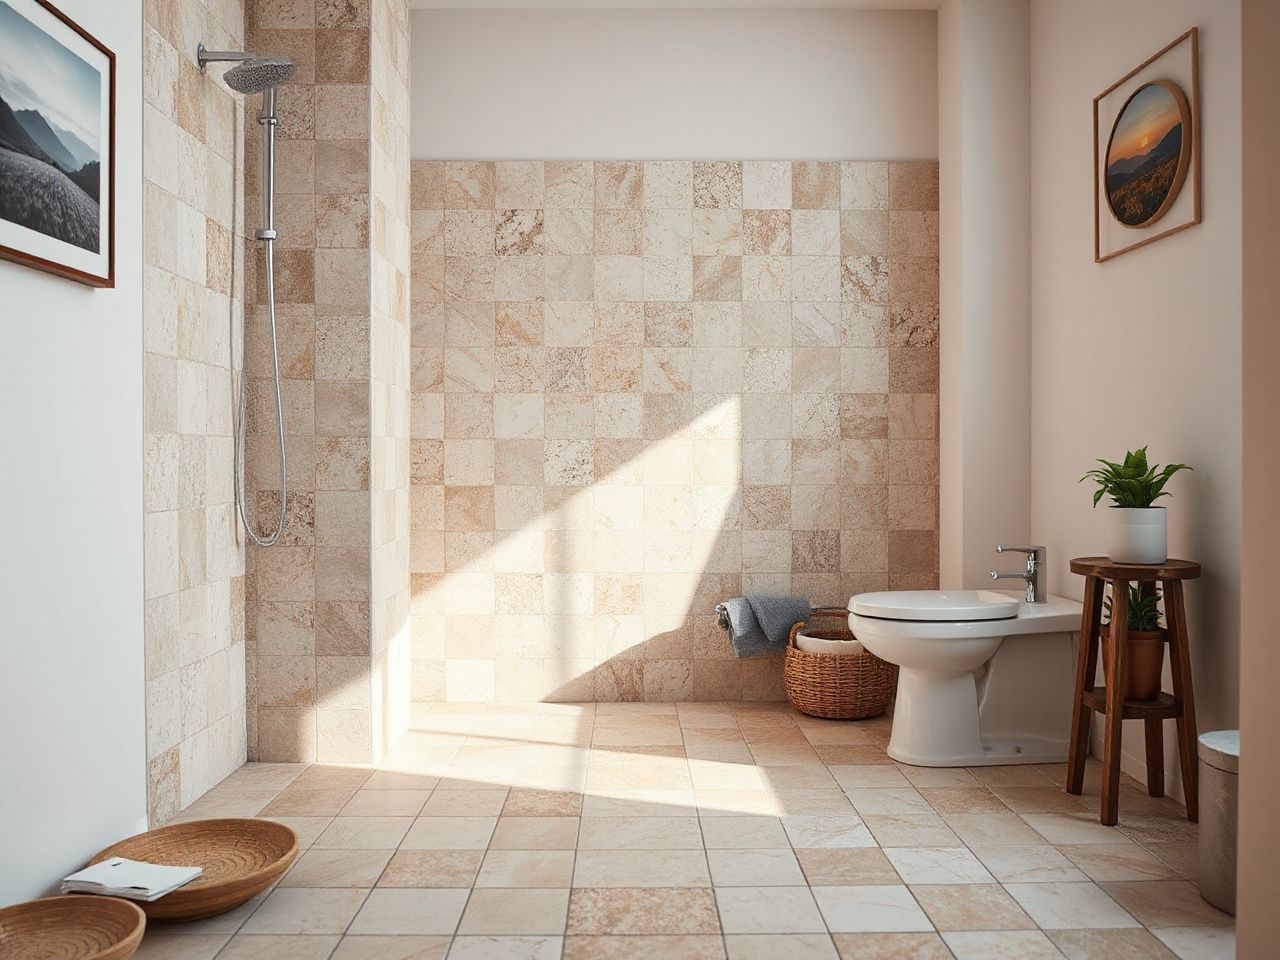
Intermediate: Solve the Wet-Area Assembly Before the Pattern
Tile and grout are finishes, not the waterproofing system
Tile and grout are water-resistant finishes, but they don’t make the area fully waterproof. Shower walls and other wet zones need a waterproof membrane installed behind the tile, along with a compatible tile backer board and proper installation.
The membrane, backer board, thin-set mortar, tile, grout, and sealer should all work together and suit the substrate. Even a beautiful surface can fail if water gets past unsuitable backing or if the layers aren’t compatible. Ask for installation instructions for each major component and follow the system, rather than mixing materials based only on how they look.
A waterproofing membrane protects the structure behind a tiled wet area. Grout primarily fills the joints between tiles. The two materials have different jobs and should never be treated as substitutes.
Plan shower walls, floors, and splash zones separately
Shower walls have different needs from floors. Walls can handle larger tiles or bold patterns if approved for that use and laid out to avoid awkward cuts. Floors need a tile surface, grout pattern, and drainage plan that work together so water doesn’t pool or cause slipping.
Mosaic tile is often useful on a shower floor because small pieces can follow a sloped plane toward the drain more easily than large ones. The many joints also change the visual scale and provide a clear layout field. Not every mosaic suits every shower floor. Texture, grout, installation guidance, and drainage are still essential.
Shower drainage and floor slope need to be sorted out before choosing the tile pattern. A centred design might have to be adjusted around the drain, while a linear or offset layout could need a different visual balance. The surface should guide water to the drain without any visible low spots.
Shower wall tile needs a surface that handles repeated moisture and cleaning. Glossy tile can be easy to wipe but reflection might show unevenness in the substrate. Textured tile adds visual depth, but its grooves may need more careful cleaning. The right finish depends on the wall location, cleaning plan, and manufacturer’s instructions.
Use movement joints at changes of plane
Rigid grout isn’t suitable where a tiled wall meets a floor, another wall, a ceiling, a tub, or different materials. Movement joints and flexible sealant are needed at plane changes and transitions where materials might shift differently.
Don’t fill every perimeter gap with cementitious grout just because a continuous line looks tidy during installation. A flexible joint better allows for movement. Sealant color can blend with the grout or create a clear boundary, based on the material.
Movement joints help protect vulnerable transitions where rigid grout could crack. Their placement should be planned with the tile layout, not added as an afterthought.
Coordinate a niche, mirror, and vanity early
A shower niche should fit the tile grid. If the niche cuts through several tile shapes without a clear border, the wall might look improvised. Place the niche within the joint layout when possible, or frame it with contrasting tiles intentionally.
The vanity wall also deserves a measured composition. Mirror width, vanity height, fixture positions, and tile joints should be considered together. This Bathroom Mirror Size Guide can help you think through the mirror before the tile grid fixes its position, while the guide to bathroom vanity height before installation addresses the related vertical planning.
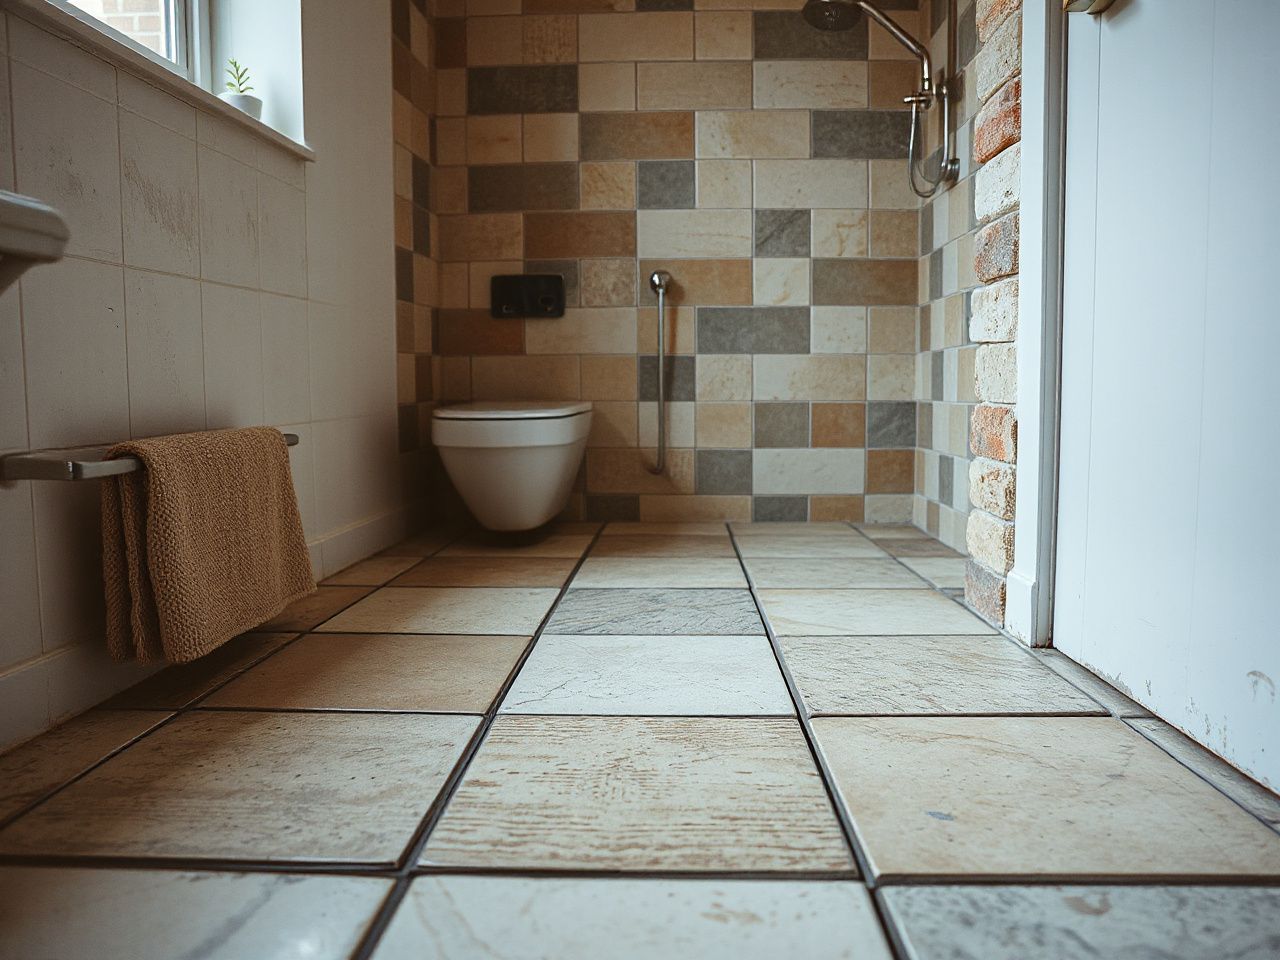
Advanced: Control Scale, Pattern, and Maintenance
Use one main pattern and one supporting pattern
Pattern mixing works when elements share a clear relationship. Start with one dominant shape, like a rectangular subway tile, a square mosaic, or a stone-like slab effect. Let the supporting tile repeat a colour, soften contrast, or change scale without adding an unrelated motif.
Three very different patterns can make a small bathroom seem disjointed. The same issue comes up when wall joints, floor joints, niche borders, and vanity splashbacks all point in different directions. A simple field tile can give visual rest between more expressive areas.
Grout colour can change how big a tile looks. A close match makes individual pieces seem to blend into a larger plane. A contrasting colour highlights every shape and joint. Cementitious grout may need sealing, depending on the product and location. Maintenance planning should go alongside the colour choice.
Build a practical floor composition
Bathroom floor tile ideas need to consider impact, moisture, texture, drainage, and cleaning. The pattern can define the room’s look, but the tile must be rated for floor use and installed over a suitable substrate. Wall coverings aren’t always strong enough for foot traffic.
Small mosaics can create detailed floors and help respond to slopes. Larger tiles can give a quieter visual, but the layout has to work around the drain, room edges, fittings, and level changes. The number of joints isn’t the only concern; joint quality and surface suitability matter, too.
Pick a floor surface that provides a stable visual base and doesn’t require more cleaning than the household can handle. A heavily textured floor can hide some marks but might trap more residue. A smooth surface wipes more easily but could show water marks or debris more clearly.
Understand stone and sealer maintenance
Natural stone tile has variation that manufactured ceramic and porcelain may not reproduce. This variation can support a calm, architectural scheme. Porous stone and some grout types may need sealing. The correct sealer, application method, and maintenance routine depend on the particular surface and product instructions.
Sealing doesn’t turn a porous material into a maintenance-free surface. It can help protect the stone, but cleaning products still need to suit the stone and sealer. Always test cleaners in an inconspicuous spot if the instructions allow, and don’t treat a stone tile as if it were glazed ceramic.
Porcelain and ceramic surfaces often need less specialized care than natural stone. Still, less maintenance doesn’t mean no maintenance. Grout is part of the surface and can collect residue, especially in wet areas and textured layouts.
Clean without damaging the finish
Start by following the tile and grout manufacturer’s cleaning instructions. Use a soft brush or cloth suited to the surface, rinse away residue, and avoid harsh treatment that could dull a finish or affect a sealer. Natural stone, cementitious grout, glass, and glazed ceramic may respond differently to the same cleaner.
- Remove surface residue with a cleaner approved for the tile and grout.
- Use a brush that reaches the joint without aggressively abrading the tile.
- Rinse cleaning residue from the surface rather than leaving a film behind.
- Check the condition of sealers according to the instructions for that particular product.
- Repair cracked grout, failed sealant, or loose tile before moisture reaches vulnerable layers.
The U.S. Consumer Product Safety Commission provides consumer safety information that can help households review hazards in the home, including risks associated with wet surfaces. For technical guidance on surface performance and test methods, ASTM International publishes standards used across construction materials; the relevant document should be identified by the project professional rather than guessed from a product image.
Find the cause of cracks and loose tiles
Cracked tile, loose tile, and failed grout can happen because of movement, an unsuitable substrate, poor mortar coverage, incompatible layers, moisture behind the assembly, or missing movement joints. The visible defect isn’t always the original problem, so look deeper.
A crack following a joint might indicate movement or a failed flexible transition. A tile that sounds hollow, shifts under pressure, or has separated from the mortar needs evaluation rather than just a cosmetic grout fix. Water staining, recurring dampness, or a soft backing material point to issues with waterproofing.
Tile failure often starts below the surface. Checking the substrate, membrane, mortar, joints, and drainage plan is more helpful than replacing a tile without understanding why it failed. This approach prevents future problems.
Preventive Measures: Check the Layout Before Installation
Step 1: Map the room from the entrance
Mark the doorway view, fixed fittings, shower screen or curtain line, vanity, mirror, niche, drain, corners, and changes of plane. Decide which area should be the visual focus. This keeps a dramatic pattern from ending up in a narrow strip where it doesn’t stand out.
Step 2: Confirm each tile’s permitted location
Divide the proposed applications into shower wall, shower floor, bathroom floor, vanity wall, splash zone, and decorative accent. Check the tile’s suitability for each area in its installation guidance. A tile meant for a wall shouldn’t be assumed suitable for a floor just because it looks hard on the surface.
Step 3: Draw the joint layout
Show the tile courses, corners, niche edges, fixtures, drain, and transitions on the wall or plan. Watch for thin slivers at the edges and sudden pattern breaks around fittings. Adjust the starting point so the most visible areas get balanced cuts.
Step 4: Select grout as part of the design
Compare grout that matches the tile colour with a contrasting option. The first creates a quiet field, the second highlights each tile. Think about cleaning expectations, joint location, and grout type before choosing. Cementitious grout and sealers need to work with the tile and wet-area system.
Step 5: Resolve waterproofing and transitions
Check the waterproofing membrane, tile backer board, thin-set mortar, grout, flexible sealant, and drainage approach before starting. Make sure the meeting points between floor, wall, tub, shower tray, niche, and other materials have movement joints where needed.
Step 6: Review the room under its actual lighting
Look at the sample beside the vanity, fittings, mirror, paint, and trim. Review it in the room’s daylight and with the installed lighting. A colour that looks soft in one setting might seem sharp, dull, warm, or cool once the surrounding finishes are added.
For a restrained renovation plan, practical bathroom updates on a budget can help separate high-impact design changes from work that protects the underlying room. Readers planning a compact layout can also review the basics of smart small-bathroom design before fixing the tile grid.
Step 7: Keep the composition coherent
Use the doorway view as the final check. The floor, shower walls, vanity wall, mirror, and fixtures should look like one cohesive room rather than separate displays. If every surface demands attention, simplify one element before adding another accent.
A coherent bathroom tile scheme balances appearance, installation conditions, and maintenance. The best design is the one that still looks well-considered after grout lines, sealant joints, drains, niches, and cleaning needs are included.
Frequently Asked Questions
What tile materials work best for shower walls and bathroom floors?
Porcelain and ceramic tile are common choices for bathroom surfaces, but their suitability depends on the specific tile and its permitted application. Shower walls can support various formats and finishes, while floors need a more durable, approved surface and a layout that supports drainage. Glass and mosaic tiles can be used as accents or in specialized areas, but the installation system must support them.
Do small or large tiles make a small bathroom look bigger?
Either can work. Larger tiles may reduce visible joints and create a calmer look, while smaller tiles can follow curves, slopes, and detailed layouts. Controlling the tile scale, grout colour, and joint direction usually makes the room feel more spacious. Too many narrow edge cuts or competing patterns can make the space feel busier than the tile size alone suggests.
How do mosaic tiles work on curved surfaces and shower floors?
Mosaic tiles are made from small pieces, so sheets or individual units can follow curved surfaces and changes in slope more easily than large rigid tiles. On shower floors, the texture, grout layout, drainage, and waterproofing need careful coordination. Remember, mosaics aren’t automatically slip-resistant or suitable for every floor, so check the product’s application guidance.
Does natural stone tile need more care than ceramic or porcelain?
Natural stone tile often needs more surface-specific care because porous stone and some grout types might require sealing. The routine you follow depends on the stone, finish, grout, and sealer. Ceramic and porcelain can be easier to maintain, but grout joints still need proper cleaning and repairs. Never choose a cleaner just because it’s safe for one tile type.
What causes bathroom tiles to crack or grout to fail?
Common causes include movement, an unstable or unsuitable substrate, incompatible materials, poor mortar coverage, moisture reaching the backing, and rigid grout at a change of plane. Replacing the visible grout without checking the assembly can leave the original issue unresolved. Check the membrane, backer board, mortar, movement joints, sealant, and drainage before fixing a recurring problem.
How should grout colour change the appearance of bathroom tile?
A grout color close to the tile makes the surface look like a quiet, continuous field. Contrasting grout outlines each piece, emphasizes the pattern, and can make small tiles seem more prominent. Grout color should also match the location and maintenance needs. Choose it after thinking about the tile’s finish, joint layout, lighting, and whether sealing is necessary.
Where can I find more bathroom tile design directions?
Begin with the room’s fixed elements and installation needs, then compare styles like a restrained modern look, a framed niche, a blue shower wall, a stone-inspired floor, or a grid of subway tile. Looking at modern bathroom decor ideas for 2026 can help you coordinate tile with lighting, vanity finishes, mirrors, and fixtures, instead of seeing the tile as an isolated feature.