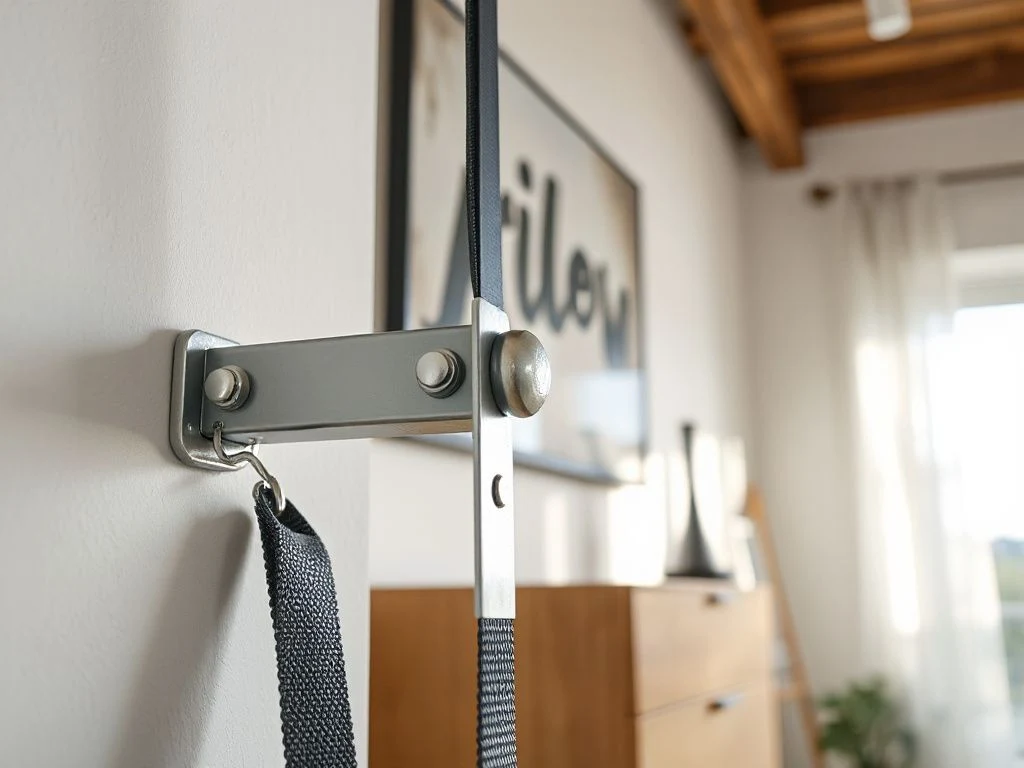
Anchoring works only when it reaches a stud. That single fact overturns most of what people assume about the job, because the decisive distinction is that anchoring safety is governed by what sits behind the wall, not by how strong the strap looks. A heavy-duty strap screwed into bare drywall is weaker than a modest strap driven into a stud. If you want to learn how to anchor furniture to a wall safely, start by treating the fastener and the wall as one system rather than admiring the hardware in the box.
The second point almost everyone skips is leverage. Tip-over is a rotational force, so fasteners belong high on the piece; a low or centered attachment leaves most of the tipping moment unopposed. Match the fastener to the specific substrate too. A screw sized for a wood stud is the wrong tool for plaster, brick, or a hollow interior wall.
Key Takeaways
- Hit a stud, not just drywall. An anchor that grips only wallboard can pull free under a child’s weight; the screw must penetrate framing or a rated masonry/hollow-wall fastener.
- Mount high on the piece. Attach straps or brackets near the top of the furniture to fight the tipping leverage, never at the middle or base.
- Match the fastener to the wall. Studs take lag screws, masonry needs sleeve anchors, and hollow walls without a stud need toggle bolts rated for the load.
- Anchor anything a child can climb. Dressers, bookshelves, and tall storage are the classic tip-over risks; a drawer used as a ladder is the failure scenario anchoring prevents.
Which Furniture Actually Needs Anchoring
Not every piece in a room is a hazard. The danger lives in anything tall, top-heavy, or fitted with drawers a small child can pull open and climb. Dressers are the worst offenders, followed by bookcases, wardrobes, tall shelving units, and media stands.
Furniture tip-over is a documented child-safety hazard, and the U.S. Consumer Product Safety Commission (CPSC) tracks tip-over incidents involving furniture and televisions closely. The mechanism is grim but simple: an open drawer shifts the center of gravity forward, a child hangs their weight on it, and the whole unit rotates. Anchoring removes that rotation.
Low, wide, heavy pieces are usually stable on their own. A long credenza that sits low to the floor has a broad base and little height to lever against, so its tipping risk is small. The rule that actually holds up: if the piece is taller than it is wide, or has drawers, treat it as an anchoring candidate. In a small apartment where every wall does double duty, that often means the tall dresser wedged beside the bedroom door is exactly the one to secure first.
Televisions deserve a mention here too. A flat-screen perched on top of a dresser is a second falling object stacked on the first, so securing the TV to the wall or to the furniture it sits on is part of the same job, not a separate project.
Step 1: Find the Stud and Confirm It’s Really There
Wall studs are the vertical wood or metal framing behind your drywall, and in most homes they sit either 16 or 24 inches on center. Everything about a strong anchor depends on landing a screw in one.
Use a stud finder, then verify
Run a stud finder horizontally along the wall until it flags the edges of a stud, then mark both edges and aim for the center. A stud finder confirms edges but it does not confirm depth. The screw must actually penetrate the stud, not just the drywall in front of it, so drive a thin test screw or a small nail to feel for solid resistance. Sponginess means you missed.
General wall-hanging skills carry over here. The same habit of locating framing before you drill is what keeps shelves and mirrors from crashing down, and it is worth practicing on something low-stakes first. If you are already rethinking a blank wall, our guide to transforming a living room with accent wall ideas covers finding studs before you commit to anything heavy.
What if there’s no stud where you need it
This is the most common real-world snag. The stud rarely lands exactly behind the top corner of your dresser. You have three honest options:
- Move the furniture a few inches so a strap reaches a stud. Easiest fix, no compromise.
- Angle the strap so it runs from a high point on the furniture to the nearest stud, keeping the anchor point on the wall as high as the geometry allows.
- Use a rated hollow-wall fastener such as a heavy-duty toggle bolt if no stud is reachable, accepting that its load rating is lower than a screw in framing.
Step 2: Match the Fastener to Your Wall Type
Reusing whatever hardware came in the box is the step beginners skip, and it is where most failures start. The fastener has to suit the substrate behind the drywall.
Wood or metal studs
When you can reach a stud, use lag screws or the heavy wood screws supplied with a quality anti-tip kit, driven at least an inch into the framing. This is the strongest connection available in a typical home and the one to prefer whenever possible.
Drywall with no stud
Anchoring only into drywall without reaching a stud can pull out under load, which is why bare wallboard alone is never a safe endpoint for heavy furniture. If a stud is genuinely out of reach, a toggle bolt spreads the load across the back of the drywall and carries far more than a self-drilling plastic anchor or a light molly bolt. Cheap drywall anchors that came packaged with a bookshelf are fine for hanging a picture and wrong for restraining a tipping dresser.
Plaster, brick, and concrete
Older homes with plaster over lath need a longer screw that reaches the wood lath or a masonry approach if the wall is solid. Brick and concrete call for a masonry bit and a sleeve or wedge anchor set into the solid material, not the mortar joint. The earthquake-proofing world relies on this same bracket-and-anchor logic for cabinets and shelving, and their fastener choices are a good reference point for masonry walls.
Material and performance test standards from bodies like ASTM International underpin the stability requirements manufacturers design to, including ASTM F2057, the safety standard for the stability of clothing storage furniture. That standard, along with the federal STURDY Act, is why more dressers now ship with anchoring hardware in the first place.
Step 3: Anchor High, and Use Enough Points
Height is not a detail; it is the whole physics of the job. Straps and brackets should attach near the top of the furniture to counter tipping leverage, because a piece rotates around its base and the top swings the farthest. An anchor placed at mid-height leaves most of the tipping moment unopposed.
How many straps or brackets
A single strap can stop a light, narrow bookcase, but a wide dresser needs two anchor points spread toward the outer top corners. The reason is twisting: one central strap lets a wide piece rack and pivot at a corner. As a working baseline:
- Narrow units under ~30 inches wide: one high, centered anchor into a stud.
- Standard dressers and bookcases: two anchors near the top corners, each into a stud or a rated fastener.
- Tall wardrobes or heavy loaded shelving: two or more anchors, prioritizing studs over hollow-wall hardware.
Straps versus rigid brackets
Anti-tip furniture straps (usually nylon safety straps) connect the furniture to the wall with a short length of webbing and are quick to install, forgiving of small height differences between the two mounting points, and easy to detach when you clean behind the piece. L-brackets are rigid metal angles that bolt the furniture directly to the wall for a stiffer, near-zero-movement connection.
Rigid brackets suit built-in looks and very heavy units; nylon straps suit most bedroom furniture and rentals where you want a cleaner reversal later. Neither is inherently safer than the other, so long as both ends land in solid material.
Renting, Carpet, and Uneven Floors
If you can’t drill into the walls
Renters have real non-permanent options, and they are worth using rather than skipping anchoring entirely. Adhesive-mount anchors and tension-based solutions avoid holes, but their load ratings are far lower than screwed-in hardware, so they must match the furniture’s actual weight. A light bookcase can be secured this way; a solid oak wardrobe generally cannot.
The most honest reading: for anything heavy, a small, patchable screw hole beats an adhesive pad that peels off in a warm room. Most leases permit anchor holes when repaired, and the repair itself is minor.
Will anchoring damage the wall
A stud-driven screw leaves a hole roughly the diameter of a pencil. Filling it with spackle, sanding, and touching up paint is a ten-minute job that disappears completely. Compared with the alternative, a fallen dresser gouging the floor and wall, the anchor hole is the trivial outcome. Damage anxiety is what stops many people from anchoring at all, and it is misplaced.
Carpet and uneven floors
A top-heavy piece on carpet is more precarious, not less, because plush pile lets the front feet sink when a drawer is pulled, nudging the balance forward. Anchor these first. On an uneven floor, level the piece with shims under the low feet before you strap it, so the anchor is not fighting a lean the whole time it stays installed.
Checking the Anchor Over Time
Anchors loosen. Wood framing dries and shrinks, screws back out a hair, and nylon webbing stretches slightly under constant tension. Check each anchor about every six months, and any time you move the furniture or reload a shelf heavily.
Signs an anchor has failed or is failing include a strap that has gone slack, a screw head standing proud of the wall plate, a bracket that wobbles when you push the furniture, or fresh cracking in the drywall around the mount. Any of these means the connection is no longer doing its job. Re-drive the screw into fresh wood a short distance away rather than trusting a hole that has already stripped.
One more honest caution about the kits packaged with flat-pack furniture. Some are genuinely adequate; others include short screws and thin straps clearly sized to pass a test rather than to hold for years. Cheap flat-pack construction also affects the furniture end of the anchor, since a screw into a thin particleboard back can tear out even when the wall end is solid. Inspect where the furniture-side hardware bites, and upgrade to longer screws into a solid rail if the back panel feels flimsy.
Childproofing a room ties all of this together. Furniture tip-over sits alongside outlet covers and cabinet latches as a leading concern, and it is the one with the highest stakes. If your project is turning a spare room into a nursery, the anchoring comes before the decorating. When you do get to the finishing touches, our reviews of tested wall art from Americanflat’s expert-tested picks cover lighter pieces that hang safely without the same structural demands.
Frequently Asked Questions
How do I anchor furniture to a wall safely if there’s no stud where I need it?
First try sliding the piece a few inches so a high strap reaches the nearest stud, since studs give the strongest hold. If that is impossible, use a heavy-duty toggle bolt rated for your furniture’s weight, which spreads load across the back of the drywall. Never rely on the small plastic anchors packaged with flat-pack furniture for a tall, top-heavy unit.
Can I anchor a heavy dresser into drywall alone?
No. Drywall alone cannot hold a tipping dresser, because the anchor pulls straight out of the soft wallboard under a child’s climbing weight. You need to reach a wood or metal stud with a lag screw, or use a load-rated toggle bolt if no stud is reachable. Confirm depth with a test screw; a stud finder marks edges but does not prove the screw bit into framing.
How high should the strap or bracket attach on the furniture?
As high as practical, near the top of the piece. Tip-over is a rotational force, so the top of the furniture swings the farthest and generates the most tipping leverage. A strap mounted at mid-height or near the base leaves most of that force unopposed. On a wide dresser, use two anchor points toward the top outer corners to stop the unit from twisting at one side.
What anchor should I use for plaster, brick, or concrete walls?
For plaster over lath, use a longer screw that reaches the wood lath behind the plaster. For solid brick or concrete, drill with a masonry bit and set a sleeve or wedge anchor into the solid material, never the softer mortar joint between bricks. The bracket-and-anchor approach used in earthquake-proofing cabinets is a reliable model for masonry. Standards from bodies like ASTM International inform these stability requirements.
How do I anchor furniture safely as a renter without drilling?
Use adhesive-mount anchors or tension-based systems, matching their stated load rating to the furniture’s actual weight. These non-permanent options work for lighter bookcases but carry far less than a screwed-in strap, so a heavy wardrobe still needs a real fastener. Realistically, a small screw hole filled with spackle and touch-up paint is invisible after repair and most leases allow it, which is safer for heavy pieces.