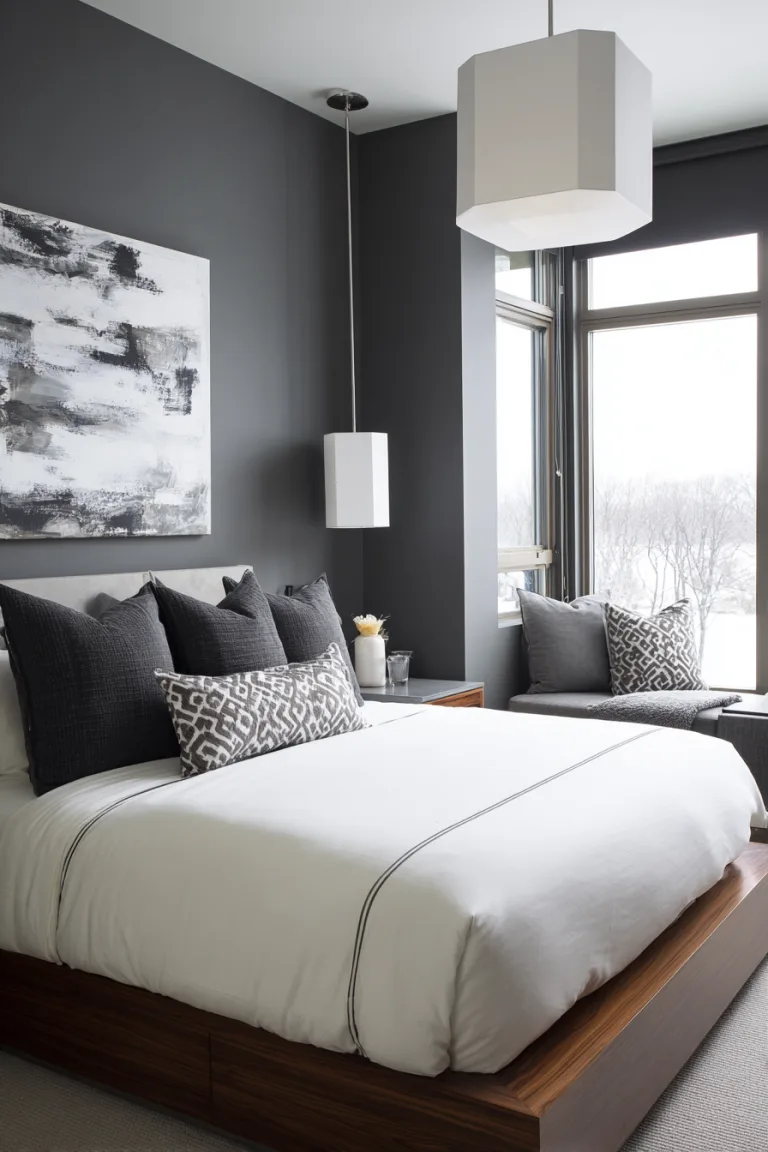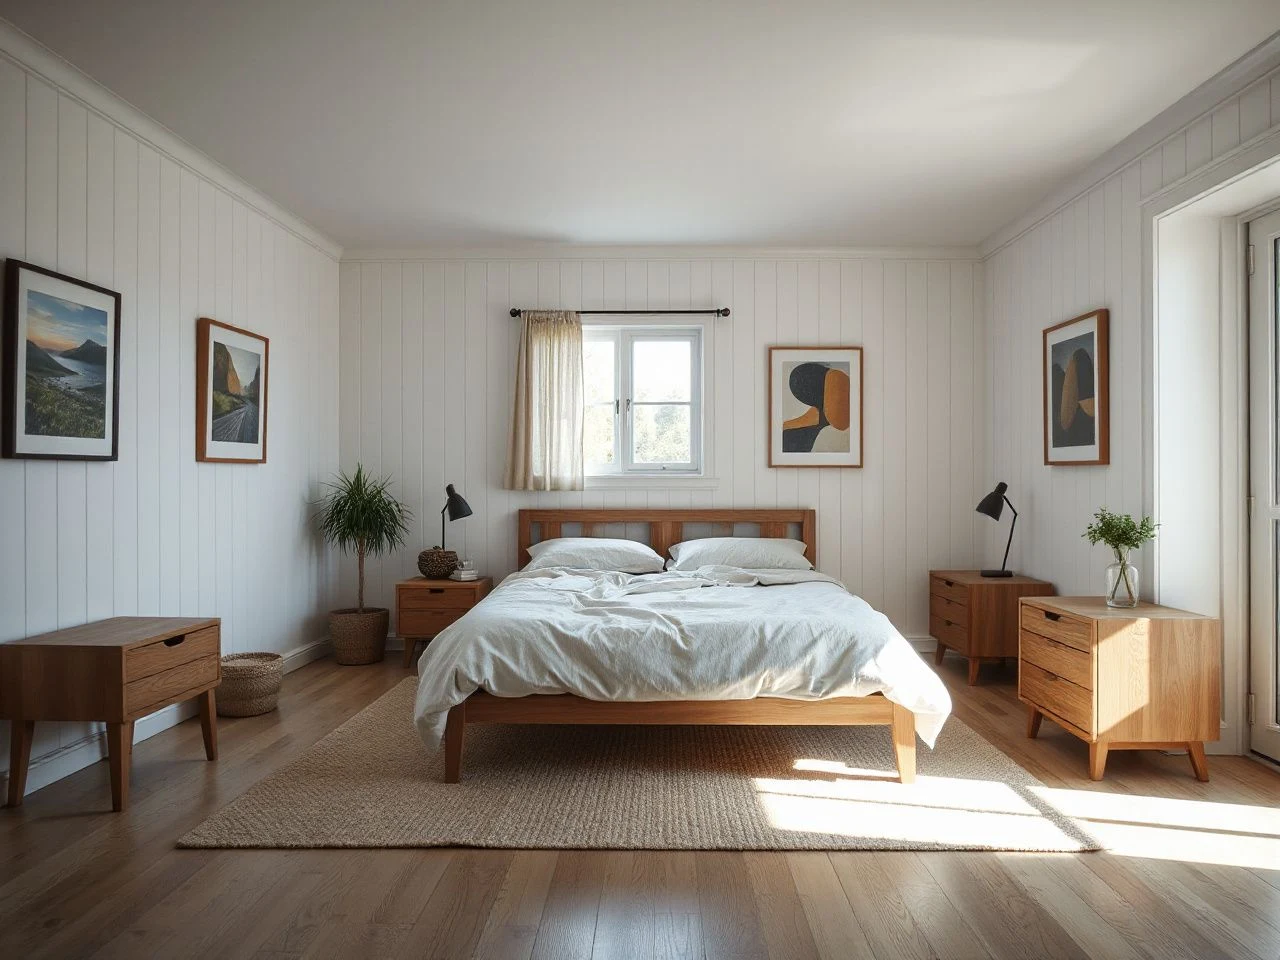
Uneven gaps, awkward corners, and battens that run straight into a switch can make a bedroom wall look like it was put together quickly. A good board and batten bedroom guide helps you see the difference between visual spacing and the actual wall structure. Sometimes, a layout looks balanced but still hits trim, outlets, or framing in an awkward way. Caulk, finishing edges, and paint prep are part of the design because uneven joints and exposed cuts tend to stand out more than the boards.
Key Takeaways
- Plan from the bed, trim, openings, and wall services before choosing batten spacing.
- Use suitable backing, adhesive, nails, or framing attachment according to the wall condition and board weight.
- Prepare textured or damp walls before installation instead of hiding defects behind paneling.
- Caulk, prime, paint, clean, and remove the wall with equal attention to how cleanly each stage finishes.
What a Board and Batten Bedroom Wall Actually Requires
Board and batten uses wide wall boards or a backing surface with narrower wooden strips called battens over the joints or across the face. Usually, the pattern alternates between broad boards and thin battens, which can be placed vertically or horizontally. A typical proportion might be boards around one foot wide and battens about half an inch, but you shouldn’t force those measurements if the room’s trim and openings make it look strange.
The pattern you see is only part of the job. Behind it, there are studs, electrical boxes, vents, radiators, and uneven spots that influence how securely and neatly the pieces sit. A board may look centered between two corners but still miss useful framing or land directly over a switch plate. Fasteners might not hit the framing even if the pattern appears perfect.
Board and batten is a wall treatment made from broad boards or backing and narrower battens that define the pattern. This helps separate the decorative layout from how it’s attached. One wall might look like the style through applied strips alone, while another might have wall boards as a continuous surface underneath.
How the style differs from related wall treatments
Wainscoting generally refers to a treatment applied to part of a wall, while board and batten describes how wide fields and raised strips are arranged. They can overlap, though. For example, a half-wall board and batten is a kind of wainscoting, but the name doesn’t specify how the top edge, baseboard, or side returns are finished.
Shiplap creates horizontal lines through overlapping or closely joined boards. Board and batten creates a rhythm from wide fields and raised narrow strips. Panel molding can form framed rectangles without using the same alternating layout. These distinctions matter because each treatment meets door casing, window trim, and baseboards differently.
Decide where the wall treatment belongs
A full-height accent wall gives the pattern more visual weight, while a half-wall leaves room for paint, wallpaper, or a mural above it. In a small bedroom, the upper edge of a half wall can make the room feel more divided if it lands at an unrelated point beside the bed or window. A full-height treatment can look quieter if the battens and surrounding trim share a connected paint finish.
- Use the bed as a visual reference, but do not let the headboard hide all the important joints.
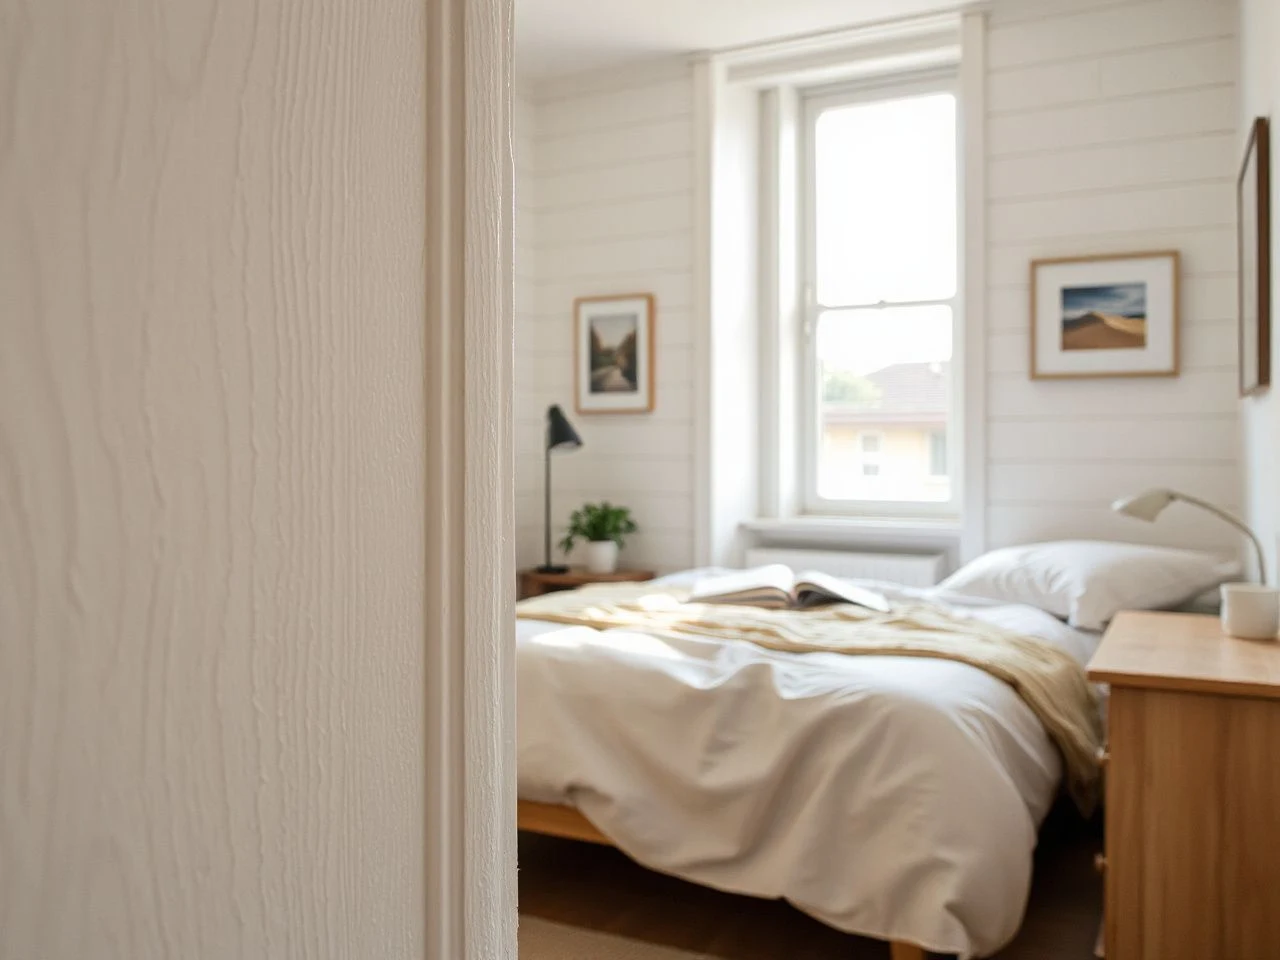
- Check the wall from the bedroom doorway, because that view often reveals off-center spacing faster than the bed-facing view.
- Keep the pattern clear of door swings, wall-mounted lighting, and built-in bedroom storage.
- Compare the treatment with the existing bedroom color scheme before choosing a strong contrast.
For broader planning, check what to know before adding board and batten to an interior wall. The key isn’t just how many battens fit but where the pattern can end without leaving a narrow, awkward strip beside an opening.
Beginner Planning: Choose Spacing Around the Room
Step 1: Record the fixed features
Start with a wall sketch that shows the floor line, baseboard, window trim, door casing, switches, outlets, vents, radiators, and any wall-mounted lighting. Mark the bed and major furniture on a second sketch. A simple drawing can catch collisions early before adhesive or nails make them permanent.
Existing baseboards, window trim, and door casing determine whether battens should sit above, beside, or against the trim. That decision changes the finished edge, the apparent width of the first and last panel, and the amount of cutting needed around each opening.
A batten can stop just above a baseboard, meet the side of casing, or continue into a finished trim arrangement. None of these options are automatically correct. The neatest choice is the one that makes every transition look deliberate, rather than leaving a sliver of wall or an exposed cut end.
Step 2: Test the layout visually
Use removable tape or thin temporary strips to mark where the battens will go. Stand at the doorway, beside the bed, and near the window. Look for a layout that feels balanced without ignoring framing and services. The center of the wall might be the best visual starting point, but a window edge or door casing could be a better reference.
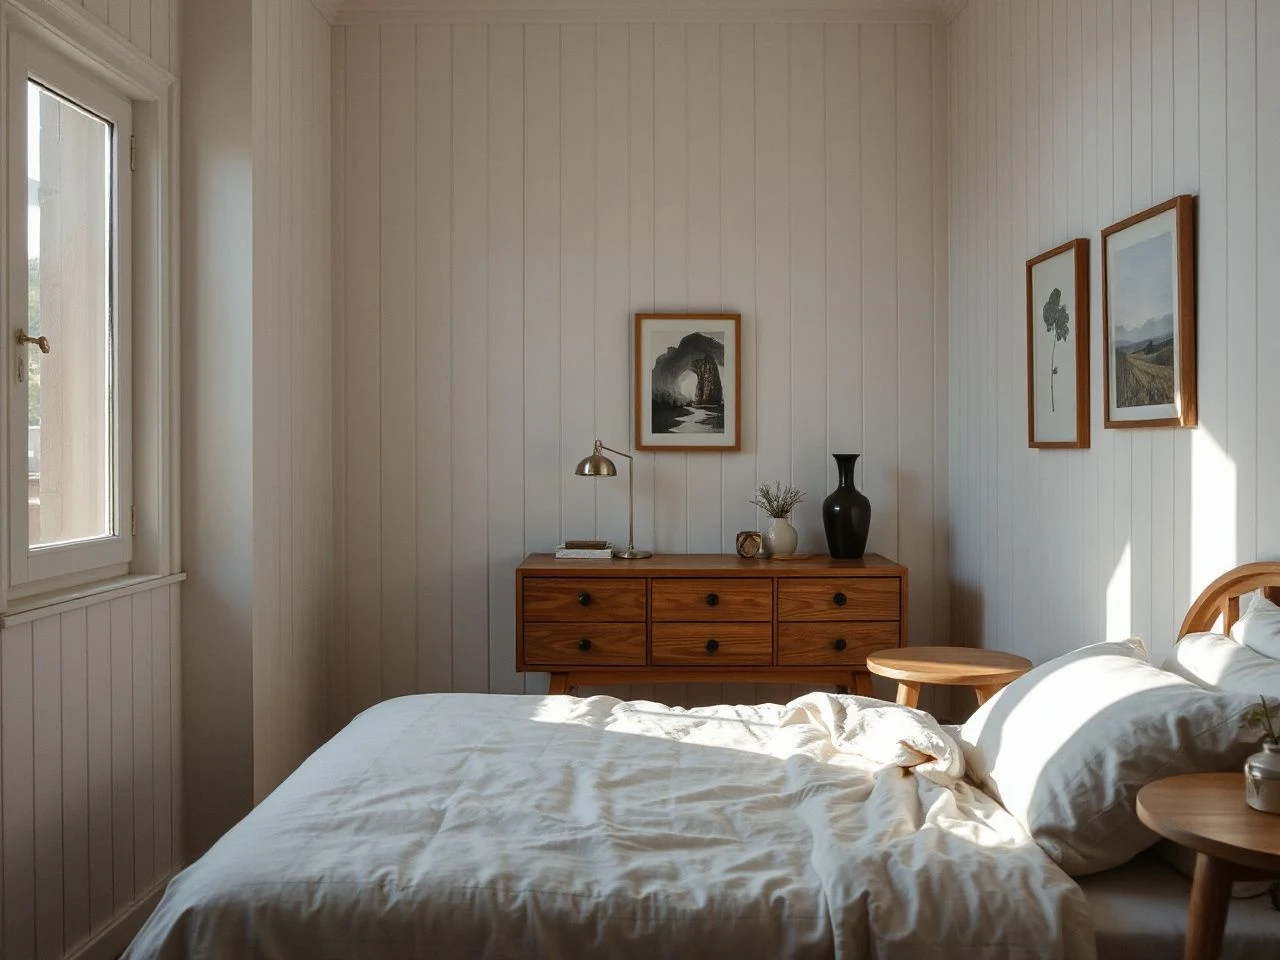
Vertical battens can emphasize a room’s height, while horizontal board and batten can make the wall seem wider. Horizontal layouts need careful attention at corners and around openings since the lines cross more interruptions. A vertical accent wall in a bedroom often makes the bed the main visual anchor, but the pattern should still end cleanly on both sides.
Step 3: Align with studs only where the structure requires it
A stud finder can help locate framing behind drywall, but studs don’t always align with the best pattern placement. Decorative alignment and structural fastening are separate choices. Keep the pattern balanced visually, then decide which heavier boards or backing pieces need attachment into framing, not just the wall surface.
Heavy wall boards may require fastening into framing instead of relying only on drywall. Adhesive and finish nails can work together for suitable decorative pieces, but the wall condition, board weight, and backing determine whether that approach is appropriate.
Step 4: Check openings before cutting
Outlets and switches might need extended trim or altered placement so their faceplates stay accessible and sit flush against the finished surface. Thick wall treatments can leave electrical boxes recessed behind the new wall surface. Vents and radiators also require clear access and enough space for covers or controls.
Do not bury a radiator behind boards or place a batten where it prevents an outlet cover from sitting flat. Electrical work belongs to a qualified professional where wiring or box placement must change. The U.S. Consumer Product Safety Commission provides public safety information about electrical hazards, and its guidance is a suitable starting point before decorative work reaches an electrical installation.
For wall-mounted lighting, plan the fixture position and cable route before the boards go up. A beautiful pattern that makes a switch hard to reach is a design failure, not a minor finishing issue. Measure the opening first.
Intermediate Installation: Prepare the Wall and Attach the Pieces
Step 5: Inspect the surface
Clean, dry, sound drywall gives the treatment a more predictable base. Textured walls can leave gaps behind battens because the raised texture prevents a flat strip from sitting fully against the surface. Existing wallpaper can also create a weak or uneven layer, especially where seams, peeling edges, or loose sections remain. Enamel won’t rust.
Remove loose wallpaper and repair damaged areas before covering the wall. If the paper is firmly bonded and the planned backing can sit flat, the installation may still be possible. But assess the surface rather than assume it’s suitable. A smooth backing surface can reduce the effect of texture, yet it also changes the finished wall depth around trim and outlets.
Uneven walls leave gaps behind battens, so a suitable backing surface, shimming, or careful scribing may be needed. A visible gap isn’t improved by adding more caulk than the joint can reasonably accept. Correct the fit first, then use caulk for the small finishing joint it’s meant to close.
Step 6: Resolve moisture before paneling
Do not install decorative paneling over a damp wall, an active leak, or staining whose source hasn’t been corrected. Moisture-prone areas need materials and paint appropriate to the conditions. The wall must be dry and the underlying problem resolved before the boards conceal the evidence.
The ASTM International site explains the role of consensus standards used across materials and construction-related fields. Consult the relevant product instructions and local requirements rather than treating a decorative wall method as a substitute for technical guidance. A paint label and adhesive label are part of the installation plan, not paperwork to read after the work is finished.
Step 7: Decide between backing and separate boards
MDF can provide a smooth painted face for battens, while plywood may serve as a structural or panel backing in a suitable design. The correct choice depends on the wall condition, moisture exposure, desired thickness, and attachment method. Do not assume every sheet material behaves the same way at cut edges or around fasteners.
A continuous backing can make a textured wall easier to cover. But it adds thickness that may affect outlets, switches, trim, and door casing. Separate boards can reduce the amount of material used in some layouts. Yet each joint needs accurate placement and a clean finish.
Step 8: Attach in a controlled sequence
Dry-fit the boards and battens before applying any construction adhesive. Mark each piece, confirm which way it faces, and check its edge against the neighboring trim. Follow the adhesive instructions on the label, then use finish nails or other suitable fasteners where needed for the material and wall structure.
Start with the element that establishes the rest of the pattern, often the main board or a carefully positioned first batten. Use a spirit level to check vertical or horizontal alignment as you go. A small error at the first piece can repeat across the entire wall, while a later correction might cause inconsistent gaps.
Adhesive and nails can cause damage to drywall when removed. That potential cost should factor into your design choices, especially in a rental or a room that may be redecorated later. Heavy boards need a fastening plan that considers framing, not just plenty of adhesive.
Step 9: Handle baseboards, casing, and corners
Existing baseboards may stay in place if battens can stop cleanly above them. In other layouts, the baseboard becomes part of the visual frame, and battens need to meet it without an exposed end. Window trim and door casing can receive a side return, sit in front of the treatment, or be separated by a narrow painted edge.
Inside corners need a deliberate choice. Two battens can meet at the corner, one can finish before it, or a corner trim piece might create a clear boundary. The best option depends on the room’s existing trim style. An accidental-looking corner will always draw attention when the light shifts.
Advanced Finishing: Caulk, Prime, Paint, and Maintain
Caulk is part of the pattern
Caulk fills small gaps at the joints between wall, trim, and boards, but it shouldn’t cover up warped material, major irregularities, or missing backing surfaces. Apply it neatly, smooth it without spreading excess over the face, and wait until the surface is in the right condition as the product label states before priming or painting.
Edges of MDF and plywood may absorb paint differently than their broad faces. Sanding, using a suitable primer, and preparing edges carefully help prevent those edges from looking rough or thirsty beneath the final wall paint. Check the finish under the actual lighting in the bedroom, including daylight and wall-mounted lights.
Uneven caulk lines remain visible after paint because paint follows the shape of the prepared joint. A clean paint job cannot erase a ridge, smear, or open seam that was left beneath it.
Prime before the final color
Primer helps create a consistent surface across wall paint, boards, battens, filled nail holes, and cut edges. Follow the primer label for surface preparation and recoating conditions. Sand only as needed to remove roughness, then remove dust before the next coat.
Paint the wall treatment in one color for a quieter, more architectural effect, or separate the battens from the boards for stronger contrast. A darker shade can make the raised strips stand out more. Close color relationships let the texture carry the design. The ideal board and batten bedroom paint supports the room’s light and furniture rather than competing with them.
Clean without wearing away the finish
Dust raised edges gently with a soft cloth or suitable duster. For marks, use a lightly damp cloth only if the paint and material instructions allow it. Then dry the surface without soaking joints. Avoid treating the wall as a hard-wearing backsplash; decorative paneling still has seams, corners, and painted edges that need restrained cleaning.
Check the wall during regular room cleaning. Look for separating battens, open caulk, chipped edges, loose trim, and moisture marks. Fixing small defects early usually needs less work than removing a larger section of the treatment.
Think about repainting and removal
Ongoing costs come from repainting the broad wall surfaces and raised battens, repairing damaged joints, replacing failed caulk, and fixing marks around high-contact areas. Expenses depend on the wall size, paint system, material, and whether a homeowner or professional does the work. So, a specific figure isn’t possible without those details.
Removing wall treatment can damage drywall because construction adhesive bonds to the surface and finish nails leave holes. Plywood or MDF backing can also expose a larger wall area when taken down. Plan for patching, sanding, priming, and repainting if you might want to take the design down later.
The cleanest removable result begins before installation: limit unnecessary adhesive, avoid covering useful trim, document the locations of fasteners, and keep spare paint for future repairs. That approach won’t make a glued wall damage-free, but it can make the next stage more controlled.
For more visual ideas, these board and batten wall ideas for different rooms can help compare full-height, half-wall, grid-like, and color-led arrangements. Use photos for proportion clues, then test the layout against your trim and services.
Preventive Measures for a Better Bedroom Wall
Prevent awkward proportions
Small bedrooms need restraint. A narrow final panel beside a door, a batten hidden behind the headboard, or a top edge that cuts across window trim can make the wall feel crowded. Shift the starting point or change the number of visible fields. Stop the treatment before the problem area rather than forcing equal-looking spaces that do not suit the room.
A small bedroom needs a board and batten layout that respects openings more than a rigid spacing rule. Visual balance comes from the whole wall, not from identical gaps measured without regard for doors, windows, and furniture.
Prevent service conflicts
Keep every outlet, switch, vent, and radiator usable after the finish is complete. Photograph or document hidden services before covering the wall. Do not drill where wiring or pipework may run. If a box, vent, or radiator must move, stop the decorative work and get the right technical help.
Prevent moisture and movement problems
Do not cover dampness, peeling wallpaper, or an unresolved leak. Use a backing and paint system suited to the wall’s conditions. Allow adhesives, caulk, primer, and paint to reach the labeled condition before the next stage. Rushing can leave soft joints, visible seams, or a finish that fails at the edges.
Prevent visual competition
Board and batten can share a room with wallpaper, a mural, shiplap, or panel molding. But combining several strong wall treatments needs a clear hierarchy. Let one surface lead and keep the others quieter. The same applies to blackout curtains, bedding, wall art, and built-in storage. If the bed wall has strong vertical lines, a busy textile pattern might make the room feel unsettled.
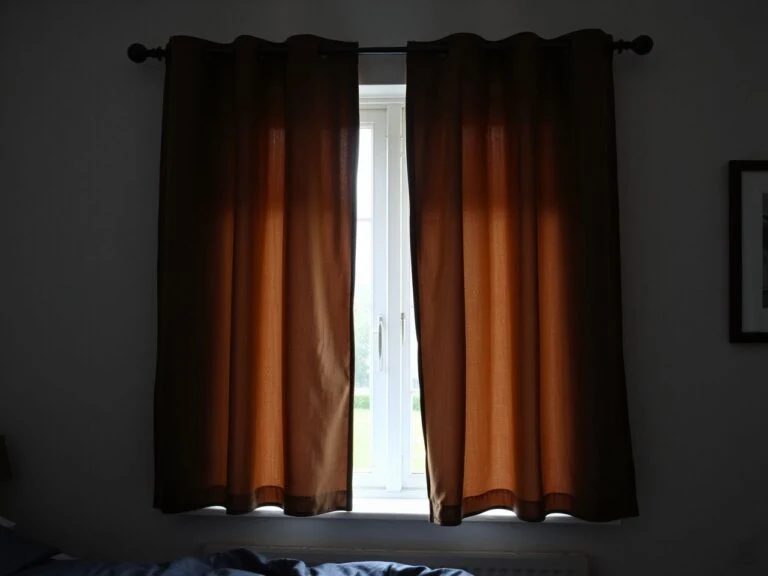
If window light affects the wall’s appearance or sleep comfort, review the bedroom blackout curtain guide alongside the paint plan. Curtain placement can change how much of the paneling remains visible and how shadows fall across the battens.
Frequently Asked Questions
How do I choose a board and batten bedroom layout for a small room?
Start with the bed, doorway, windows, baseboards, and casing. Then mark battens with removable tape. Favor a layout that gives both ends of the wall deliberate finishes, even if the spaces are not mathematically identical. A narrow leftover strip beside a door usually looks more awkward than a modest adjustment across the whole wall.
Can board and batten go over textured walls or existing wallpaper?
It can, but the surface must be sound. The texture or paper must not prevent the boards from sitting flat. Remove loose wallpaper, and heavy texture may need a backing surface, shimming, or scribing. Check how added thickness affects outlets, switches, casing, and baseboards before covering the wall.
How do I repair separating battens?
Find out why the batten came loose first. It could be an uneven wall, bad attachment, movement, moisture, or a failed joint. Carefully remove any loose material, fix the surface or fastening method, and reattach as instructed by the material. Replace damaged caulk instead of covering an open gap with a thick layer, then prime and repaint the area.
Is painted board and batten easier to maintain than wallpaper or a mural?
Painted paneling can make small scuffs and joint repairs straightforward because the affected area may be filled, primed, and repainted. It also introduces raised edges that collect dust and may need careful cleaning. Wallpaper and murals have different repair challenges, so maintenance depends on the material, finish, room conditions, and how cleanly the original surface was installed.
Should battens align with studs, the bed, or the windows?
Use the bed and openings to establish visual balance. Then, use studs where the boards need to be structurally fastened. Decorative patterns and framing usually don’t line up perfectly, so separate those decisions. A spirit level, a stud finder, and a full wall sketch help avoid awkward layouts that only follow hidden framing.