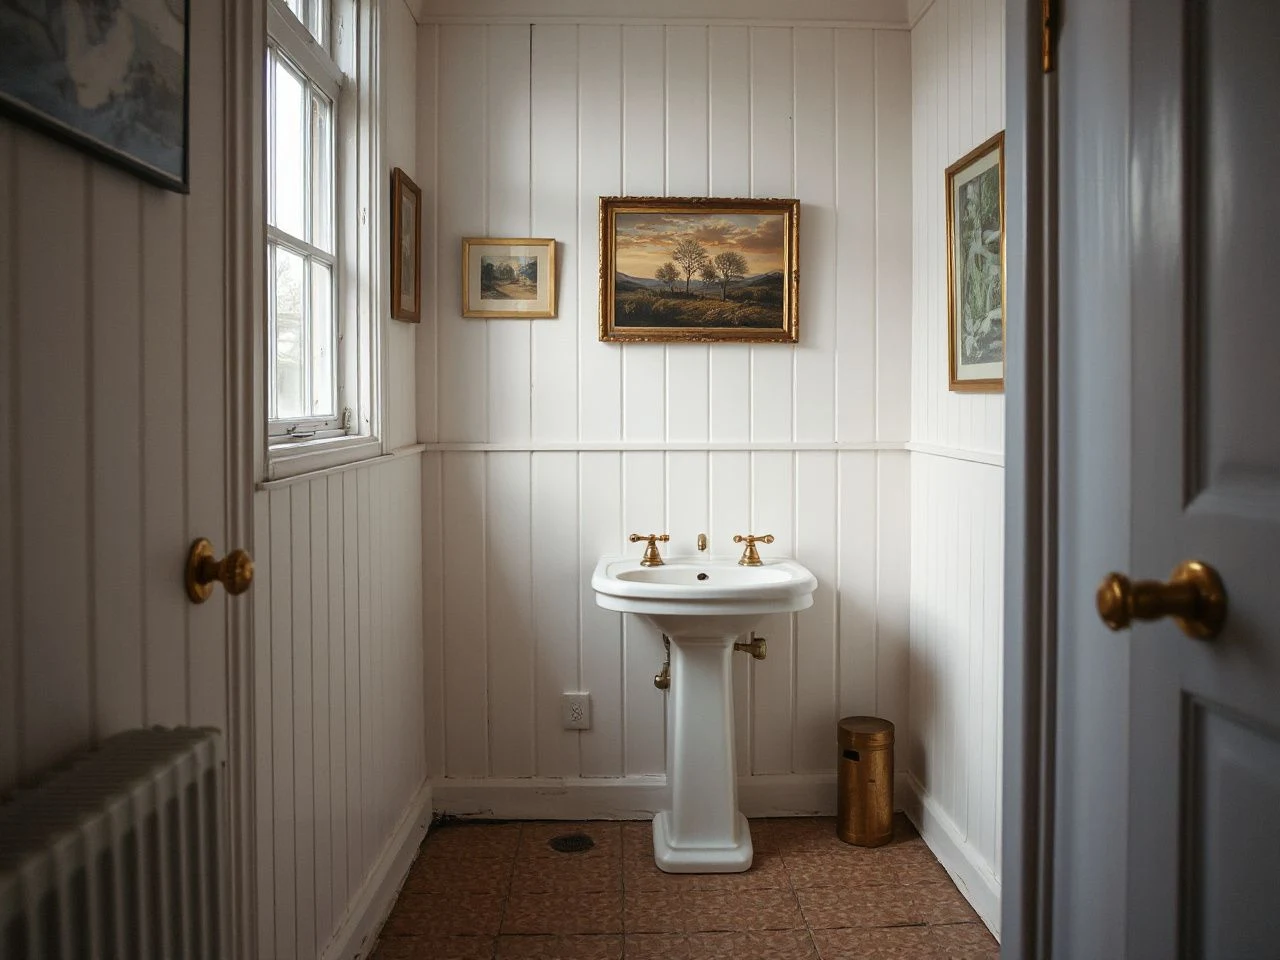
Water decides whether this wall treatment succeeds.
The main difference is whether board and batten is used as a decorative, partly protected wall finish or a surface that needs to handle direct water. Those uses require different substrates and waterproofing choices. Focus on moisture paths, sealed edges, joint movement, and the installation sequence around bathroom fixtures instead of just seeing battens as decorative strips.
A board-and-batten bathroom can suit a half-bath, guest bathroom, or a well-ventilated room with lots of steam. But the finish should come off the wall easily if repairs are needed. Plan ahead around plumbing, electrical, corners, outlets, switches, and the floor junction before applying adhesive or fastening anything.
Key Takeaways
- Use board and batten as a decorative finish, not as a direct-spray shower surround.
- Seal every exposed edge, joint, corner, transition, and bottom junction before painting.
- Plan the layout around fixtures and verify hidden services before fastening anything.
What a Board and Batten Bathroom Can Handle
Decorative walls and direct water are different jobs
Board and batten is usually a decorative wall treatment rather than a waterproof shower surround. Walls outside the shower might get humidity, splashes, and damp cloths. Inside a shower or beneath a spray needs to withstand repeated water exposure as part of a waterproof system.
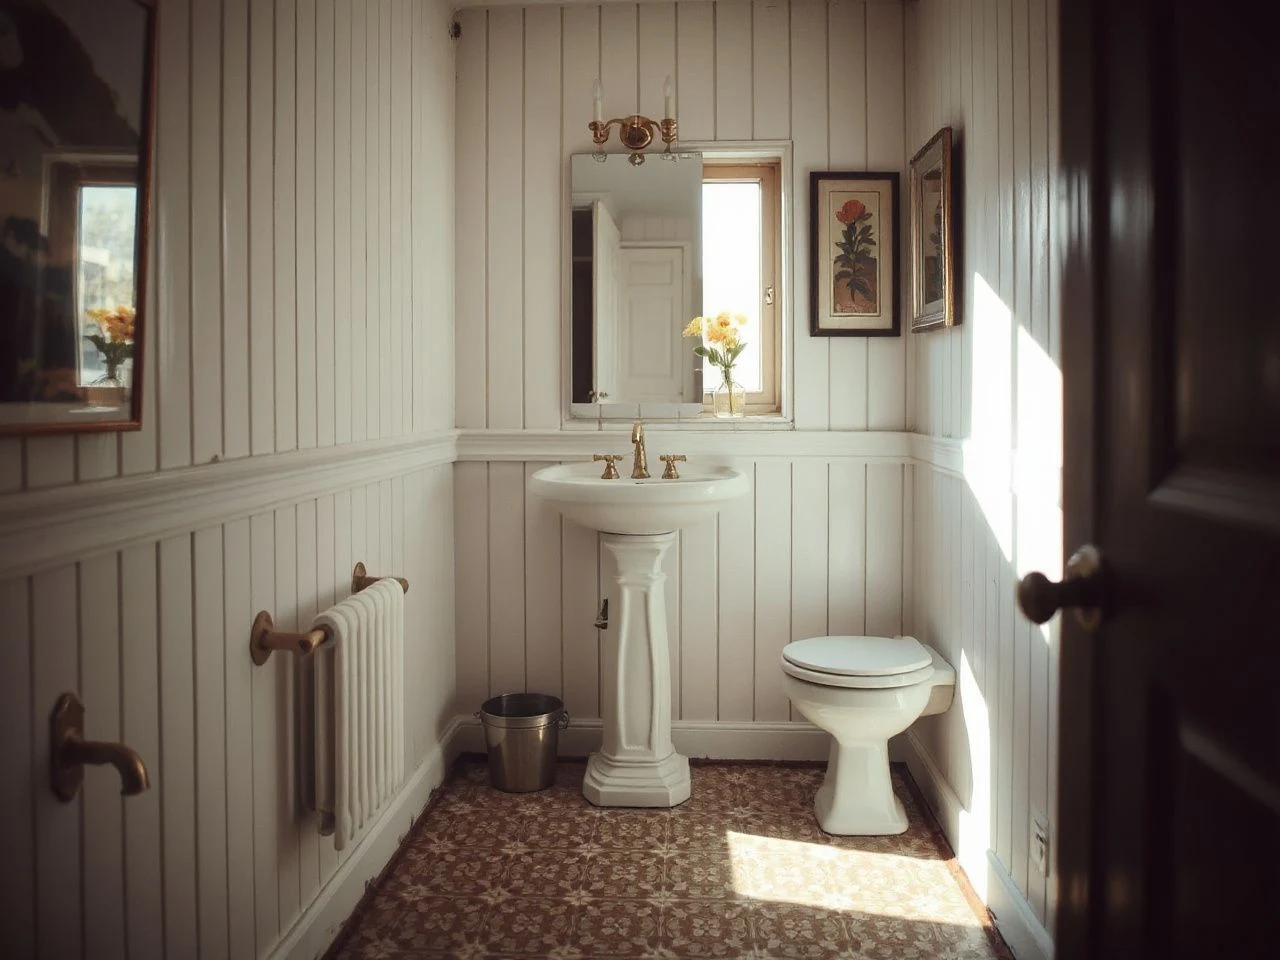
That distinction controls the material choice, the backing, the joint treatment, and the finish. A painted arrangement of wall boards and wood battens can look appropriate behind a vanity, beside a toilet, or around a freestanding tub where direct spray is not expected. A tile shower surround or another system specifically designed for direct water exposure belongs in the wettest zone.
Moisture-resistant MDF and timber can swell if water reaches their edges or backs. The visible face alone won’t manage moisture control. PVC board and batten resist moisture well, and humidity isn’t an issue for PVC, but transitions around it still need to be finished carefully to prevent water from collecting behind the treatment.
Is frequent steam a problem?
Frequent steam doesn’t automatically exclude a board-and-batten bathroom. It does mean ventilation and maintenance should be part of the design, not afterthoughts. Trapped humidity can cause paint to fail, mold to grow, and joints to move, even if the installation was initially sealed.
Bathroom ventilation and moisture control must work with the wall finish. Use the room’s ventilation properly, keep condensation from sitting on ledges or trim, and fix leaks quickly. A painted decorative wall needs drying time between wet events and shouldn’t be treated like a waterproof enclosure just because the paint looks intact.
Bathroom ventilation matters because trapped humidity can damage paint and joints. That sentence should guide the layout as firmly as the color choice.
How it compares with other wall treatments
Board and batten gives a bathroom a framed, architectural surface, while bathroom wainscoting describes a broader family of lower-wall treatments that may use several profiles. Beadboard bathroom walls create a repeated groove pattern, and shiplap bathroom walls emphasize horizontal lines. Each finish still depends on sealed edges and suitable exposure.
Tile shower surrounds are usually the most natural choice for areas that get direct spray. Wallpaper can work in a dry, protected zone only if its installation and cleaning methods suit the room. Painting on board-and-batten is often easier to touch up than a patterned surface, but every repair must keep the wall dry and the joints sealed.
For layout ideas outside the bathroom, Board and Batten Interior Walls: What to Know First can help distinguish general wall styling from moisture planning specific to bathrooms.
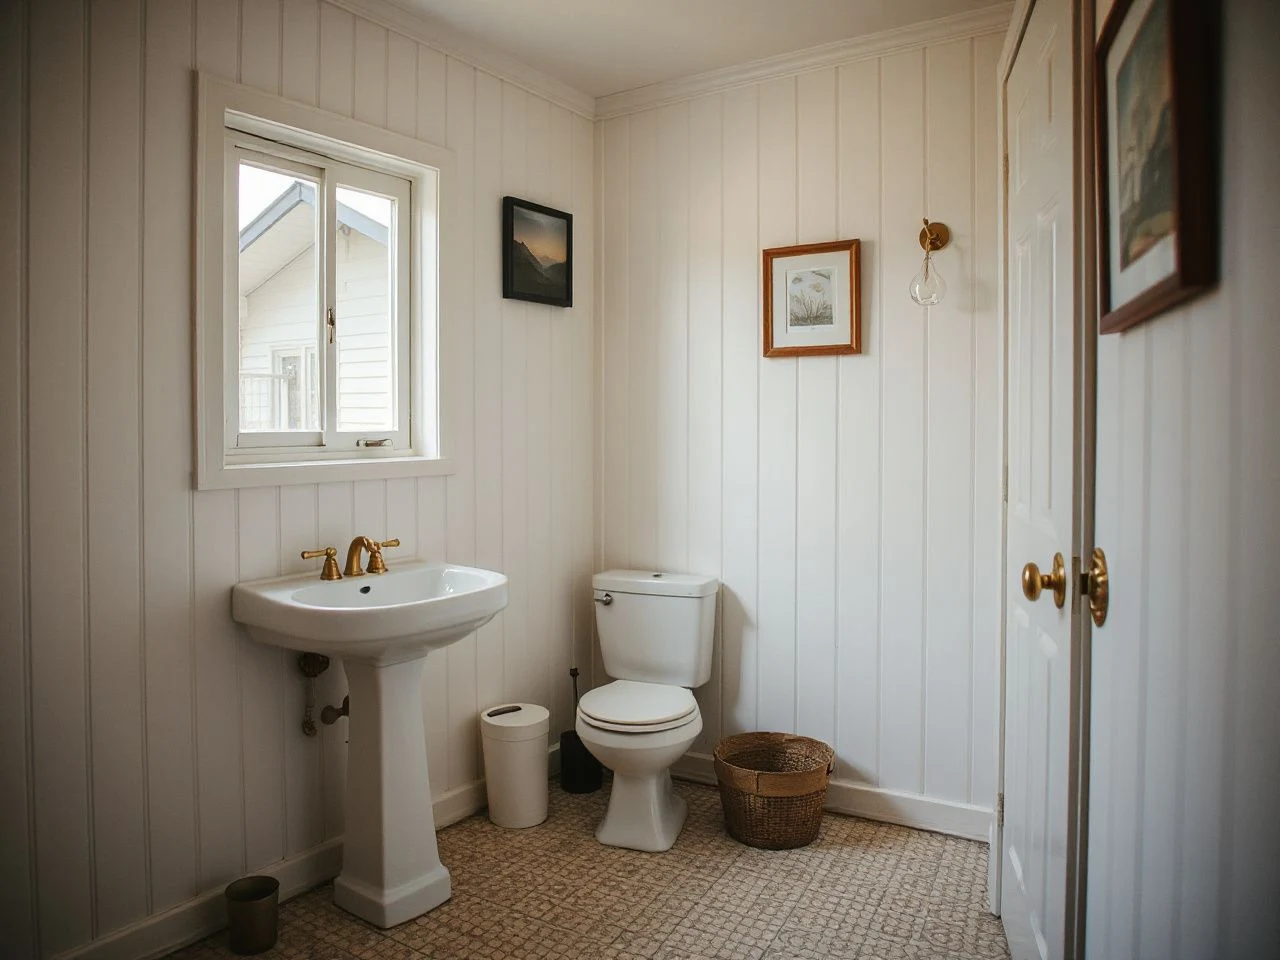
How to Plan the Layout Before Installation
Step 1: Map the wall, fixtures, and services
Start with a wall elevation instead of cutting boards right away. Mark the vanity, mirror, toilet, tub, door casing, outlets, switches, supply lines, drain locations, towel hardware, and any trim that will meet the treatment. The battens should look intentional at every interruption.
A stud finder can help locate framing, but the wall must also be checked for plumbing and electrical services before attaching boards or battens. Don’t rely only on visual guesses about what’s behind the wall. If your fastening path crosses a service route, change the layout or seek professional help before proceeding.
A stud finder locates likely framing, but it does not replace a service check before fastening. That is especially important near outlets, switches, plumbing fixtures, and the edges of a vanity.
- Mark the centerline of each major fixture.
- Note where existing trim must remain removable.
- Identify corners, door openings, and wall transitions.
- Keep access panels and serviceable connections from being permanently covered.
- Plan cut edges where they can receive primer, caulk, and paint without being hidden too tightly.
Step 2: Choose height and spacing by sight lines
There’s no single correct height for a board-and-batten wall treatment. The key is whether the upper edge relates calmly to the mirror, backsplash, door trim, and nearby fixtures. A line that stops halfway through a mirror or hits an outlet can make an otherwise neat installation look accidental.
Lay out a paper or painter’s tape template on the wall before cutting. Step back from the doorway and check the vertical rhythm around the vanity and toilet. The spacing might need to change at a door wall so the battens don’t crowd the casing, but the change should look deliberate, not forced.
Verified layouts often include a nine-inch gap between batten pieces on three walls and a 7.25-inch gap beside a door. These figures are useful examples of how a doorway can require a different rhythm; they’re not universal measurements for every bathroom.
Measure each wall separately. Walls, corners, and trim rarely form a perfect continuous surface. Assuming consistent spacing around every obstruction can leave a narrow, awkward gap at the end.
Step 3: Decide how the treatment meets the floor and ceiling
The bottom edge needs the same care as the face of the wall. Moisture can collect where the treatment meets the floor, and an unsealed top edge can trap dust and humidity. Corners, transitions, the floor junction, and the top edge require careful finishing so water and moisture don’t gather behind the treatment.
Decide whether the treatment dies into existing baseboard, replaces part of it, or receives a separate lower rail. Plan the corner return before installing the long wall boards. A clean return usually looks more considered than stopping a batten at the corner and filling the resulting gap with a thick bead of caulk.
Step 4: Work out the installation order
The installation order should protect both the wall finish and future access. Remove or loosen items that prevent a flat fit, prepare the wall, and install the broad wall boards where needed. Add the battens, finish the joints, and paint only after the surface is dry and sound. Fixtures and trim need careful cutting and finishing instead of being used to hide rough edges.
Paint the accessible faces of separate pieces before installation if it makes coverage cleaner, but leave space for final caulk and touch-up. Prepainting doesn’t eliminate the need to seal cut edges or check the wall after fastening.
Choosing Materials and Attaching the Treatment
Wood, moisture-resistant MDF, or PVC?
Wood battens show natural grain and can suit a warm, traditional bathroom, but timber can swell if water reaches an unsealed edge or back. Moisture-resistant MDF offers a smooth painted surface, though it also needs protection from water at cuts, joints, and the lower edge. PVC trim boards resist moisture and are worth considering where humidity is a major concern, but the surrounding wall and transitions still impact whether the entire installation stays clean.
For a room with frequent steam, judge the material by its weakest exposed area rather than the broad face. A perfectly painted front can’t compensate for a raw cut end pressed against a damp floor junction. Material choice should follow exposure and sealing plans, not just the appearance of a sample.
Moisture-resistant MDF and timber still need sealed edges because water can reach vulnerable cut surfaces. That’s why the back, bottom, and end of each piece deserve attention before the visible face gets its final color.
- Wood: Use where the finish, grain, and room conditions suit it, with careful attention to movement and exposed edges.
- Moisture-resistant MDF: Use for a smooth painted look only when all cut edges, backs, joints, and lower areas receive appropriate protection.
- PVC trim boards: Use where moisture resistance is central, while still sealing transitions and planning a neat painted or finished connection to adjacent surfaces.
Prepare the wall before adhesive or fasteners
The wall should be clean, sound, and free from loose paint or material that prevents a flat bond. Unevenness can telegraph through long boards and make battens appear to bend. Correct the surface before trying to disguise it with caulk. A clean removal matters here: if the wall finish later needs to come off, large areas of loose paint or torn surface paper can turn a simple update into a repair.
Construction adhesive can help hold boards in place, while suitable fasteners may provide additional attachment where the wall and layout allow. The adhesive or fastener is only part of the system. The wall must be checked for plumbing and electrical services first. Fasteners should not be placed wherever a hidden service may run.
Do not overdo the nails or fasteners. Excessive fastening can create more holes and opportunities for surface damage. It also adds more points that need filling. Place attachment points where they support the piece without turning the wall into a patchwork of unnecessary repairs.
Cut around fixtures carefully
Fixtures, outlets, switches, towel hardware, and trim need clean openings with enough room for finishing. Measure the object and the surrounding wall separately. Do not assume a room is square just because the fixture looks level from across the room.
Use a straightedge for long cuts and a fine-tooth saw or appropriate cutting tool for the chosen material. Dry-fit every cut piece before applying construction adhesive. A dry fit reveals whether the outlet cover, switch plate, mirror, or trim can still sit flat.
Protect access and removeability
A bathroom wall can contain components that need future inspection or replacement. Do not permanently bury a connection, access panel, or serviceable fitting behind an installed board. If a piece must be removable, plan that detail before adhesive is applied. Finish the visible gap with a deliberate trim or caulk line.
This is where the clean-removal test matters. Ask whether the board can come off without taking half the paint film, wall surface, or adjacent trim with it. A decorative treatment is successful only if its attachment respects the wall beneath it.
Sealing, Painting, and Maintaining the Finish
Seal the moisture paths, not just the visible seams
Use a stain-blocking primer on suitable surfaces before bathroom paint, especially where marks or discoloration could migrate through the finish. Prime cut edges, backs, and ends according to the material and the coating instructions. Paintable caulk can close finish gaps at joints, corners, trim, and transitions, but caulk should not be used to turn a decorative wall into a shower waterproofing system.
Work through the wall in a deliberate sequence:
- Prepare and clean the surface.
- Prime exposed or vulnerable areas, including cut edges where appropriate.
- Attach the boards and battens after confirming the service-safe layout.
- Fill fastener holes and correct small surface imperfections.
- Apply paintable caulk at planned joints, corners, transitions, and the floor junction.
- Allow the finish to dry according to the coating instructions before exposing it to cleaning moisture.
- Inspect the top edge, lower edge, fixture openings, and corners under normal room lighting.
Paintable caulk seals a finish joint, but it does not replace a waterproof shower system. Always keep that difference clear in every material and installation choice.
Why battens separate, swell, or show gaps
Separation and swelling usually indicate movement, moisture, poor adhesion, or an unprotected edge. A batten can shift relative to the wall, or a joint can open as materials respond to room conditions. Water can reach the back or cut end, too. The visible gap shows the problem, but the real issue is the moisture path or movement behind it that needs fixing.
- Swollen edge: Find the leak or repeated splash source, allow the area to dry, and replace material that no longer holds a clean profile.
- Open joint: Check whether the wall or adjacent piece is moving before refilling the gap.
- Paint failure: Look for trapped humidity, damp substrate, or an unsealed edge rather than applying another coat immediately.
- Uneven batten: Check the wall plane, cut accuracy, and fixture layout before adding more filler.
Prompt leak repair is essential. A new coat of bathroom paint can hide a damp mark for a while, but it can’t fix water that enters behind the treatment.
Cleaning without trapping moisture
Clean the surface with a damp cloth suited to the paint and material instructions. Then, remove any remaining moisture from ledges, lower rails, corners, and fixture openings. Avoid flooding the wall during routine cleaning. Water that stays behind a batten or at a lower edge has a better chance to reach the substrate.
Check the treatment during cleaning. Look for lifted caulk, darkening at a cut edge, swelling, open joints, or paint that feels soft or flakes. A small visible change means you should find the moisture path before the damage gets worse.
Repainting and making future removal easier
Repainting starts with a dry, solid surface. Clean the wall, remove loose paint, repair failed caulk, and fix any moisture source before applying stain-blocking primer or bathroom paint. Never paint over a swollen board and expect it to go back to its original shape.
If a future remodel might happen, don’t bury every edge under layers of adhesive and caulk. Choosing deliberate trim lines, accessible fixtures, and keeping a documented layout makes later removal easier. A wall treatment that comes off cleanly helps protect the next finish as much as the current one.
In small bathrooms where storage hardware can clash with the wall pattern, the guide to adding storage without overwhelming a rented bathroom can help keep mounting choices separate from decorative battens.
Common Design and Installation Problems
The pattern looks uneven
Uneven appearance often starts with an unplanned endpoint. Sharp differences at the first and last gaps can make the entire wall look misaligned. Balance the field from the most visible corner, then adjust spacing around doors or fixtures with a reason that can be seen.
Use the same reference line for each batten. Don’t measure each piece only from the previous one. Small errors repeated across a wall become obvious near the far corner. Check verticals with a level or straightedge. Fix the layout before filling any holes.
The wall feels crowded around fixtures
A mirror, outlet, vanity, or towel rail can look cramped if a batten runs right beside it. Shift the pattern or stop the treatment at a trim line that gives the fixture some breathing room. The goal is a calm relationship between the wall rhythm and the object.
Fixtures should seem built into the wall design, not added afterward. That means doing elevations, dry fits, and being willing to change a batten’s position before the adhesive sets.
The bottom edge looks unfinished
The lower edge shows whether moisture was considered in the finish. A raw MDF edge, unsealed timber end, or open gap above the floor can collect cleaning moisture. Over time, this can create a visible shadow line that worsens.
Choose a lower rail or trim detail that can be primed, caulked, painted, and inspected. Keep the junction cleanable. If the floor might move or be replaced, avoid creating a rigid detail that makes removal destructive.
The finish looks too heavy
A board-and-batten treatment can dominate a small bathroom if the spacing, height, and color all create strong visual weight. Test the pattern with tape first. A quieter paint color or lower treatment may keep the architectural effect without making the room feel boxed in.
White board and batten can make trim lines easy to read, while a deeper color can emphasize the vertical rhythm. The practical test remains the same: can the wall be cleaned, inspected, repaired, and removed without damaging the surrounding surfaces?
Maintenance versus tile, beadboard, and wallpaper
No wall finish is maintenance-free in a humid room. Board and batten may be simple to repaint if the surface stays dry and the joints remain sound. But the added battens create edges and corners that need regular inspection. Tile often handles direct water exposure better, while beadboard and wallpaper come with their own joint and surface-care needs.
Long-term maintenance costs depend on moisture levels, the material used, how well it’s sealed, and how easy repairs are. A painted wall treatment might need more attention than a plain painted wall because it has more joints and edges. Touch-ups can also be simpler with a plain finish rather than a large patterned surface that needs replacing. When comparing options, consider exposure and repair access, not just appearance.
Is installation suitable for a do-it-yourself project?
A straightforward protected wall can be approachable for a careful do-it-yourself installer who can measure, cut, dry-fit, seal, and paint patiently. The difficult parts are rarely the straight battens alone. They are the service checks, corners, fixture openings, transitions, and moisture details that remain visible after the broad wall is finished.
Seek qualified help if the work might impact plumbing or electrical systems, or if the wall is part of a direct-spray enclosure. Decorative confidence isn’t a substitute for a safe service plan or a proper waterproofing system.
The U.S. Consumer Product Safety Commission provides consumer safety information for household products, so consult its guidance when the project involves electrical products or potential electrical hazards. For material and performance questions that depend on a formal standard, the ASTM International site explains the role of voluntary consensus standards; do not assume a decorative wall finish carries a waterproofing approval merely because it is sold for a bathroom.
Frequently Asked Questions
Is a board and batten bathroom suitable for frequent steam?
Yes, a board-and-batten bathroom can handle frequent steam when the treatment is outside direct spray, the room has good ventilation, and vulnerable edges are primed and sealed. Moisture-resistant MDF and timber can swell if water reaches their backs or cut edges. Always inspect joints, lower trims, corners, and fixture openings, and repair leaks instead of just painting over moisture.
Can board and batten go inside a shower?
Regular decorative board and batten shouldn’t be used where direct shower spray is expected. Wood battens and moisture-resistant MDF aren’t automatically waterproof, and sealed paint doesn’t change that. Use a complete system designed for direct water exposure, like a proper tile shower surround, and keep decorative finishes outside the wet zone.
Which material is suitable: wood, moisture-resistant MDF, or PVC?
Wood works well where its appearance and movement can be controlled; moisture-resistant MDF suits a smooth painted finish when all vulnerable edges are protected; PVC board and batten resists moisture and handles bathroom humidity effectively. But transitions still matter. Choose based on exposure, sealing access, fixture layout, and whether the surface can be inspected and removed easily.
How should battens be spaced around a door or vanity?
Start with the most visible wall and plan the pattern around the vanity, mirror, door casing, outlets, and switches. Equal spacing is a good initial approach, but a doorway might need a different gap. Examples show a nine-inch gap on three walls and 7.25 inches beside a door. Use these as layout ideas, not strict rules.
Why are my battens separating or showing gaps?
Separation can happen from movement, moisture, poor bonding, or an unsealed edge. Find out what caused it before refilling the joint. Look for leaks, dampness, swollen material, and movement at the wall or trim. Remove failed caulk, let the area dry, fix the underlying issue, and replace any material that’s lost its shape before repainting.
How do I seal corners, cut edges, and the floor junction?
Prime exposed cut edges and backs as appropriate for the material you’re using. Then, apply paintable caulk at finish joints, corners, transitions, and the lower junction. Keep the detail easy to clean and inspect. Caulk fills a finish gap, but it doesn’t turn a decorative wall into a waterproof shower surround. The top edge needs a deliberate finish so moisture and dust can’t sit behind it.
Is board and batten easier to maintain than tile or wallpaper?
Maintenance depends on how moist the room gets and the quality of the installation. A painted board-and-batten wall can be simple to clean and repaint. But its joints and edges should be checked regularly. Tile might be better for direct water contact, while wallpaper needs a protected exposure. When comparing finishes, look at water contact, repair access, and the number of seams, not just appearance.
How can the treatment come off the wall cleanly later?
Plan removal before installation. Avoid covering access points, use deliberate trim transitions, and limit unnecessary fastening and adhesive. Record where services and fixtures sit before the wall is closed. A removable detail should not depend on destroying adjacent paint or wall surface, and any piece that may need future access should not be permanently buried.
A well-planned board-and-batten bathroom is designed as a moisture-managed wall, not just a decorative feature. Keep direct water on a suitable waterproof system, seal vulnerable edges, check for hidden services, and judge each attachment based on how easily it can be repaired or removed.