Streaks, patchy colour, paint on the trim, and edges that look rough can make a straightforward decorating job feel harder than it should. A sound room-painting guide separates surface preparation from application: filling damage, cleaning residue, dulling glossy areas, and priming problem surfaces determine whether the finish can look uniform. It also distinguishes cutting in from rolling, because the order, edge overlap, and wet working area affect visible lines and patchiness more than simply adding extra coats. That is the practical starting point for learning how to paint a room.
Key Takeaways
- Prepare walls until they are clean, dry, sound, and free of loose paint before opening a tin.
- Cut in carefully, then roll into the wet edge to reduce lines, patchiness, and uneven texture.
- Choose sheen and primer according to the room, existing surface, and lighting, not colour alone.
How to Paint a Room: Start With the Surface
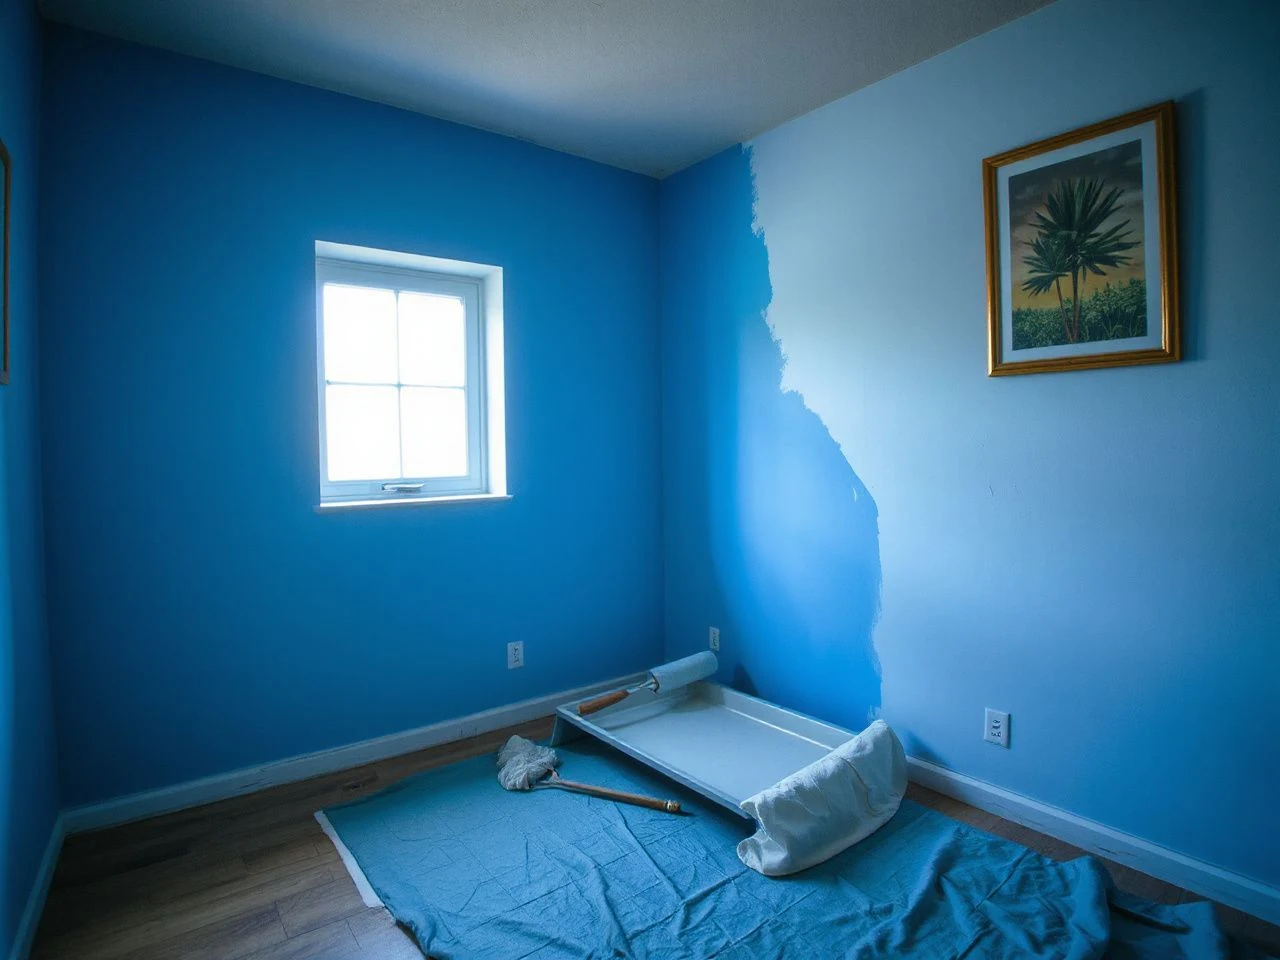
The right order is straightforward: protect the room, inspect the walls, repair any damage, clean and dull the surface, prime if necessary, then paint the ceiling, walls, and trim in a controlled sequence. A typical room usually takes one to two days from start to finish, although drying times depend on humidity and ventilation.
Walls need to be clean, dry, sound, and free of loose paint before applying a new coat. Dampness, mold, or a leak must be fixed first because fresh paint can’t solve moisture problems. Address these issues before decorating.
Step 1: Clear and protect the room
Move furniture away from the walls and cover anything that stays with a drop cloth. Remove wall plates, loose hardware, and other obstructions that might block a clean stroke. Cover floors completely instead of just a narrow strip beside the wall.
Painter’s tape helps protect trim, frames, and fixtures, but it works best on a clean, sound surface. Press the tape’s edge down carefully, and take it off gently before the paint bonds firmly. If the tape pulls up paint, stop and remove it at a shallow angle to avoid tearing.
Electrical fixtures and heaters require particular care. Turn off or isolate anything that must not receive paint, keep paint away from openings, and follow the fixture instructions. For general consumer-safety information around household work, the U.S. Consumer Product Safety Commission provides guidance for consumers.
Step 2: Inspect holes, cracks, stains, and peeling paint
Run your hand over the wall and look at it from an angle. Raised edges, soft spots, flaking paint, and old patches show up more clearly under angled light than in direct light. Mark defects lightly so you won’t forget them after moving furniture.
- Fill small holes and shallow dents with spackle, then allow the repair to become firm before sanding it smooth.
- Open cracks should be examined rather than simply covered. If a crack is associated with movement, dampness, or a recurring gap, resolve that issue before painting.
- Peeling paint must be removed back to a sound edge. Feather the boundary with sandpaper so the transition does not remain visible.
- Stains may need cleaning first and a stain-blocking primer afterward. Painting directly over a visible mark can leave a shadow or allow the mark to return through the new finish.
- Large or heavily patched areas may need full-surface priming so the wall absorbs paint more evenly.
Drywall repair should be smooth enough so your fingertips can’t feel a ridge after sanding. Sanding makes dust, so wipe the wall with a clean cloth and let it dry before priming or painting.
Step 3: Clean, dull, and prime the surface
Cleaning removes residue that might interfere with adhesion and cause uneven sheen. Pay attention to marks near switches, cooking areas, doorways, and places where hands touch the wall often. Don’t paint over a wall that’s still damp after cleaning.
Glossy existing paint may need scuffing with sandpaper so the new coating has a less slick surface. The goal is an even dullness, not aggressive removal of every layer. Wipe away sanding dust before continuing.
Primer is useful when the wall is stained, glossy, heavily repaired, or dramatically different in colour from the intended finish. Primer also helps reduce visible changes in absorption between bare filler and existing paint. A clean, sound wall with a compatible existing finish may not need full-surface priming, but problem areas should not be treated as though they are ordinary wall paint.
Paint intended for smooth application and durable everyday use should contain 100% acrylic when a mid-range formula is selected. Read the label for the stated composition and intended surface instead of assuming every interior wall paint behaves identically.
Choose Sheen, Colour, and Tools Before Application
Paint colour and sheen can look different as room light changes. A small test area should be allowed to dry before the whole room is committed, especially if the walls receive daylight at one time and artificial light at another.
How to choose the right sheen
Sheen affects how much light reflects from the wall and how visible surface flaws may become. A flatter appearance tends to draw less attention to minor texture, while a more reflective finish can make marks and uneven repairs easier to notice. The room’s use matters too: walls exposed to frequent touching or cleaning need a finish suited to that demand.
- Use a low-reflection wall finish where hiding minor surface variation is a priority.
- Consider a more washable-looking finish for areas exposed to marks, provided the wall has been prepared smoothly enough to accept the added reflection.
- Keep the ceiling, walls, and trim visually coordinated rather than choosing each sheen in isolation.
A colour scheme should relate to flooring, lighting, furnishings, and window treatments. If the wall colour is part of a wider room plan, the guide Before You Start: How to Pick a Colour Scheme for a Room can help organise those relationships before paint goes on the wall.
Gather the essential tools
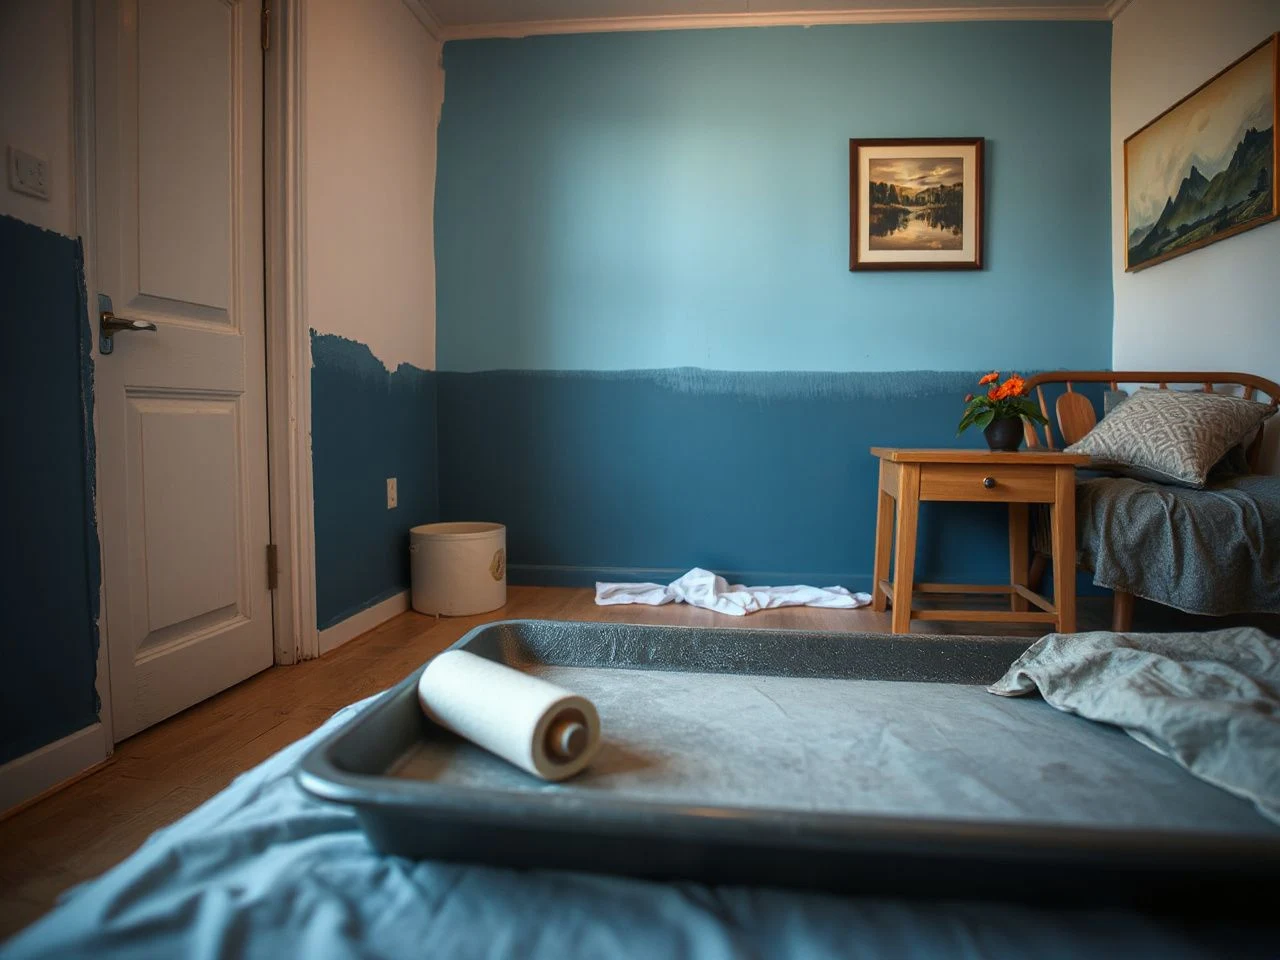
Set out the paint, a paint roller, a paint tray, an angled sash brush, painter’s tape, a drop cloth, spackle, sandpaper, cleaning cloths, and suitable primer. A roller covers broad wall areas efficiently, while an angled sash brush gives better control around ceilings, trim, corners, and outlets.
A paint sprayer can cover a room, but it requires careful masking and protection because airborne paint can reach surfaces far beyond the wall being coated. For a single room, a brush and roller usually make the process easier to control. The best tool is the one that matches the surface, the amount of masking possible, and the level of edge control required.
Work out the painting order
A good sequence is ceiling first, then trim, and walls last. This order helps fix small drips or edge marks as the lower surfaces get painted. If the ceiling isn’t changing, protect it carefully while cutting in the walls.
Painting the walls before trim can work well when trim is already finished and protected. The key is to keep a wet edge and avoid brushing dried paint into a fresh area.
Apply Paint With Controlled Edges
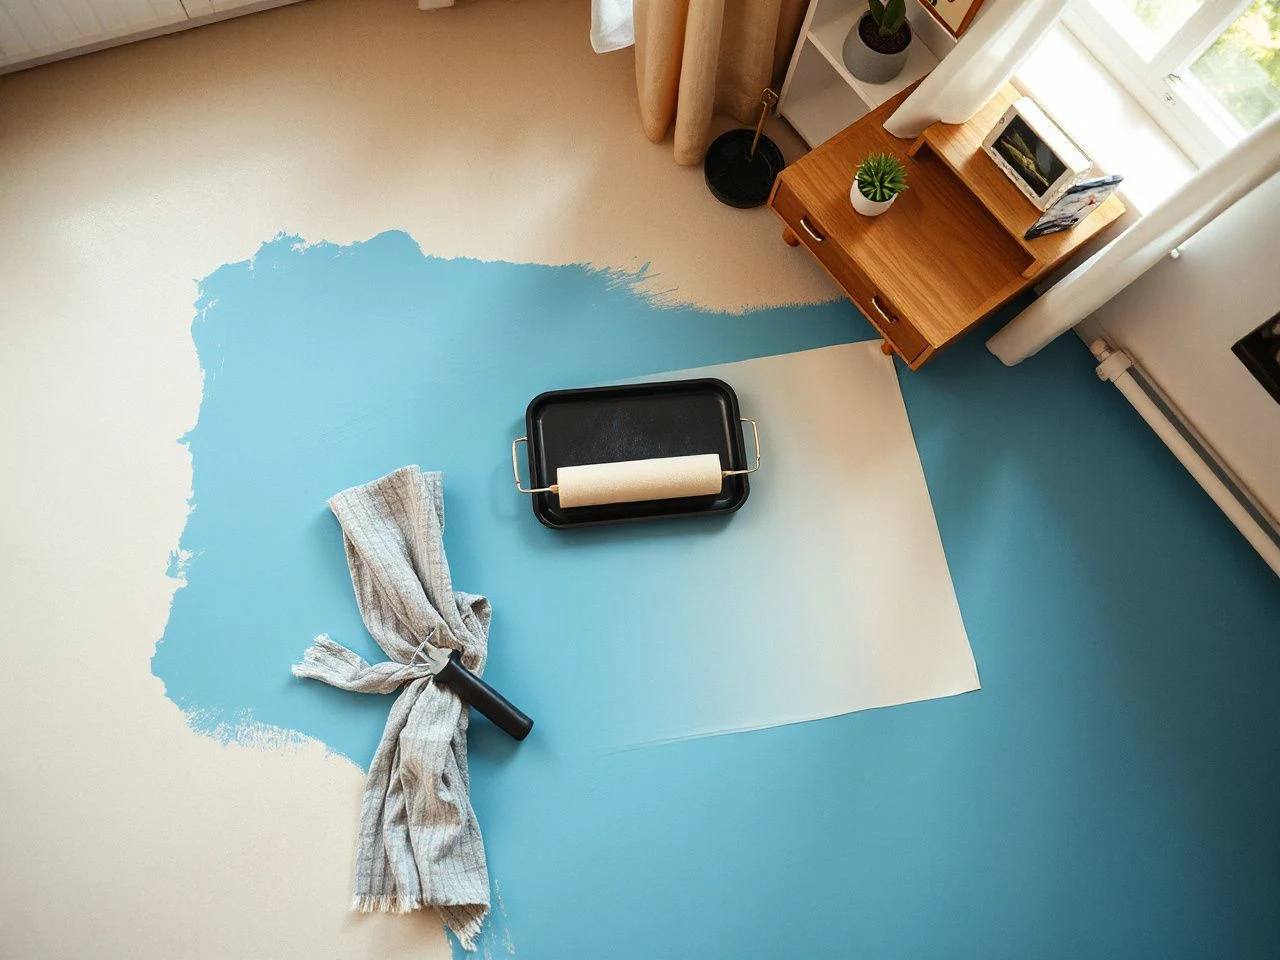
Cutting in means painting a clean band along ceilings, corners, trim, outlets, and other boundaries with an angled sash brush. Rolling covers the broad wall area. These techniques need to overlap while the edge is still workable.
Step 4: Cut in around ceilings, trim, corners, and outlets
Load the brush without flooding it. Start a bit away from the boundary, spread the paint, and guide the angled tip toward the line. Short, controlled strokes are easier to fix than long strokes with too much paint.
At the ceiling, keep the brush angled so the narrow tip approaches the boundary while the wider part carries paint away from it. For trim, avoid pushing paint into the joint. Around outlets, work carefully with the power isolated as needed and keep paint out of openings.
Cut in only as far as you can roll while the brushed edge stays wet. Leaving a long band to dry before rolling can result in a darker or shinier border.
An angled sash brush offers better control at a ceiling line than a wide, blunt brush. The brush should carry enough paint to form a continuous edge without creating heavy ridges.
Step 5: Load and use the roller
Pour paint into the tray and work the roller through the coating until the nap is covered but not dripping. Start near the cut-in area but don’t press hard enough to squeeze paint from the roller edges.
Roll in overlapping passes. Change direction as needed to spread the paint evenly. Finish with lighter, consistent passes in the same direction. Keep the roller moving into the still-wet area instead of starting over a dry boundary.
- Use moderate pressure; heavy pressure can create thin areas at the edges of the roller.
- Reload before the roller becomes nearly dry, because a dry roller encourages patchy coverage and extra texture.
- Do not keep working an area after the paint begins to set. Leave it to dry and correct the surface with the next coat if necessary.
- Watch corners and lower wall sections for drips, where excess paint can collect unnoticed.
Lap marks happen when wet paint is rolled over a section that’s starting to dry. A wet edge, overlapping passes, and a planned wall-by-wall sequence can help reduce that risk.
Step 6: Apply further coats and assess the finish
Let the first coat dry according to the paint label and actual room conditions. Humidity and ventilation affect how fast walls dry, so touch and appearance are more useful than just following a schedule. The surface shouldn’t feel tacky or pull under a light touch before applying another coat.
Inspect the wall in different lighting. Look for thin patches, visible filler, roller ridges, brush marks, drips, and areas where the sheen varies. A second coat may help with uniformity, but sanding a ridge, removing a loose edge, or priming a stain can’t be replaced by more paint.
Fresh paint can remain vulnerable even after it looks dry. Remove painter’s tape carefully, following the paint edge rather than pulling sharply across it. Keep leftover paint sealed and label the room or wall it belongs to, because later touch-ups depend on matching the original colour and sheen.
Prevent Patchiness, Drips, and Visible Brush Marks
Uneven paint usually has a clear cause. The wall might absorb paint differently across repairs, the first coat could be too thin, the roller might have been nearly dry, or a section may have been reworked after starting to set.
Why paint looks streaky or patchy
Streaks often follow the path of a roller that’s overloaded or underloaded. Patchiness can also appear where bare filler, glossy paint, or porous wallboard meet without proper priming. Fix the underlying issue rather than just adding paint to the most obvious spot.
Let the area dry, gently sand any raised texture, remove dust, and prime troubled patches or the whole wall if needed. Then apply paint with a consistent overlap. Touching only the centre of a patch can create a new outline, so feather the repair into the surrounding finish.
How to reduce roller texture and drips
Roller texture shows up more when paint is applied too thickly or pressed hard. Repeating the same area makes it worse. Use an even load and stop fixing once the surface begins to set. Check edges and corners before leaving the wall so drips don’t dry unnoticed.
Drips need smoothing while still workable. If one has dried, carefully sand the raised edge, then clean away the dust. Repaint the area with the same method used across the wall.
How to avoid brush marks
Brush marks can come from using too little paint, overbrushing, or going back to a section after it starts to dry. Keep the brush moving, maintain a wet edge, and finish with light strokes. A narrow brush is easier to control at edges than a broad one overloaded with paint.
The finish also depends on the wall itself. A rough repair, unsealed filler, or glossy strip may remain visible regardless of brush technique. Surface correction comes first.
Touch up without creating obvious patches
Touch-ups are most successful when the new paint matches the original colour, sheen, and application method. Use paint saved from the same job where possible, stir it thoroughly, and apply it lightly at the centre of the repair before blending outward.
If the touched-up area flashes under changing light, the wall might have aged or the sheen may differ. Repainting the full wall from corner to corner often gives a more consistent look than enlarging a small patch repeatedly.
Painted walls stay easier to maintain when marks are cleaned gently and promptly, using a method compatible with the paint label. Rubbing too hard can change the sheen and make the spot more noticeable than the original mark.
Paint around fixtures and coordinate the finished room
Protect light fittings, vents, switches, flooring, and furniture before painting. Remove what can be taken out, mask what should stay, and keep a small brush handy for narrow corrections.
Once the walls are done, the rest of the room can be balanced with furnishings, flooring, lighting, curtains, and other window treatments. Planning beyond paint involves understanding how fabric and light control can influence the final wall colour. these window treatment basics for every room show this connection.
Clean Up and Store Tools Properly
Start cleaning before paint dries on tools, trays, trim, or the floor. Follow the paint label’s instructions for cleaning, especially if the coating isn’t water-based. Keep used cloths and waste contained, and ensure good ventilation during cleaning.
Clean brushes and rollers
Remove excess paint from the brush or roller before washing. Work the remaining coating out of the bristles or nap, then rinse as the label directs. Keep rinsing until the water or cleaning surface is free of paint, then reshape the brush and let tools dry fully in a suitable position.
Do not leave a brush standing on its bristles or allow a roller to remain compressed under weight. Dried paint changes the shape of a brush and can make the next cutting-in job less precise.
Remove protection and inspect the room
Lift the drop cloth carefully to prevent loose paint from falling across the floor. Remove painter’s tape slowly while checking the line. Scrape or wipe small accidental marks only with a method suitable for that surface.
Walk around the room in daylight and artificial light. Check the corners, ceiling line, trim, outlets, behind doors, and the lower wall. Small corrections are easier to make before furniture and decor are back in place.
Safety depends on the material and task. Ventilation and safe handling matter during sanding, around heaters and electrical fixtures, and while using solvent-based materials. The ASTM International site explains how voluntary consensus standards are developed; the product label and applicable safety guidance remain the place to check instructions for the specific coating being used.
Frequently Asked Questions
What is the correct order for how to paint a room?
Protect the floor and fixtures first, then inspect and repair the walls. Clean and dull glossy areas, prime stains or major repairs, and paint the ceiling before the trim and walls if that sequence works for the room. Cut in around boundaries, roll while the edge is wet, and allow the surface to dry under actual humidity and ventilation conditions. Afterwards, inspect and touch up as needed.
Do I need primer before painting an interior wall?
Primer is especially useful over stains, glossy paint, heavily patched areas, bare repairs, or a dramatic change in existing colour. It can make absorption more even and help prevent a mark from showing through. A clean, sound wall with a compatible existing finish may need less priming, but unresolved dampness, mold, peeling paint, or a leak must be addressed before any primer or paint is applied.
Should I use a brush, roller, or sprayer to paint a room?
Use an angled sash brush for edges, corners, ceilings, trim, and outlets. Then, switch to a roller for the broad wall areas. A sprayer can work well when extensive masking and protection are practical. It can also place paint on nearby surfaces that aren’t fully covered. For a typical room, a brush-and-roller method offers better control over boundaries and the wet edge.
How long should I wait before another coat or removing painter’s tape?
Follow the paint label and judge the actual surface instead of relying on a fixed assumption. Humidity and ventilation can affect drying times. The wall shouldn’t feel tacky or pull under a light touch before applying another coat. Carefully remove tape while protecting the fresh edge. If the tape starts lifting paint, slow down and change the pull angle.
How can I choose wall colour and sheen without regretting the result?
Test a small area and let it dry before painting the whole room. Check how it looks under changing daylight and artificial light. Notice how the sheen reveals texture and how the color relates to flooring, furnishings, curtains, and trim. If you’re planning a bedroom, these bedroom paint colour ideas can help connect wall choices with the overall mood.
Good room painting depends on controlled preparation and disciplined application. The wall needs to be ready before the roller touches it. The roller should meet the brushwork while both stay workable. This sequence keeps the finish more uniform and makes the final room feel planned, not rushed.