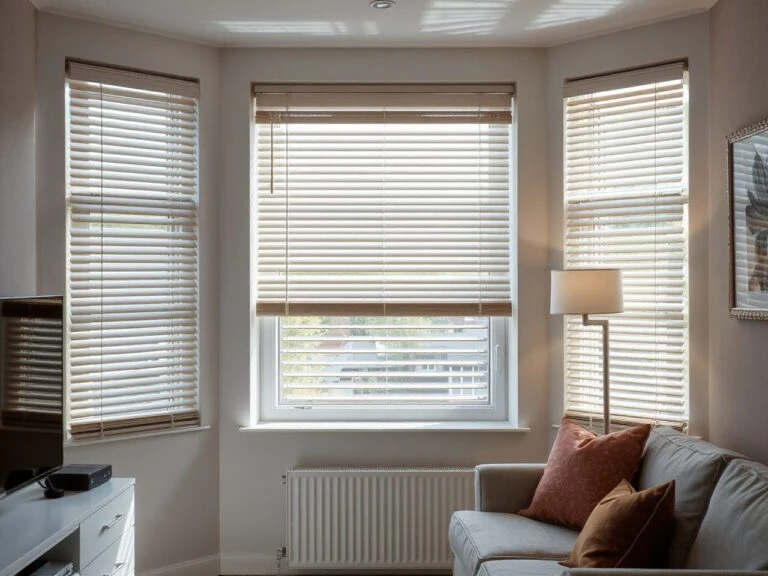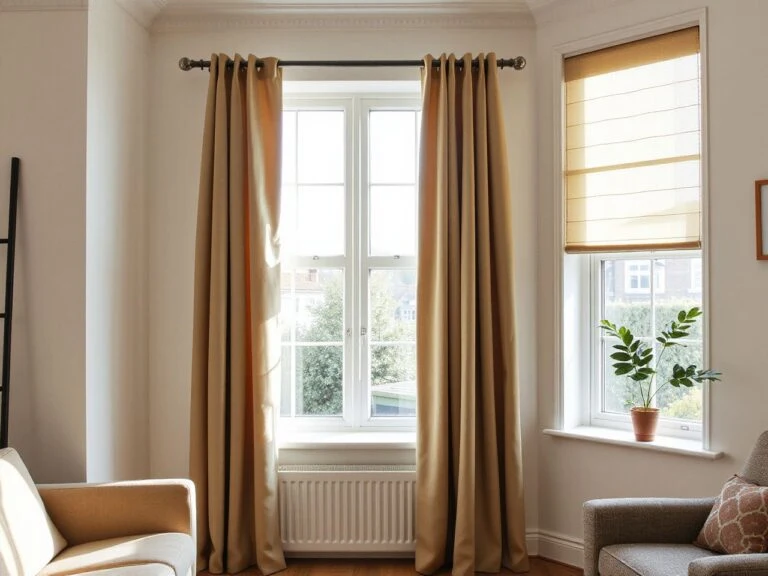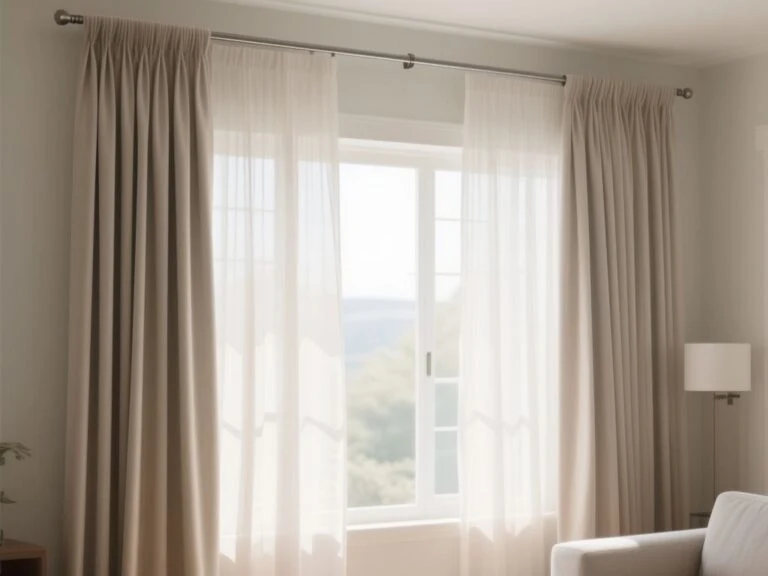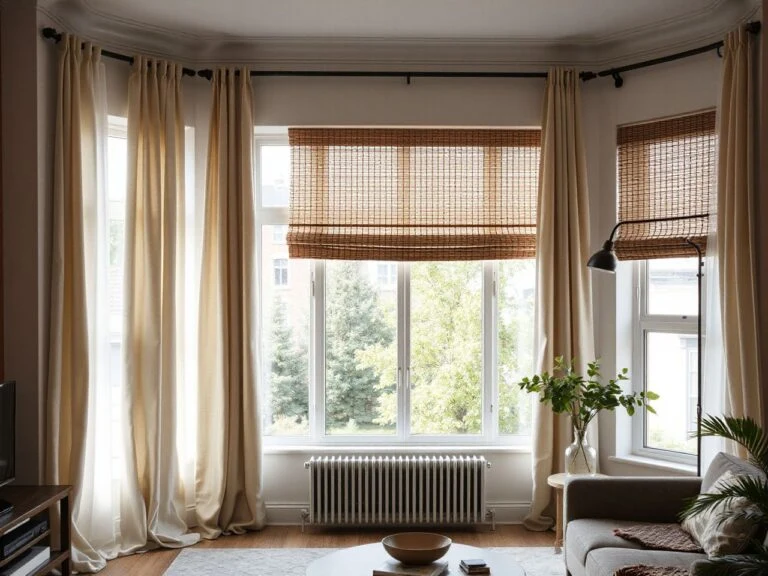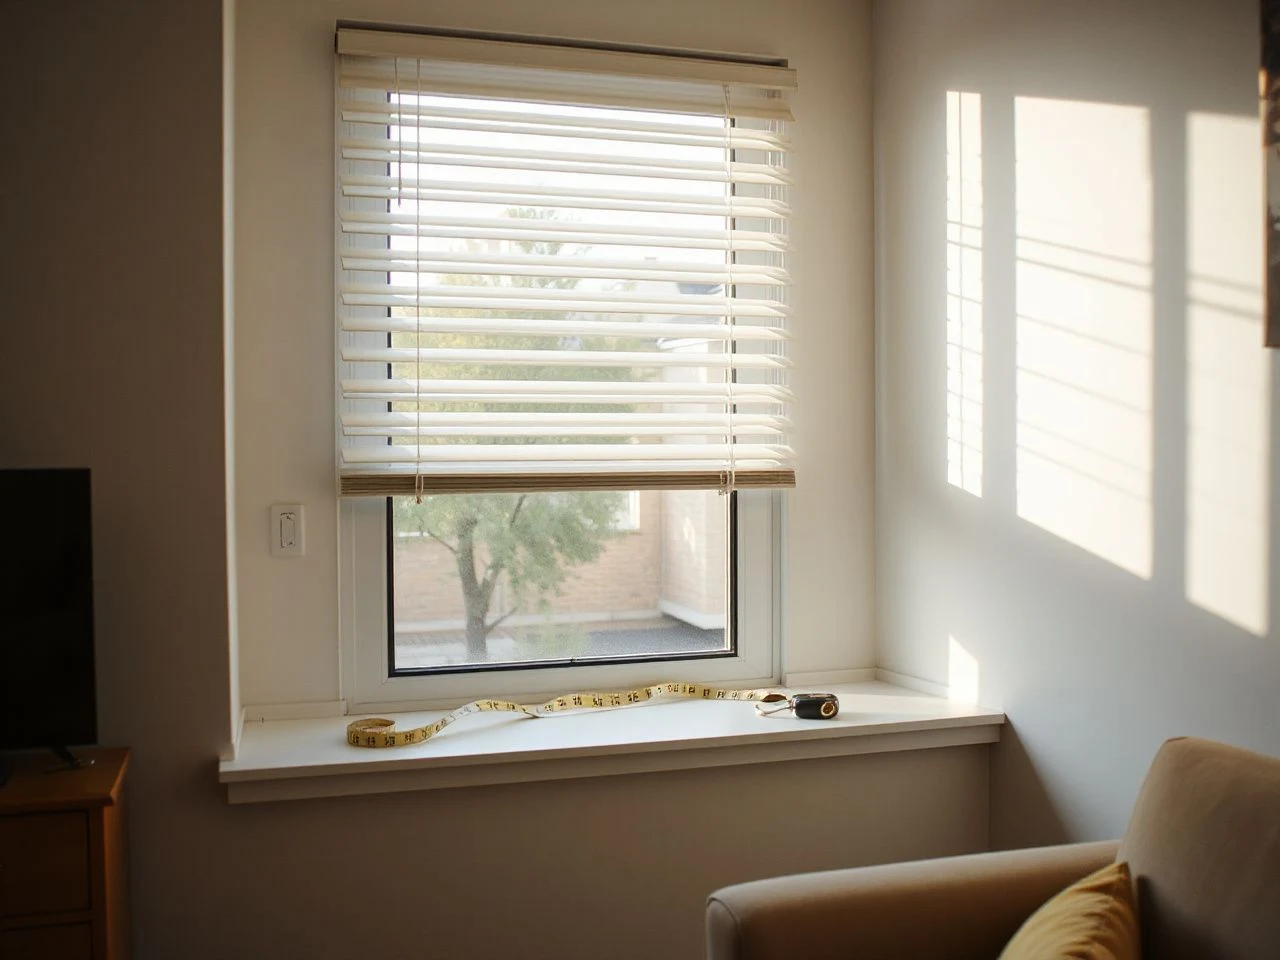
Rooms are increasingly being planned around controlled light rather than furniture alone. That shift makes accurate window work more important, because a blind that sits poorly can leave glare, privacy gaps, or awkward hardware in a room that otherwise feels carefully finished. Measuring blinds for windows starts with a distinction: measuring the window opening is different from determining the finished blind dimensions. An inside-fit blind must work within the narrowest part of the recess, while an outside-fit blind is positioned in relation to the surrounding wall and desired coverage. A reliable method records width and drop at several points, checks depth and obstructions separately, and preserves the original measurements instead of prematurely rounding or subtracting from them.
Put the lighting plan before the furniture plan. A lamp can soften a dark corner, balance a strong window, and make a room usable after sunset, but the blind still needs to control daylight without colliding with a handle or sill. For a wider overview of how styles differ, this guide to the basics of window blind types can help you understand the fitting terms before you take out the tape.
Key Takeaways
- Measure width and drop at several points, then keep every original reading.
- Use the narrowest relevant recess measurement for an inside-fit blind.
- Check depth, handles, vents, locks, sills, tiles, and opening movement separately.
- Leave deductions and finished-size changes to the specific fitting instructions.
Step 1: Decide what the measurement is meant to describe
Inside-fit and outside-fit are different jobs
Before using a steel tape measure, decide whether the blind will sit inside the window recess or outside it. The same opening can produce two different measurement plans because the blind occupies a different relationship to the frame, wall, reveal, and sill.
An inside-fit blind sits within the recess. The recess may also be called the window reveal, and its surfaces may not be perfectly parallel. The finished blind must pass through the narrowest usable part of that space, so the smallest relevant width matters more than an attractive reading taken at only one point.
An outside-fit blind sits beyond the opening, usually in relation to the surrounding wall or window frame. The measurement therefore concerns the area you want the blind to cover, including enough overlap around the opening to limit unwanted light and visibility. Outside-fit measurements should describe the intended coverage, not simply repeat the glass size.
An inside-fit blind depends on the usable recess, while an outside-fit blind depends on the planned coverage around the opening. That distinction prevents the common error of treating every window as a rectangle with one universal finished size.
Measure the opening or the finished blind?
Record the window opening first. Your notes should show the actual width and drop readings, along with the recess depth and any obstruction that may affect the headrail, mounting brackets, fabric, or slats.
Do not apply deductions, rounding, or alterations to the recorded opening dimensions unless the specific blind fitting instructions explain who makes them and how they are calculated. A supplier or manufacturer may define the finished blind size differently from the opening size, so changing your notes early can hide the information needed later.
Original opening measurements should remain unchanged until the fitting instructions identify any required adjustment. This simple record makes replacing or maintaining the blind easier because the opening information remains available rather than being replaced by a guessed finished size.
Plan around the room, not only the glass
Window treatment changes the way daylight lands on walls, floors, and furniture. I would check the room’s lamps before choosing the final coverage, especially if the window sits beside a reading chair, desk, bed, or reflective screen.
A blind that controls glare may allow a lamp to do less work during the day. A blind that stops short of the opening may leave a bright strip that affects the whole room after the rest of the furniture has been arranged.
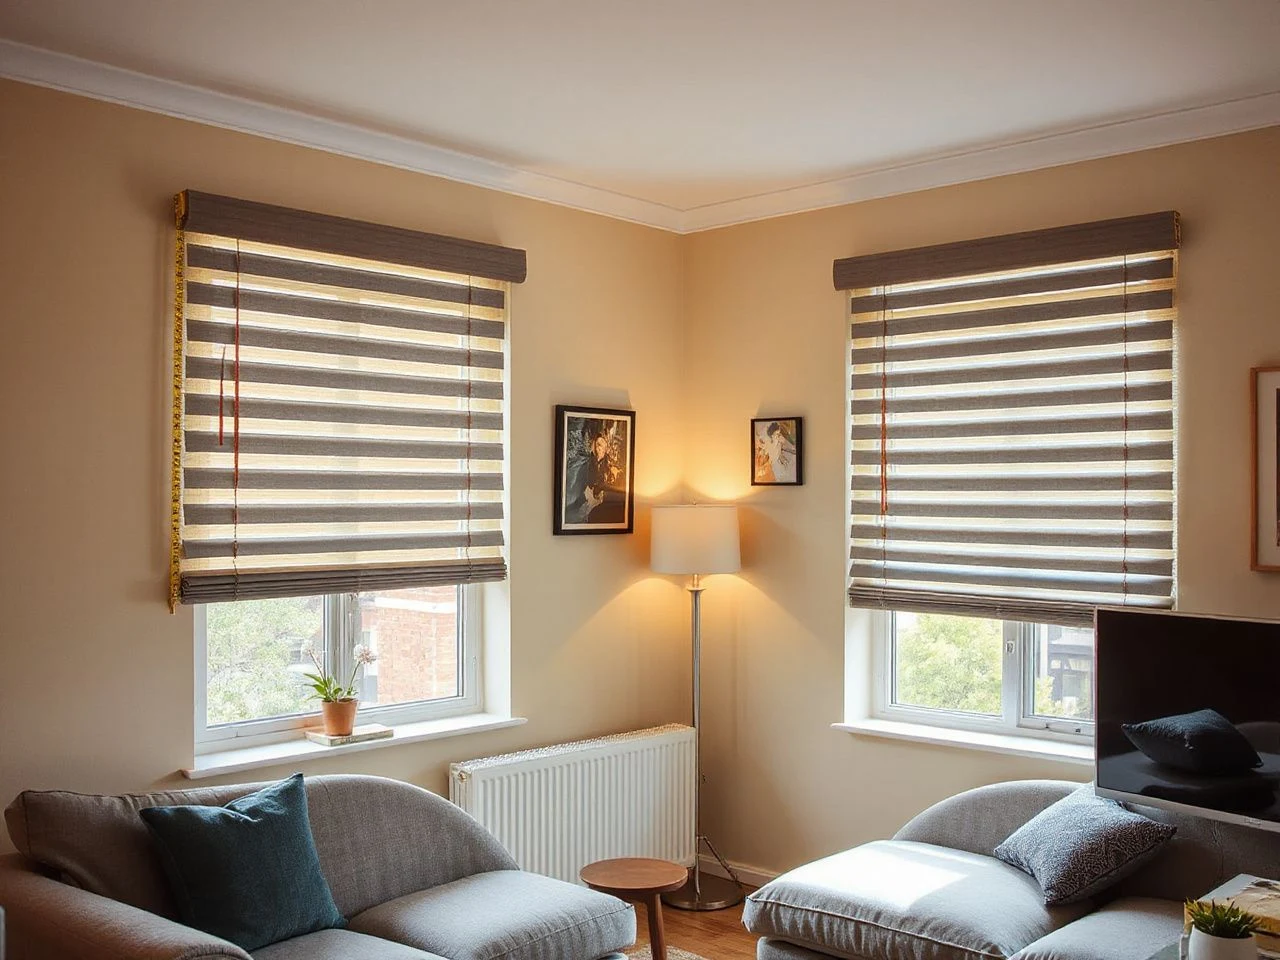
Step 2: Measure an inside-fit blind carefully
Take width readings at the top, middle, and bottom
Place the steel tape measure across the inside surfaces of the recess. Take a width reading near the top, another through the middle, and another near the bottom. Keep the tape level and note each reading exactly as shown, without subtracting for clearance.
Uneven window openings are common enough to require a method rather than a guess. If the top, middle, and bottom widths differ, use the smallest relevant width when checking whether an inside-fit blind can clear the frame and fit within the recess.
The narrowest inside-recess width governs whether an inside-fit blind can pass through the opening. Keep the larger readings in your notes because they show how the recess changes from one point to another.
Measure the drop at several points
Measure the drop from the same starting edge at the top of the recess to the sill or bottom surface. Take readings on the left, in the centre, and on the right. If the sill is sloped or the top is uneven, the readings can reveal that the blind will not meet the bottom in exactly the same way across its width.
Do not assume that a level-looking window is square enough for one drop reading. The blind may need to clear a sill, frame edge, or opening sash, and the longest or shortest reading may matter depending on the fitting instructions and the type of blind.
Multiple drop readings reveal whether the recess changes vertically across its width. That information helps you discuss the correct finished dimensions instead of concealing an uneven opening with a single average.
Check recess depth before selecting the fitting position
Measure the available depth from the front of the recess toward the window. Check where the blind headrail and mounting brackets would sit, rather than measuring only the visible glass area.
Depth can be reduced by a projecting frame, a handle, a lock, a vent, tiles, trim, or a sill that turns into the opening. A recess that looks deep enough at the centre may offer less room near an obstruction.
Recess depth determines whether the headrail and brackets can sit without colliding with the frame or opening parts. Record the location of the shallowest section and describe what creates it.
Inspect the sill and opening movement
Look at the window sill from the same angle the blind will occupy. A deep sill can support the lower edge, but a projecting sill may also limit how the blind hangs or how the window opens.
Open the window in the way the household normally uses it and observe the path of the handle, frame, and sash. Check that the blind will not obstruct ventilation or prevent the window from opening as intended.
A window handle can interfere with an inside-fit blind even when the recess width appears correct. Record the handle’s position and how far it projects into the blind’s planned path.
Step 3: Measure an outside-fit blind for coverage
Define the area the blind must cover
An outside-fit blind needs a clear coverage plan. Decide whether the blind will sit over the window frame, beyond the recess, or on the surrounding wall, then mark the intended top, bottom, and side boundaries before measuring.
The aim is to cover the opening with enough overlap to limit light gaps and protect privacy. The amount of overlap is not a universal figure here; it depends on the wall, frame, sill, handle position, blind design, and the fitting instructions for the chosen arrangement.
An outside-fit blind must be measured against the area it needs to cover, not only against the visible glass. A glass-only measurement can leave the frame or recess exposed at the sides and top.
Check the wall and frame around the opening
Inspect the surface above and beside the window before deciding where the mounting brackets can sit. Look for trim, tiles, vents, curtain hardware, alarm equipment, shelves, radiators, and other fixed features that may restrict the planned coverage.
Outside-fit mounting can also affect how the blind sits in relation to lamps and furniture. A blind that projects farther into the room may change the light pattern near a wall, so include that visual effect in the room plan.
Use a level visual reference from the frame rather than assuming the surrounding wall is perfectly even. Record any sloping sill or irregular reveal because those details can change the appearance of the bottom edge.
Allow for handles, vents, locks, tiles, and other obstructions
Obstructions need their own notes. Measure where each feature begins and ends in relation to the planned blind position, then state whether the blind must sit in front of it, behind it, or stop short of it.
- Handles: Check the turning and opening path, not only the handle’s visible face.
- Vents: Confirm that the blind arrangement does not block intended airflow.
- Locks: Note whether the lock projects into the recess or affects the bracket position.
- Tiles and trim: Treat their front edges as part of the available space.
- Sills: Check whether the lower edge will clear the sill when the window opens.
A fitting obstruction should be measured and described separately from the window opening. Combining the obstruction with the width or drop can make the final notes difficult to interpret.
Step 4: Match the method to the blind type
Roller blinds
Roller blinds require careful attention to the blind headrail, the fabric path, and the side clearances. For an inside fit, measure the recess width and drop at several points, then inspect how the roll and brackets will sit against the frame or reveal.
For an outside fit, measure the coverage area and check how far the fabric will extend past the opening. Handles, vents, and window movement can affect the fabric’s path even when the headrail itself appears clear.
A roller blind needs a clear fabric path from the headrail to the lower edge. Mark anything that could touch, twist, or stop that path before finalising the fitting details.
Venetian blinds
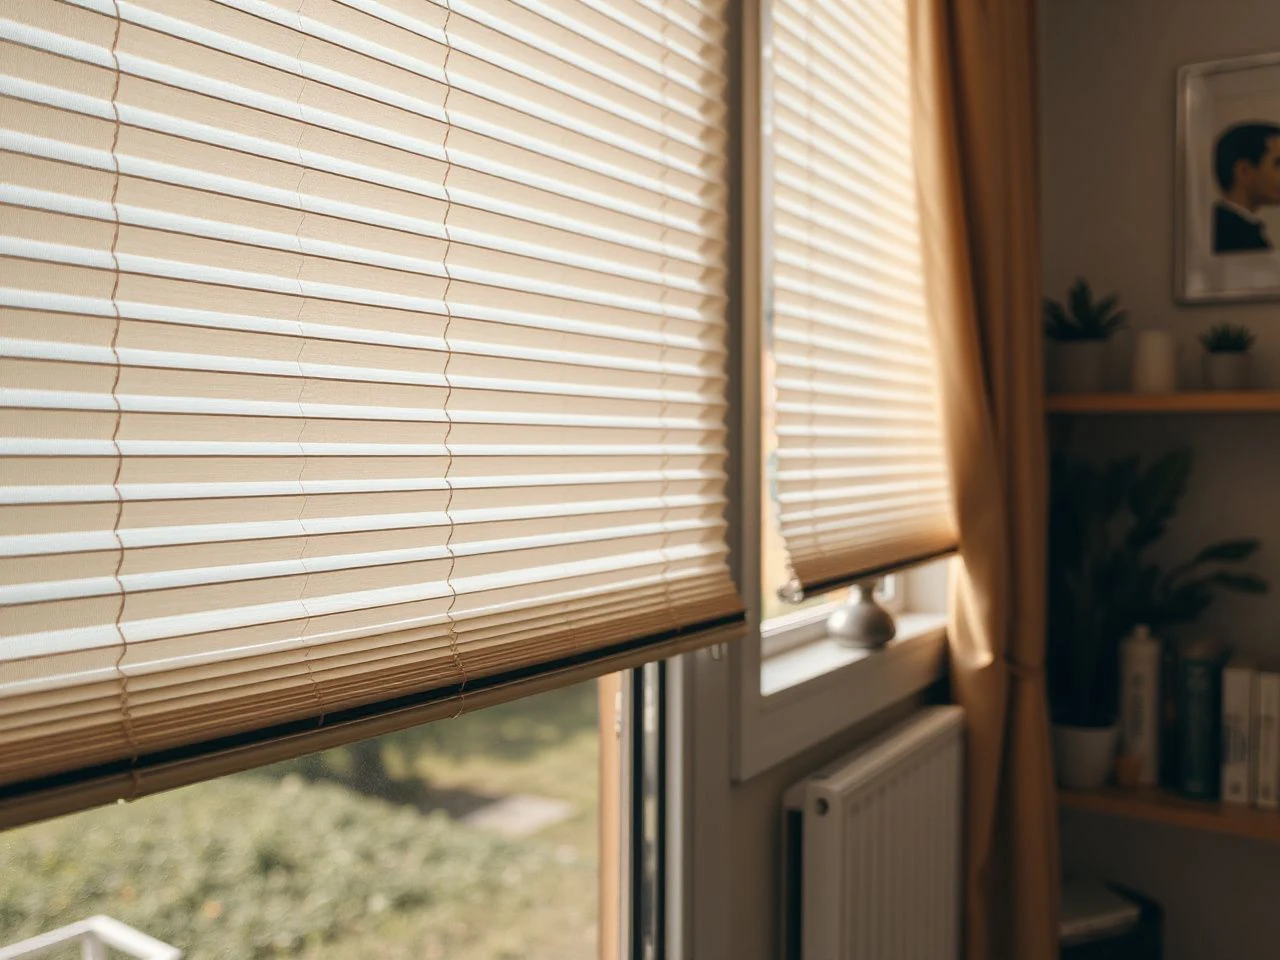
Venetian blinds use the same core measurement discipline, but the slats and control arrangement make obstructions especially important. Measure the recess or coverage area, then check whether the slats can hang without striking a handle, lock, sill, or opening sash.
The width and drop readings still need to be taken at several points. The choice between inside-fit and outside-fit remains the central decision, and the fitting instructions should determine any finished-size adjustment.
Venetian blind slats need room to hang and tilt without meeting nearby hardware. A width that fits the recess can still leave a control or sill problem if depth and movement are ignored.
Faux wood blinds and other materials
Faux wood blinds are formed from a blend of natural wood particles and synthetic components. Their material description does not change the basic measuring process, but the slat arrangement still requires a clear path around handles, locks, and sills.
Some faux wood blinds can have UV ratings reaching up to 500. That figure belongs to the product information, not to the window opening, so it should not be confused with a measurement or used as a substitute for checking daylight gaps.
Blind material does not remove the need to check the recess, brackets, and window movement. A careful measurement record remains useful if the blind later needs cleaning, replacement, or maintenance.
For a broader explanation of design differences, see common mistakes linked to different types of window blinds. The measuring principles remain, but the way fabric, slats, controls, and headrails occupy the opening can vary.
Step 5: Record, review, and prepare the fitting information
Use a measurement sheet
A useful sheet has separate spaces for room, window, fitting position, width readings, drop readings, recess depth, and obstructions. Add a simple sketch showing the frame, reveal, sill, handle, lock, vent, and the direction in which the window opens.
Write the measurement location beside every reading. “Top,” “middle,” and “bottom” are clearer than a group of figures with no explanation, especially if several windows look similar.
A labelled measurement sheet reduces confusion between similar windows. It also creates a practical record for cleaning, replacing, and maintaining the blind later.
Do not average uneven readings
An average can hide the narrow point that prevents an inside-fit blind from clearing the frame. Keep all readings visible and use the smallest relevant dimension for the inside recess, while allowing the fitting instructions to explain any finished-size calculation.
For an outside fit, the intended coverage may be wider or deeper than the opening. The correct figure comes from the area you need covered and the available wall or frame space, not from averaging the glass measurements.
Review the finished arrangement before ordering or fitting
Read the fitting instructions for the exact blind arrangement before changing any recorded figure. Check who is responsible for deductions, whether the instructions distinguish opening size from finished blind size, and how the brackets are expected to sit.
Confirm that the blind will not obstruct ventilation or an opening window. Keep operating cords and chain loops away from children and pets, and consider a cordless arrangement where appropriate; cordless blinds lower the danger of strangulation for small children.
The U.S. Consumer Product Safety Commission provides consumer safety information relevant to household products, including window-covering hazards. For standards-related terminology, the ASTM International site explains the role of voluntary consensus standards, but the product’s own fitting and safety instructions remain essential.
Window-covering safety depends on the arrangement as installed, not only on the blind’s dimensions. A well-measured blind can still create a problem if cords, chain loops, opening windows, or ventilation routes are ignored.
Think about cleaning and future replacement
Accurate notes help you reach the blind for cleaning without forcing it against a frame or sill. They also make future replacement easier because the recess shape, obstruction locations, and fitting position are documented.
Keep the original sheet with the room’s maintenance information. If the window frame changes, tiles are added, or a handle is replaced, update the sketch rather than relying on memory.
For wider planning around cost and room treatment, the guide to what to know about blind cost per window is most useful after the opening and coverage requirements are clear. A cost discussion cannot correct a measurement that was recorded from the wrong surface.
Common measuring problems and their fixes
One measurement is taken for the whole window
A single width or drop reading assumes the recess is square and consistent. That assumption can produce a blind that rubs at one point, leaves a gap at another, or cannot sit where the brackets need to go.
Take readings at the top, middle, and bottom for width, and at the left, centre, and right for drop. Preserve the variation in your notes.
The frame is measured instead of the recess
The visible frame may not define the space available to an inside-fit blind. The recess surfaces, reveal, sill, and hardware determine the usable area.
Measure from the surfaces that will contain the blind and brackets. If the frame projects into that space, record it as an obstruction.
Deductions are made too early
People often subtract an assumed clearance because they expect every blind to require the same adjustment. That can turn a correct opening measurement into an incorrect finished-size guess.
Write the opening dimensions first. Make no deduction unless the specific instructions explain the calculation and responsibility.
The sill is ignored
A sill can affect the lower edge, window opening, and position of a blind. A handle can also meet the fabric or slats even when the width looks suitable.
Check the sill and handle together while the window moves through its normal opening path. Note where contact might occur.
Light gaps are treated as a fitting failure
An inside-fit blind naturally leaves some clearance around the recess. An outside-fit blind is chosen when the planned coverage needs to extend beyond the opening to limit unwanted light and visibility.
Decide how much coverage the room needs before choosing the fitting position. A lamp near the window may make a small evening privacy gap more noticeable, while daylight glare may require attention to the side edges and top.
Frequently Asked Questions
How do I measure a window for blinds that fit inside the recess?
Measure the recess width near the top, middle, and bottom, then measure the drop at the left, centre, and right. Record every reading without rounding or subtracting. Check the narrowest relevant width, recess depth, frame, handle, vent, lock, and sill. The fitting instructions should explain any change from the opening dimensions to the finished blind size.
How is measuring for outside-fit blinds different from measuring inside the window recess?
An outside-fit blind is measured against the coverage you want around the opening, rather than only against the recess or glass. Mark the intended top, bottom, and side boundaries, then check the surrounding wall, frame, trim, tiles, handles, and opening movement. Enough overlap around the opening helps limit unwanted light and visibility, subject to the fitting instructions.
Do roller blinds and Venetian blinds use the same measuring method?
Both use the same basic method: decide on inside fit or outside fit, measure width and drop at several points, preserve the original readings, and inspect depth and obstructions. Roller blinds need a clear fabric path, while Venetian blinds also need room for slats and controls to hang and tilt. Handles, sills, locks, and opening windows matter for both.