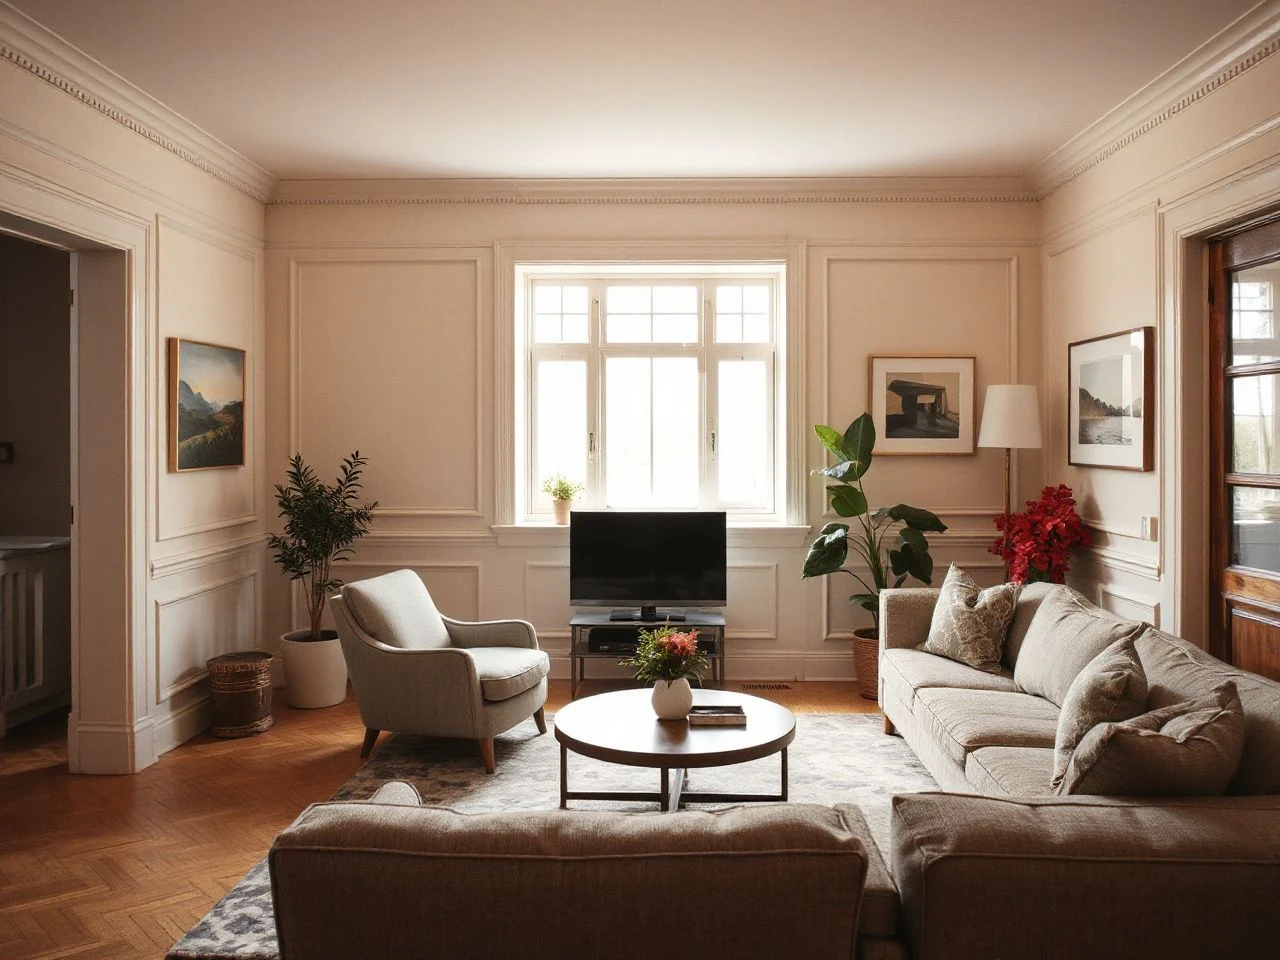
A wainscoting project can go wrong if the panels look attractive on their own but stop making sense beside the baseboard, door casing, window trim, or a sloping floor. Start with the lamps before moving the furniture because the way light falls across raised edges and painted surfaces will reveal proportion problems quickly. The useful distinction in wainscoting ideas is between a decorative pattern and a complete wall treatment: the panel style, trim thickness, baseboard relationship, paint finish, and surrounding architecture must read as one system. A strong guide should also separate visual proportion from installation practicality. The most attractive layout can still fail around uneven walls, outlets, doors, windows, or moisture.
Key Takeaways
- Coordinate panels with the room’s existing baseboard, casing, chair rail, lighting, and architecture.
- Choose materials and attachment methods according to wall condition, moisture, access, and future repairs.
- Plan every outlet, switch, vent, radiator, doorway, and window before cutting or fixing panels.
Wainscoting ideas begin with light, proportion, and architecture
Wainscoting refers to a treatment for the lower part of a wall, roughly a meter or three to four feet high. Millwork wall coverings may use rigid or semi-rigid pieces. But the material alone does not determine whether the finished room feels calm or crowded. Light is the quickest way to test the relationship. A lamp placed near the wall can show whether ridges, rails, seams, and glossy paint create useful depth or distracting glare.
Match the style to the room’s existing trim
Look at the baseboard, door casing, and window trim before selecting a panel pattern. A detailed raised-panel treatment may suit a room with substantial traditional casing. Flat-panel wainscoting can sit more quietly beside simple modern trim. Beadboard brings a repeated vertical texture. Board-and-batten creates a stronger graphic rhythm. Shiplap introduces horizontal lines that may compete with a long wall or a low ceiling.
Raised-panel wainscoting needs enough visual space around its profiles to remain legible. Flat panels are more forgiving beside plain casing because their surface does not add as much competing detail. Existing chair rails and picture rails should not appear to stop randomly at a new panel treatment. Transitions need to look planned, even when the new work meets old trim at an awkward corner.
Existing trim determines whether a new wainscoting layout looks connected to the room. A baseboard that is thicker than the panel material may serve as the lower boundary. A thin baseboard may need careful adjustment so the panels do not appear to float.
Use lamps as a design test
Turn on the room’s lamps at different positions before finalizing the layout. Side light can make uneven seams obvious. Soft light from the front may make a busy pattern feel flatter. This simple check also helps with paint sheen. A highly reflective finish will show more surface variation than a low-sheen finish.
I would correct the lighting plan before changing the furniture plan. A dark corner, poorly placed table lamp, or harsh ceiling light can make an otherwise balanced wall treatment appear heavier than it is. A room with stronger panel detail usually benefits from calm, intentional lighting rather than more decorative objects.
Choose between the main panel styles
- Beadboard: Repeated narrow grooves create texture and a familiar cottage or utility-room character. Plan carefully around corners so the groove pattern does not end in a visibly awkward sliver.
- Board-and-batten: Applied vertical battens create a strong grid. The layout should relate to doors, windows, and outlets instead of running through them without adjustment.
- Flat-panel: Flat panels offer a restrained surface that works with many trim profiles. Their success depends heavily on clean rails, stiles, and corner transitions.
- Raised-panel: Raised profiles add shadow and formality. They need careful coordination with existing casing so the room does not contain too many competing edges.
- Shiplap: Horizontal boards can make a wall feel visually broad, but uneven joints or inconsistent lines become prominent under side lighting.
Plan the wall before choosing an attachment method
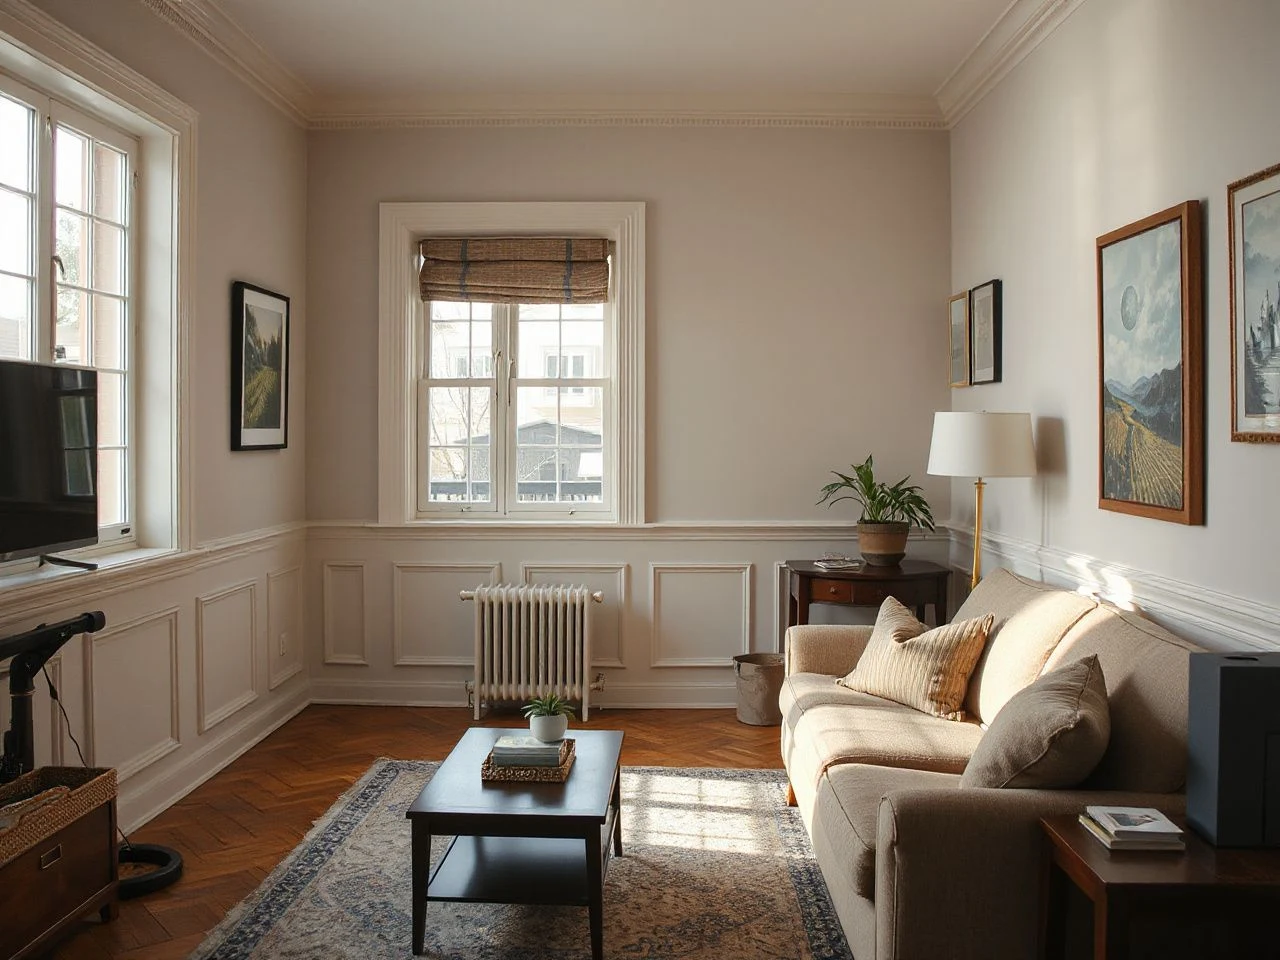
A panel can be visually correct and still fail if the wall is uneven, the floor slopes, or the existing baseboard wanders. Mark the intended top line and inspect how it meets corners, doors, windows, vents, radiators, and switches. The eye notices a drifting line more readily than a small difference in panel width.
Inspect the wall and floor
Hold a straightedge or long level against the wall. Look for hollows, bulges, and changes in plane. Check the floor separately. A sloping floor can make a level top rail appear detached from the floor line. Following the floor too closely can make the upper edge look unsteady.
Uneven walls expose gaps beneath panels and trim. Scribing lets an edge follow the actual surface instead of forcing a rigid piece against a changing wall. The scribed edge still needs a clean finish. A pencil, compass, level, straightedge, utility knife, saw, drill, stud finder, caulk, and fine sanding block can help with layout and preparation. Just ensure each tool suits the material and the planned cut.
Wall preparation affects panel adhesion and trim stability. Remove loose paint, dust, grease, and damaged surface material before applying construction adhesive or driving fasteners. Poorly prepared surfaces can cause panels or trim to loosen. Aggressive adhesive or fasteners can damage drywall and make later removal difficult.
Decide between adhesive, fasteners, or both
Construction adhesive can hold a panel against a suitable wall, but adhesive makes future removal harder and may pull away paper from drywall. Fasteners can provide mechanical attachment, though their heads and holes need a suitable finishing plan. Using both may help a panel stay in position while the adhesive sets, but the wall condition and panel material should guide the decision.
Read the adhesive and panel instructions rather than assuming every surface behaves the same way. Medium-density fiberboard, plywood, and solid wood can respond differently to moisture, movement, cutting, and finishing. A panel that looks stable in a dry room may show swollen edges or warped areas in a moisture-prone space if its material and finish aren’t suited to the environment.
Keep the baseboard relationship intentional
Removing the baseboard isn’t always the cleanest route. A new panel may sit above the existing baseboard, replace it, or meet it with a carefully shaped transition. The right choice depends on the baseboard profile, panel thickness, floor condition, and nearby door casing’s look.
A baseboard that isn’t straight can make a panel look crooked, even if it’s perfectly plumb. Scribe the lower edge or set a deliberate visual line rather than hiding a changing gap under heavy caulk. Caulk can soften a small joint, but it can’t hide a large mismatch without it becoming noticeable.
Make the layout work around real room obstacles
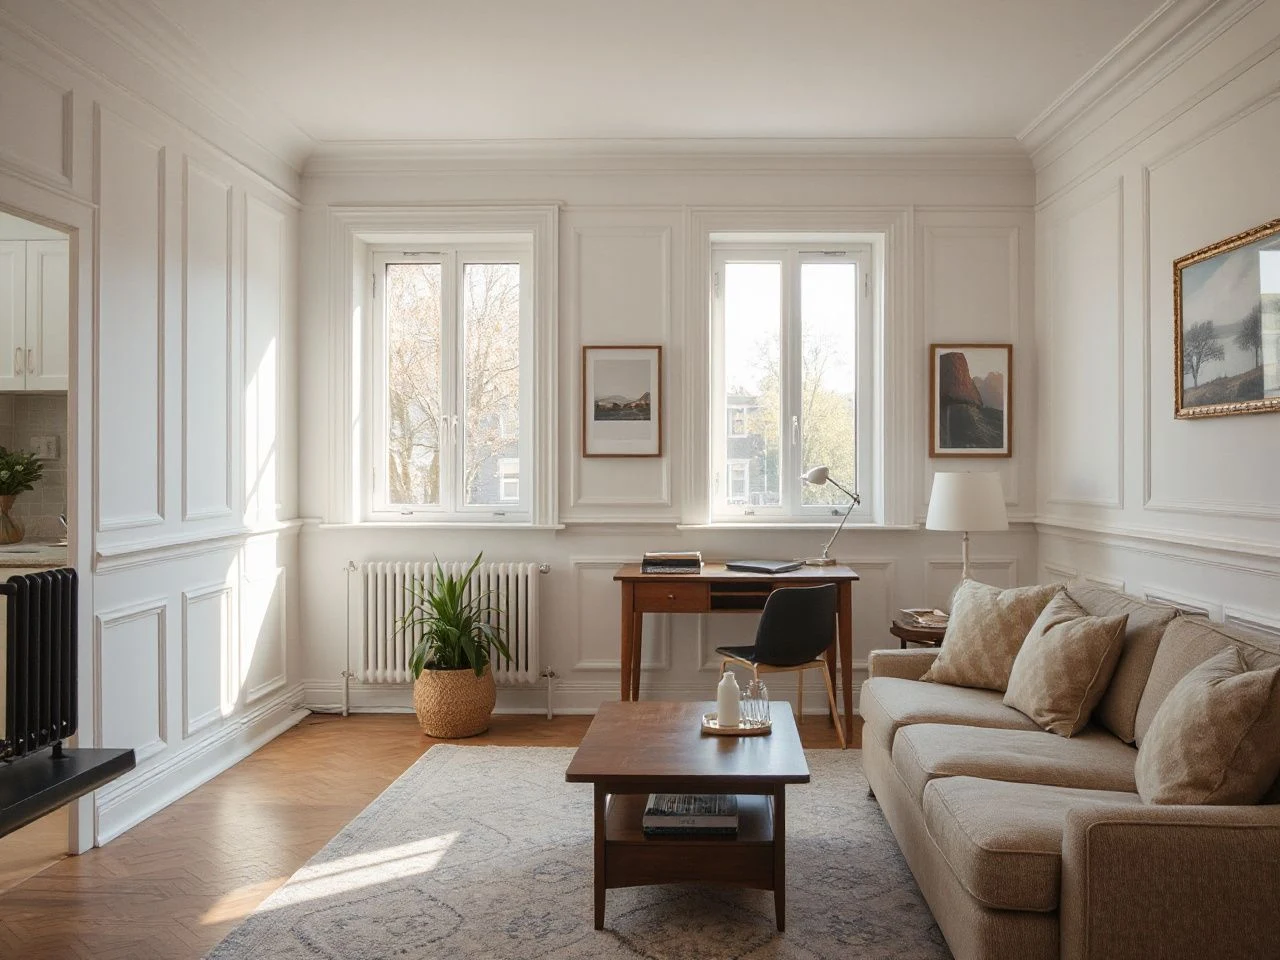
Wainscoting must fit the room that exists, not an empty rectangle on graph paper. Outlets, switches, vents, radiators, doors, and windows are functional parts of the wall. So every cutout and trim adjustment should be planned before fixing the material.
Outlets, switches, and vents
Measure the position of each outlet and switch from fixed references like a corner, casing edge, or floor line. Transfer those references to the panel instead of guessing from the panel’s apparent position. Mark the box opening clearly, then check the mark against the wall. Keep the electrical device accessible even after the panel is installed.
Do not cover a vent with a solid panel or decorative batten. A cutout may need trim around it, but the opening must remain usable and visually deliberate. For electrical work and household product safety guidance, the U.S. Consumer Product Safety Commission provides public safety information that should take priority over a decorative layout.
Electrical components shouldn’t be treated as visual details that can be moved casually. If a panel changes the depth around an outlet or switch, follow the installation instructions and get qualified help if the work goes beyond basic surface prep.
Doors, windows, and radiators
Door and window casing usually creates a strong vertical and horizontal frame. Let the wainscoting meet that frame cleanly, or create a clear transition that repeats elsewhere in the room. A panel that dies into casing on one side and overlaps it on the other can make the wall feel improvised.
Window sills can interfere with the top rail, especially on lower treatments. Decide whether the rail returns into the casing, stops short with a finished end, or continues beneath the sill in a controlled way. The same applies to radiators: leave the heat source accessible and avoid forcing trim into a position that prevents cleaning, inspection, or repair.
Doors and windows should guide the panel rhythm rather than be ignored by it. A narrow leftover panel beside a casing might look accidental, so shift the layout or use a planned transition if the architecture demands one.
Handle corners and stairways
Inside corners can hide small mismatches, but outside corners need a crisp return or corner piece. Carrying a groove, batten, or raised profile around the corner requires careful alignment. Even a slight break in the pattern under a lamp can cast a strong shadow.
Stairways add a challenge because their upper edge often follows a changing path. Establish the visual line from the room and check it from both standing and seated viewpoints. The wall treatment should also leave access to switches, vents, and handrails.
Choose materials and finishes for the room’s conditions
Painted MDF, plywood, and solid wood each support different design goals. No material is automatically right for every room. Consider moisture, edge exposure, wall condition, the desired paint finish, and how likely a damaged section might need repairs later.
MDF, plywood, and solid wood
Medium-density fiberboard offers a smooth surface for painted panels and applied trim. But exposed or poorly protected edges may be vulnerable in damp conditions. Plywood has a layered construction and may suit a project where a rigid sheet is needed. Its visible edges require a deliberate finishing approach. Solid wood can bring natural grain and traditional character, but changes in the room can affect how joints and boards appear over time.
Rooms prone to moisture need careful material and finish choices. Some wood products can swell, warp, or develop damaged edges in wet areas. Bathrooms, laundry rooms, and entryways with wet clothes deserve extra attention. Seal cut edges where the instructions call for it, and keep splash-prone joints easy to inspect. Don’t rely on paint to fix an unsuitable substrate.
Material choice influences future maintenance. A painted surface can usually be touched up, but a damaged profile might need a replacement or careful patching. Plan a finish that makes seams, corners, and fastener spots clear rather than hiding every detail with excess filler.
Paint, sheen, and visual weight
Trim paint with a noticeable sheen can highlight profiles, but it also reflects light and shows uneven work. A softer finish can reduce glare on large flat panels. The wall color above changes how tall and heavy the wainscoting feels, so check sample boards or test areas under room lamps.
Dark paint can make grooves and raised panels feel more architectural. Pale paint can soften the texture. The useful choice depends on the surrounding floor, fabrics, furniture, and natural light. A room does not need a dramatic contrast to make the lower wall feel finished.
Compare wainscoting with other wall treatments
Wallpaper can add pattern without projecting trim, while wall molding creates a decorative frame over the wall surface. Beadboard wallpaper can mimic a grooved look with softer material, but it won’t cast the same shadows as real beadboard. A painted panel can give a similar visual rhythm without covering the wall with separate boards or sheets.
These options change how repairs are done and how light plays across the wall. Choose installed panels when depth, edge definition, and durable framing matter. Opt for painted or paper treatments when reversibility and a lighter look are more important. The right choice depends on the room’s trim and how much maintenance you’re willing to do.
In home planning, a finished entry wall can match these small front yard landscaping ideas. It helps create a consistent arrival experience from outside to inside. A wall treatment should complement the whole home, not compete with nearby features.
Prevent cracks, separation, and difficult future repairs
Wainscoting separates or cracks when movement, poor preparation, moisture, weak joints, or unsuitable attachment methods are allowed to work against the finish. Some movement is visible first at corners, seams, cut edges, and the junction between panels and trim.
Prepare joints and seams for movement
Dry-fit pieces before fixing them. Check that rails meet stiles cleanly and that grooves align around corners. Make sure the panel remains accessible if a damaged section must be replaced. Fill or caulk only after the layout is sound. Filler cannot correct a panel that is out of position.
Separate joints often indicate movement or a weak bond rather than a paint issue. Check the substrate, remove loose material, and see if moisture or wall movement is involved before doing cosmetic repairs. Painting over a moving joint might hide the problem temporarily but won’t fix the cause.
Wainscoting joints need compatible preparation, paint, and attachment so the surface can handle normal room changes. This holds true whether the design uses beadboard, flat panels, or applied battens.
Keep maintenance manageable
Dust tends to gather on ledges, grooves, chair rails, and raised profiles. Use a soft duster or vacuum brush first, then wipe painted surfaces with a lightly damp cloth that won’t scratch the finish. Avoid saturating seams, cut edges, and joints, especially where wood might absorb moisture.
Clean marks quickly to prevent repeated scrubbing from wearing through the paint. Test cleaning methods in a hidden spot before applying them across the wall. A touch-up plan should include the paint color, sheen, and locations of hidden joints or fasteners.
Maintenance is simpler if the panel layout stays clear. Avoid permanently blocking access panels, outlets, radiators, or vents with decorative trim. The ASTM International website offers information about material and testing standards. Check the relevant documentation for your building material instead of assuming all panels are the same.
Plan repairs before installation
Keep a simple record of the panel layout, seams, paint finish, and locations of hidden fasteners. Photographing the wall before final painting can help locate an outlet, joint, or repair point later. Future access matters more than a perfectly uninterrupted pattern.
Use removable or serviceable trim around areas that may need attention. Leave enough visual logic in the design so a single repaired panel won’t require dismantling the entire wall. Planning ahead with a thoughtful layout can save work later, even if it takes more effort during installation.
If the room needs storage planning, the guide to small walk-in closet organization can help prevent furniture and cabinetry from crowding a newly treated wall. Wainscoting looks most settled when lamps, storage, and circulation respect its visual boundaries.
Frequently Asked Questions
Which wainscoting style works best with existing trim?
The strongest match is the style that repeats the room’s existing level of detail. Raised-panel wainscoting suits substantial traditional casing, while flat-panel designs usually sit quietly beside simple trim. Beadboard adds repeated texture, and board-and-batten creates a graphic grid. Compare the panel profiles with the baseboard, door casing, window trim, and chair rail under the room’s actual lamp light before deciding.
How does wainscoting attach to a wall?
Panels may be held with construction adhesive, fasteners, or a combination, depending on the panel material and wall condition. Adhesive can complicate future removal, while fasteners require a plan for visible holes and may damage drywall. Prepare the wall first, follow the material instructions, and keep access to outlets, switches, vents, and other service points.
What should I do if the wall or floor is uneven?
Inspect the wall and floor separately, establish the intended visual line, and scribe panel edges where surfaces change. A level top line might not align with a sloping floor, so decide which relationship should look intentional from normal viewpoints. Don’t use thick caulk to hide large gaps; correct the layout or shape the edge to follow the surface.
Can wainscoting be used in a bathroom or entryway?
Rooms prone to moisture need careful material and finish choices because some wood products can swell, warp, or develop damaged edges. Protect exposed edges, keep seams inspectable, and choose a substrate suited to the room instead of relying on paint as a moisture barrier. Radiators, vents, doors, and windows also need planned clearance and continuous access.
How do I keep painted wainscoting clean?
Use a soft duster or vacuum brush for grooves and ledges, then a lightly damp cloth for marks. Avoid soaking seams or scrubbing the finish aggressively. Test your cleaning method in a hidden area first, and record the original paint color and sheen so small repairs won’t require repainting the whole wall.