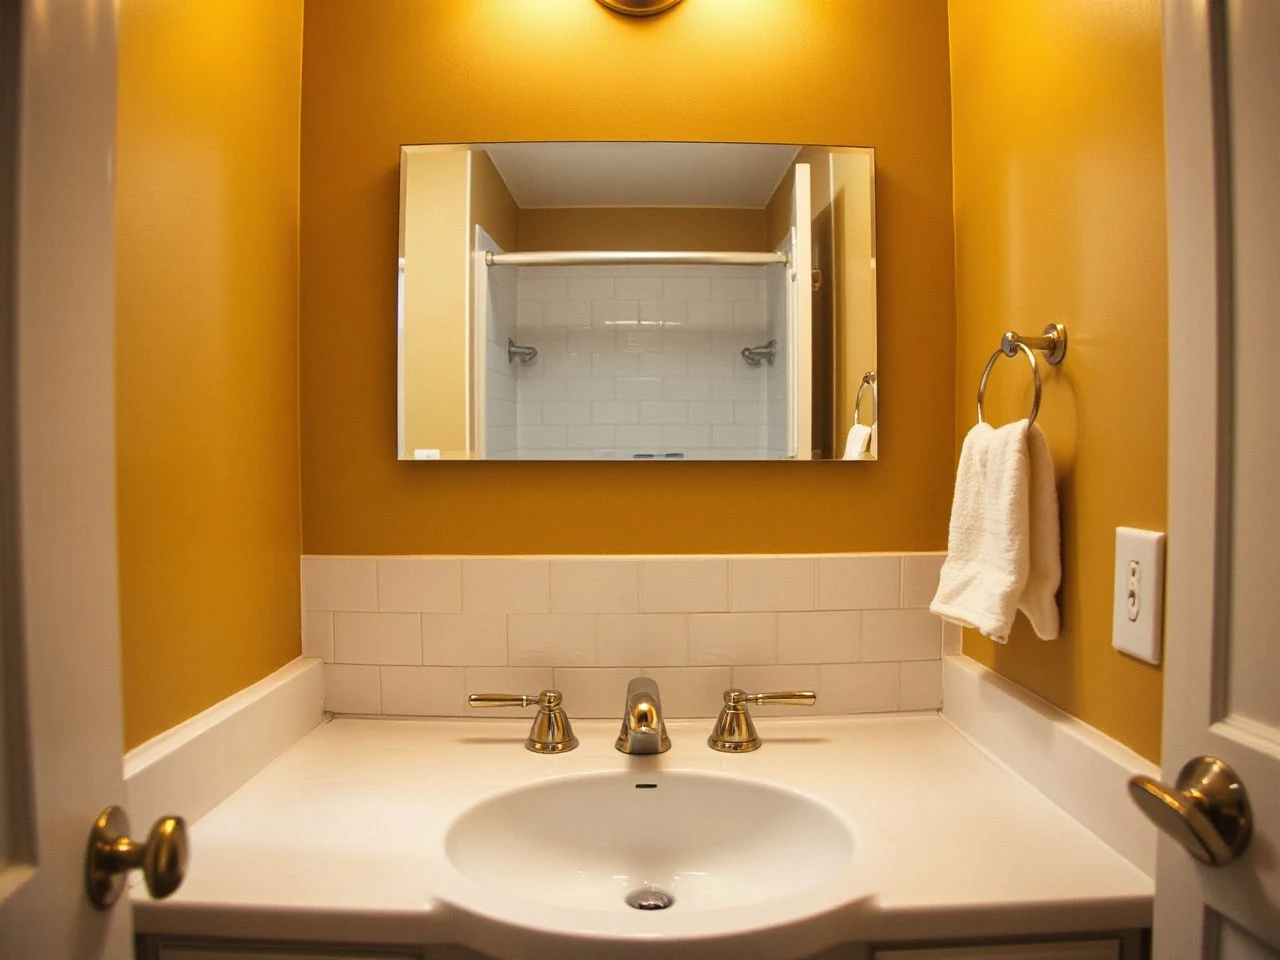
A fresh coat of paint can make a bathroom look new, but paint cannot stop a leak, strengthen a soft floor, or replace missing waterproofing. The distinction matters in bathroom updates on a budget: preserve the existing layout where possible, yet repair moisture, electrical, plumbing, and substrate problems before covering them; the practical savings come from preparation and sequencing, while paint, hardware, mirrors, lighting, and renewed sealant create the visible change.
Key Takeaways
- Keep the plumbing layout intact, but repair leaks, soft substrates, damaged wiring, and hidden mold before decorating.
- Paint, mirrors, lighting, hardware, storage, and fresh sealant provide strong visual change with limited wall disturbance.
- Plan surface compatibility and work order before installing flooring, panels, fixtures, or new caulk.
Beginner: Start with a safe, low-disturbance plan
Separate cosmetic work from bathroom risk
The cheapest-looking plan often becomes expensive after a cosmetic layer hides a defect. A stained ceiling, recurring swollen paint, soft drywall, loose tile, musty odor, cracked grout near a shower, or flooring that flexes underfoot deserves investigation before any new finish goes over it.
Persistent leaks, soft subfloors, mold inside walls, damaged wiring, and plumbing problems require repair before decorative work. A bathroom surface can look tidy while water continues moving behind it, so visible improvement is not evidence that the assembly is sound.
Start by photographing every wall, floor edge, fixture connection, and damaged area. Renters should also report active leaks, electrical concerns, and substrate damage in writing before making changes, because a removable decorating project should not become an argument about responsibility.
Keep the layout and check compatibility
Moving a toilet, shower, sink, or drain usually creates more disruption than replacing a finish in the same position. Keeping the existing layout protects the wall, floor, and plumbing work already in place, but a new fixture can still create trouble if its drain size, supply connection, floor height, door clearance, or existing P-trap does not match.
Measure the existing opening before ordering anything, then compare the measurement with the fixture documentation. Check the shutoff valves, flexible supply lines, toilet footprint, faucet holes, drain alignment, and clearance around doors and drawers. The manufacturer does not always list every compatibility detail in a short product description, so missing information should trigger a closer check rather than a guess.
A toilet replacement can disturb the floor seal and expose uneven flooring. A faucet swap can reveal corroded shutoffs or a sink with a different hole arrangement. An exhaust-fan replacement can involve wiring and duct connections, so a decorative change may cross into licensed work quickly.
Know which jobs belong to a trade
Cleaning, patching minor surface damage, painting dry walls, changing cabinet hardware, hanging a mirror with an approved method, and refreshing accessible caulk are generally the kinds of low-disturbance tasks a renter can discuss with a landlord and complete only where permission allows.
Electrical work deserves a firm boundary. A licensed electrician should handle new circuits, uncertain wiring, fixture-box changes, damaged conductors, and any work that requires opening the wall beyond a simple permitted replacement.
Plumbing changes also need care. A licensed plumber is the sensible choice for concealed leaks, drain alterations, supply-line problems, recurring toilet movement, shower-valve work, or a P-trap that does not align with the replacement fixture. Local rules can require a permit or licensed trade even for work that appears small.
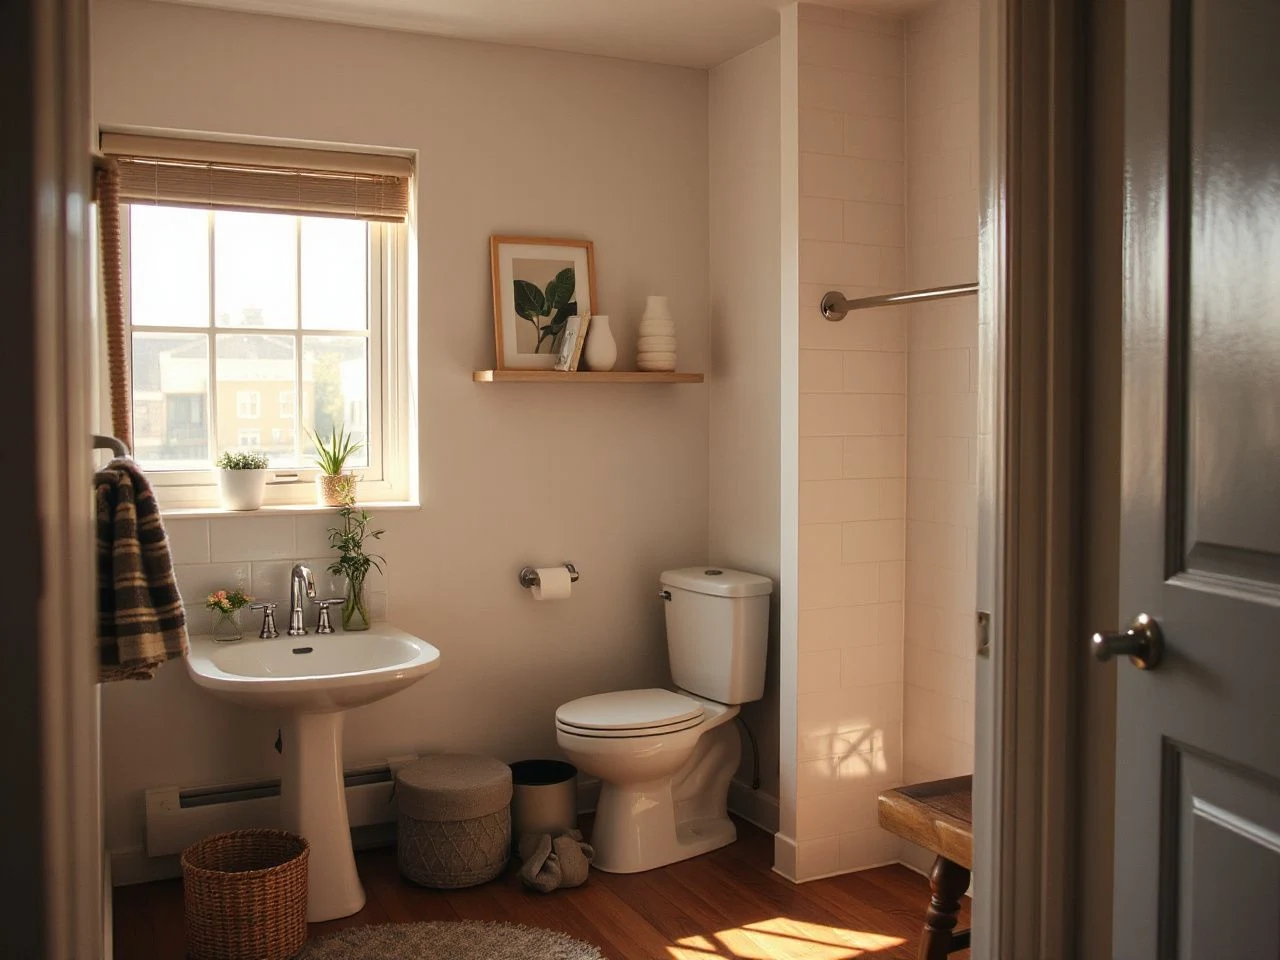
Intermediate: Make the biggest visual changes first
Paint walls and cabinets after proper preparation
Paint is usually the broadest visual change that does not alter the bathroom layout, but preparation determines whether the result looks deliberate. Remove dust, soap residue, and loose coating; allow damp areas to dry; repair surface damage; and use a primer compatible with the existing surface and the paint system.
Bathroom walls can be painted when the substrate is sound and dry. Paint does not waterproof a shower wall, repair a leaking pipe, or make damaged gypsum board suitable for continued wet exposure. Mold-resistant gypsum board can be appropriate in the locations and assemblies for which it is intended, but it is not a substitute for an intact waterproofing system.
Cabinet painting requires the same restraint. Clean the doors and boxes, remove loose finish, lightly prepare glossy areas as directed by the coating manufacturer, and label each door before removal. Let every coat dry according to its label before reinstalling hardware or closing doors, because rushed assembly can mark a finish that looked dry on the surface.
A two-tone wall treatment can make a small bathroom feel more considered without adding a new object. Mark the division with a level, apply painter’s tape along the line, and remove the tape carefully while the finish is still workable according to the paint instructions.
Use mirrors, lighting, and hardware as removable design tools
Mirror placement changes the visual balance of a bathroom more than a collection of small accessories. Before hanging one, check the mounting method, wall construction, nearby splash zone, cabinet-door swing, and the position of the light source. A mirror that blocks a medicine cabinet or forces a light fixture into an awkward position is a poor trade for a quick visual lift.
Use the bathroom mirror guide for avoiding common placement mistakes before drilling. Light fixtures need the same caution as mirrors: turn off power at the correct disconnect, confirm the circuit is de-energized with an appropriate tester, and hire an electrician if the wiring, box, grounding, or local requirements are unclear.
Hardware is particularly useful in a rental because knobs, pulls, towel bars, and toilet-paper holders can often be returned to their original positions. Keep the original pieces in a labeled bag, record the existing hole spacing, and avoid adding adhesive or holes to tile unless the landlord has approved the method.
Refresh storage and color without crowding the room
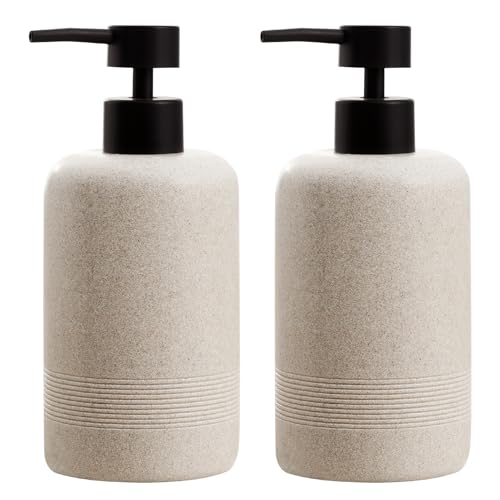
Freestanding storage, a narrow stool, a washable textile, and coordinated accessories can alter the room while leaving the walls alone. In a small bathroom, keep the floor path clear and check that a storage piece does not interfere with the toilet, vanity doors, shower entry, or bathroom door.
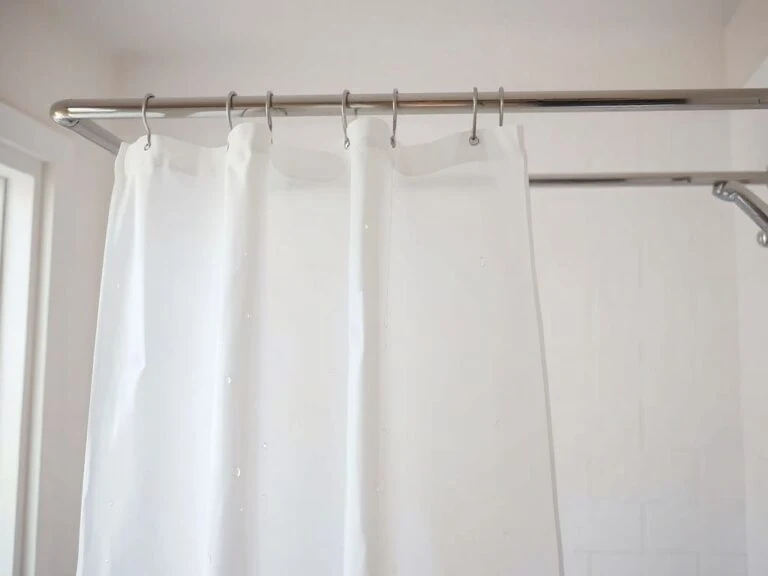
Color can come from a shower curtain, artwork outside splash zones, removable wallpaper on a dry accent wall, or white accessories that keep the room visually calm. Peel-and-stick wallpaper is a fast option for bathroom walls, but it belongs on a clean, dry, smooth surface away from persistent water exposure; seams can lift when moisture reaches poorly prepared edges.
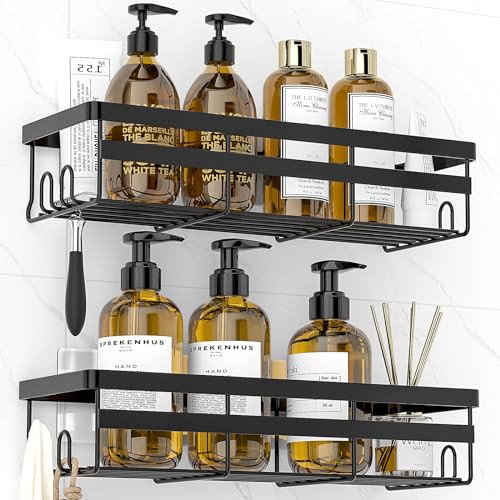
For renter-friendly storage ideas, the bathroom storage planning guide can help you think through footprint, access, and wall impact before bringing in another unit. Storage should solve a daily problem, not create a new obstacle beside the sink.
Choose a backsplash or beadboard with the wet zone in mind
A short backsplash can provide a strong change behind a vanity. Three-by-six-inch subway tiles work well for an affordable backsplash, and the same tile can be arranged in a running bond or herringbone pattern. Keep the design contained to a sound, properly prepared surface rather than extending decorative tile into a shower area that lacks a verified waterproofing system.
Porcelain or ceramic tile is a finish, not a waterproofing plan. Wet areas need an intact waterproofing system, properly treated transitions, and compatible sealants.
Beaded board can bring texture to a dry wall, but panel seams, bottom edges, corners, and plumbing penetrations need a compatible treatment. Do not use a decorative wall panel to conceal bubbling drywall, active staining, or a loose substrate.
Advanced: Repair surfaces before covering them
Decide if old caulk and grout need replacement
Caulk is flexible joint material, while grout is a rigid joint filler; they do different jobs and should not be treated as interchangeable. Remove failing caulk where it is peeling, split, persistently discolored, or separating from the adjoining surface, then clean and dry the joint before applying a compatible replacement.
In wet locations, 100% silicone sealant is commonly selected for joints that need flexibility and water resistance, but the label and substrate compatibility still control the choice. New sealant will not solve movement caused by a loose fixture, water entering behind tile, or a damaged substrate.
Grout that is cracked, missing, powdery, or repeatedly wet may point to movement or water penetration rather than a simple color problem. Small surface repairs can be appropriate where the tile assembly is sound; widespread failure, loose tile, staining beyond the joint, or soft wall material calls for a proper assessment before regrouting.
Assess the floor before installing a new finish
A bathroom floor update has three separate concerns: the existing substrate, the finished height, and the edges where water can travel. A floor that flexes, feels soft, smells musty, or shows swelling should not receive peel-and-stick flooring or another covering until the underlying problem is repaired.
New flooring can interfere with a toilet flange, door swing, vanity toe-kick, transition strip, or cabinet clearance. It can also create a visible step into another room. Check the finished height of every layer before installation, and do not cover a floor simply because the replacement material is thin.
Peel-and-stick flooring commonly fails at dirty surfaces, uneven seams, damp edges, and poorly prepared transitions. Follow the product instructions for acclimation, adhesive preparation, layout, and rolling; where the manufacturer does not state that a product is suitable for a bathroom or a particular substrate, treat that omission as a compatibility question.
Refinish or replace a bathtub?
Refinishing an existing bathtub can be less disruptive than replacement when the tub itself is sound, stable, and free of a leak or structural failure. The savings come from preserving the surrounding plumbing, wall assembly, and floor, but refinishing cannot correct a damaged tub, movement, failed drain connection, or water problem behind the enclosure.
Replacement may be the more reliable route when the tub is cracked, unstable, badly corroded, or part of a failing wet-area assembly. It can also require work beyond the tub: wall removal, waterproofing, drain alignment, supply connections, trim, floor height, and door clearance all need checking.
For a renter, a bathtub refinish is rarely a casual weekend change because coatings, ventilation, preparation, and landlord approval matter. I would choose a reversible visual update around a sound tub before attempting a coating project whose failure could damage the original surface.
Improve ventilation and control condensation
A bathroom exhaust fan should discharge outdoors rather than into an attic or wall cavity. A fan that terminates in an enclosed building space can move moisture into the structure instead of removing it, so duct routing and exterior termination deserve attention before cosmetic work.
Use the bathroom exhaust fan during showers and continue using it afterward according to the fan and building guidance. Wipe persistent condensation from cold surfaces, keep shower curtains open enough to dry, and inspect corners, ceilings, grout lines, and cabinet interiors for recurring moisture.
Ventilation does not repair a plumbing leak or waterproofing failure. It reduces moisture load, while the building assembly still needs sound joints, proper transitions, and a dry substrate.
Sequence the work so new finishes stay clean
Step 1: Document and clean
Record the starting condition, obtain written permission where required, and remove loose accessories. Clean walls, cabinet surfaces, tile, grout, and floor areas with methods compatible with the existing finish; decorative work should begin only after surfaces are dry and stable.
Step 2: Repair the substrate and hidden problems
Address leaks, soft flooring, damaged drywall, loose tile, failing grout, bad caulk, exposed wiring, and plumbing defects before painting or installing coverings. The repair boundary should extend far enough to remove compromised material rather than leaving a weak edge under the new finish.
Step 3: Complete messy installation work
Install tile, backsplash material, beadboard, wall panels, replacement fixtures, and any approved storage that requires drilling before applying the final paint coat. Protect the tub, vanity, floor, and existing hardware from dust and debris during this stage.
Step 4: Paint and refinish dry surfaces
Paint ceilings and walls after dusty work is finished. Paint cabinets with doors and hardware removed where possible, maintain the label’s drying instructions, and avoid placing damp textiles or cleaning products against a fresh finish.
Step 5: Install mirror, lighting, and accessories
Hang the mirror after the wall finish is ready and confirm that its position works with the light, faucet, storage, and cabinet swing. Electrical fixtures should be installed by a qualified person when wiring or code requirements are uncertain; a decorative fixture is still connected to a life-safety system.
Step 6: Seal joints and inspect the room
Apply new sealant only after adjoining surfaces are clean and dry. Inspect corners, backsplash edges, tub joints, sink rim, toilet base, and plumbing penetrations, then allow the sealant to cure according to its label before exposing the joint to water.
The lowest-maintenance budget updates usually preserve sound tile, keep plumbing in place, use durable compatible coatings, and make moisture control part of the plan. A visually modest repair is better value than a dramatic covering that has to be removed to reach a leak.
For a broader planning checklist before touching the room, read Bathroom Ideas on a Budget: What to Know Before You Start. The useful question is not simply how little the update costs today; the useful question is whether the change can be maintained, removed, and repaired without damaging the bathroom underneath.
Frequently Asked Questions
Which bathroom updates create the biggest visual change without moving plumbing?
Paint, a carefully positioned mirror, updated hardware, improved lighting, fresh sealant, and better storage usually change the room without moving drains or supply lines. A backsplash can add focus behind a vanity if the surface is sound. Keep the original fixture locations, check clearances before buying replacements, and avoid covering moisture damage with decorative material.
Can bathroom tile, cabinets, or walls be painted safely?
Walls and cabinets can be painted when their substrates are clean, dry, stable, and compatible with the selected coating. Tile painting requires especially careful preparation and should not be treated as waterproofing. Do not paint over active leaks, loose tile, soft drywall, or a shower assembly with missing waterproofing. Follow the coating label for preparation and drying.
Should an old bathtub be refinished or replaced?
Refinishing can make sense when the existing tub is sound and the surrounding wet area is intact, because preserving the layout limits demolition. Replacement is more appropriate for a cracked, unstable, badly corroded, or leaking tub, though the work may affect the drain, walls, waterproofing, floor, and door clearance. Renters should obtain written approval before either project.
What should I check before changing a bathroom floor or exhaust fan?
Before flooring, inspect for soft areas, moisture, unevenness, floor height, toilet-flange position, transitions, and door clearance. Before changing an exhaust fan, confirm the wiring, housing, duct route, and outdoor termination. A bathroom exhaust fan should not discharge into an attic or wall cavity, and uncertain electrical work belongs with a qualified electrician.