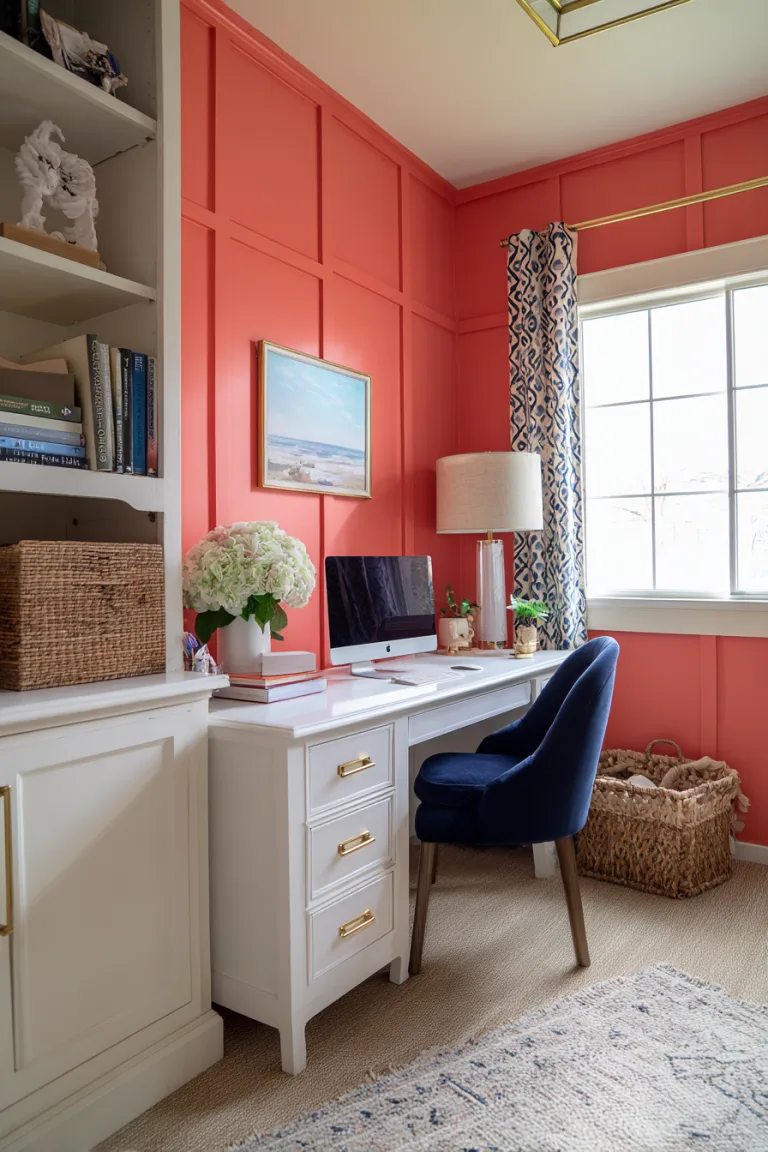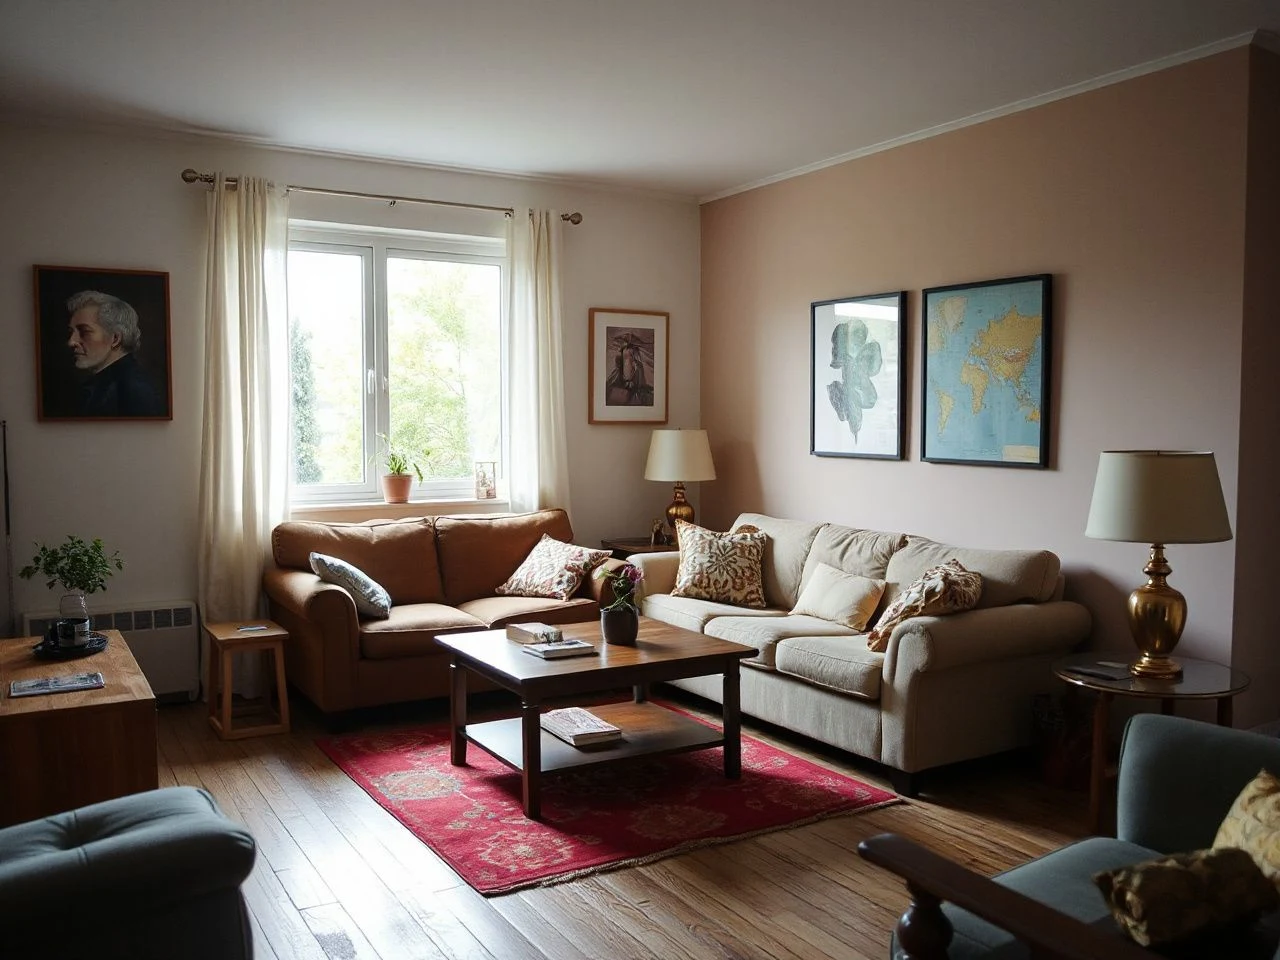
Exceeding 50 percent of a shelf’s capacity with books results in clutter, a useful reminder that quantity can work against a room surprisingly quickly. Effective budget decorating is less about finding the cheapest objects and more about concentrating effort on high-visibility changes such as paint, lighting, layout, textiles, and one cohesive color or material thread. The practical distinction is between a low-cost room that looks deliberate because existing items are edited, repaired, and repeated thoughtfully, and a room that merely contains many inexpensive additions. These budget decorating ideas begin with that distinction.
Key Takeaways
- Prioritize paint, light, layout, textiles, and repeated colors before buying decor.
- Repair, edit, and repurpose useful items before replacing them.
- Test paint and adhesive products on hidden areas because surfaces vary.
- Keep exits, heaters, vents, windows, storage, and electrical access clear.
Budget Decorating Ideas Begin With a Room Audit
Step 1: Find the changes with the widest visual reach
A room usually looks more considered after a few connected changes rather than a pile of unrelated additions. Start by standing at the doorway and noting what catches the eye first: a large blank wall, a tired paint color, a badly placed sofa, harsh lighting, exposed storage, or a collection that has outgrown its surface.
Write down the problem before choosing a solution. A bare wall may need one large piece of art, a better arrangement of existing frames, or a textile with scale. A crowded shelf may need editing rather than another basket.
Room layout is free to change, but it must preserve function. Keep exits, heaters, vents, windows, and essential storage usable. A low-cost makeover fails if the new arrangement makes a door awkward, blocks airflow, or forces daily objects into unstable piles.
Layout changes often produce a larger visual result than small decorative purchases because furniture occupies more visible space. Move the largest pieces first, then test walking routes before dealing with accessories.
Step 2: Separate repair, repaint, rearrange, repurpose, and replace
Use this order as a decision filter:
- Repair: Tighten loose fasteners, replace missing hardware, mend seams, and address a wobble before disguising the problem.
- Repaint: Use a new finish when the shape remains useful but the surface has lost its connection to the room.
- Rearrange: Change position, spacing, or grouping when the objects work but the composition feels scattered.
- Repurpose: Give a jar, textile, cardboard box, or leftover board a useful role before buying storage or art.
- Replace: Choose replacement only when function, safety, or repairability has genuinely failed.
Flat-pack furniture deserves a separate inspection. I judge it by its hardware before its finish. A clean-looking panel cannot compensate for stripped screws, missing cams, bent brackets, or a back panel that no longer keeps the case square. Before repainting MDF or reclaimed wood, check every joint, hinge, drawer runner, and wall anchor. Hardware is the structure’s quiet language.
The manufacturer’s instructions should control assembly, fastener selection, and wall attachment. Do not substitute a decorative screw for a structural fitting merely because the head looks similar. A repainted cabinet with properly tightened hardware is more convincing than a fashionable cabinet with loose doors.
Step 3: Record hidden costs before comparing approaches
Painting can be economical, but the paint tin is only one part of the calculation. Include primer where the surface or finish requires it, brushes, rollers, trays, masking materials, drop cloths, surface repairs, hardware, cleanup supplies, replacement adhesive, and disposal. A project that looks inexpensive on paper can change once preparation and correction are counted.
Compare the complete job rather than the headline item. A reused frame may need cleaning and new backing. A secondhand table may need fasteners and surface preparation. Peel-and-stick wallpaper may require careful trimming and a replacement section if the first placement goes wrong. The right choice is the one that solves the visible problem with the fewest new complications.
Color, Paint, and Wallpaper Without Waste
Choose a palette that can survive a change of mind
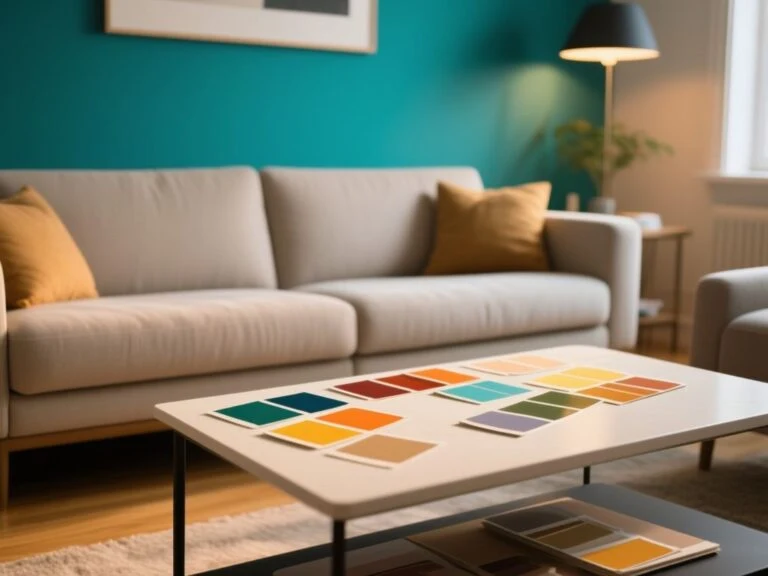
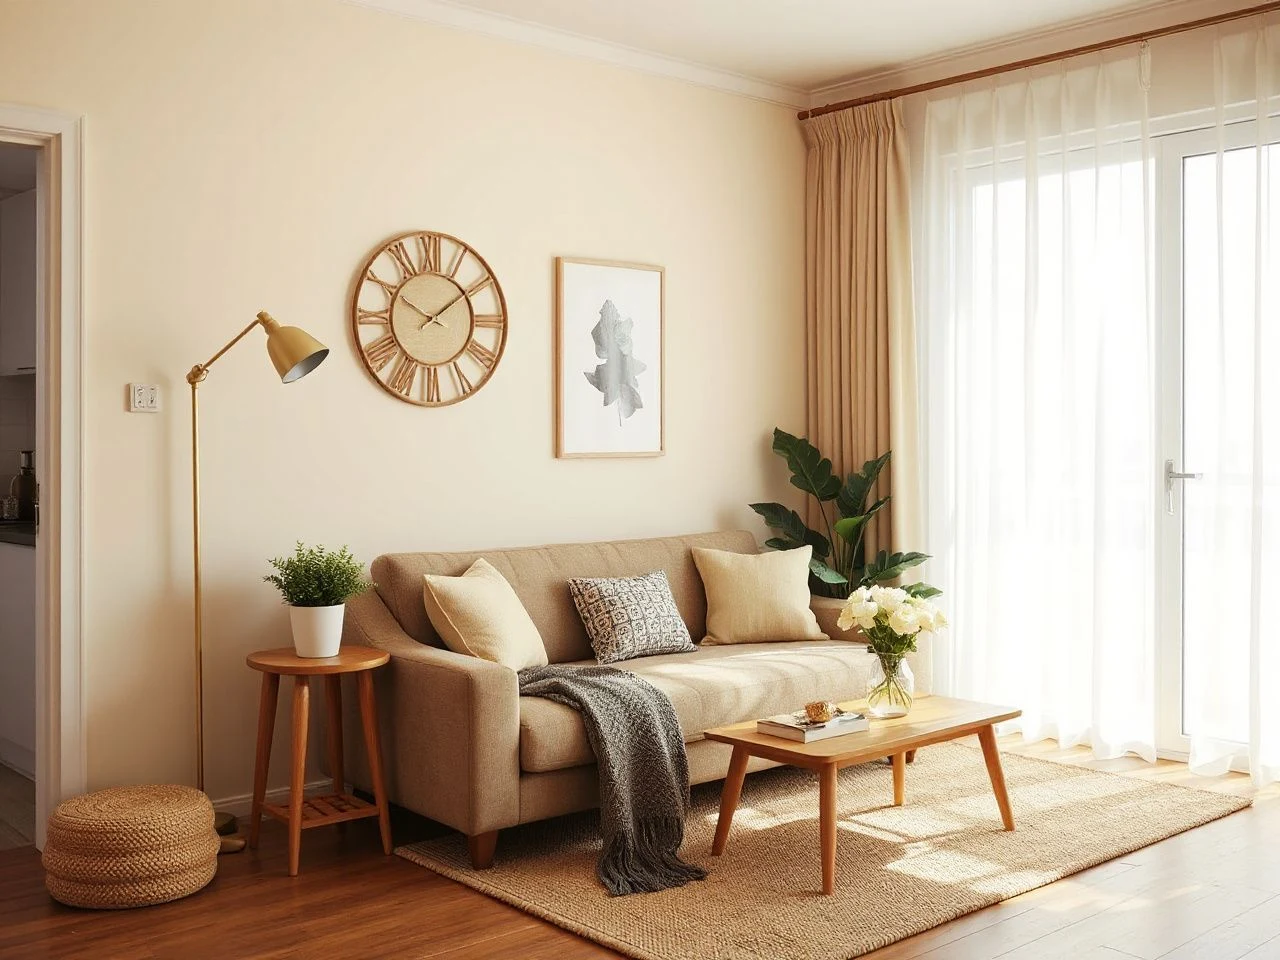
A flexible palette starts with one anchor already present in the room. That anchor might be a wood tone, a rug, a sofa, a curtain, or a piece of art. Add a supporting neutral and repeat one smaller accent through textiles or accessories. Repetition creates intention without requiring every item to match.
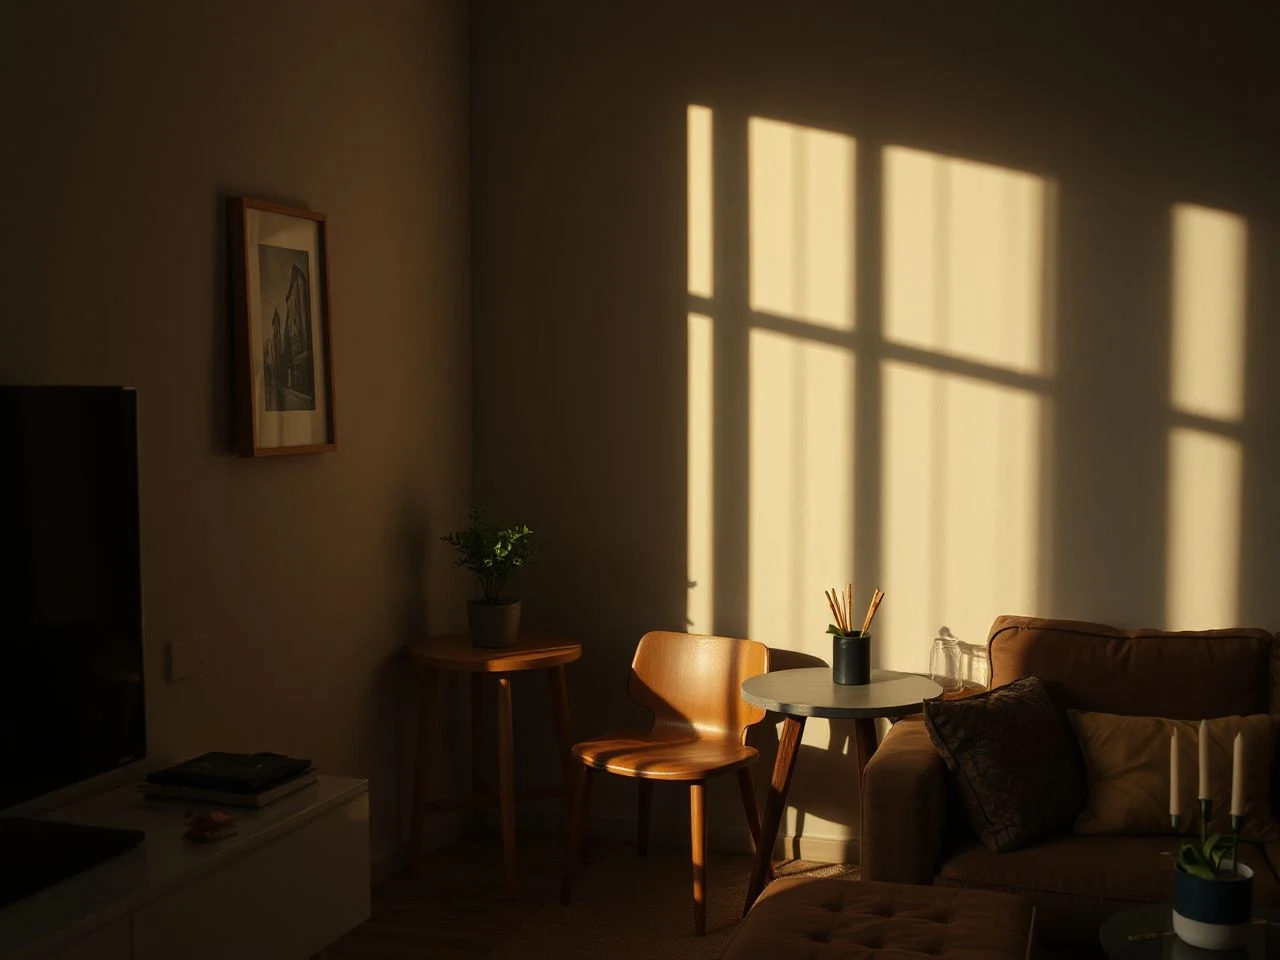
If you dislike the color after painting, do not immediately repaint the whole room. First check the surface under daylight and the room’s evening lighting. Move removable textiles away, change the bulb, and place a neutral fabric or paper beside the wall. A color can seem wrong because of its relationship with nearby objects rather than because the paint itself is unusable.
A color palette feels deliberate when one hue or material appears in more than one place without taking over the room. Repeat a shade in a cushion, frame, vase, or small textile, then leave enough quiet space for the eye to rest.
Use the right finish for the visual job
Low-VOC water-based interior paint is a practical option for many decorative projects, but the label remains the authority for preparation, ventilation, cleanup, and suitable surfaces. Matte, eggshell, and satin sheens create different visual effects. Matte reduces visible sheen, eggshell offers a modest amount of reflection, and satin appears more luminous. Select by the surface and the amount of light you want to see, not by habit.
Test the paint on an inconspicuous area first. Existing finishes, repairs, texture, and previous coatings can change the result. Let the test area dry according to the label before judging the color, and look at it in both daylight and the room’s usual evening light.
Older painted surfaces require extra caution. Paint that predates current products may contain lead, and sanding, scraping, or disturbing such surfaces requires appropriate testing and lead-safe precautions rather than ordinary DIY preparation. The U.S. Environmental Protection Agency provides information about lead-safe renovation and repair practices. Avoid creating dust until the surface has been assessed.
Use peel-and-stick wallpaper with a removal plan
Peel-and-stick wallpaper can create a strong focal point on a small wall, the back of open shelving, or a furniture panel. The surface must be clean, dry, smooth, and compatible with the adhesive. Textured walls, flaking paint, damp areas, dusty surfaces, and poorly bonded finishes can cause lifting or uneven contact.
Measure the area, plan the first drop, and make sure the pattern direction is clear before exposing much adhesive. Work gradually rather than removing the full backing at once. Keep the offcut until the project is complete because a repair may need to come from the same roll or sheet.
Removable does not mean risk-free. Test wallpaper on an inconspicuous area because finishes, wallpaper, and wall surfaces vary, and removal can still lift paint or plaster. Renters should photograph the wall before installation, retain the packaging and instructions, and remove the material slowly rather than pulling sharply.
Reuse Furniture, Fabric, Jars, and Leftover Materials
Give existing furniture a coherent second life
Upcycling works when the object still serves a useful purpose. A mismatched side table can become part of the room through a consistent paint color, a repaired joint, or a repeated material detail. MDF and reclaimed wood can both contribute character, but their surfaces may require different preparation. Check the condition before deciding on chalk paint or another finish.
Chalk paint can help create a deliberately matte appearance on suitable furniture, but the product label should determine cleaning, preparation, and any required protective finish. Do not use texture to hide structural defects. A drawer that sticks, a hinge that pulls away, or a shelf that bows needs attention before decoration.
Hardware deserves visual consistency. Matching knobs are optional; matching function is not. If a chest has several pulls, make sure each one is secure and comfortable to operate. A small repair repeated across a piece gives a stronger impression than a decorative detail that appears only once.
Turn fabric into useful color and softness
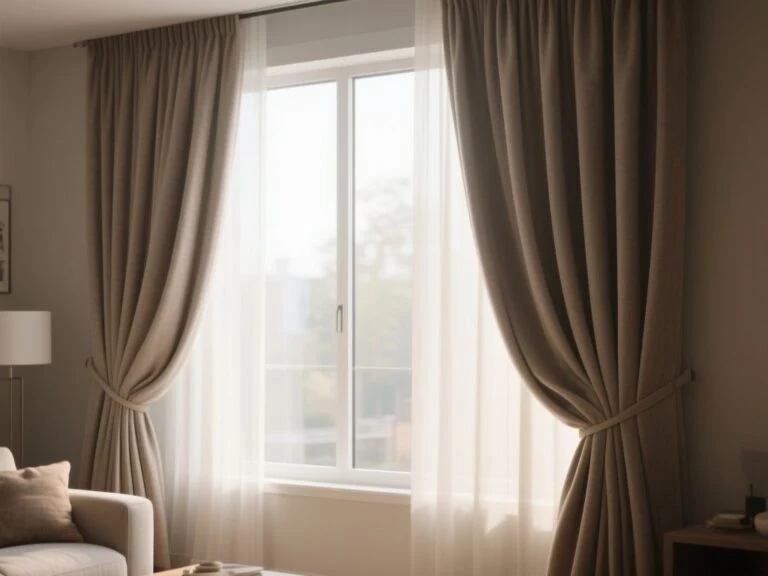
Fabric can become a cushion cover, table runner, wall hanging, shade for a non-electrical decorative fixture, or backing for a framed panel. Choose a role that respects the fabric’s condition. Thin material may work as a layered accent, while a heavier piece can provide visual weight behind a reading chair or above a console.
Before cutting, place the fabric in the room and view it from the doorway. Check whether its strongest color repeats elsewhere. If the material has a busy pattern, keep neighboring surfaces quieter. If it is plain, texture and folds can supply interest without additional prints.
Clean fabric according to its care instructions before turning it into decor. Avoid placing textiles over heaters, near open flames, or where they can obstruct windows and doors. Function comes first.
Use jars, cardboard, and paper with restraint
Jars can hold brushes, cut stems, kitchen tools, or small bathroom supplies. Grouping several containers by purpose creates order; scattering them across every surface creates visual noise. Remove labels carefully, clean the containers, and decide whether transparency helps the room or exposes more clutter.
Cardboard can become a temporary drawer divider, a template for arranging art, or a backing layer for a collage. It is useful during planning because it lets you test scale without cutting valuable material. Once the layout works, replace it with a suitable final material if the piece needs long-term strength.
FSC-certified paper can be used for printable wall art, especially when the design depends on a clean border or a repeatable color. Use cardboard templates to map the arrangement first. Leave consistent breathing room between frames or sheets, and keep the overall group connected by one color, subject, or frame finish.
Make empty walls personal without buying new art
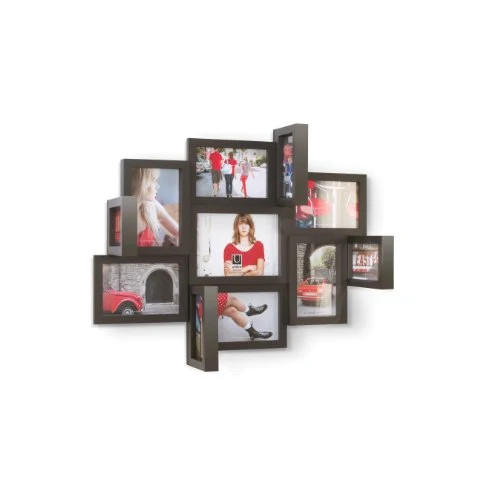
Alternatives to new art include a framed textile, a child’s drawing, a page from an old calendar, a collection of postcards, a mirror already in storage, a fabric sample, or a carefully arranged group of personal photographs. The material matters less than scale, spacing, and a clear relationship between pieces.
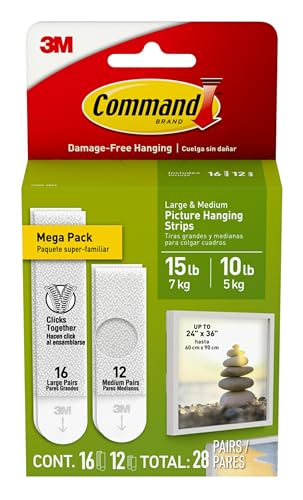
Make a paper template for each frame and attach the templates temporarily before making holes. This allows you to judge the group from the doorway and protect the wall from unnecessary experiments. Removable adhesive hooks such as Command strips may suit some lightweight objects, but check the stated load, surface restrictions, and removal instructions.
Wall art looks intentional when the group has a visible boundary, repeated spacing, or a shared visual thread. A loose cluster with no edge can expand until it competes with furniture and windows.
Lighting, Organization, and Renter-Safe Finishing
Change the room’s evening character with safe lighting
Use the fixture’s stated bulb type, wattage limit, and compatibility information. Do not cover ventilation openings, place fabric against heat-producing fixtures, or use a bulb beyond the fixture’s stated limit.
Budget lighting still requires electrical care. Do not overload outlets, daisy-chain unsuitable connections, or hide cords where they can be pinched. The U.S. Consumer Product Safety Commission provides consumer guidance on electrical and fire hazards. A decorative lighting arrangement is successful only if the wiring remains accessible and safe.
Layer the room by improving the light where tasks happen and adding softer illumination where people sit or rest. Keep the number of fixtures manageable. A single well-placed lamp can clarify a corner more effectively than several small lights competing across the room.
Organize small spaces before adding storage
Small-space layout depends on clear zones. Group reading materials near the seat, daily-use objects near their point of use, and decorative pieces where they will not interfere with access. A shelf should have open space as well as objects. Exceeding 50 percent of a shelf’s capacity with books results in clutter, so edit before adding baskets or labels.
For a compact bedroom, the guide to small walk-in closet organization offers a useful reminder that storage should support retrieval rather than merely conceal excess. In a dorm room, the same principle applies to under-bed areas, desk surfaces, and temporary wall decor; the DIY dorm decor ideas on a budget guide can help with renter-conscious planning.
Do not place decor in front of vents, radiators, windows needed for access, or emergency routes. A storage solution that blocks a necessary opening is a layout mistake, regardless of how tidy it appears.
Use removable hardware with realistic expectations
Removable adhesive hooks are suitable only for objects within the product’s stated limits and surfaces identified as compatible. Clean and dry the area as directed, press the adhesive as instructed, and allow any stated setting period before hanging an item. The hook can fail if the wall is dusty, damp, textured, freshly painted, or weakly bonded.
Never use adhesive alone for an object whose fall could cause injury or damage. Keep heavier pieces on secure hardware appropriate to the wall and object. Renters should keep the original packaging, note the location of every hook, and remove each piece according to the instructions rather than twisting or yanking.
For more exterior context, small front yard landscaping ideas show the same editing principle outdoors: define the main visual line first, then add smaller details that support it.
Prevent the temporary, mismatched, unfinished look
Several mistakes repeatedly weaken low-cost rooms:
- Buying before editing: New objects join old clutter and make every surface harder to read.
- Using too many unrelated colors: A room loses connection when each purchase introduces a new accent.
- Ignoring scale: Tiny art above a large sofa or a small rug floating in a large zone can look accidental.
- Stopping at the visible surface: Loose hardware, unfinished edges, and damaged backs reveal that the piece was decorated before it was repaired.
- Skipping cleanup: Paint splatter, crooked hooks, exposed cords, and dusty frames make a project look incomplete.
- Overloading shelves: More objects reduce the visual value of each object.
One cohesive thread can unify thrifted and handmade decor. Repeat a warm wood tone, one paint color, a metal finish, or a textile pattern, but do not repeat every feature everywhere. Art Deco interiors, for example, can draw on chrome, glass, stainless steel, mirrors, aluminium, lacquer, and inlaid wood; borrowing one or two of those material ideas is enough to suggest the style without turning the room into a display set.
A mixed room looks intentional when repetition is controlled and empty space is treated as part of the design. Editing is the finishing task that costs nothing.
Maintenance and Safety for Low-Cost Decorating
Maintain painted furniture and walls
Follow the paint label for cleaning and curing guidance. Use gentle cleaning methods first, and avoid treating a painted surface as fully durable before the product directions allow normal use. Touch up chips with a small brush, but match the surrounding sheen as closely as possible. A matte patch on a satin surface can remain visible even when the color appears correct.
Inspect high-contact areas periodically: drawer fronts, cabinet edges, chair backs, hooks, and the wall behind frequently moved furniture. Tighten hardware before movement enlarges a hole. Add felt or another suitable barrier where an object repeatedly rubs a finished surface.
Maintain fabric decor and adhesive-mounted items
Dust fabric wall hangings and cushion covers according to their care instructions. Remove pieces from high-humidity areas if the material begins to show a change in condition. Adhesive-mounted decor should be checked for lifting edges, sagging, or movement. Replace an adhesive strip when the product instructions call for replacement rather than adding more weight to an aging attachment.
Candles require special care. Keep flames away from fabric, paper, cardboard, and hanging textiles, and never use a decorative container as a candle holder unless it is intended for that purpose. Store matches and lighters safely, and do not leave an open flame unattended.
Protect the deposit and the room’s basic function
Renters should read the lease before painting, attaching hardware, or applying wallpaper. Photograph existing damage, test every removable product in a hidden area, and retain records of the wall’s original condition. Removable products can still lift paint or plaster, particularly where the existing finish is weak.
Do not conceal damage with wallpaper or furniture if the underlying issue involves dampness, an unstable fixture, unsafe wiring, or deteriorating paint. Decorative work cannot correct a building problem. Pause and seek appropriate help when the surface or electrical condition is uncertain.
Frequently Asked Questions About budget decorating ideas
Which changes make the biggest visual difference with very little money?
Start with the room’s largest visible problem. Rearranging large furniture, improving a dark lighting zone, editing a crowded shelf, changing a small amount of wall color, or adding a coordinated textile usually has more visual reach than scattering small accessories. Choose one repeated color or material so the changes connect. Check the result from the doorway before spending on anything else.
Is painting still economical after primer, tools, and cleanup?
Painting may remain economical, but only after the full project is counted. Include primer, brushes, rollers, trays, masking materials, drop cloths, surface repairs, cleanup, and disposal. Test the existing surface first because poor adhesion can create rework. If the wall needs extensive preparation or contains older paint that may contain lead, ordinary DIY sanding is not an appropriate assumption.
How do peel-and-stick wallpaper and removable hooks fail?
Both products can fail on dusty, damp, textured, freshly painted, or weakly bonded surfaces. Wallpaper may lift at seams, while hooks may release when the load exceeds the stated limit or the adhesive is removed incorrectly. Test an inconspicuous area first, follow the product directions, and keep heavy or hazardous objects on suitable permanent hardware.
How can thrifted and handmade decor look intentional rather than cluttered?
Limit the number of visual threads. Repeat one color, wood tone, metal finish, or textile quality across the room, then leave open space around the strongest pieces. Repair loose hardware and unfinished edges before displaying furniture. Arrange wall art with a clear boundary or consistent spacing. The room should contain variation, but the arrangement needs a readable structure.
What safety issues matter most in a low-cost decorating project?
Keep exits, heaters, vents, windows, and essential storage clear. Do not overload outlets, cover lighting ventilation openings, or exceed fixture wattage and compatibility limits. Keep candles away from paper and fabric. Older paint may require lead-safe precautions before sanding or scraping. The Consumer Product Safety Commission is a reliable starting point for household product and electrical safety guidance.
Budget decorating works when every addition earns its place. Repair the useful, remove the excess, repeat a clear thread, and spend attention where the eye already goes. The finish can be modest. The decisions should be precise.