The cheapest bathroom renovation is rarely the one with the lowest starting price. Cosmetic changes such as paint, hardware, lighting, and storage can alter the room quickly, while savings that weaken waterproofing, ventilation, wiring, or the floor can create a second renovation later. That distinction should guide every list of bathroom ideas on a budget, especially in a small room where one failed surface is hard to hide.
A useful plan compares the initial work with maintenance and replacement consequences. Fix leaks, unsafe wiring, poor ventilation, and weak substrates before choosing a new colour or decorative finish; the doorway, turning space, and wall clearances deserve the same attention as the style.
Key Takeaways
- Spend first on leaks, ventilation, waterproofing, electrical protection, and sound substrates.
- Paint, lighting, storage, mirrors, hardware, and carefully selected flooring can create the largest visible change for modest work.
- Do cosmetic work yourself where preparation is straightforward, but use licensed trades for risky plumbing, electrical, and wet-area alterations.
Bathroom Ideas on a Budget: Start With the Room’s Real Condition
A bathroom refresh should begin with inspection rather than a colour palette. A cheap cosmetic refresh should never conceal an active leak, soft subfloor, deteriorated plumbing, poor ventilation, or unsafe wiring, because those defects can make the finished work fail quickly.
Walk through the room with the lights on and off. Look beneath the sink, around the toilet base, at the shower corners, under the vanity, and along the floor edges. Pressing, scraping, or removing finishes can expose a problem, but older bathrooms may contain lead-based paint or asbestos-containing materials, so demolition and sanding require local guidance and professional testing where appropriate.
Separate appearance work from water-management work
The key distinction is between inexpensive cosmetic changes—such as paint, hardware, lighting, and storage—and savings that compromise the water-management system behind the walls or beneath the floor. A useful budget guide compares the initial work with maintenance and replacement consequences, while prioritizing ventilation, leak repair, electrical protection, and sound substrates before appearance.
Bathroom surfaces must tolerate regular water exposure and cleaning products, and flooring also needs attention to slip risk. A fresh finish cannot stabilize a damp or moving base. Loose tile, peeling paint, and leaking sealant are often symptoms of moisture entering a surface that was not prepared or protected correctly.
Measure before choosing a layout or fitting
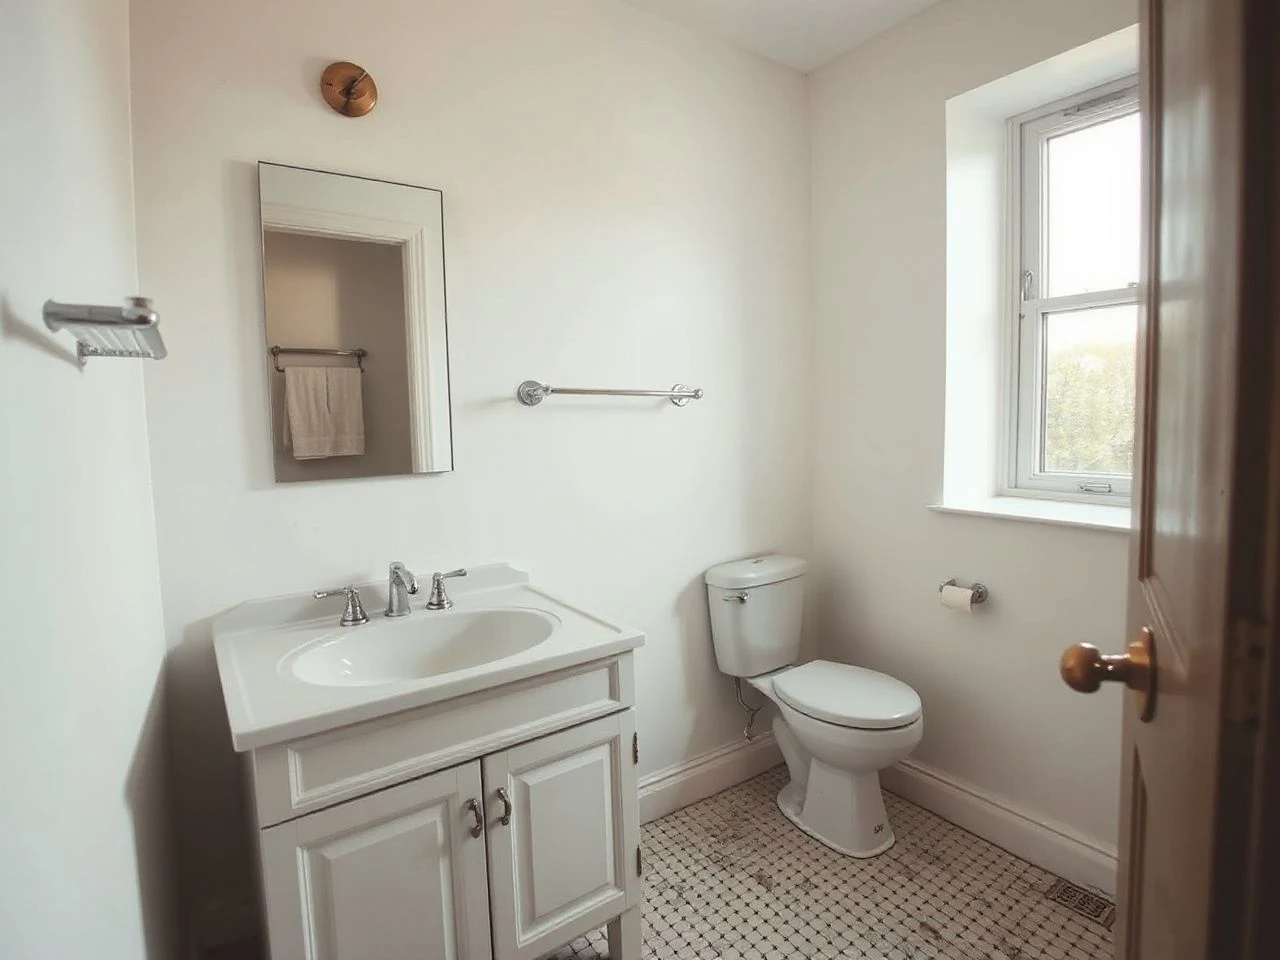
Measure the doorway before admiring a vanity, cabinet, mirror, or freestanding bath. Then record the wall lengths, door swing, window position, existing plumbing points, and the clear space around the toilet, sink, and shower. Small bathroom layout decisions become expensive when a new fitting blocks a door, traps a drawer, or forces plumbing to move.
A standard full bathroom typically includes a sink, toilet, and either a shower, a bath, or both. That basic arrangement does not dictate one style, but it does show why a layout change can affect several systems at once. For additional planning help, the guide to smart design basics for small bathrooms can sit alongside your own measured drawing.
Beginner Bathroom Ideas on a Budget: Make the Biggest Visual Changes First
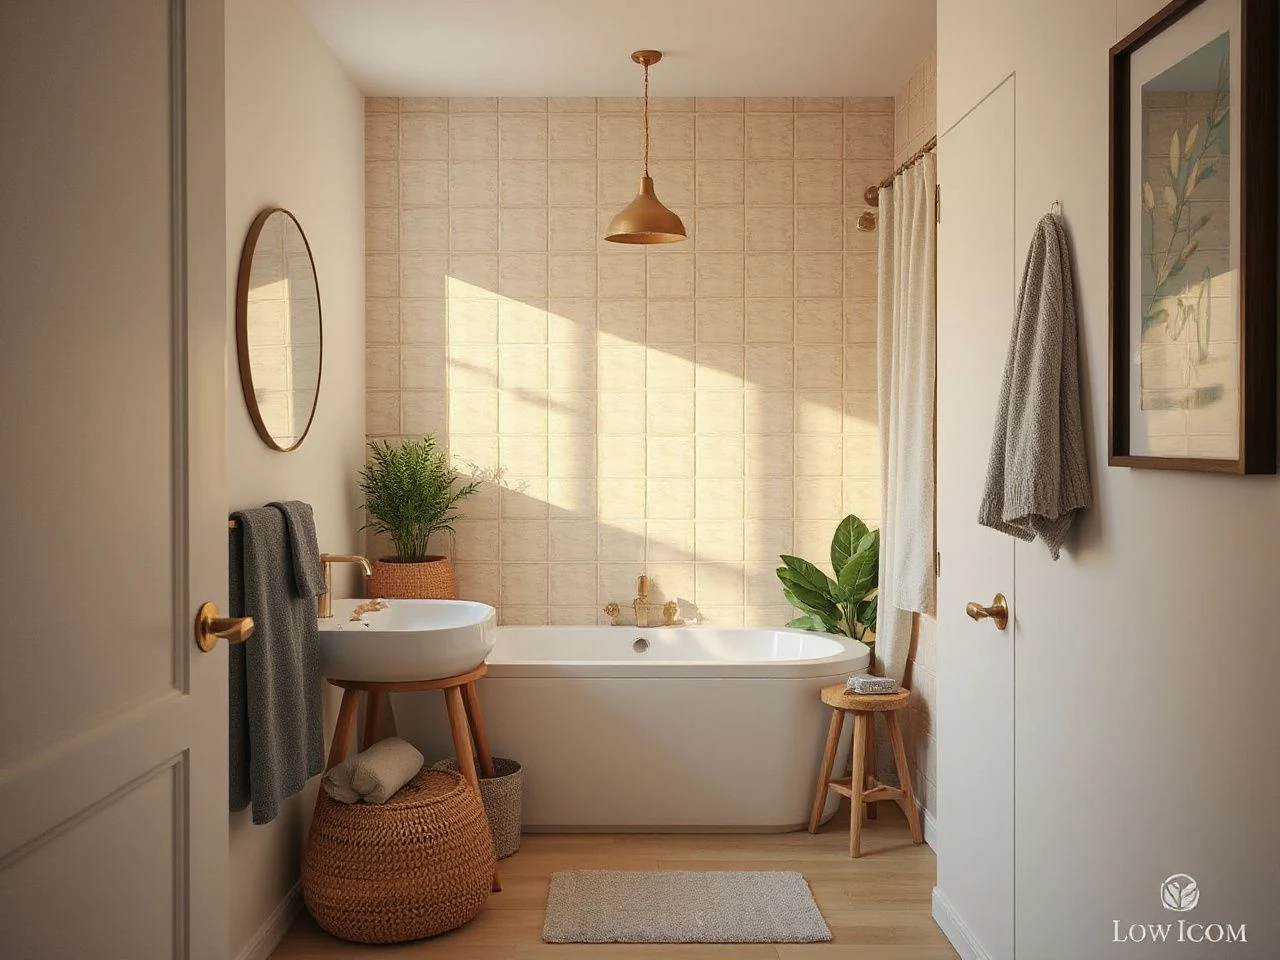
The strongest low-cost changes usually cover a broad visual area without disturbing plumbing or waterproofing. A cohesive wall colour, a clean mirror, better storage, and corrected lighting can make a compact bathroom feel considered rather than unfinished.
Use paint where paint is actually suitable
Repainting is sensible on sound, dry bathroom walls outside the direct wet area. Clean the surface according to the paint manufacturer’s instructions, repair peeling areas, remove dust, and allow the wall to dry before coating it. A pale colour can reflect available light, while a deeper tone on one wall can give a narrow room a deliberate focal point.
Paint and moisture-resistant gypsum board are not substitutes for a waterproof shower assembly. Shower walls need an appropriate membrane or backer-board system with sealed joints and penetrations; moisture-resistant gypsum board can be useful in suitable non-shower locations, but its presence does not turn a wall into a waterproof enclosure.
For a finish-led scheme, keep the ceiling, trim, wall colour, mirror frame, and storage tones related. Too many small contrasts make a small room look crowded. One calm wall treatment usually does more than a collection of unrelated decorative objects.
Choose a simpler surface treatment instead of retiling everything
Retiling an entire bathroom is rarely the first place I would put a limited budget. Ceramic tile can be a practical surface for suitable bathroom walls or floors, while porcelain tile is another option, but neither belongs on an unstable, damp, or poorly prepared substrate. Tile also requires correct setting, joint treatment, and attention to penetrations.
Keep existing tile if it is sound, securely attached, and compatible with the planned finish. Clean it thoroughly, repair failed joints, replace individual damaged pieces where possible, and refresh the surrounding colour rather than removing an entire installation. A small area of new ceramic tile can create a visual boundary around a sink or bath without turning the whole room into a demolition project.
Do not treat decorative tile paint as a waterproof shower system. A wetroom is designed to be completely waterproof, so a surface coating cannot replace the membrane, sealed joints, and carefully protected transitions that such a room requires.
Change the mirror, storage, and hardware as a group
A mirror occupies a large visual plane, which makes its shape and position unusually important in a small bathroom. Check the wall width, nearby switches, light position, cabinet doors, and the route through the doorway before choosing its size. The bathroom mirror planning guide covers common placement mistakes without asking you to redesign the room around a decorative object.
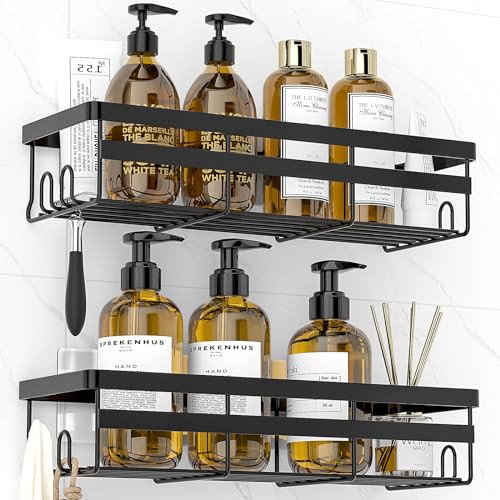
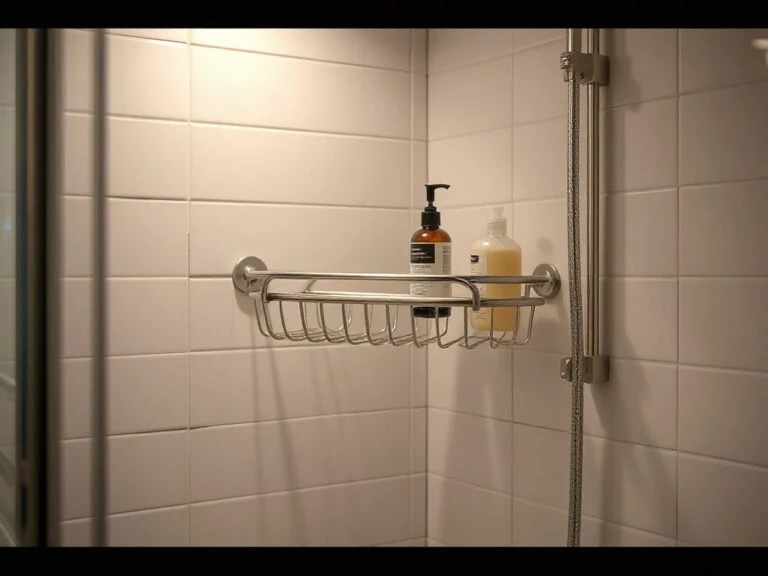
Storage should use neglected vertical space while preserving access to the sink and toilet. A shallow wall cabinet, hooks, or a narrow shelf can hold daily items without consuming the floor area needed to open the door. Keep heavy or frequently used items within easy reach and avoid adding shelves where they will be struck by the shower door or become difficult to clean.
Matching visible hardware can make a room feel more orderly, but check hole spacing before removing a tap, handle, or cabinet pull. Replacing a handle is a simple cosmetic task; replacing a tap can involve shutoff valves, supply connections, and leak testing.
Improve lighting without treating electricity as decoration
Lighting can make tile, paint, and mirrors read more clearly, but bathroom electrical work must account for GFCI protection, suitable fixture locations, and local electrical code. The [U.S. Consumer Product Safety Commission](https://www.cpsc.gov/) provides consumer safety information relevant to electrical hazards, while local requirements determine what work is permitted in a particular bathroom.
A GFCI receptacle is not a style accessory. Do not assume that any household light or receptacle is acceptable near water, and do not move wiring, add a receptacle, or alter a fixture in a wet area unless the work is within your legal skill and local rules. A licensed electrician should handle uncertain wiring, new circuits, relocated receptacles, and fixture locations that may be restricted.
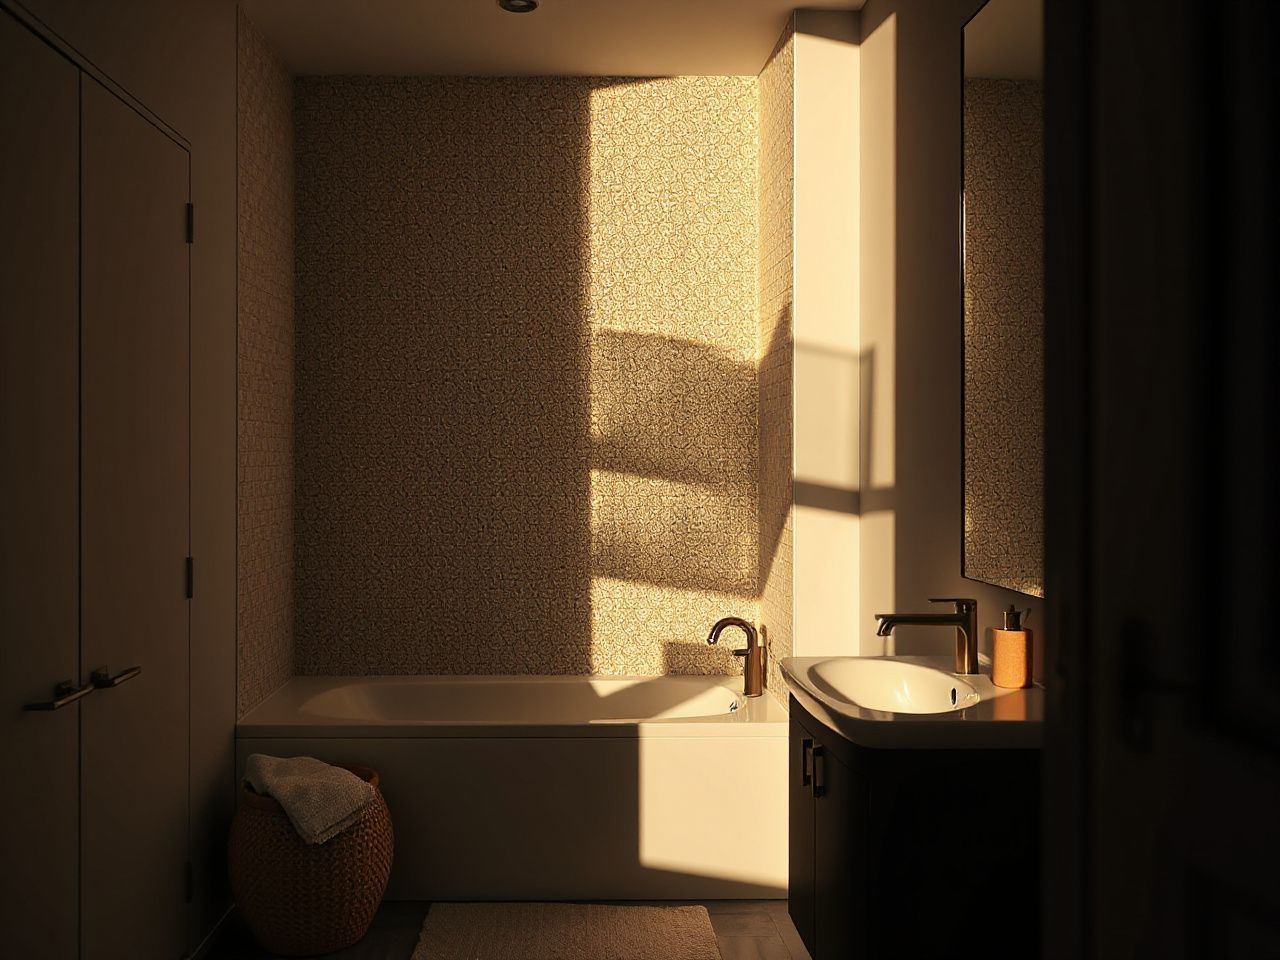
Intermediate Budget Choices: Floors, Walls, and Water Use
Decide whether the existing floor can remain
Installing a new floor over an existing surface may be possible only when the old floor is sound, dry, stable, clean, and compatible with the new installation method. The old surface must not be hiding movement, soft areas, moisture damage, loose pieces, or a height change that interferes with the door, toilet, or cabinetry.
Sheet vinyl flooring can offer a simpler visual treatment in a suitable bathroom, but the installer still needs to assess the subfloor and the manufacturer’s requirements. A flexible finish does not correct a damp or unstable base. Ceramic tile and porcelain tile both demand careful substrate preparation, and the finished floor must work around drains, thresholds, and existing fixtures.
Remove the old floor or stop the project when the substrate is soft, damp, visibly damaged, or moving. A new surface laid over hidden failure may look finished briefly, yet the movement beneath it can lead to cracked joints, lifted edges, or gaps that admit water.
Floor heating is a separate design decision. Radiant hot-water tubing beneath the floor surface and resistive electric mats under floor tile are two ways to provide floor heating, but adding either system changes the floor build-up and may involve plumbing or electrical work. It should not be squeezed into a cosmetic refresh without checking the assembly, controls, and local requirements.
Compare ceramic tile, porcelain tile, and sheet vinyl honestly
Ceramic tile may suit a budget surface when the existing structure is stable and the installation area is straightforward. Porcelain tile is another tile choice, but the material decision should include the substrate, cutting, edge treatment, grout, and installation complexity rather than focusing on the tile alone.
Sheet vinyl can simplify the appearance of a floor and reduce the number of visible joints, yet it still needs a suitable, well-prepared base and careful treatment at edges and penetrations. The right choice depends on the room’s water exposure, cleaning routine, slip concerns, and the condition of the surface beneath it.
No floor material can compensate for an unresolved leak. Repair the source first, allow the affected area to become suitable for the new work, and then choose a finish that matches the remaining conditions.
Know the difference between water-resistant board and waterproofing
Moisture-resistant gypsum board is not the same as a properly waterproofed shower wall. The board may be appropriate in locations exposed to humidity, but direct shower water requires an assembly designed for that exposure, including a suitable membrane or backer-board system, sealed joints, and protected fastener and plumbing penetrations.
Waterproofing failures commonly begin at corners, niches, valves, pipe openings, and changes between materials. Those details matter more than choosing a fashionable tile. If the shower assembly is uncertain, the budget should go toward inspection or qualified wet-area work before new finishes.
Reduce water use without replacing every fitting
Water-saving toilets, faucets, and showerheads can reduce ongoing use, but a low-cost fitting may cost more over time if it wastes water, needs frequent replacement, or does not suit the existing connections. Look for the water-use information supplied with the fitting and consider the installation requirements before removing a working fixture.
WaterSense is a named efficiency program, and its information is available through the [U.S. Environmental Protection Agency](https://www.epa.gov/). A label or efficiency claim should still be checked against the exact fitting and its installation instructions rather than assumed from a general product description.
Advanced Work: Ventilation, Plumbing, and the Jobs to Leave Alone
Improve ventilation before mold becomes a finish problem
Bathroom ventilation and mold prevention depend on controlling moisture, not masking discoloration with paint. Use the existing exhaust system correctly, keep air moving after bathing, and address a fan that fails to remove humid air or vents poorly. If the system needs new wiring, duct changes, roof work, or a new opening, the task may require a qualified professional and local approval.
Do not paint over recurring mold or staining before identifying the moisture source. Check leaks, condensation, failed sealant, and wet materials around the shower, sink, toilet, and exterior wall. Ventilation can help manage humidity, but it cannot repair a leaking pipe or replace a waterproof assembly.
Choose do-it-yourself work with a clear boundary
Painting, cleaning, measuring, assembling simple storage, changing cabinet hardware, and planning a mirror location are reasonable areas for careful do-it-yourself work. Surface preparation remains the important part; rushed cleaning or skipped repairs often explain peeling paint and failed sealant more than the finish itself.
Leave uncertain electrical work to a licensed electrician, including new circuits, relocated receptacles, wiring changes, and fixtures in restricted bathroom locations. Plumbing work also deserves professional help when it involves moving supply or waste lines, repairing concealed leaks, changing a toilet connection, or disturbing a shower valve inside the wall.
Shower waterproofing is another poor place for casual shortcuts. If the membrane, backer-board system, penetrations, or drain connection is not understood, pause before tile covers the evidence. A tile pattern can be replaced; a concealed water-management failure is far harder to correct.
Avoid layout mistakes that create lasting costs
- Do not buy a vanity before checking doorway access, wall width, plumbing alignment, and door swing.
- Do not move the toilet or shower simply to create a new look without pricing the concealed plumbing and floor repairs.
- Do not place shelves, lights, or mirrors where they obstruct cabinet doors, switches, or required access.
- Do not cover a soft subfloor with sheet vinyl, ceramic tile, or porcelain tile.
- Do not use paint or moisture-resistant gypsum board as a substitute for shower waterproofing.
- Do not assume a new receptacle or light is safe because the fitting is sold for household use.
Small-space planning rewards restraint. If the toilet, sink, and shower work safely where they are, a better storage plan and stronger visual order may produce more value than a new arrangement.
A Practical Order of Work for a Budget Bathroom
Step 1: Document the room
Photograph the existing connections, measure every wall, note the door swing, and record the locations of windows, vents, switches, receptacles, drains, and shutoff valves. A measured sketch prevents the common error of designing around an object that cannot pass through the doorway or connect to the existing room.
Step 2: Repair the causes of damage
Address active leaks, soft flooring, failing plumbing, poor ventilation, unsafe wiring, and damaged shower assemblies before ordering finishes. Ask a qualified professional to assess concealed systems when the source is uncertain. Decorative work should begin only after the supporting surfaces are sound.
Step 3: Choose one broad visual change
Select paint, a mirror, a storage arrangement, a lighting improvement, or a carefully limited tile treatment as the main visual move. Supporting details should serve that decision rather than compete with it. A focused scheme makes a modest project look intentional.
Step 4: Prepare before applying anything
Clean surfaces, remove failed material, repair damage, sand only where safe and appropriate, and allow surfaces to dry according to the product instructions. Use 100% silicone sealant only where the joint and product instructions call for it, and tool the joint neatly instead of covering a structural or plumbing problem.
Step 5: Check the finished room as a working space
Open the door, cabinet, drawers, and shower enclosure. Use the sink, flush the toilet, inspect the floor transitions, and look at the room from the entrance. The final test is not only whether the colours coordinate; it is whether the room remains easy to use, clean, ventilate, and maintain.
For a stronger decorative direction, modern farmhouse bathroom ideas that combine rustic and contemporary details can help narrow the palette without forcing a complete layout change. Readers drawn to a more layered scheme can also review boho bathroom design ideas for texture and colour, then adapt only the elements that fit the measured room.
Frequently Asked Questions
Which bathroom ideas on a budget create the biggest visual difference?
Start with the largest visible surfaces and the items used every day. A clean, well-prepared paint finish, a correctly scaled mirror, better storage, coordinated hardware, and improved lighting can change the room without moving plumbing. In a small bathroom, removing visual clutter often matters as much as adding decoration. Repair moisture damage first, because a new finish over a failing surface will not remain convincing.
Should I repaint the bathroom, retile it, or use sheet vinyl?
Repaint sound walls outside direct wet areas when the existing surface is stable and dry. Retile only when the substrate and waterproofing are suitable, especially around a shower. Sheet vinyl may suit a floor with a properly prepared, stable base, but it cannot hide dampness or movement. Ceramic and porcelain tile also need sound substrates, careful installation, and attention to water exposure and slip risk.
Can I install new flooring over the existing bathroom floor?
Only consider covering the old floor when it is stable, dry, clean, securely attached, and compatible with the new material and installation method. Check for soft areas, movement, moisture damage, loose pieces, awkward height changes, and interference with the door or toilet. If any of those conditions exist, covering the floor is a false economy. Correct the substrate or ask a qualified flooring professional to assess it first.
Which bathroom work should a professional handle?
Use a licensed electrician for uncertain wiring, new circuits, relocated receptacles, and bathroom fixture locations that may be restricted by local code. Use a licensed plumber for concealed leaks, relocated supply or waste lines, shower-valve changes, and difficult toilet connections. Wet-area waterproofing also deserves qualified work when the membrane, backer-board system, penetrations, or drain detail is unclear. Paint and simple storage are safer do-it-yourself boundaries.