
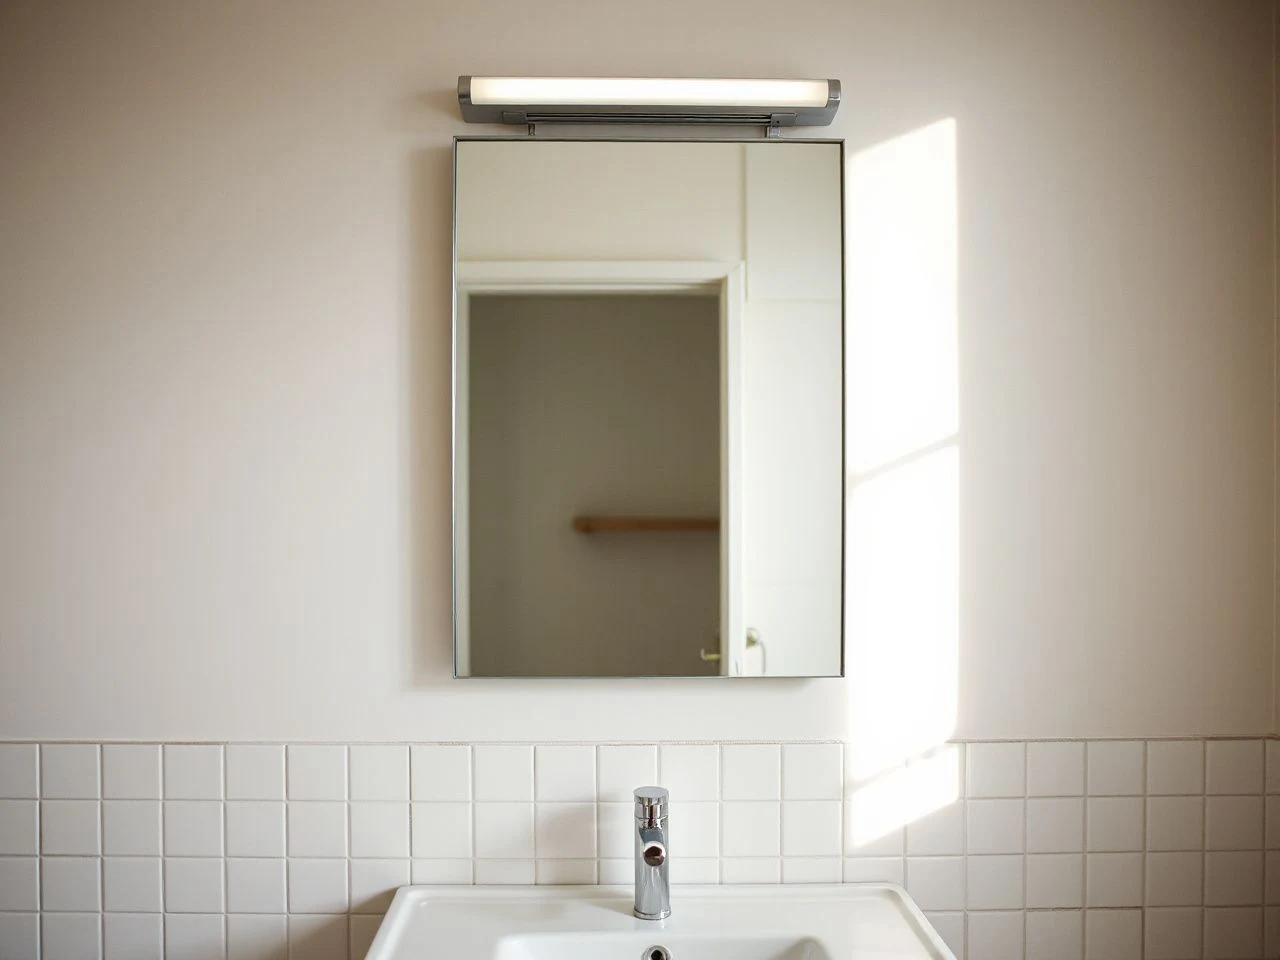
A mirror that is too wide can collide with sconces, cabinet doors, outlets, or the wall edge; one that is too narrow can leave the vanity looking disconnected. A bathroom mirror size guide should distinguish visual balance from functional clearance: a mirror can match the vanity width yet still conflict with sconces, cabinets, faucets, or wall boundaries. The practical approach is to map the usable wall, the viewing area, and the mounting surface separately before choosing proportions, rather than treating the vanity width as the only measurement that matters.
I rate a mirror layout first by how cleanly the mirror comes off the wall later. That means checking its mounting surface, access around brackets or clips, nearby electrical wall boxes, and the likely replacement path before judging the shape.
Key Takeaways
- Measure the usable wall, not only the bathroom vanity, because lighting, cabinets, outlets, and wall edges reduce available width.
- Use the vanity, basin, faucet, ceiling, and user height together to set a mirror’s position and proportions.
- Plan mounting support, moisture exposure, ventilation, and future removal before committing to a large or heavily framed mirror.
Beginner: Build a Reliable Bathroom Mirror Size Guide From the Wall Out
Step 1: Mark the usable wall
Start with the section of wall where the mirror can actually sit. The usable wall may be narrower than the bathroom vanity because a sconce occupies one side, a medicine cabinet door swings nearby, or the wall ends at a shower enclosure. Mark the wall edges with painter’s tape and note every object that must remain accessible.
The usable vanity wall determines the practical mirror width. A bathroom vanity can be wide enough for a large mirror while the surrounding wall cannot support that width without crowding another fixture.
- Mark the left and right wall boundaries.
- Mark the position of vanity lighting and electrical wall boxes.
- Trace the swing of cabinet doors and medicine cabinet doors.
- Mark the shower enclosure, backsplash, faucet, and any trim that limits the mounting area.
- Keep the mounting surface separate from the viewing area on your sketch.
This simple plan prevents a common error: treating the vanity footprint as the whole design. A mirror must occupy a wall that remains usable after lighting, access, and clearance are accounted for.
Step 2: Use the vanity width as a starting point, not a final answer
A mirror often looks balanced when it covers roughly 70–90% of the vanity’s width. Another practical rule is to keep the mirror 2–4 inches narrower than the vanity. These figures are starting points, not permission to ignore the wall around the vanity.
Single-sink vanities generally span 24–48 inches, while standard vanity widths include 24, 30, 36, 48, 60, and 72 inches. Use those figures to identify the general scale of the installation, then subtract space required by sconces, outlets, cabinet doors, and wall boundaries.
A mirror may be wider than the vanity only when the surrounding wall provides clear space and the composition remains centered on the room’s working area. If the mirror projects beyond the vanity into a narrow return wall or close to a shower enclosure, the extra width can make the installation look forced and complicate removal.
For a small bathroom, a mirror that fits the wall cleanly matters more than squeezing in the widest possible reflective surface. The small-bathroom mirror layout guide can sit alongside this measurement process, but the wall plan should come first.
Step 3: Center the mirror on the correct reference point
Centering over the bathroom vanity is often sensible, but the basin usually gives the more useful visual reference when the countertop is unusually deep or the vanity has offset storage. The wall itself becomes the reference only when the vanity is not centered in the room or when the lighting layout establishes a stronger axis.
The mirror should align with the place where people stand to wash, shave, groom, or adjust clothing. That point is usually near the lavatory basin, not automatically at the midpoint of every cabinet door below it.
Use painter’s tape to mark the centerline of the basin, the vanity, and the available wall. If those lines do not match, decide which one governs the room’s daily use before drilling. A mirror mounted to the wrong centerline can look crooked even when the hardware is level.
Beginner: Set Mirror Height Around People and Fixtures
Step 4: Establish the vertical viewing zone
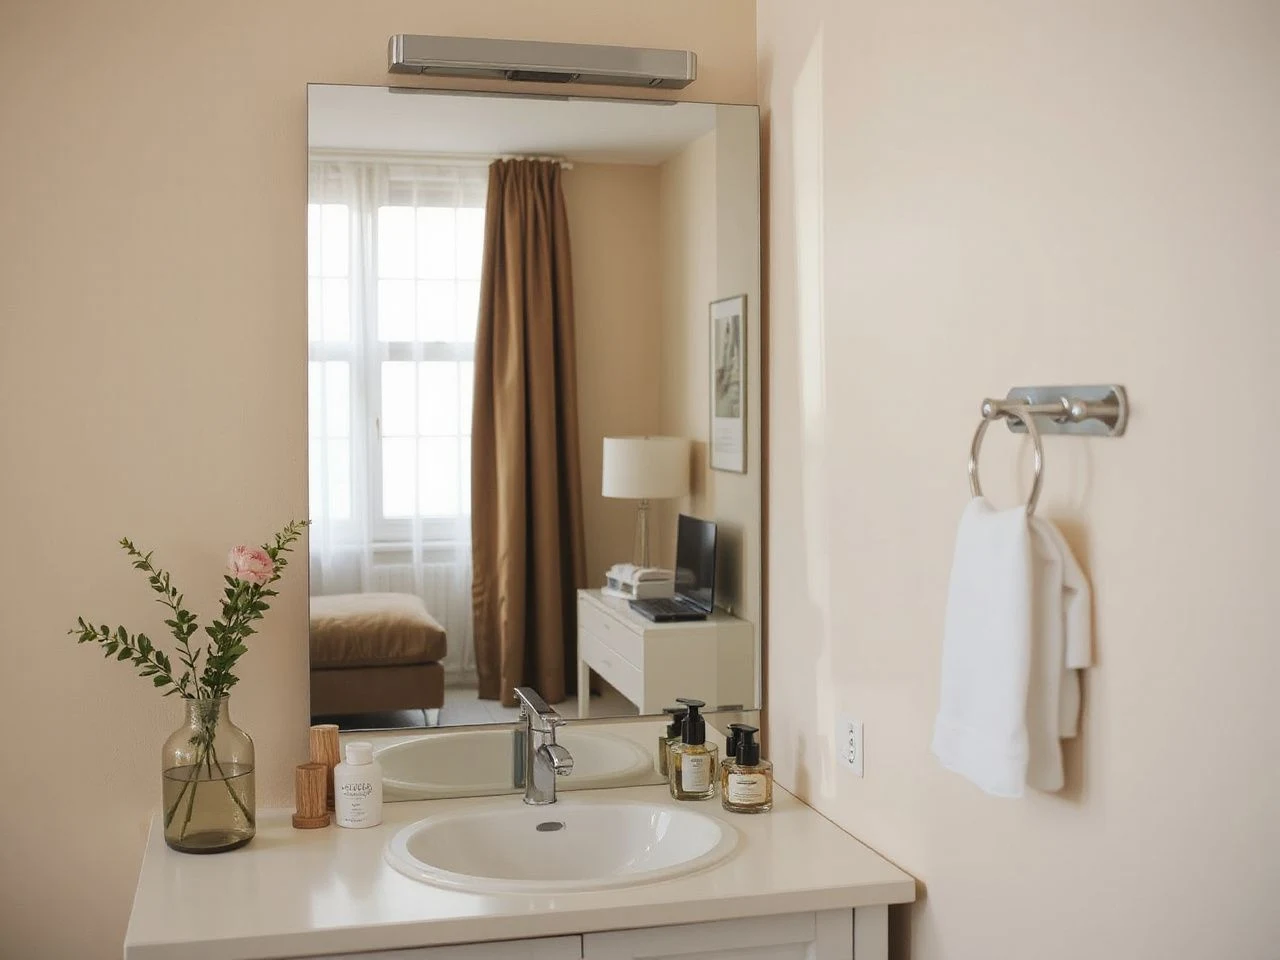
A typical bathroom mirror reaches about 30 inches in height, and standard mirror heights commonly fall between 28 and 36 inches. The right choice depends on the people using the room, the ceiling, the faucet, the backsplash, and the lighting.
Position the mirror’s midpoint about 60–65 inches from the floor as a starting reference. The midpoint is not the same as the bottom edge, so place the full mirror outline on the wall before transferring that reference to mounting hardware.
A bathroom mirror’s midpoint should serve the people using the room while leaving clear space around the basin and ceiling. If users vary noticeably in height, a mirror with more vertical coverage may serve the room better than a narrow decorative shape, provided the wall can support it.
Step 5: Check the lower edge against the faucet and backsplash
Leave about 4–8 inches over the faucet and about 5–10 inches over the sink when assessing the lower edge. These figures are useful only after accounting for the faucet’s full shape, the backsplash, and any wall-mounted fittings that occupy the same zone.
A tall faucet can make a visually suitable mirror feel too low. A backsplash can also create a hard boundary that leaves little room for cleaning or mounting brackets. Trace the faucet’s highest point on the wall and hold the mirror outline above it before selecting the final height.
Do not let the lower edge rest so close to the faucet that splashes repeatedly reach the frame or backing. Moisture, ventilation, framed edges, and backing materials influence maintenance, and an edge that stays damp can contribute to deterioration or damage to the wall finish.
Step 6: Protect the ceiling and nearby enclosure
Allow about 4–6 inches under the ceiling when checking the upper edge. The available space can be smaller in a low room, but the mirror should not crowd ceiling trim, a light fitting, or the upper path of a cabinet door.
A shower enclosure also affects the plan. Steam and splashes can make a nearby mirror harder to maintain, while a door or fixed panel can limit the safe position of the mirror and the space needed for tools during removal.
Intermediate: Fit the Mirror Around Lighting, Storage, and Double Vanities
How sconces change the practical width
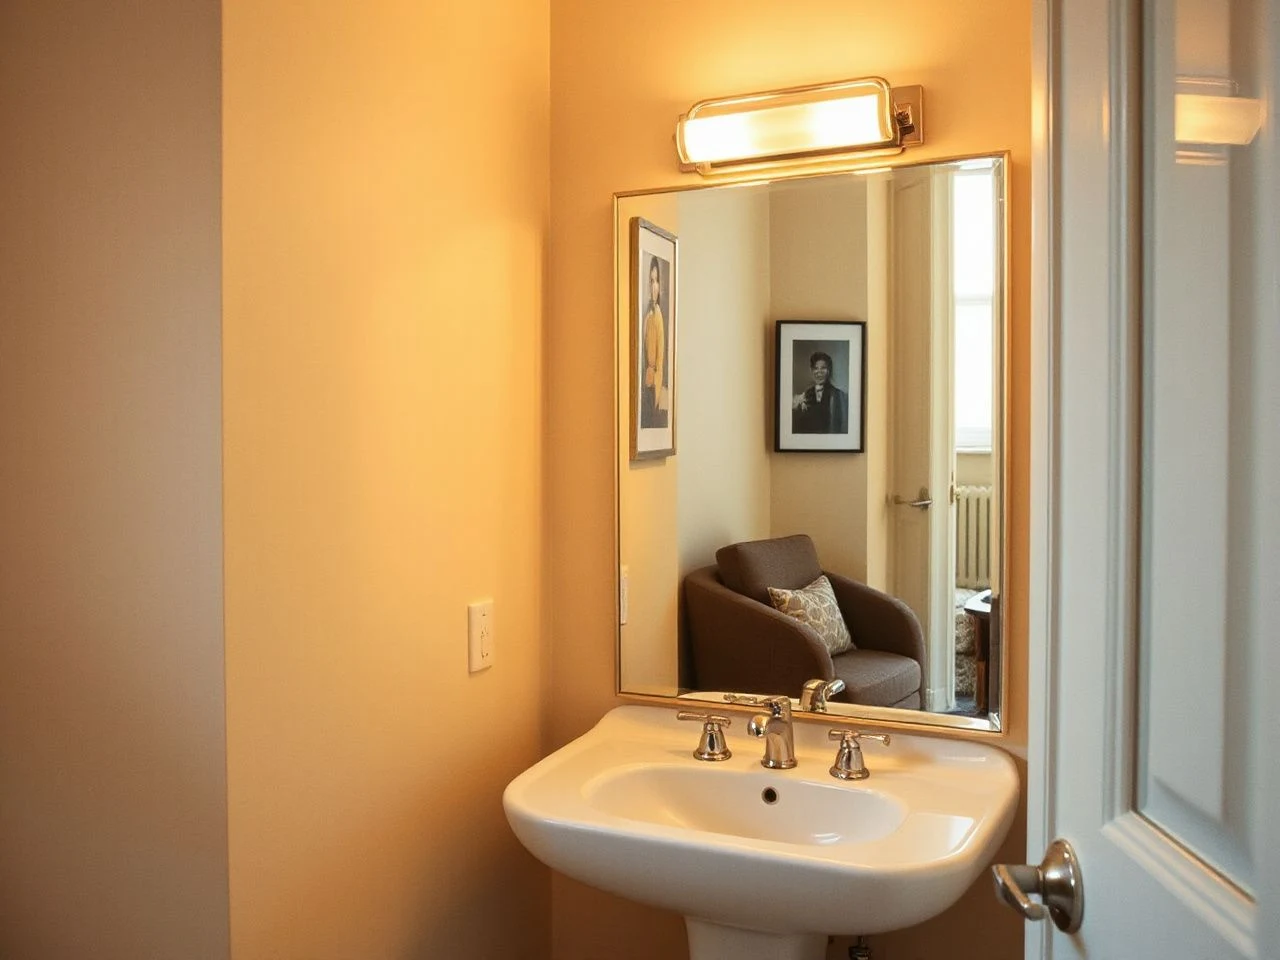
Sconces beside the mirror reduce the available width even when they do not overlap the glass. Their backplates, electrical wall boxes, wiring access, and service space all influence where mirror mounting brackets can sit.
With side lighting, measure the clear opening between the lighting positions rather than measuring the vanity from edge to edge. A narrower mirror centered in that opening can look more deliberate than a wider mirror squeezed behind the sconces.
Vanity lighting changes the practical position of the mirror because the light source and the reflective surface need to share the same usable wall. Electrical work near a wet bathroom area should be handled with appropriate precautions; the U.S. Consumer Product Safety Commission provides consumer safety information that can help frame those decisions.
Lighted mirrors require another check: the mirror’s electrical connection, wall box, and removal route must remain accessible according to the installation instructions. A lighted mirror that is difficult to disconnect may be visually tidy but frustrating to take off the wall.
For lighting-specific planning, the guide to avoiding mistakes with lighted bathroom mirrors can help you separate reflective coverage from electrical placement.
One mirror over a double vanity
Double-sink vanities generally measure between 60 and 72 inches or more in width. One wide mirror can connect the two basins visually, but its width must still fit between wall boundaries, sconces, cabinets, and the shower enclosure.
A wide mirror over a double vanity should align with the combined working area rather than merely stretching from one outer cabinet edge to the other. Check both basins, the shared faucet arrangement, and the centerline of the room before finalizing the outline.
Separate mirrors over a double vanity
Separate mirrors give each basin its own visual zone and can leave a central gap for lighting or wall detail. They also create more joints, edges, brackets, or clips to measure and keep level.
Choose separate mirrors when the two basins have distinct centerlines or when a single wide mirror would run into side lighting or a cabinet. Choose one mirror when the wall is broad, the lighting supports a shared composition, and future removal can happen without disturbing several mounting points.
Two mirrors must have enough space between them to read as intentional. The exact gap depends on the wall and fixtures, so mark both outlines and inspect the full installation from the bathroom doorway as well as from the basin.
Framed, frameless, and shaped mirrors
A frame adds a visible boundary that can make the mirror read smaller than its full outer dimensions. A frameless mirror can appear to occupy more of the wall because the reflective surface reaches closer to the edge, but the mounting method still determines how cleanly the mirror can be removed.
Oval mirrors and other shaped forms need the same wall mapping as rectangular mirrors. Measure the widest and tallest points, then check the corners or curved edges against sconces, cabinet doors, ceilings, and the shower enclosure.
Mirror shape changes the visual balance, but shape does not remove the need for clearance. A rounded top still needs space below the ceiling, and a narrow oval may leave less usable viewing area than its height suggests.
Intermediate: Plan Support, Mounting, and Clean Removal
Read the wall before selecting hardware
A mirror needs suitable support for its weight and mounting method. Drywall alone may not be adequate, while wall studs or appropriate anchors can provide a more secure attachment when they match the installation requirements.
Locate wall studs before deciding where mirror mounting brackets will go. If the brackets cannot align with studs, use an anchor appropriate for the wall and the mirror’s mounting instructions rather than assuming a screw will hold safely.
Mirror clips can suit some installations, while brackets or a mounting rail may be used for others. The important point is to match the hardware to the mirror construction, the wall surface, and the load described by the manufacturer.
Wall studs, anchors, brackets, and clips should be considered part of the mirror size decision because a large surface can require a different mounting plan from a small decorative mirror. The mirror should come off without tearing away an unnecessary section of wall finish.
Before drilling, identify concealed wiring and plumbing through the installation area. If an electrical wall box must be moved or altered, use a qualified professional and follow applicable local requirements. The Consumer Product Safety Commission is a government source for general household safety information, but it does not replace local electrical guidance or the mirror’s installation instructions.
Measure the removal path, not only the mounted position
A mirror can fit its final wall position and still be impossible to remove cleanly. Check the path from the wall to the bathroom doorway, then account for the vanity top, faucet, shower enclosure, cabinet doors, and any narrow turn.
Removable hardware should remain reachable after the mirror is installed. If a bracket is hidden behind a fixed cabinet or a lighted mirror cannot be disconnected without disturbing the wall box, the original layout has not allowed for future maintenance.
Large framed mirrors deserve special attention because the frame may catch on trim or corners while the glass remains clear of them. A frameless mirror may have less outer bulk, but its clips or adhesive system can still affect removal.
Think about the next mirror
Bathroom design changes. A future replacement may have a different frame thickness, lighting connection, or mounting pattern, so avoid burying hardware behind permanent trim where possible.
Installation cost can rise when the mirror requires electrical work, new anchors, wall repair, or careful access around fixed fixtures. The cost is shaped by the installation conditions rather than by width alone, so a clean removal plan can protect the wall and simplify later changes.
Document the stud locations, anchor positions, wall box location, and mirror outline before closing the work. Keep that information with the installation instructions so the next mirror does not require guesswork.
Advanced: Control Moisture, Cleaning, and Long-Term Maintenance
Account for moisture and ventilation
Bathroom ventilation affects how quickly moisture leaves the room, while the mirror’s frame and backing affect how moisture reaches its edges. A mirror close to a shower enclosure may need more frequent drying and inspection than one farther from direct spray.
Edge deterioration can begin where water repeatedly collects, especially if the mirror has a framed edge or backing that stays damp. Keep the lower edge clear of splash paths where the layout permits, and follow the care instructions supplied with the mirror.
Bathroom ventilation helps manage moisture, but ventilation does not make poor clearance harmless. A mirror that is repeatedly hit by water still needs a layout that limits direct exposure.
Estimate cleaning effort from exposed surface
A larger mirror presents more reflective surface to clean, and a framed mirror adds an edge that may collect dust or moisture. A smaller mirror can reduce exposed area but may leave more wall visible around the basin and lighting.
Cleaning access matters as much as mirror size. If the upper edge sits close to the ceiling or the side edge is trapped behind a sconce, wiping the surface may require awkward reach and may leave moisture along the frame.
Plan a clear route for a cloth around the mirror’s perimeter. That small check helps preserve the wall finish and makes regular care less frustrating.
Review the whole bathroom wall layout
Bathroom mirror proportions should support the vanity, lavatory basin, shower enclosure, storage, and lighting as one composition. A mirror that is technically centered can still look misplaced if the room’s strongest visual line is elsewhere.
Medicine cabinet planning also changes the usable wall. A recessed cabinet may require a different opening and mounting approach from a surface-mounted mirror, while a cabinet door needs clearance that cannot be taken by a larger mirror.
Use a paper or tape template for rectangular, oval, framed, and lighted options. Templates reveal conflicts before the wall is drilled and make it easier to compare height and width without relying on a product photograph.
Use a final measurement sequence
- Measure the full vanity width.
- Mark the usable wall width after subtracting lighting, cabinets, outlets, and wall edges.
- Mark the basin centerline and compare it with the vanity and wall centerlines.
- Set the mirror outline using the vanity-width range and the narrower-than-vanity starting point.
- Check the lower edge against the faucet, backsplash, and sink clearance.
- Check the upper edge against the ceiling, trim, cabinets, and shower enclosure.
- Locate studs, anchors, electrical wall boxes, brackets, and clips.
- Test the removal route before drilling.
- Review moisture exposure, ventilation, frame edges, backing, and cleaning access.
A written measurement sequence reduces errors because each check answers a different question. The vanity establishes scale, the wall establishes limits, the basin establishes use, and the mounting surface establishes whether the mirror can be attached and removed safely.
Frequently Asked Questions About Bathroom Mirror Size Guides
How wide should a bathroom mirror be compared with the vanity?
A useful starting point is a mirror covering 70–90% of the vanity width or measuring 2–4 inches less than the vanity. The usable wall can require a narrower choice if sconces, outlets, cabinets, wall edges, or a shower enclosure take space. Center the mirror on the basin or working area when that differs from the cabinet midpoint.
How tall should a bathroom mirror be for the people using the room?
Common mirror heights fall between 28 and 36 inches, with an average height of about 30 inches. Use the people who stand at the basin as the main reference and start with the mirror midpoint around 60–65 inches from the floor. Check the faucet below and ceiling above before fixing the final height.
Can a mirror be wider than the vanity?
Yes, provided the usable wall supports the extra width and the mirror does not interfere with sconces, cabinet doors, outlets, wall boundaries, or the shower enclosure. A mirror wider than the vanity should still look centered on the room’s working area. If its outer edge reaches into a tight wall return, a narrower mirror usually gives a cleaner installation and easier removal.
Should one wide mirror or separate mirrors cover a double vanity?
One wide mirror suits a shared wall composition when both basins and the lighting align with it. Separate mirrors suit double vanities with distinct basin centerlines or lighting conflicts. Double-sink vanities commonly measure 60–72 inches or more, but the wall opening and mounting support decide the practical arrangement. The double-vanity mirror planning guide can help with layout questions after the wall has been mapped.
How much clearance should sit above the faucet and below the ceiling?
Use about 4–8 inches over the faucet and about 4–6 inches below the ceiling as starting references. The backsplash, faucet height, trim, cabinet doors, and light fittings can require more space. Tape the full mirror outline on the wall, then check splash paths, cleaning access, and movement around every nearby fixture.
How can I tell whether the wall and hardware can support the mirror?
Identify the wall type, locate studs, and follow the mirror manufacturer’s mounting instructions. Drywall alone may not provide suitable support; wall studs or appropriate anchors can offer a more secure attachment when they match the installation. Brackets, clips, and other hardware must remain accessible enough for future removal without unnecessary wall damage.
Does a larger mirror require more cleaning?
A larger mirror exposes more reflective surface, while frames and backing create additional edges where moisture or dust may collect. The effect depends on the mirror’s position, splash exposure, ventilation, and access around its perimeter. A large mirror near a shower enclosure may need more attention than a smaller mirror in a drier part of the bathroom.
How does mirror size affect future replacement?
A larger or more complex mirror can require more planning around brackets, wall repair, electrical connections, cabinet access, and the route out of the room. Marking studs and wall boxes before installation makes replacement easier. A mirror that comes off cleanly leaves more options for the next shape, frame, or mounting method.