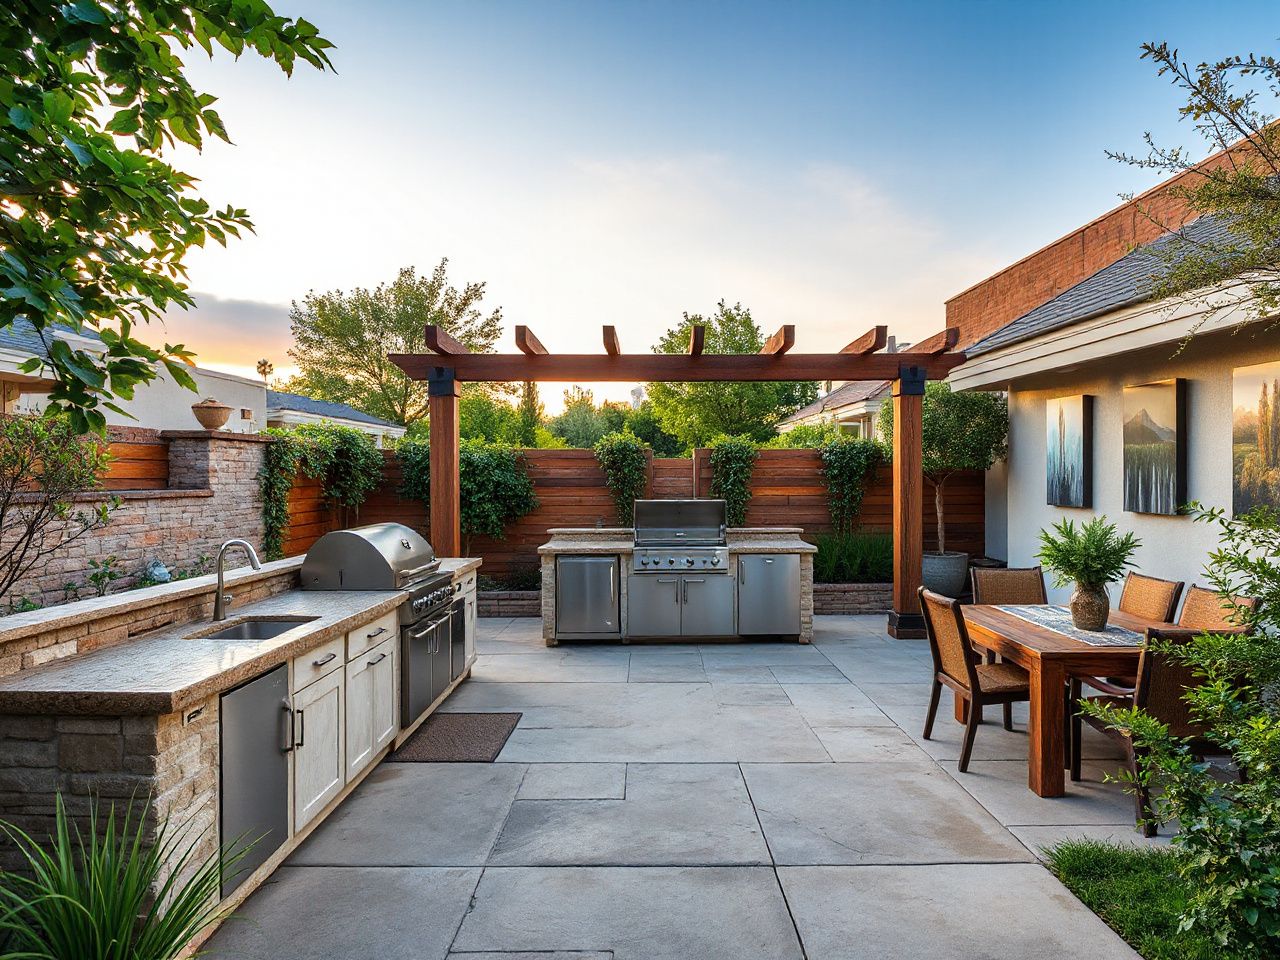
A visible change in patio design focuses more on outdoor cooking as part of the living space instead of a separate grill. Good outdoor kitchen plans start with a clear distinction: the visual layout and service infrastructure are separate tasks. The grill, sink, storage, and counters might look properly placed but still create utility issues or inaccessible shutoffs. Weather exposure and drainage should influence the plan from the beginning because outdoor cabinetry, surfaces, and appliances tend to fail when water management is added after layout is fixed.
Key Takeaways
- Draw cooking, serving, cleaning, storage, utility routes, access panels, and drainage before construction begins.
- Keep heat-producing equipment safely separated from combustible structures, while planning weather protection and ventilation.
- Choose fixed and movable elements according to access, maintenance, seasonal exposure, and the way the patio is actually used.
Step 1: Start with the site plan, not the cabinet arrangement
An outdoor kitchen plan needs to show the site boundary, house, doors, windows, steps, walls, shade structures, dining area, existing utilities, drainage direction, and all proposed cooking or storage features. A sketch that only outlines the counter shape is incomplete. Doorway width matters before any attractive cabinet elevation, because equipment, replacement parts, and finished sections still need a route into the space.
Record movement and access first
Mark the path from the house to the cooking area and from there to the outdoor dining space. Keep those paths separate on the drawing when possible, so someone carrying food doesn’t have to cross the main work area at the grill. A patio and deck layout should support smooth movement around the kitchen rather than forcing every activity through a narrow passage.
The site plan should show which doors open toward the proposed kitchen and which windows might serve the indoor room. It also needs to include steps, level changes, gates, landscape drainage, and any pergolas or outdoor shade structures that could influence rain, wind, or access. A fixed counter blocking a gate or narrowing a doorway can turn a good-looking setup into a daily obstacle.
A site plan is useful only when it records access, drainage, utilities, and movement as well as furniture. Give each fixed element a service side, not merely a front-facing appearance. The service side needs room for cleaning, shutoff access, inspection, and seasonal protection.
Assess the surface below the kitchen
A concrete slab can serve as a solid base for a fixed outdoor kitchen, but the plan still needs to show how water will drain away. Don’t treat the slab as the only drainage solution. The drawing should show the slope of surrounding paving, drain locations if used, and the route water takes away from cabinets and appliances.
Decking and raised surfaces need a different review. Find where a frame, cabinet, or masonry section can be supported. Then, check how rainwater passes below or around the construction. A kitchen at the lowest point of a patio can get runoff from the yard, even if the counter looks level.
Rain isn’t the only moisture source. Condensation, splash from a sink, damp soil, and water trapped beneath covers can all impact outdoor cabinetry. Drainage should be part of the initial drawing because later adjustments might mean removing counters or masonry.
Decide how the space will be used
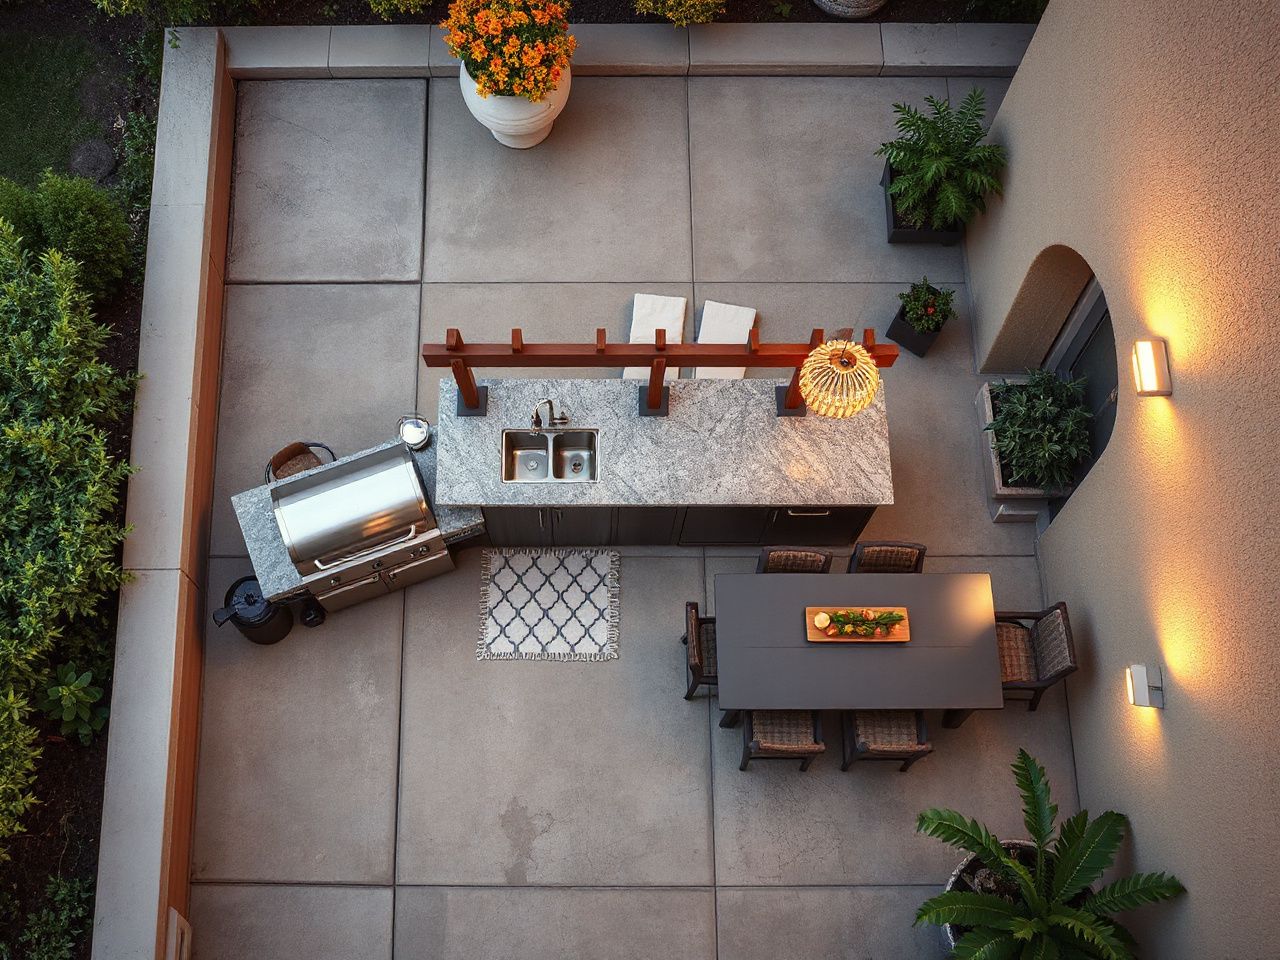
Write down the actual sequence of work: bring food outside, store it, prepare it, cook it, serve it, clean up, and put items away. The plan should respond to that sequence rather than copying an indoor kitchen or placing every desired feature along one wall. A simple grill station may suit occasional cooking, while a larger arrangement needs clear decisions about cleaning, storage, and outdoor dining area design.
Think about who will use the space and how the patio is occupied during a gathering. A serving counter shouldn’t become the only place for dirty plates. A sink should support cleaning without making the main walkway a wet route.
Use a temporary tape outline on the ground to test the overall shape before fixing anything in place. Walk through the route with a tray, open doors, and stand where the grill and sink would be. The goal isn’t to simulate cooking but to find blocked access and awkward turns while the plan is still easy to change.
These DIY outdoor kitchen plans can help with early layout thinking, but every sketch still needs to be checked against the particular site, access route, weather exposure, and utility connections.
Step 2: Arrange cooking, serving, cleaning, and storage
Place the cooking zone with safety in mind
A built-in grill should be placed where heat-producing equipment stays safely away from combustible structures and finishes. The plan must consider the grill’s installation instructions, the surrounding wall material, nearby roof or shade structures, and the route for moving food to and from the grill. Non-combustible wall material may be part of that design, but it doesn’t remove the need to meet clearance requirements from the manufacturer and authorities.
Avoid placing the cooking zone where wind can carry heat, smoke, or grease toward a door, window, roof edge, or combustible screen. Wind can change direction around walls and pergolas, so the plan should account for the actual enclosure rather than an open yard. Covered outdoor spaces can improve comfort but also affect ventilation and heat flow.
A built-in grill needs safe separation from combustible construction and clear access for service. Don’t box the grill into a decorative enclosure before understanding its ventilation, connection, and maintenance needs.
Give preparation and serving their own surfaces
Position prep space beside the cooking area, but don’t let the grill take over the entire counter. Food needs a clean landing zone before cooking, and cooked items require a separate resting place before serving. Using the same small surface for ingredients, utensils, hot cookware, and plates can make the space feel crowded even if cabinets fit the layout.
A weather-resistant countertop should be planned with attention to its edges, joints, underside, and supports. Water can enter through seams or collect where the counter meets a wall. The plan should show how those areas are protected and how they can be inspected, not just rely on a broad label like weatherproof.
Serving space should face the dining area without making guests stand in front of the grill or sink. If the kitchen is next to a table, leave a clear route between the cooking zone and the seating area. Outdoor dining should feel connected to the kitchen without turning the working zone into a passage.
Place the sink where cleaning can happen without crossing the room
A sink and drainage system need more than just a basin in the counter. The plan must show the water supply route, waste route, access for inspection, and discharge direction. Sink placement also needs to consider splash, nearby electrical equipment, and the ability to wipe or rinse the surrounding surface.
Put the sink near where dirty dishes leave the dining area if it doesn’t interfere with cooking. If the sink is far from both the grill and the table, cleaning becomes a repeated carrying task. A small outdoor kitchen might use a movable wash setup or skip a permanent sink, but that decision should be made before fixing the counter and utility routes.
Plan storage around the objects that need protection
Outdoor-rated cabinetry needs protection from direct rain, standing water, and poor ventilation. Storage should be divided by use: cooking tools near the grill, serving items close to the dining side, and cleaning supplies near the sink. The number of cabinets matters less than keeping frequently used items accessible without opening the service side of the kitchen.
Cabinet doors and drawers need enough space to open without hitting a person, appliance, post, or wall. A corner that looks efficient on a plan may become dead space if doors bump into each other. Draw the opening direction, not just the cabinet boxes.
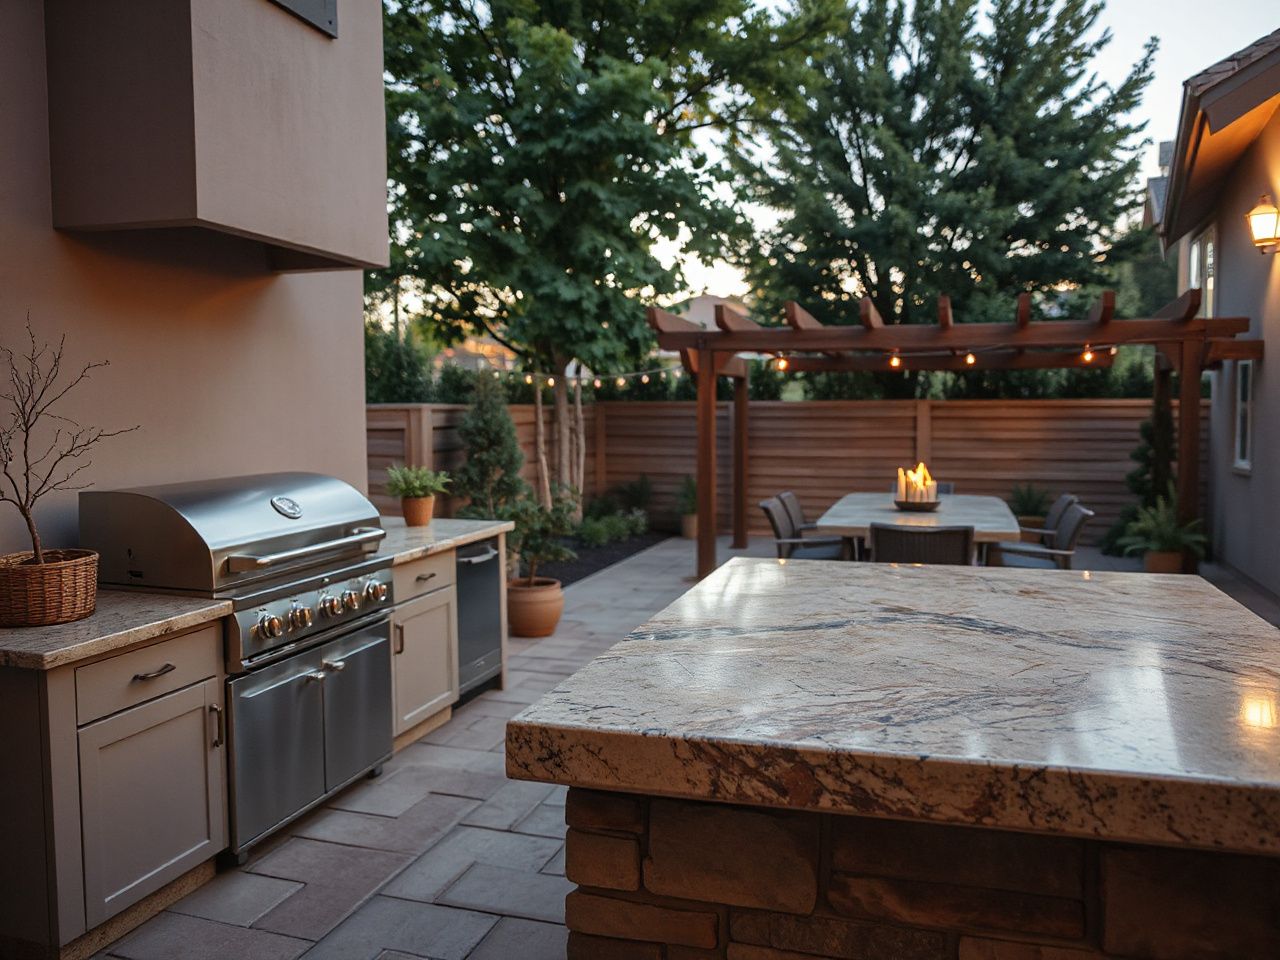
Step 3: Plan gas, water, drainage, and electrical routes before building
Utility lines must be planned before installing cabinets, counters, or masonry. Draw each route from the source to its final connection, then mark every access point, crossing, change of direction, and shutoff. A beautiful elevation won’t fix a gas supply line trapped behind permanent work or an electrical connection sitting in an exposed, unsuitable spot.
Gas supply planning
Start by confirming the fuel setup for the built-in grill and the location of the supply connection. The gas supply line should have an accessible shutoff, and the plan should show how the line is protected from damage and kept away from areas where it might be struck during use or maintenance.
Don’t hide a connection just because it makes the drawing look cleaner. The service panel or access opening should be where someone can reach it without moving heavy fixed elements. Any gas work should be checked and done by a qualified professional following local requirements.
A gas supply line should remain reachable for inspection and shutoff. That access is part of the layout, not an optional detail added after the cabinets are fitted.
Water and drainage planning
Water supply and drainage routes should be considered together. A sink needs a source, a place for discharge, protection from freezing when necessary, and easy access for maintenance. The plan should show how water stays out of cabinet interiors and how spills are cleaned up around the basin.
Freezing weather changes the plan even if the kitchen is covered. A permanent sink and its connected lines may require seasonal protection, shutoff, draining, or another method specified for the installation. Do not enclose water connections until the person responsible for the work confirms how they will be serviced.
Drainage from the sink shouldn’t just release water against a cabinet base, wall, deck, or foundation. Coordinate the sink discharge with landscape drainage so water doesn’t flow toward the house or collect under the work surface.
Electrical planning and ground-fault protection
Outdoor electrical outlets and equipment in exposed areas require appropriate ground-fault protection and weather-resistant installation. The U.S. Consumer Product Safety Commission provides consumer safety information about electrical hazards, while the installation itself must follow local electrical requirements and the instructions for the equipment.
A GFCI-protected electrical circuit should be planned with outlet placement, lighting, refrigeration if included, and any fixed equipment in mind. Mark which outlets are exposed to rain and which are under a roof or enclosure. A cover isn’t a substitute for choosing a proper location and installation method.
Keep electrical routes accessible enough for inspection and repair. Avoid placing an outlet where wet cleaning, sink splashes, or drainage discharges can reach it. The drawing should also show how cables and connections stay away from heat from the grill.
Use qualified review for connected services
Gas, water, drainage, and electrical work can impact the home’s utility connections, building structure, fire safety, and local approvals. A plan should identify the work that needs qualified review before construction starts. The National Fire Protection Association provides fire-safety info, but the requirements depend on the local authority and equipment documentation.
Keep written records of routes and connection points before they disappear behind a counter or wall. Photographing open service areas for future reference can help, as long as the records are stored where they can be found during repairs.
Step 4: Design for rain, wind, heat, and seasonal maintenance
Protect the enclosure without trapping moisture
Outdoor surfaces and enclosures need drainage, ventilation, and weather protection rather than copying an indoor kitchen. A roof or pergola can cut down on direct rain but might also limit air movement and trap moisture at the edges. The plan should show where rain lands, where wet air can escape, and how cabinet interiors dry after exposure.
Cabinet bases shouldn’t sit in standing water. Attention is needed for counter joints, door edges, wall returns, and the underside of overhangs because these spots can hold moisture out of sight. Leave access to clean leaves, soil, and debris from around fixed structures.
Wind does more than affect comfort. It can push rain under a cover, carry grease toward nearby finishes, and make doors or loose covers hard to manage. A plan exposed to strong wind might need a more sheltered spot, while an enclosed setup needs careful ventilation.
Select materials by location and maintenance
Material choices should depend on exposure and cleaning needs, not just color. A weather-resistant countertop should handle the conditions listed in its care instructions. Outdoor-rated cabinetry must be installed so water doesn’t gather at its base or behind panels. The plan should note how each finish is cleaned and what needs protection during winter.
Teak resists fire, acid, and alkalis, but that alone doesn’t make every teak element suitable for every part of an outdoor kitchen. Its placement, support, finish, exposure, and relation to the grill are still part of the design review. Material labels shouldn’t replace installation instructions.
Wood frame construction also needs room for movement. When frame members meet at 45 degrees, embedded metal fasteners are usually used to join them, and panels are designed to float inside the frame so the wood can expand or contract with the seasons. The plan should show that panel relationship rather than fastening every surface rigidly.
Floating panels allow a wood frame to accommodate seasonal expansion or contraction. A rigid panel arrangement can place stress on joints when outdoor conditions change.
Keep fixed and movable elements distinct
Fixed elements typically include the built-in grill enclosure, permanent counters, utility connections, and masonry or slab-supported structures. These should be placed only after confirming access, service, drainage, and safety needs. Their permanence is useful, but making early decisions can be costly to fix.
Movable elements can include freestanding storage, serving furniture, shade accessories, and cooking tools. Having some functions movable lets the patio adapt for gatherings, seasonal weather, or maintenance. But, movable pieces shouldn’t be used to hide a missing access panel or cover a utility route that was never planned.
A simple grill station might be enough where cooking is occasional and storage or washing are nearby. An outdoor kitchen becomes more complex when it adds permanent counters, water, drainage, electrical service, fixed storage, and a built-in grill. Comparing the two means looking at utility needs and maintenance access rather than just counting features.
Plan maintenance as part of the design
Every season should have a maintenance task list attached to the plan. It might include cleaning leaves from drainage paths, checking cabinet bases for trapped moisture, inspecting visible connections, protecting movable items, and prepping water lines for freezing weather when needed. The schedule depends on the site, climate, materials, and manufacturer instructions, so the plan should leave space to record those details.
Access panels should open without removing countertops. Appliance areas need enough space to clean around the sides and back, especially where installation instructions require it. A kitchen that can’t be cleaned or inspected isn’t complete, even if the front looks finished.
Keep spare finish information, utility routes, manuals, and installation records together. Future repairs are simpler when the hidden parts of the kitchen are documented rather than reconstructed from memory.
This guide to where DIY outdoor kitchens go wrong is useful alongside a site-specific review because many layout problems begin with inaccessible services, poor water management, or fixed work installed before the practical sequence was tested.
How to review the completed plan before construction
Read the drawing in layers. Start with movement and doorway access. Then trace heat, gas, water, drainage, and electrical services. Next, check material exposure, drainage, ventilation, cleaning access, and seasonal protection. Finally, ensure the proposed kitchen still supports cooking, serving, dining, and storage without one activity blocking another.
Use a practical approval checklist
- Site: The drawing shows the house, doors, steps, levels, shade structures, drainage direction, and routes used by people and equipment.
- Heat: The built-in grill has safe separation from combustible structures and finishes, with ventilation and service access shown.
- Utilities: Gas, water, drainage, and electrical routes are drawn before cabinets, counters, or masonry are fixed.
- Electrical: Exposed outlets and equipment have appropriate ground-fault protection and weather-resistant installation.
- Moisture: Cabinet bases, counter joints, service openings, and drainage paths have a clear strategy for rain and splash.
- Maintenance: Shutoffs, access panels, cleaning routes, and seasonal protection remain reachable after completion.
- Use: Cooking, preparation, serving, washing, and storage follow a sensible sequence without forcing people through the work zone.
Mark unresolved decisions directly on the plan instead of relying on a verbal promise to solve them later. Unresolved items could include the final utility route, the wall finish beside the grill, the drainage destination, or how to protect a water line during freezing weather.
A plan is ready for construction only when concealed services and future access are as clear as the visible cabinet layout. If someone can’t point to the shutoff, drainage route, service opening, and cleaning path, the drawing still needs work.
For indoor storage ideas that can inform the organization of serving and cooking tools, see this practical guide to organizing a kitchen without a pantry. The outdoor conditions remain different, but the principle of assigning storage to a real task carries across.
Frequently Asked Questions
What should outdoor kitchen plans show before construction starts?
An outdoor kitchen plan should include the site, doors, levels, shade structures, dining area, drainage direction, fixed equipment, storage, working surfaces, utility routes, shutoffs, access panels, and maintenance clearances. It also needs to identify heat-producing appliances, combustible structures, non-combustible wall material, ventilation, and weather exposure. A cabinet elevation alone isn’t enough for safe or practical construction.
How should gas, water, drainage, and electrical connections be planned?
Draw every route from its source to the final connection before installing cabinets, counters, or masonry. Mark accessible shutoffs, inspection points, drainage destinations, and the locations of exposed outlets. A gas line must stay reachable, a sink needs water and discharge planning, and exposed electrical equipment requires proper ground-fault protection and weather-resistant installation. Qualified review is essential for connected services and local codes.
How do outdoor kitchen plans change for rain, wind, or freezing weather?
Rain makes drainage planning, weatherproof cabinet bases, and weather-resistant surfaces necessary. Wind can carry rain or heat toward doors, roofs, screens, and combustible finishes, so placement and ventilation should be reviewed. Freezing weather impacts water lines and sinks; the plan should include seasonal protection, shutoff, draining, or servicing following the installation instructions.
Which parts should stay fixed and which should remain movable?
Fixed elements usually include the built-in grill enclosure, permanent counters, connected utilities, and masonry or slab-supported structures. Movable items can be freestanding storage, serving furniture, shade accessories, and tools. Install permanent work only after access, drainage, safety, and service routes are confirmed. Keep movable pieces where seasonal changes or gatherings might require rearranging the patio.
What usually makes an outdoor kitchen difficult to clean or repair?
Common issues include blocked service panels, cabinet bases that collect water, counters with inaccessible joints, drainage directed toward the structure, and utility connections hidden behind permanent parts. The solution is to plan cleaning paths and repair access before construction starts. A person should be able to reach shutoffs, inspect connections, clear debris, and protect fixed equipment without dismantling the main kitchen.
How should an outdoor kitchen be compared with a simple grill station?
Focus on utility and maintenance needs rather than just the number of features. A grill station might only need a safe cooking spot and nearby support, while a full outdoor kitchen could include a built-in grill, counters, storage, a sink, drainage, gas, and electrical connections. Pick the setup that matches your space use and how much seasonal care it can handle.