Shelf square footage is the wrong thing to shop for first. The number that actually decides your layout is buried in your own wardrobe: how many things hang, how many fold, and how tall the longest coat is. Anyone who starts a closet organizer buying guide by counting shelves has already skipped the two decisions that determine whether the finished system fits and whether it stays on the wall.
The second thing most people get backwards is load. A shelf rated for 50 pounds means nothing if the bracket behind it is screwed into hollow drywall. The failure point is almost never the shelf. It is the fastener-to-wall connection, which means stud location dictates where hardware can go, and the design bends to the studs rather than the reverse.
Key Takeaways
- Inventory what hangs, folds, and stacks before choosing a system — garment mix and rod-height math drive the layout, not shelf count.
- Load capacity comes from anchoring into 16-inch on-center studs and bracket spacing, not from the shelf material’s advertised rating.
- Measure at multiple points, plan support brackets every 24 to 32 inches, and confirm you can reconfigure later before you commit.
Start With Your Clothes, Not the Catalog
Before anything gets mounted, empty the closet and sort into three piles: hangs, folds, stacks. This is the single most useful hour in the whole project. Whether you rent or own, the planning math is identical.
Count the hanging items and split them by length. Shirts, jackets, and folded-over pants live in the short zone. Dresses, long coats, and full-length garments need an uninterrupted vertical run. That split is what tells you how much of the closet becomes double-hang and how much stays single-hang.
A quick wardrobe edit pays off here too. Trimming what you own — the KonMari sweep, or building toward a capsule wardrobe — shrinks the system you need to buy and mount. Fewer garments means fewer brackets, fewer anchors, and a smaller hole count in someone else’s wall.
How Much Hanging vs. Shelving vs. Drawers
There is no universal ratio, because it depends entirely on what you own. A rough working method: measure the linear inches your hanging clothes occupy while packed at a comfortable density (about one inch per shirt, more for coats), then measure the folded stacks. That gives you real numbers instead of guessing.
- Heavy hangers (lots of jackets, dresses, work clothes) want more rod, less shelf.
- Heavy folders (jeans, knits, athletic wear) want deep shelving or drawers and only a short rod.
- Mixed wardrobes usually land near half hanging, a quarter shelving, a quarter drawer or basket.
Drawers are the expensive part of any system, so buy them for the things that genuinely need concealment or that fold badly on open shelves. Everything else can sit on a shelf for a fraction of the cost.

Wall-Mounted vs. Floor-Mounted, and Which Suits Your Wall
This is the fork that renters and owners answer differently. Wall-mounted systems — the hanging-rail style like Elfa’s top-track, Rubbermaid FastTrack, or ClosetMaid ShelfTrack — carry their entire load through hardware fastened to the wall. Floor-mounted systems, such as IKEA PAX or a built-in plywood carcass, transfer weight straight down to the floor and only need the wall to keep them from tipping.
Your wall type decides a lot. Standard drywall over wood studs is the friendliest case. Plaster-and-lath, common in older buildings, is unpredictable and can crumble around a fastener. Solid masonry or concrete needs a hammer drill and sleeve anchors, not the plastic plugs in the box.
Top-Track Systems Concentrate the Load
Rail-mounted systems are elegant because everything hangs off one horizontal track, which makes reconfiguring easy. That same feature is the risk. A top-track system puts the entire closet’s weight on one rail, so that rail must be fastened into several studs, not just one or two. Miss the studs and you are trusting drywall anchors to hold a loaded wardrobe, which they will not do for long.
Standard-mounted systems (individual vertical standards screwed to the wall) spread the load across more fastening points. They are less flexible to move but more forgiving if your stud spacing is awkward.
Finding Studs and Anchoring So Nothing Rips Out
Wood studs in most homes sit on 16-inch on-center spacing, occasionally 24. Find them with a stud finder, then confirm by driving a fine finish nail at the edge of where the system will sit. Mark every stud across the full width before you plan a single bracket.
Fastening into a stud is the only reliable way to carry real weight. When a bracket lands between studs, hollow-wall anchors are the fallback — toggle bolts or molly anchors, never the friction plugs. The Consumer Product Safety Commission has repeatedly flagged tip-over and pull-out failures in storage furniture, which is why its anchoring and stability guidance treats wall attachment as a safety requirement rather than an optional step.
- Locate and mark all studs across the closet width.
- Position rails or standards so screws land in studs wherever possible.
- Where a fastener must go between studs, use a rated toggle — a 3/8-inch toggle bolt in 1/2-inch drywall holds far more than a plastic plug.
- Loaded shelves and rods should always have at least one fastener into solid framing near each bracket.
Toggle and molly anchors carry surprising static loads, but they perform worst under the repeated up-and-down tug a closet rod delivers every day. Fastener performance guidance from bodies like ASTM International, which publishes the material and pull-out test standards manufacturers cite, is worth trusting over the optimistic number printed on the anchor packet.
Will Melamine Shelving Sag? Support Spacing Explained
Most affordable systems use melamine-coated particleboard, sometimes labeled MDP. It looks like solid wood and costs a lot less, but it has far lower bending strength than a plywood carcass. Melamine-coated particleboard shelving will bow under sustained weight if the span between supports is too long, and that sag is usually permanent.
For loaded shelves — folded jeans, stacked bins, anything heavy — keep supports every 24 to 32 inches. A three-foot open span of melamine holding sweaters will visibly dip within a season. Plywood shelves tolerate longer runs; wire shelving spreads load differently and sags at the wire welds when overloaded rather than in a smooth curve.
Wire vs. Solid Shelf: The Real Tradeoffs
This choice comes down to airflow versus surface. Wire lets air move, which matters in a closet prone to humidity and mildew — a cedar block or a small desiccant tub helps, but ventilation does more. Wire’s downside is that small items tip and socks vanish through the gaps.
- Wire shelving: cheaper, breathable, easy to see through; poor for small folded items and can crease knits along the wires.
- Solid shelving: clean surface, holds anything, looks more finished; traps humidity and shows sag more obviously if unsupported.
A practical compromise many systems already use: solid shelves where you fold and stack, wire up high for rarely-touched seasonal storage where airflow matters most.
Rod Heights That Actually Work
Rod-height math is where good closets separate from frustrating ones. A double-hang section stacks two rods; each level needs roughly 40 to 42 inches of vertical space so folded-over pants and shirts clear the rod below. Squeeze that and everything crowds.
Long garments are the constraint that ruins double-hang dreams. Dresses and full-length coats need a single uninterrupted run of about 60 to 70 inches, or the hems drag the floor. Plan at least one long-hang column before you start doubling up everything else.
- Double-hang (shirts, folded pants): two rods, about 40–42 inches each.
- Single-hang (suits, longer dresses): one rod near 60 inches.
- Long-hang (coats, gowns): one rod, 60–70 inches of clear drop.
Rods themselves come in standard 1-inch and 1.25-inch diameters, and the bracket that holds them carries a stated load rating. Match a heavier-gauge rod and rated bracket to any long-hang section, since a full row of winter coats is where thin rods bow in the middle.
Measuring a Closet That Isn’t Square
Real closets are rarely plumb or square, and measuring one point of width is how systems end up not fitting. Measure the width at the floor, at rod height, and at the ceiling, then use the smallest number. A wall that is an inch narrower at the top than the bottom is common and will pinch a full-height unit.
Account for the obstacles that eat your usable space:
- Baseboards hold a floor-mounted cabinet away from the wall unless you notch around them.
- Door casings and the door swing steal reach-in width and can block a drawer from opening fully.
- Out-of-square corners mean a corner shelf may gap at one edge.
Sketch the closet with these marked before ordering. The corners are where most reach-in and walk-in plans waste space — a blind corner in a walk-in swallows a foot of depth unless you plan an L-return or a pull-out for it.
Small Reach-In vs. Walk-In
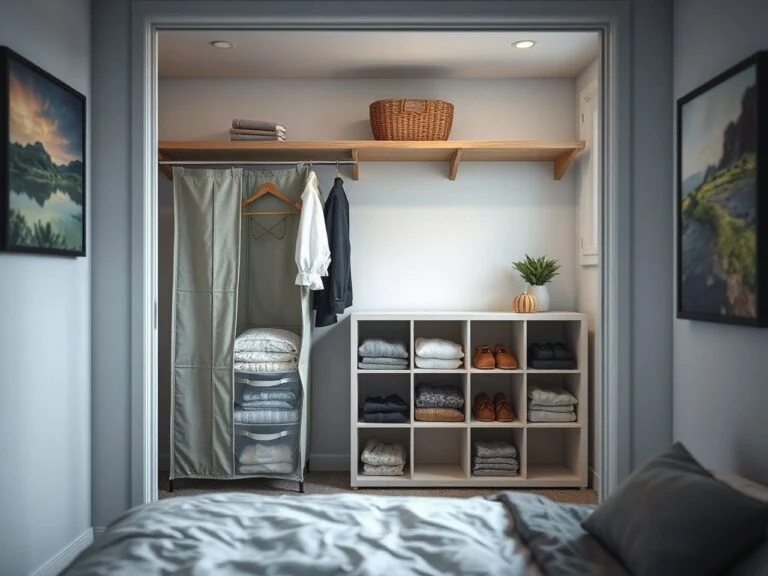
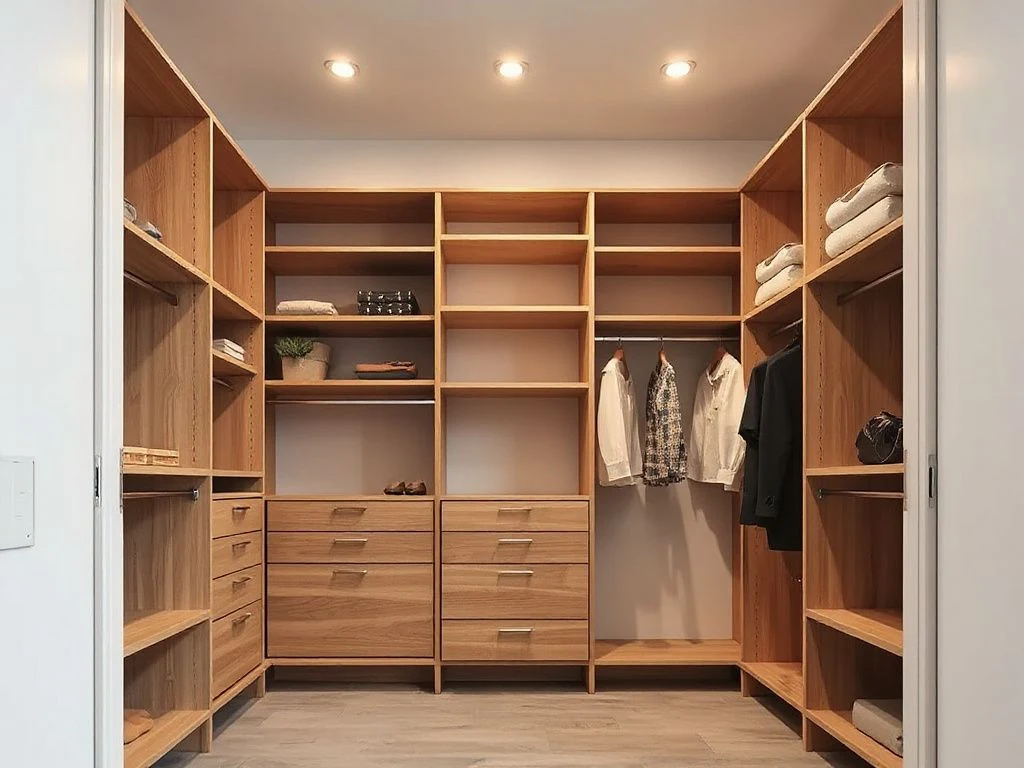
A reach-in closet rewards going vertical: double-hang the center, shelves to the ceiling, and use the door with an over-door rack for shoes or accessories. A walk-in tempts people to line only the back wall and waste the returns; run storage down both side walls and treat the corner deliberately with angled shelves or a dedicated corner unit.
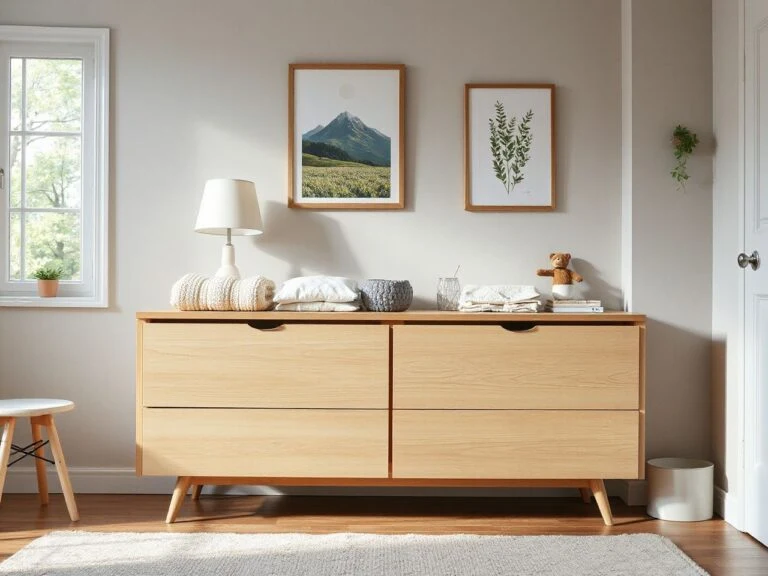
Lighting matters more in a dark reach-in than people expect. A battery LED strip or motion-sensor puck light on the top shelf turns a black hole into a usable space, and neither needs an electrician — handy when the closet is yours only until the lease ends. Good closet flow also connects to the rest of the room; if under-bed bins and a dresser carry the seasonal overflow, your closet can stay lean.
Reconfiguring, Tools, and Install Time
One reason rail and pin systems dominate is future flexibility. Systems built on the European 32mm shelf-pin hole pattern let you move shelves in fixed increments forever, and top-track rails let you slide components along the rail. A fully built-in plywood closet looks the best and moves the least — you are locked into that layout.
If you might move, reconfigure, or expand, favor a system whose components are still sold and standardized. Elfa, ClosetMaid ShelfTrack, and Rubbermaid Configurations are all designed to add on later; a discontinued big-box kit may leave you unable to match parts in a year.
Tools and Realistic Timeline
For a standard reach-in you need a stud finder, a good level, a drill/driver, a tape measure, a pencil, and the anchors that suit your wall. A hammer drill and masonry bit get added for concrete or brick.
A single reach-in wall runs a few hours for someone comfortable with a drill — call it half a day with measuring and cleanup. A full walk-in with multiple walls, drawers, and adjustments is a genuine weekend. Rushing the layout marking is what turns a half-day job into a redo.
Why Drawers and Baskets Bind or Come Off Track
Binding almost always traces to an out-of-level or out-of-square install, not a defective drawer. Wire baskets that pop off their rails were usually mounted with the runners slightly pinched or spread, so the basket rides too tight or too loose.
- Check that the frame is level and plumb before blaming the drawer.
- Confirm runner spacing matches the manufacturer’s spec exactly — a few millimeters off is enough to bind.
- For melamine drawer boxes, make sure the carcass hasn’t bowed inward from being over-tightened to a wavy wall.
The fix is nearly always re-shimming the frame to true, then re-hanging the runners. Forcing a sticking drawer just wears the rollers faster.
Storage planning rarely stops at the closet, and getting the bedroom’s soft goods sorted often makes the closet job easier. If you are rethinking bedding at the same time, our breakdown of the practical differences between a duvet and a comforter covers how bulk affects the shelf space you’ll need for off-season storage.
The Mistakes You Only Notice After Mounting
Some errors stay invisible until everything is on the wall and loaded. The most common is planning around shelf capacity while ignoring where the studs actually fall, so the whole system leans on anchors. Another is forgetting door swing until a drawer front hits the casing.
- Not leaving finger clearance between a drawer front and the shelf above it.
- Building all double-hang and discovering nowhere holds a winter coat.
- Mounting the top shelf so high it is unreachable without a step stool every single day.
- Skipping the multi-point width measurement and finding the last panel won’t slide in.
If your storage project also touches the linen closet or bathroom, the same measure-twice discipline applies there — our guides to choosing between percale and sateen sheets and to stocking the right bath towel sets both note how folded bulk drives shelf depth. Plan the depth once and everything folds where you expect.
Frequently Asked Questions
How far apart should closet shelf supports be to prevent sagging?
For loaded melamine-coated particleboard shelves, keep supports every 24 to 32 inches. Anything wider bows under folded clothes and stacked bins, and that dip is usually permanent. Plywood tolerates longer spans; wire shelving fails at the welds when overloaded rather than curving. Match spacing to what the shelf will actually hold, not to the maximum the kit technically allows.
Do I need to hit studs, or are wall anchors enough for a closet organizer buying guide setup?
Fastening into studs is the reliable path. A shelf’s weight rating is meaningless if the bracket only grips drywall, since the pull-out failure happens at the wall, not the shelf. Where a bracket lands between studs, use rated toggle or molly anchors, never friction plugs. A wood cleat screwed into every stud, with the rail mounted to that cleat, is the safest fix for awkward spacing.
What rod heights work for shirts, pants, and long coats?
Double-hang sections for shirts and folded pants need about 40 to 42 inches per level so garments clear the rod below. Suits and longer dresses want a single rod near 60 inches. Full-length coats and gowns need an uninterrupted 60 to 70 inch drop, or hems drag. Always plan at least one long-hang column before doubling up the rest.
Can I reconfigure or expand a closet system later?
It depends on the system. Rail-mounted and 32mm shelf-pin designs — Elfa, ClosetMaid ShelfTrack, Rubbermaid Configurations — are built to move and add on, provided the parts are still sold. A fully built-in plywood closet gives the cleanest look but locks you into its layout. If you rent or expect to change things, choose a standardized, still-stocked system and keep spare hardware and model numbers.