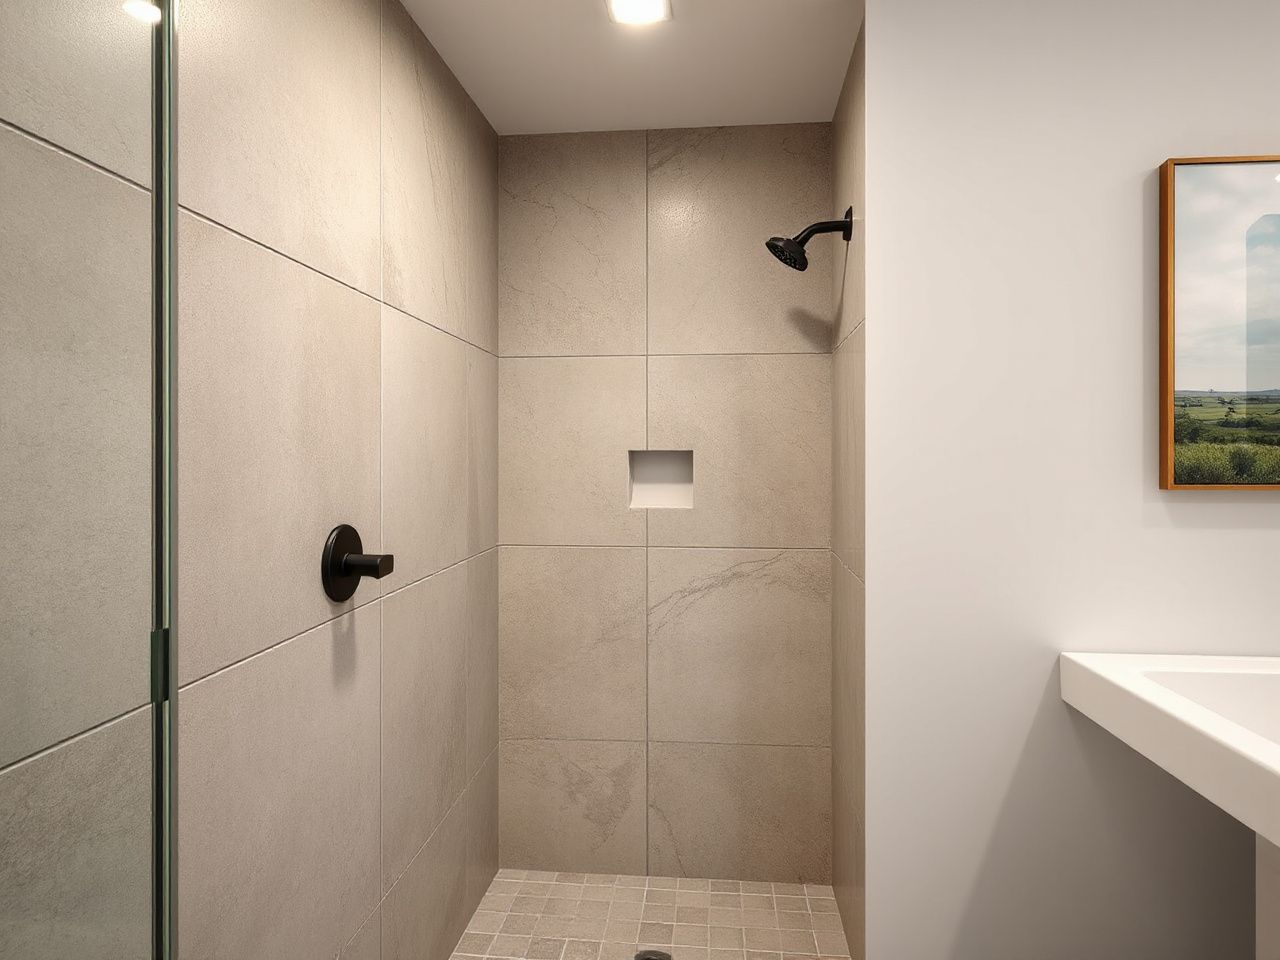
Choosing a tile size without considering the drain can lead to awkward cuts, uneven edges, or water that doesn’t flow properly toward the outlet. Measure the opening first. The difference between wall and floor tiles is important: walls focus on visual scale, layout, and grout, while floors need to handle slope, drainage, foot comfort, and slip safety. Large tiles can reduce grout lines but aren’t always the best choice because shower-floor geometry and drain placement often determine if they can be installed without drainage issues or uneven edges.
So, what tile size works best in a walk-in shower? A smaller mosaic format is often easier for a sloped floor, while walls can usually support a larger porcelain or ceramic tile if the layout supports it. Enamel won’t rust. The finish, grout, waterproofing, substrate, and quality of installation matter just as much as the tile size.
Key Takeaways
- Use a format on the floor that can follow the continuous slope toward the drain without lippage or flat spots.
- Large-format tile often suits shower walls, while mosaic tile commonly adapts more easily to a sloped floor.
- Tile is a finish, not the waterproofing system; the membrane, treated joints, substrate, drain, mortar, and grout must work together.
What tile size works best in a walk-in shower?
The answer depends on which surface you’re referring to. A walk-in shower doesn’t need one tile size everywhere. Using different formats on the floor and walls can make planning easier and the finished look more balanced.
Start with the shower floor
A shower floor must have a continuous slope toward the drain. Floor tiles need to follow that change in level without creating lippage, raised edges, or flat spots where water can pool.
Small mosaic tiles are often easier to arrange across a sloped shower pan because their many grout joints allow the surface to adjust gradually. Each piece covers less area, so transitions toward the drain can be managed through joints and cuts, rather than forcing a broad, rigid plane to change direction.
A small-format shower floor is not automatically slip-safe. The tile surface, the number and condition of grout joints, and the quality of installation all affect how the floor feels underfoot. The U.S. Consumer Product Safety Commission provides consumer safety information at cpsc.gov, while tile and flooring performance information can be reviewed through ASTM International at astm.org.
That guidance does not replace the project specification. It does explain why tile size alone cannot determine whether a shower floor is suitable.
Use larger formats selectively on walls
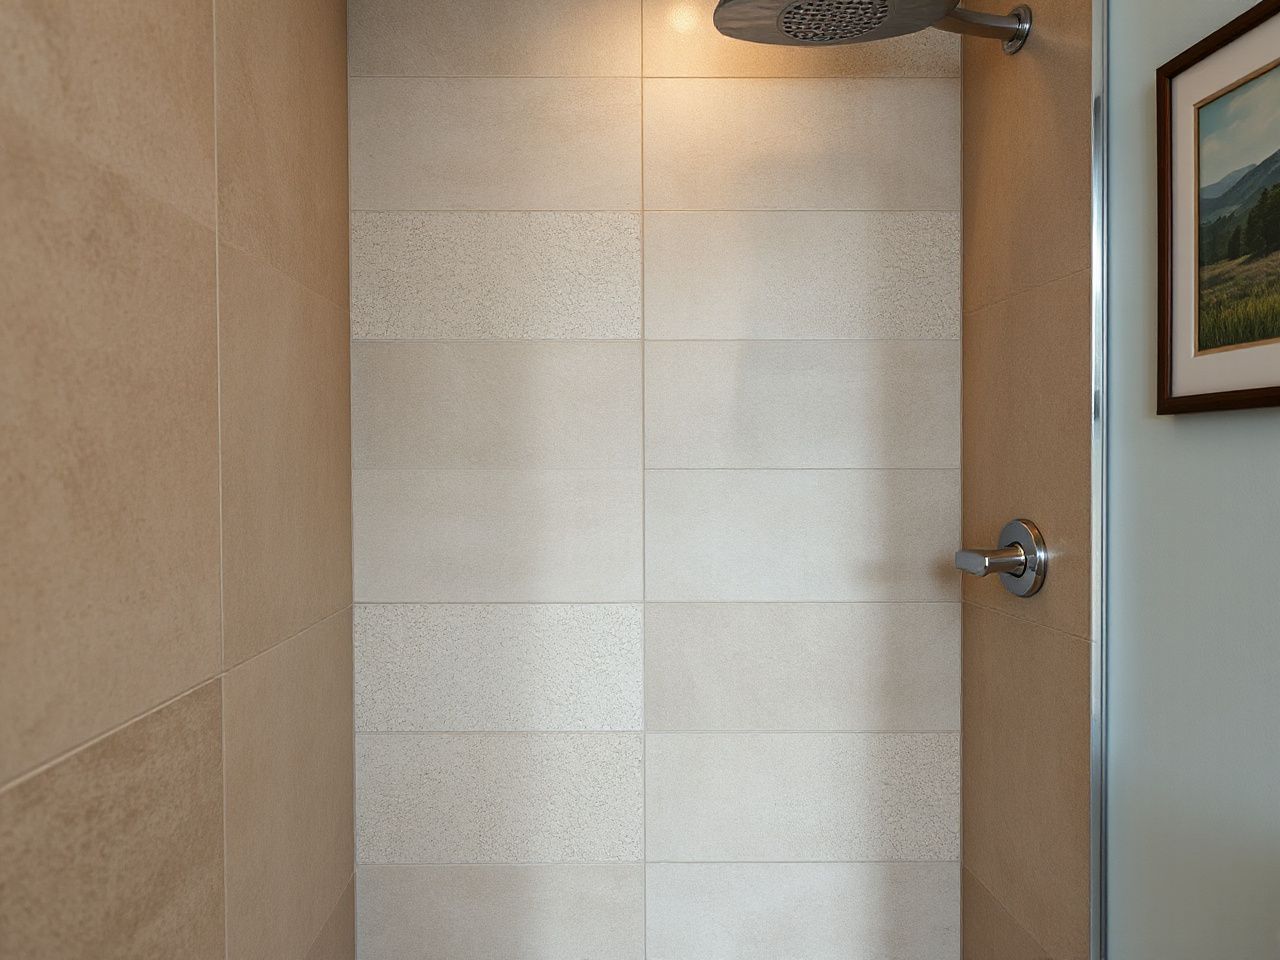
Walls are usually more forgiving because they don’t need to direct water toward a drain. Large-format tiles can create a cleaner look with fewer grout lines, while smaller ceramic or porcelain tiles can add more detail around niches, benches, corners, and plumbing fittings.
Walls often allow for thinner tiles than floors in many tile systems. This is because a wall surface doesn’t face the same impact and underfoot demands. Make sure the chosen tile is compatible with the substrate and installation method. Don’t select a wall tile just as a decorative layer.
Large wall tile can make a compact shower appear more continuous, but the layout must be drawn before mortar is spread. A tile that leaves narrow slivers at both corners can look accidental. A layout that centers a strong joint, aligns it with a niche, or places a full-looking piece in the most visible area usually appears more intentional.
How the drain and slope determine floor tile format
Center drains require a flexible floor layout
A center drain causes the floor to slope inward from several directions. That shape can make large-format tile tricky to install because a broad, flat tile might not fit neatly around the changing planes. Forcing it into place can lead to corners sitting higher than the surface or edges that don’t meet evenly.
Large-format tile can work around a center drain if the floor design, drain position, tile cuts, and setting plan are developed together. The tile may need careful cuts instead of a single, uninterrupted field. The key question isn’t just whether the tile is large, but if the pieces can follow the slope while keeping a clean, drainable layout.
A center drain makes tile cuts part of the design. Draw those cuts on the floor plan before choosing the final tile size, especially if there’s a bench, curved transition, or a strongly directional pattern in the shower.
Linear drains can support larger floor pieces
A linear drain can collect water along one edge or within a narrow drainage zone, allowing the floor to slope primarily in one direction. That arrangement may make larger floor tiles easier to use than they would be around a center drain. It does not remove the need for proper slope or careful cuts.
Large-format tile works best with a linear drain when the drain location, waterproofing, substrate, and tile layout are planned from the start. Changing the drain position late can force cuts into visible areas or clash with the slope.
A linear drain might make planning larger tiles easier, but it doesn’t make every large tile suitable. Surface texture, grout joints, foot comfort, and quality of installation still matter for safety.
Look for signs of a poor floor plan
Several visible clues suggest that the format and drainage plan are working against each other:
- Tile edges rise or dip where the slope changes direction.
- Grout joints stop abruptly around the drain without a clear pattern.
- Large pieces require narrow wedges that look unrelated to the rest of the layout.
- Water can sit in a shallow flat area rather than moving toward the drain.
- The drain cover is placed awkwardly inside a strong pattern or too close to a corner.
These are planning issues, not decorative ones. A shower floor that can’t support a continuous slope should be fixed at the pan or substrate stage, not hidden with grout.
How wall tile size changes layout, grout, and visual scale
Fewer joints can simplify cleaning
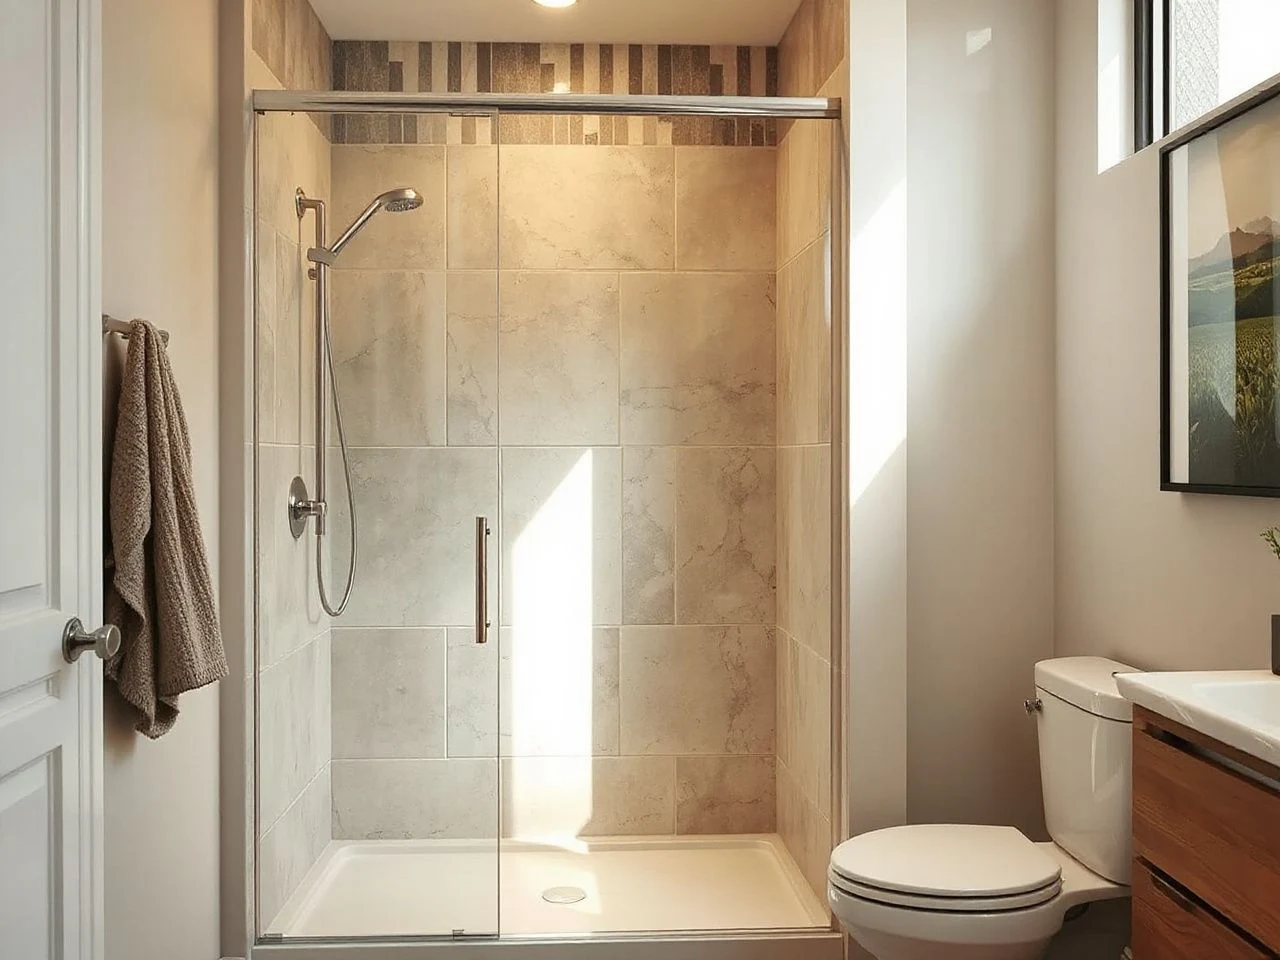
Fewer grout joints across the same wall area come with large tiles, which can cut down on routine cleaning. They also create a calmer look, especially if the pattern is simple and restrained.
That benefit has limits. Large pieces can require more planning around corners, valves, niches, shelves, and the shower entrance. A wall with fewer joints is not automatically easier to install, and a badly placed cut can be more noticeable when the surrounding field is broad and uninterrupted.
Grout maintenance depends on the joint layout, the grout system, ventilation, cleaning habits, and installation quality. Tile size changes the number of joints, but it does not eliminate the need for properly treated joints or a suitable grout.
Small showers need a drawing, not a guess
Tile size affects how a small shower reads. Large wall tile can reduce visual interruption, but it may leave narrow pieces at the sides or around a niche. Smaller tile can absorb awkward dimensions through more frequent joints, although a busy pattern may make the enclosure feel more visually active.
Before selecting a pattern, sketch each wall as a flat elevation. Mark the shower entrance, inside corners, controls, niches, benches, and any fixed hardware. Place the tile grid over that drawing and inspect the cut pieces at eye level.
For a detailed visual reference, the walk-in shower tile ideas collection can help compare layout effects without treating one tile format as suitable for every room.
Match the floor and wall without making them identical
The shower wall tile does not need to match the floor tile in size. A larger wall field paired with a smaller floor mosaic can provide a clear visual distinction between vertical and horizontal surfaces. The connection can come from color, finish, grout tone, or a shared shape rather than identical dimensions.
A wall-and-floor combination looks considered when the joints, edges, and transitions have been planned together. A random change in format at the threshold can look like a leftover decision, while a deliberate change can define the wet zone.
Materials, waterproofing, and installation quality
Porcelain and ceramic need the right location
Porcelain tile and ceramic tile are common choices for bathroom surfaces, but the material name does not answer every installation question. Floors face greater impact demands than walls, and the selected floor surface must be suitable for the intended use. Walls can accept thinner tile than floors in some systems, but the full assembly still needs a compatible substrate and setting method.
Terra cotta and other tile materials might be part of a broader bathroom design. Still, the shower floor needs a finish and installation method suited to regular water exposure and standing use. Check the installation instructions instead of just relying on a material label.
Mosaic tile helps with slope but adds joints
Mosaic tile is often easier to adapt to a sloped shower floor because the grout joints are more frequent between pieces. This flexibility makes it easier to align with a center drain or changing plane, but it also means there are more joints to clean and check.
A mosaic sheet still needs careful placement. If the spacing doesn’t continue smoothly from one sheet to another, seams can be visible. The individual pieces may also need adjustment around the drain, corners, and edges instead of being pressed in without a layout check.
Large-format tile needs a supportive, level base
Large-format tile depends heavily on the condition of the substrate and the setting method. If support isn’t even, it can show as lippage, rocking tiles, or uneven transitions. Thin-set mortar must be compatible with the tile, substrate, waterproofing system, and installation needs.
Tile isn’t the waterproofing system itself. A walk-in shower needs a compatible waterproof membrane, properly sealed joints, and a suitable substrate underneath. The membrane must connect properly at corners, penetrations, the pan, and the drain so the tile surface isn’t asked to do a job it can’t.
Tile, thin-set mortar, grout, drain, substrate, and waterproofing should be chosen as a coordinated system. Mixing unrelated parts can cause issues that only show up when moisture reaches an unprotected transition.
Check the working parts before admiring the finish
My flat-pack rule applies here: check the hardware before the finish. In a shower, this includes the drain, membrane transitions, edge treatments, substrate, and setting materials. The tile color might be perfect, but if the working parts aren’t coordinated, problems can arise.
- Confirm where water is meant to travel.
- Confirm that the waterproofing membrane reaches every wet-zone transition.
- Confirm that the drain and pan suit the planned tile layout.
- Confirm that the mortar and grout are compatible with the tile and substrate.
- Confirm that cuts at corners, niches, and fittings are shown before installation.
Step-by-step tile-size planning for a walk-in shower
Step 1: Separate the surfaces
List the shower floor, walls, niche, bench, threshold, and outside return separately. The floor needs a format that follows the slope, and the walls should support the visual layout and the placement of fixed fittings.
A shower floor and shower wall have different tile-format requirements. The floor must direct water to a drain. The wall mainly manages scale, joints, and cuts.
Step 2: Mark the drain before choosing tile
Identify whether the plan uses a center drain or a linear drain. Mark its position on the pan drawing, then indicate the slope direction. A center drain usually creates several sloping directions. A linear drain can support a more directional plane.
Don’t approve a floor format until the drain layout shows how the tile will be cut and where the joints will run. If the cuts look forced on paper, the finished floor probably won’t look calmer in the room. Measure the drain placement first.
Step 3: Draw the wall elevations
Draw each wall separately and place the tile pattern over the drawing. Check the corners first, then the niche, valve, shelves, bench, and entrance. The aim is to avoid thin leftover pieces in prominent spots. Keep the pattern visually connected.
Large-format tile can cut down on grout joints on a wall. But the wall still needs a layout that respects openings and edges. A smaller format might be more orderly if there are several interruptions.
Step 4: Review the complete assembly
Check the tile, membrane, substrate, mortar, grout, drain, and edge details as one system. Review the installation instructions for each component. Resolve conflicts before work begins.
The waterproofing membrane belongs beneath the tile, not in place of a tile layout plan. A well-placed membrane can’t fix a floor that creates flat spots or a wall layout with poor cuts.
Step 5: Inspect the dry layout
A dry layout helps the installer review joint alignment, drain cuts, corners, niches, and visible edges before mortar sets the pieces in place. Look for uneven transitions, pattern breaks, and cuts that are the first thing seen when entering the shower.
Dry-fitting is a good time to reconsider the format. Switching from large-format tile to mosaic on a floor might be more sensible than forcing a rigid piece to follow a complex slope.
Cost, maintenance, and long-term appearance
Tile size can influence installation costs and future maintenance, but size alone doesn’t determine the best choice. Large pieces may mean fewer grout joints, but they often need more detailed handling, substrate prep, and precise cuts around drains and fittings. Small mosaics can follow a slope more easily, but they lead to more joints to clean and inspect.
Installation quality often matters more than how simple the tile looks. A floor with many small pieces can appear very precise if the sheets and joints align well. A large-tile floor can look great if the drain and slope were designed for it. Conversely, either can look poor if the layout was improvised.
Maintenance starts with the entire wet-area assembly. Tile, grout, joints, edges, and drain details all need to stay accessible enough for inspection and cleaning. A wall with fewer joints may hide grout better, while a smaller floor mosaic can give better control around the drain.
For planning the enclosure, the walk-in shower dimensions guide can help match available room size with the placement of the entrance, walls, and drainage zone.
Common tile-size mistakes to avoid
Choosing the same format everywhere
Using one tile size throughout the shower can make ordering easier, but it might overlook the different needs of the floor and walls. A calm-looking wall format may require difficult cuts around the drain. A small mosaic suited for the floor might make a large wall seem overly busy.
Assuming more grout always means more risk
Grout joints influence cleaning and look, but they also help smaller pieces follow a slope. Fewer joints are not always better if the remaining tiles can’t follow the drainage shape.
Confusing waterproofing with tile
Tile sheds water at the surface, but tile alone isn’t waterproofing. The membrane, joints, substrate, drain connection, and penetrations all need to be designed as part of the shower system.
Ignoring the drain cover in the pattern
A drain cover is installed inside the floor composition. Its position should be considered along with the tile joints. A beautiful pattern can lose its harmony if the drain lands in an awkward spot or needs unplanned cuts.
Using surface appearance as the only safety test
A tile can look textured without fully revealing if it’s suitable for underfoot use. The finished floor depends on surface, grout joints, slope, drainage, and installation quality. Size alone doesn’t determine slip safety.
Frequently Asked Questions
What tile size works best in a walk-in shower floor?
Small mosaic tile is often the most adaptable choice for a sloped shower floor because its joints allow the surface to follow the fall toward the drain. Large-format tile can work when the pan, drain, cuts, and slope are planned together. The final decision should also consider surface texture, grout, foot comfort, and the quality of the complete installation.
Should shower wall tile be a different size from floor tile?
Yes, wall and floor tiles can have different formats. Walls mainly need a good visual layout around corners, niches, valves, and edges. Floors must follow the drainage geometry. Using a larger wall tile with a smaller floor mosaic can reduce grout lines on the wall and help the floor follow the drain more easily.
Are small mosaic tiles safer underfoot than large tiles?
Small mosaics often have more grout joints and can adapt well to a sloped floor. But tile size alone doesn’t guarantee slip safety. Finish, grout, slope, drainage, and installation quality are also important. Always check tile info and the whole shower design, rather than assuming every small mosaic is automatically suitable.
Can large-format tile work around a center drain?
Large-format tile can work around a center drain if the layout and cuts are planned together. The slope might need specially designed pieces instead of a continuous tile field. If the layout causes lippage, flat spots, narrow wedges, or awkward drain cuts, a smaller tile format might be more practical.
Does a linear drain make larger floor tile easier to use?
A linear drain can make planning larger floor tiles easier because the slope usually directs mainly toward one drainage zone. But it still requires a continuous slope, compatible waterproofing, proper mortar, and careful cuts. The drain position should be fixed before approving the tile format, not changed after drawing the layout.
Choosing the right shower tile is primarily a layout decision before it becomes a finish decision. Pick a floor format that can follow the slope cleanly. Use a wall format that creates an intentional pattern. And evaluate the entire setup by its working parts before deciding on the surface appearance.