Your bathroom mirror is the one surface you stare at every single morning, yet most people pick one by its frame color and call it a day. Then the first time you lean in to apply makeup or shave, the light is either too dim, too blue, or casting shadows from the wrong angle, and you realize the cheap purchase was not cheap at all. The thing that separates a good purchase from a frustrating one is rarely the brand. It is the interplay between mirror size, light color temperature, and the bathroom’s electrical setup, because those three between them decide whether the fixture fits the wall, flatters a face at close range, and is legal where you want to hang it. Beginners often ignore that the mirror’s LED output is rated in lumens and Kelvin, which determines how your face looks under it, and that the IP rating dictates where it can be safely placed above a sink. My approach is to teach you how to read spec sheets like a contractor—prioritizing safety, code compliance, and light quality over trendy features like motion sensors or Bluetooth. Before you hand over your credit card, check our bathroom mirror buying guide mistakes to avoid for the universal errors that apply to any mirror purchase.
Key Takeaways
- A lighted mirror’s IP rating must match its distance from water sources; IP44 is the common minimum for splash zones, but hardwired units may need stricter placement.
- Lumens and Kelvin are non-negotiable: aim for at least 500–600 lumens and 3000K–4500K for accurate skin tones, with 4000K being the safest neutral choice.
- Anti-fog heating elements draw power constantly when switched on, adding roughly $5–10 per month to your electric bill if left running overnight.
- Dimmer compatibility with LED drivers is not universal; using a standard incandescent dimmer causes flickering and shortens the driver’s life.
Lighted Bathroom Mirror Buying Guide: Read the Spec Sheet Like a Contractor
Ignore the Marketing Fluff: Start with Size and Proportions
A mirror that is too narrow makes your bathroom feel off-balance, and one that is too wide blocks your towel bar or light switches. The standard rule: the mirror should be no wider than the vanity it hangs above, and ideally two to four inches narrower on each side to leave breathing room. For a 36-inch vanity, a 30-inch mirror works; for a 60-inch double vanity, two separate 24-inch mirrors or one 48-inch mirror are better than a single 60-inch slab that dominates the wall. Measure the space between any existing wall sconces or medicine cabinets before you order because a lighted mirror adds a frame around the glass that eats into the clearance. This single measurement error sends more lighted mirrors back to the retailer than any electrical fault does, and for a simple reason: a lighted mirror is built to a fixed size around its LED strip and cannot be trimmed on site the way a shelf or a plain sheet of glass can, so an inch of overhang means boxing up the whole unit again.
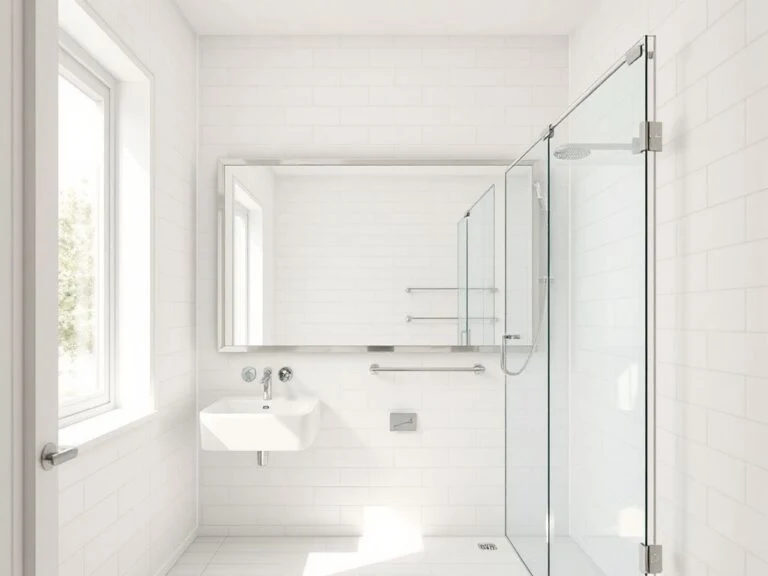
A lighted mirror’s physical frame, not just its glass, determines whether it fits between existing wall fixtures.
Also consider the height of the people using the mirror. The center of the mirror should sit roughly at eye level for the shortest person, typically 60–65 inches from the floor. Many wall-mounted fixtures are placed too high because the original builder sized them for a medicine cabinet, not a human face. If you are replacing a builder-grade mirror, you may need to move the junction box or patch drywall, which adds cost but is worth it for a mirror you use daily.
Hardwired versus Plug-In: The Electrical Realities
The biggest fork in the road is whether you buy a hardwired mirror or a plug-in model. A hardwired mirror connects directly to a junction box behind the wall, which means you need an electrician unless you already have a properly placed box from an old fixture. A plug-in mirror has a standard three-prong cord that runs to a nearby GFCI outlet, but the cord will be visible unless you hide it inside a channel or behind a cabinet. Many homeowners assume plug-in is easier, and for a rental or a retrofit without an existing box, it is. But if you are building new or doing a full remodel, spending the extra $150–300 on a hardwired installation gets you a cleaner look and no cord to snag on a countertop. The mirror’s spec sheet should state its input voltage: 120V for North America, 220–240V elsewhere; never buy a 220V mirror for a US bathroom without a step-up transformer, which is bulky and unnecessary.
Hardwired mirrors also force you to think about the electrical box location. A standard rectangular junction box is 4 inches wide, and the mirror’s back plate must cover it completely. If the box is not centered on the vanity, the mirror will hang off-center unless you patch and rerun wire. Check this before buying a fixed-size mirror; some models have a wide mounting bracket that tolerates up to 2 inches of lateral shift, but that is a spec rarely printed on the box.
Lumens, Kelvin, and What Your Face Actually Needs
The two numbers on the box that actually matter are lumens and Kelvin, and most buyers ignore both. Lumens measure total light output; a dim 300-lumen mirror is fine for a powder room but useless for shaving or makeup. Aim for 500–600 lumens for a mirror of 24–36 inches, and scale up proportionally for larger glass. Kelvin measures color temperature: 2700K is warm yellow, 4000K is neutral white, 5000K is cool blue. For makeup application, 4000K is the closest to natural daylight and shows true skin tones without the sterile blue of 5000K or the orange cast of 2700K. Some mirrors offer switchable color temperatures—a useful feature if you want to check your face under both warm and cool light, but the switches often fail before the LEDs do because they are cheap mechanical components.
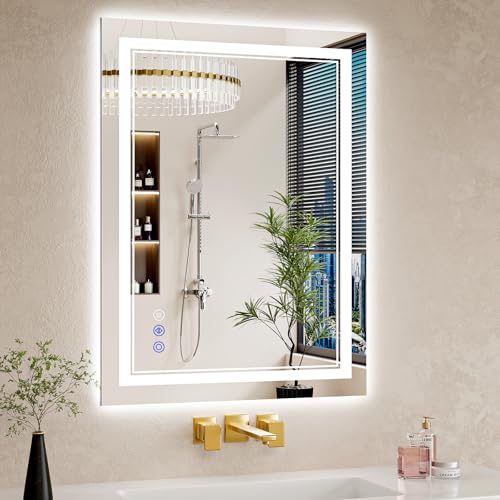
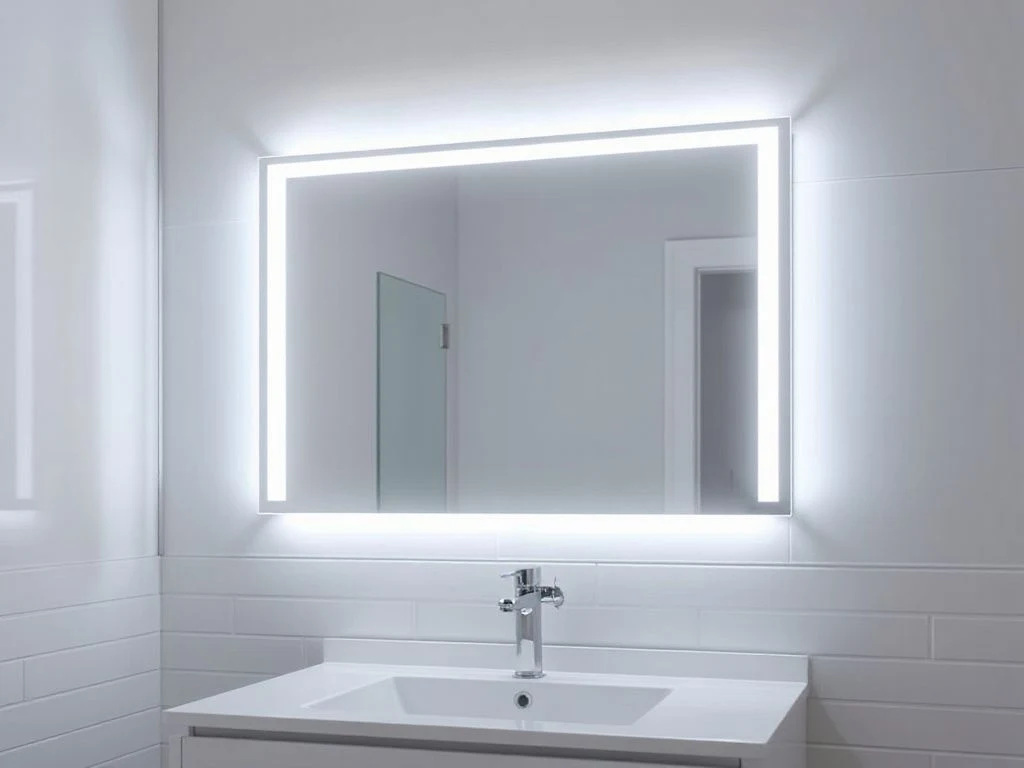
LED light output in a bathroom mirror is measured in lumens, and color accuracy in Kelvin; 4000K is the safest neutral for daily grooming.
If you are replacing an existing vanity light, compare the total lumens of the old fixture to the mirror’s built-in LED strip. A single 60-watt incandescent bulb produces about 800 lumens, so a mirror claiming 400 lumens will feel significantly dimmer. Many people buy a lighted mirror expecting it to replace overhead lighting, then complain that the bathroom is dark. Lighted mirrors are task lighting, not ambient lighting; pair them with a ceiling fixture or wall sconces for general illumination.
Safety and Code: Where You Can Legally Mount the Mirror
IP Ratings and Bathroom Zones Explained
Every electrical fixture near water needs an IP (Ingress Protection) rating, and bathroom mirrors are no exception. The rating has two digits: the first is dust protection, the second is water resistance. For a mirror above a sink, you need at least IP44, meaning protected against splashing water from any direction. A mirror with only IP20 is not safe in a bathroom because condensation can drip into the electronics. Hardwired mirrors installed in shower or tub zones may need IP65 or higher, but those are rare. The International Electrotechnical Commission (IEC) publishes the IP code standard; you can verify a manufacturer’s claim by checking their compliance documentation against the IEC’s official standards page. Many cheap imports from online marketplaces skip this certification entirely, which is why their price is half of a UL-listed model.
Look for a UL or ETL mark on the product page or the back of the mirror. Underwriters Laboratories (UL) and Intertek’s ETL are independent testing labs that verify electrical safety for North America. A mirror without either mark has not been tested for fault conditions like an internal short or a water leak into the housing. The National Fire Protection Association’s National Electrical Code mandates that bathroom fixtures within certain zones meet these safety standards, and an insurance claim after a fire caused by an unlisted mirror will likely be denied.
Bathroom electrical zones are defined by the NEC based on proximity to water. Zone 0 is inside the tub or shower; Zone 1 is directly above the tub up to 7.25 feet; Zone 2 is within 2 feet horizontally of the tub rim. A mirror outside these zones only needs IP44, but a mirror inside Zone 1 or 2 needs IP65 or better. Most bathroom mirrors above a sink fall outside all zones, but if your sink is unusually close to a tub, check the measurements.
Weight and Anchoring: The Number Nobody Checks
Lighted mirrors are heavier than plain glass because they contain an LED strip, a driver, and sometimes a heating element and a metal frame. A 36-inch lighted mirror can weigh 15–30 pounds, and that weight is cantilevered off the wall on two small brackets. Standard drywall anchors rated for 20 pounds are borderline; drywall alone cannot hold that load long-term, especially in a humid bathroom where the paper facing softens. The correct installation uses screws into wall studs or a horizontal cleat anchored into blocking behind the drywall. If the mirror’s mounting template does not align with your studs, install a piece of ¾-inch plywood between the studs and screw the mirror bracket into that. That extra fifteen minutes of blocking is what stands between a mirror that stays where you put it and one that slowly pulls its anchors through softened drywall until it falls, taking the vanity top below it with it.
A lighted mirror weighing more than 20 pounds must be anchored into wall studs or a plywood backer board, not standard drywall anchors.
Check the mirror’s mounting hardware before you buy. Some budget models include two small zinc-plated screws and plastic anchors, which are inadequate for the mirror’s own weight. A quality mirror will include steel brackets or a French cleat system. The spec sheet should list the mirror’s weight; if it does not, ask the seller because the shipping box weight is not the same as the mirror weight after removing packaging.
Anti-Fog Systems: How They Work and What They Cost
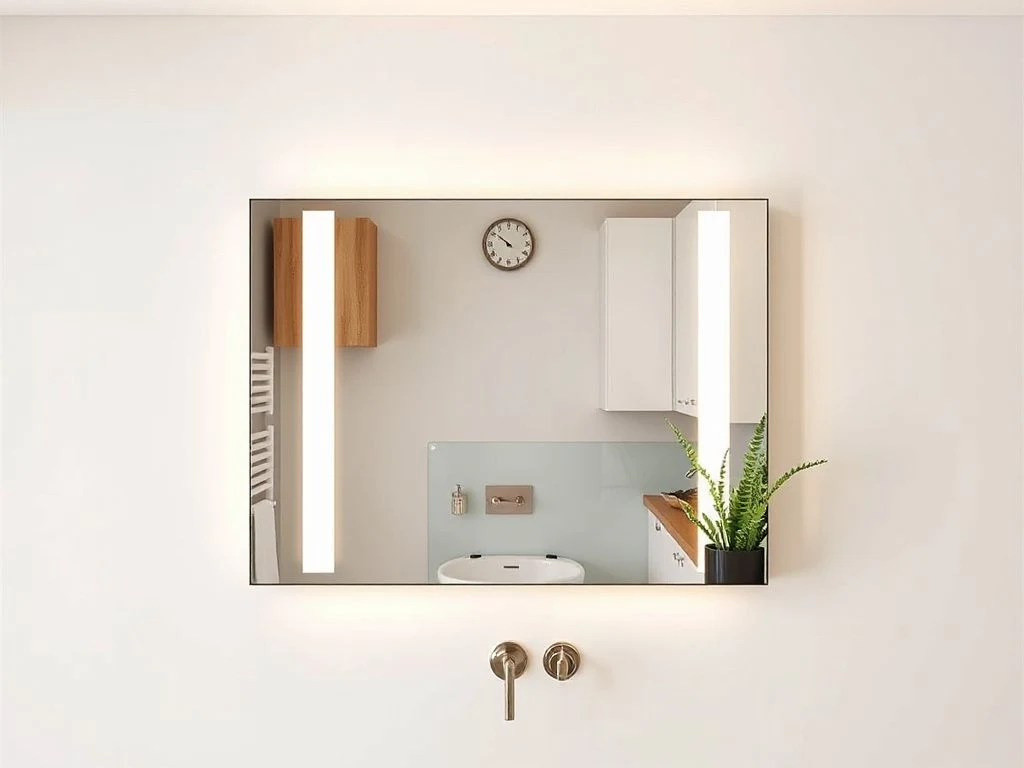
Anti-fog pads on these mirrors are not a coating; they are a thin resistance heating element glued to the back of the glass. When you switch on the anti-fog function, the pad warms the mirror surface a few degrees above the dew point, so condensation cannot form. That heating element draws between 20 and 50 watts depending on the mirror size, and if you leave it on all night—a common habit—it adds roughly 1–2 kilowatt-hours per day. At the US average of $0.16 per kWh, that is about $5–10 per month added to your electric bill. The element is not designed for continuous operation; the spec sheet will state a duty cycle, often 2 hours on maximum. Treat the anti-fog switch like a coffee maker: turn it on, do your task, turn it off. If your mirror fogs up even with the pad on, either you did not leave it on long enough (it takes 3–5 minutes to warm) or the pad is defective.
Anti-fog heating elements draw 20–50 watts continuously when switched on, which can add $5–10 to a monthly electric bill if left running overnight.
Some mirrors have a chemical anti-fog coating instead of a heating pad. These coatings are cheaper to produce but wear off after a year or two of cleaning. A heated pad is more reliable but costs more upfront and uses electricity. The spec sheet will say “heated anti-fog” or “coated anti-fog”; always choose heated if you can afford it because the coating version will stop working exactly when you need it during a hot shower.
Fine-Tuning Light Quality and Longevity
Color Rendering Index (CRI) and Makeup Accuracy
Kelvin tells you the color of the light, but CRI tells you how accurately that light reveals colors. CRI is measured on a 0–100 scale, with 100 being identical to natural sunlight. A mirror with a CRI below 80 will make your skin look pale or sallow, even if the Kelvin is perfect. For makeup application, shaving, or checking your outfit, look for a CRI of 90 or higher. The spec sheet should list CRI; if it does not, assume it is 80 or lower because manufacturers hide poor specs. LED strips from reputable brands like Robern or Electric Mirror often advertise CRI 90+ because they source higher-quality diodes. Cheap imports use 70 CRI LEDs that make a blue shirt look purple and a rash look invisible.
A lighted mirror with a CRI below 90 will distort skin tones even if its light output is bright.
CRI is rarely printed on the box, so you may need to dig into the product manual or ask the seller for a photometric report. Some manufacturers list “Ra” instead of CRI, which is the same metric. If the mirror has multiple color temperature settings, the CRI may vary with each setting—often the warm white 2700K mode has a higher CRI than the cool white 5000K mode because warm LEDs are easier to make accurately. Test both if you can before buying, or read reviews that specifically mention skin tone accuracy.
Dimmer Switches: The Flicker Trap
Some lighted mirrors include a built-in dimmer, which is convenient. But if you want to connect the mirror to a wall dimmer, you must verify that the mirror’s LED driver is dimmable and that the wall dimmer is rated for LED loads. Standard incandescent dimmers work by chopping the AC waveform, which confuses LED drivers and causes visible flicker, buzzing, and premature driver failure. You need an LED-compatible dimmer (often labeled “trailing edge” or “ELV”) that matches the driver’s specified input. The mirror’s spec sheet will state “dimmable with ELV dimmer” or list compatible dimmer model numbers. If it does not, do not assume. A non-dimmable driver connected to a dimmer will eventually burn out the driver, and replacing an integrated driver inside a sealed mirror is often impossible.
LED mirror drivers are not universally dimmable; using an incompatible wall dimmer causes flickering and can destroy the driver.
Built-in dimmers are usually touch sensors or buttons on the mirror itself. They work fine but add a failure point: the capacitive touch strip can stop responding after a few years of wet fingers. If you need dimming, consider a hardwired mirror that is compatible with an external dimmer switch on the wall, because that dimmer is a $20 replaceable part instead of an integrated circuit board.
LED Replacement: The Reality Most Buyers Miss
LEDs themselves last 50,000 hours or more, which is decades of morning grooming. But the driver—the small transformer that converts 120V to the low voltage the LEDs need—is the weak point, and it is usually sealed inside the mirror frame or the mirror’s back panel. When the driver fails (and they do fail after 5–10 years from heat or moisture), you cannot just unscrew a bulb. The entire mirror must be replaced or sent to a specialty repair shop, which rarely exists. Some higher-end models from Kohler or Robern have replaceable driver modules accessible through a small panel, but most budget mirrors do not. Check the spec sheet for the driver’s expected lifespan and whether it is field-replaceable. If the listing does not mention replacement parts, assume the mirror is disposable when the driver dies.
The LED chips in most lighted mirrors outlast their drivers, and a non-replaceable driver means the entire mirror becomes e-waste when it fails.
Some mirrors use a “constant current” driver that regulates voltage precisely, which extends LED life but costs more. A “constant voltage” driver is cheaper but lets the LEDs draw more current as they heat up, shortening their life. This distinction is rarely advertised, but if you can find it in the manual, it is a good indicator of build quality.
Cleaning Anti-Fog Mirrors Without Killing the Coating
The anti-fog heating element is behind the glass, but some mirrors also have a chemical anti-fog coating on the front. That coating is fragile and will scrub off with abrasive cleaners or paper towels. Use a soft microfiber cloth and plain water or a 50/50 mix of white vinegar and water for stubborn spots. Never use ammonia-based glass cleaner because it degrades the LED diffuser plastic and the anti-fog film. Wipe gently in one direction; circular scrubbing creates micro-scratches that show under the LED light. If the mirror has a touch sensor or buttons, keep moisture away from those areas because the seals around them are the first to fail. Dry the mirror frame edges with a towel after cleaning to prevent water from wicking into the sealant.
Before you finalize your order, think about how this mirror fits into the rest of your bathroom. Our bathroom storage buying guide mistakes to avoid covers the common errors people make when choosing vanities and shelving that pair with a new mirror. And if you are doing a full refresh, the best bath towel sets buying guide for 2026 has practical advice on coordinating textiles without overspending.
Frequently Asked Questions
What is the best color temperature for a lighted bathroom mirror used for makeup?
For makeup application, choose a mirror with a color temperature between 4000K and 4500K. This neutral-to-cool white light most closely mimics natural daylight and prevents the orange or blue cast that makes foundation look wrong in the car. If you only buy one, 4000K is the safest because it balances warm and cool without skewing skin tones. Avoid 5000K for daily makeup unless you also have a window nearby for cross-checking.
How do I know if a lighted bathroom mirror is safe to install above a sink?
Check the mirror’s IP rating and electrical certification. A mirror above a sink needs at least IP44, and it must carry a UL or ETL mark for North America. The National Electrical Code requires GFCI protection for fixtures within 6 feet of a water source. Hardwired mirrors must be connected by a licensed electrician to a junction box that meets local code. If the product listing lacks these specs, walk away—safety is not a place to save money.
Can I replace the LED lights in a lighted bathroom mirror when they burn out?
Usually no. The LED chips themselves last 50,000 hours, but the driver that powers them often fails earlier and is sealed inside the mirror. Most budget mirrors have no access panel for driver replacement, meaning the whole unit is disposable. Higher-end models from brands like Kohler or Robern sometimes have replaceable LED modules or drivers, but you must verify that specific model before buying. Always ask the seller for replacement part availability, and if they cannot provide it, treat the mirror as a single-use fixture.