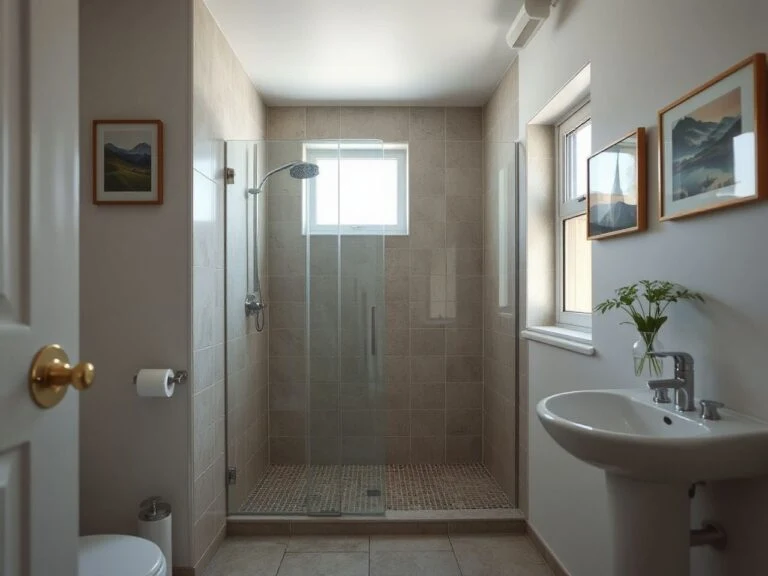
Bathroom lighting can look polished in photos but still leave your face in shadow, create glare on the mirror, or make the ceiling feel brighter than the vanity. The key in modern bathroom lighting is between fixtures that look contemporary and a plan that works well at the mirror, across the room, and during evening use with low glare. A good guide should judge each idea by beam direction, shadow control, diffusion, moisture resistance, and control compatibility, not just appearance.
Key Takeaways
- Layer ambient, face-level task, and gentle accent lighting instead of relying on one ceiling fitting.
- Place light beside or around the mirror to reduce facial shadows, and use diffused sources to limit glare.
- Check moisture suitability, wiring requirements, LED and dimmer compatibility, and cleaning access before installation.
Modern Bathroom Lighting Ideas Start With the Lighting Plan
A bathroom needs different types of light because it serves various functions. Ambient lighting provides a base for the whole space. Task lighting is important at the vanity, where shadows can hinder shaving, grooming, or applying makeup. Accent lighting adds depth to shelves, niches, wall textures, or the underside of a vanity.
A single ceiling fixture often leaves the mirror area poorly served. A ceiling fitting may illuminate the floor while placing light directly above the head, which can cast shadows over the eyes and beneath the chin. A balanced source beside or around the mirror usually gives the face a clearer, more useful light.
Layer ambient, task, and accent light
Begin with the room’s general illumination. Recessed downlights can provide a visually quiet ceiling, while a flush ceiling fixture can suit a compact room where a lower-profile form keeps the space open. The fixture body and its light source work together, so the visible design should not distract from the direction and spread of the beam.
Add task lighting at the vanity rather than asking the ceiling light to perform every role. Wall sconces positioned to either side of a mirror can distribute light across the face. A backlit mirror can create a soft halo around the glass, although the rear glow should support, rather than replace, useful face-level light.
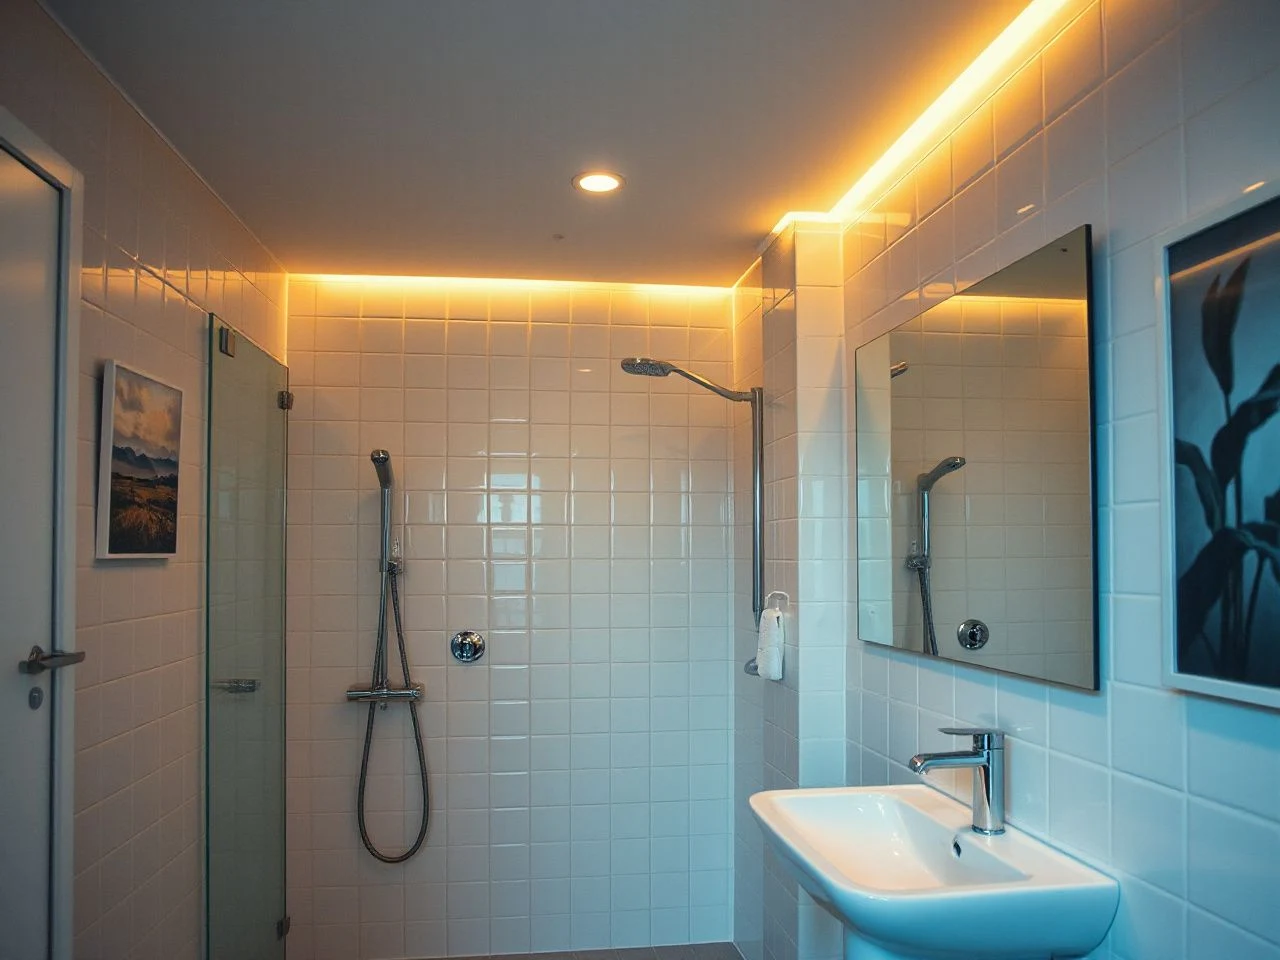
Accent lighting belongs where it can reveal a feature without becoming a bright point in the user’s sightline. LED strip lighting may suit a cove, open shelf, niche, or under-vanity recess when the strip is concealed and the diffuser is easy to remove for cleaning. A soft reflected glow can make a small bathroom feel more spacious than a collection of exposed bright sources.
Ambient lighting makes a bathroom usable throughout the room, while task lighting makes the vanity usable at close range. That division helps prevent the familiar mistake of installing one attractive fitting and expecting it to solve every lighting problem.
Choose the mood through colour temperature and diffusion
Light colour changes the character of tile, paint, stone, metal, and skin tones. A colour temperature spanning 2800 to 3000 kelvins is characteristic of an incandescent bulb and carries more energy in the red and yellow parts of the visible spectrum than a cooler source. Lamps with a blue-white appearance are associated with higher colour temperatures.
Warm light can make a bathroom feel calm in the evening. It works well with warm paint and timber tones. Cooler light appears crisp and active. Too much blue-white light might make pale surfaces look stark. The practical choice depends on the room’s finishes, daylight, and mirror activities.
Frosted glass diffusers soften the visible source and help reduce harsh points of brightness. In a compact area prone to moisture, a glass lamp shade is a more suitable choice than a fabric shade because the surface is easier to keep clean and does not introduce a porous textile near damp conditions.
Use the room’s finishes as part of the lighting design
Reflective tiles and pale bathroom paint finishes can spread light farther. But they can also reflect a bare lamp into the mirror or directly into the eye. A glossy wall isn’t a substitute for balanced placement. Natural daylight should be considered too, especially if a window needs a treatment that preserves privacy without blocking useful light.
Mirror placement and vanity design affect the result as much as the fitting. A wide vanity with one central overhead source may leave the outer parts of the face dim. A symmetrical pair of wall sconces can distribute light more evenly, while a long, diffused fitting above the mirror can work when its light is aimed to avoid downward facial shadows.
Choosing Lighting Around the Mirror
The vanity is where lighting quality becomes obvious. A face lit only from above receives light from a high angle, so the brow, eyes, nose, and chin can create shadows. Placing light beside the mirror brings illumination from a more useful direction and makes the face easier to see without forcing the lamp to become visually dominant.
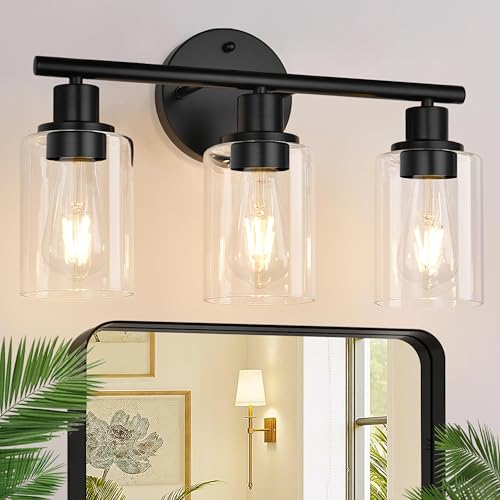
Wall sconces beside the mirror
Wall sconces are simple when the wall has wiring on both sides of the mirror. Their effectiveness depends on position and diffusion, not just design. Pick a shape that spreads light toward the face without exposing a sharp, uncovered source at eye level.
For a double vanity, two balanced vertical sources can support the two working areas more effectively than a single centre fitting. The installation still needs to suit the mirror’s width and the wall’s available space. Do not assume symmetry alone guarantees good illumination; a narrow shade, blocked diffuser, or poorly directed beam can leave the centre of the face dim.
Backlit mirrors and illuminated mirror edges
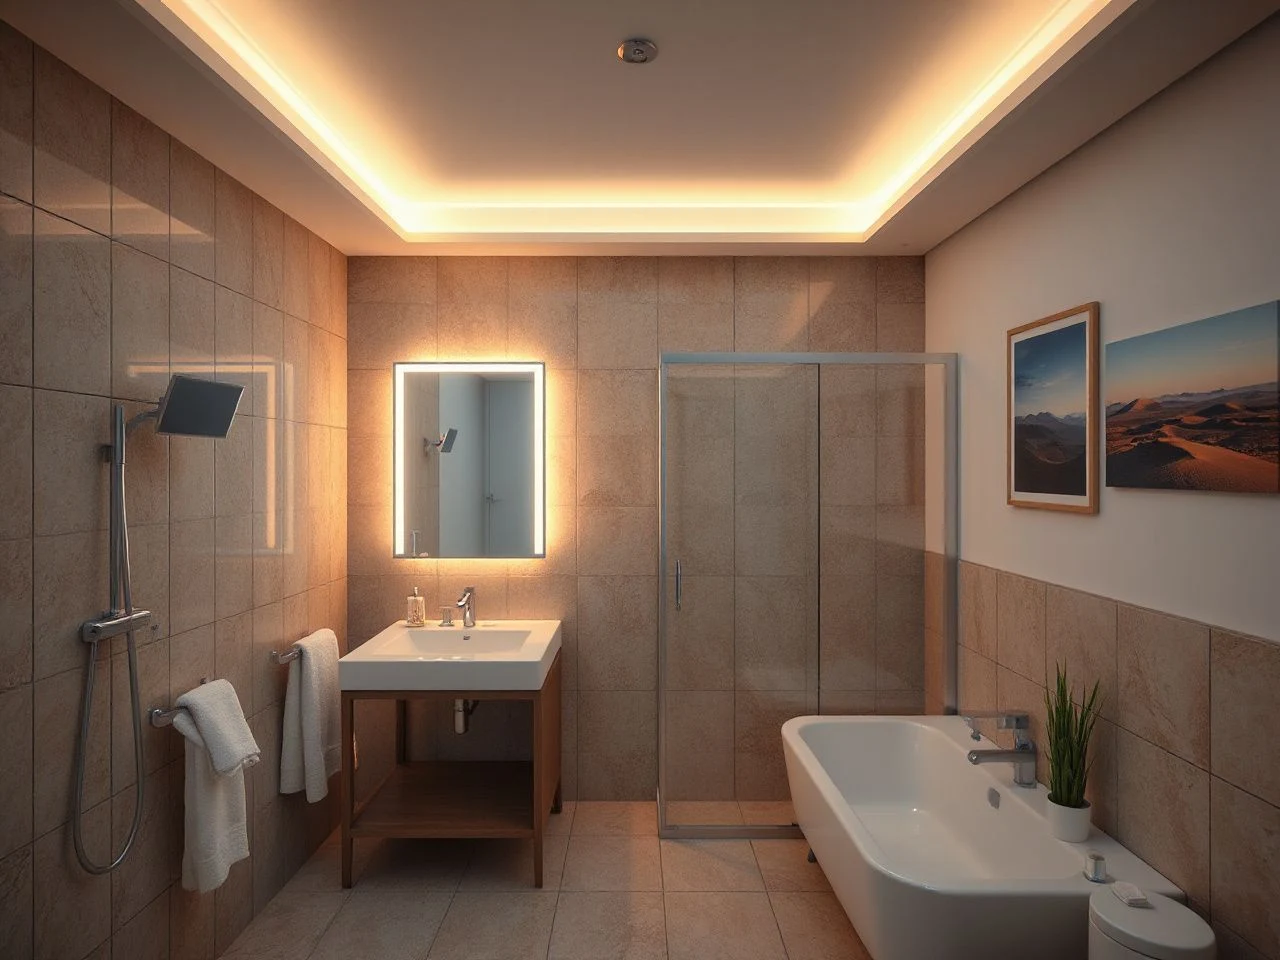
A backlit mirror gives the wall a gentle glow around its perimeter. It can make a small bathroom look less heavy visually. It’s especially useful as a low-level evening layer when full brightness isn’t needed. The rear light should be considered accent or support lighting unless the mirror also provides clear forward-facing illumination.
Check how the mirror is cleaned and serviced before choosing this approach. A fitting that combines mirror, light source, and controls may need more careful access than a separate wall sconce. The key question isn’t just how the mirror looks when lit, but also how a diffuser, control, or driver can be reached later.
Light above the mirror
A fitting above the mirror can work if it spreads light broadly and is positioned to avoid placing the source directly over the user’s head. Narrow or exposed lights above the glass are more likely to create shadows and glare. Frosted glass can soften the light, but diffusion can’t fully fix poor placement.
A ceiling downlight directly over the vanity often causes the same problem from a higher position. If recessed downlights are part of the plan, make sure the vanity area isn’t the only spot where the brightest beam lands. Combine ceiling lighting with side or surrounding mirror light for a better balance of facial illumination.
Light placed directly above a bathroom mirror can cast shadows over the eyes and under the chin. Where the source is positioned is more important than the fixture’s label.
Decorative fixtures and pendants
Pendant lights can add a strong vertical element beside a vanity or in a larger bathroom, but their placement must suit the room’s moisture level and location. A pendant near a shower, bath, or sink needs extra care. It must be specifically suitable for that spot, and the electrical work must follow local requirements.
A decorative fixture shouldn’t block the mirror, create a reflected glare point, or be placed where someone could hit it. A large chandelier might suit a spacious room with a proper installation, but its size doesn’t eliminate the need for moisture resistance, safe wiring, and easy cleaning access.
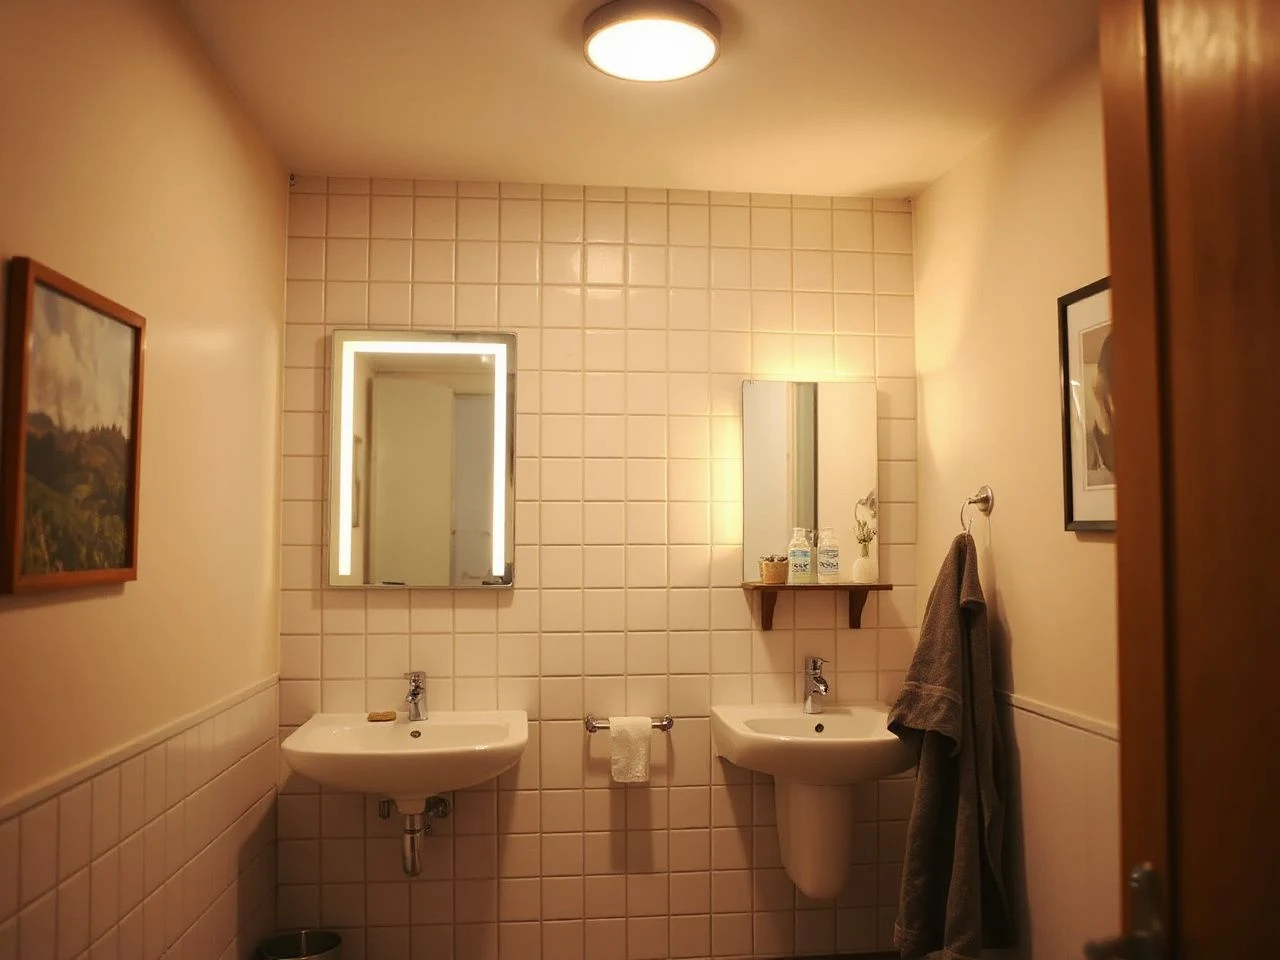
Small Bathroom Lighting Ideas That Avoid Harshness
Small rooms need careful light distribution rather than just more brightness. A bright point on a low ceiling can make the space feel harsh and uneven. In contrast, a softer light reflected from a light-colored wall can spread light more evenly and with less strain. A small glass shade, diffused wall sconce, or concealed LED strip can help keep the room visually calm.
Make a compact room feel brighter
- Use a ceiling source for general coverage and add a separate mirror layer.
- Place a diffused source where it illuminates the face rather than only the floor.
- Use reflective tiles or light paint to support distribution, while checking for unwanted mirror glare.
- Allow a backlit mirror or concealed shelf lighting to provide a lower, softer layer in the evening.
- Keep fittings visually restrained so the ceiling and wall surfaces do not appear crowded.
A small bathroom can also benefit from light beneath a floating vanity, as long as the strip is concealed and the wiring suits the location. The glow separates the vanity from the floor and creates a gentle accent without blinding the user.
Lighting should still respond to daylight. A window can provide useful daytime illumination. But glare and privacy concerns can change throughout the day. Consider window treatments, mirror angle, and reflective surfaces together. Don’t plan them as separate decorative decisions.
Why glare and uneven light happen
Glare usually comes from a bright source that’s visible from the normal standing or seated position. It can also come from light reflected directly by a mirror, tile, or polished surface. Uneven lighting can happen if a single beam is aimed at the room’s center. It can also result from a diffuser blocked by a cabinet or a vanity that extends beyond the useful spread of the source.
Frosted glass diffusers soften the sharpness of a visible lamp. Still, the diffuser must stay clean and free of obstructions. A fitting with a wide, softened spread generally feels calmer than several exposed points aimed in different directions. The room should have a clear hierarchy: useful light at the mirror, an even base across the floor, and accents that stay secondary.
Glare occurs when a bright source or its reflection enters the normal viewing angle, so changing position and diffusion can improve comfort. A glossy finish may need softer light, not a brighter lamp.
Controls, LED Compatibility, and Bathroom Safety
LED luminaires can support a clean modern plan, but the lamp, driver, fitting, and dimmer switch need to work together. Mismatched components may flicker, buzz, dim poorly, or fail earlier than expected. The control system should be selected as part of the lighting plan rather than added after the fixtures are installed.
Choose dimmer compatibility before installation
Check the manufacturer’s compatibility information for the LED lamp or luminaire and the dimmer switch. A fitting that can be dimmed might still perform badly with a particular control. Watch for flicker, buzzing, a narrow dimming range, or a light that cuts out when the control is lowered.
Separate controls for ambient, vanity, and accent layers give the room more useful settings. Bright task light can support detailed work, while a lower ambient or accent setting can feel more comfortable in the evening. Smart lighting controls can add convenience, but they still need compatible lamps, drivers, switches, and permanent wiring.
Moisture suitability and location
Bathroom fittings must match the moisture level and physical location of their installation. Extra care is needed near showers, baths, and sinks. A fixture suitable for a dry ceiling area should not automatically be used in a more exposed position.
Permanent light fixtures are installed by wiring a power source directly to the fixture. Electrical work in a bathroom should follow local requirements and be completed by an appropriately qualified electrician. The U.S. Consumer Product Safety Commission provides consumer product safety information, while local electrical requirements determine what is permitted in a specific bathroom.
Start with the fitting’s installation instructions and rating info. If you’re unsure about the location, wiring, moisture exposure, or control setup, pause the design process and ask a qualified electrician to evaluate the work.
What causes flicker, buzz, or early failure?
Flicker, buzzing, poor dimming, and early failure can suggest an incompatibility between an LED lamp, its driver, and the dimmer switch. Moisture exposure, blocked ventilation around a fitting, loose connections, or incorrect installation can also cause issues.
Don’t treat a new sound or intermittent flicker as a feature. Turn off the circuit if there’s a safety concern and have a qualified electrician inspect it. The NSF International site explains their role in public health and safety standards; product markings and installation instructions should be checked for the fitting.
LED lamps, drivers, and dimmer switches must be compatible for reliable dimming. Matching the components before installation is easier than diagnosing a flicker after the ceiling has been closed.
Maintenance and the Hardware-First Check
Good bathroom lighting only works well if the diffuser, shade, and controls stay accessible. Ventilation helps control dampness, but every fitting still needs cleaning per its instructions. Turn off power first, let it cool, and use only the recommended cleaning methods for the shade and finish.
Clean diffusers without damaging them
Dust, condensation residue, and bathroom products can make a diffuser look dull and reduce the quality of the light it spreads. Remove only the parts the instructions identify as user-serviceable. A soft, suitable cloth can be used where the manufacturer’s instructions allow it, while harsh chemicals, abrasive pads, and excessive moisture may damage a finish or reach electrical parts.
Handle glass shades carefully when removing or replacing them. Check that clips, screws, seals, and mounts are secure before turning the power back on. A loose shade can rattle, sit unevenly, or expose the bulb at an unintended angle.
Inspect the fitting before trusting the appearance
Think of this like flat-pack furniture: check the hardware before the finish. Look at the mounting plate, fixing points, cable access, diffuser attachment, and control setup. A polished surface can hide tricky installations if the bracket is awkward, screws are hard to reach, or the diffuser can’t be removed without disturbing the whole fitting.
Energy-efficient lighting can cut down on ongoing electricity use and replacement needs if the components suit the room and are used wisely. The real value depends on the entire installation, not just the lamp label. A fitting that flickers, fails early, or can’t be cleaned properly is a bad long-term choice no matter how it looks.
For broader room planning, the guide to modern bathroom decor and material choices for 2026 can help connect the lighting plan with mirrors, finishes, and storage. Readers working with limited floor area may also find the small bathroom layout guide useful before deciding where a vanity light or ceiling fitting can physically go.
A Practical Sequence for Planning Modern Bathroom Lighting
Step 1: Mark the working zones
Identify the vanity, shower, bath, toilet, storage, window, and main walking route. Note where someone will stand and where a mirror will reflect the light. This simple map shows which sources might shine into the eyes or create reflections on glossy surfaces.
Step 2: Solve the mirror first
Pick the face-level lighting first, before choosing the decorative centrepiece. Compare wall sconces beside the mirror, a diffused fitting above it, or a backlit mirror supported by another forward-facing light. The key factors are shadow control, diffusion, cleaning access, and wiring location.
Step 3: Add ambient coverage
Choose a ceiling setup that supports the entire room without making the vanity rely on a distant beam. Recessed downlights, a flush fitting, or another suitable ceiling type can form the base layer. Watch the beam direction and glare, especially around reflective tile.
Step 4: Add accent light selectively
Use LED strip lighting in a cove, shelf, niche, or under-vanity recess only where it can be hidden, controlled, and maintained. Accent lighting should highlight architecture or add a gentle evening glow, not compete with the mirror light.
Step 5: Confirm moisture and electrical details
Check that the fitting is suitable for its exact spot, especially near water. Confirm the wiring method, driver access, dimmer compatibility, and local electrical rules with a qualified electrician. Installation decisions should be made before finishes are finalized or cabinets are installed.
Step 6: Test the plan by sight, not by style
Stand at the vanity and look toward the mirror. Check for a bright spot in the reflection, shadows under the eyes and chin, dark corners, and glare from tile or chrome. Then view the room with ambient lighting lowered and the accent layer on its own. Good design stays comfortable in both working and evening modes.
A bathroom lighting plan is successful when the mirror, room, and evening setting each have a suitable layer. Cohesion in decor matters, but hardware, direction, diffusion, moisture resistance, and control compatibility decide if the scheme keeps performing.
Frequently Asked Questions
How should I combine modern bathroom lighting ideas around a vanity?
Start with face-level task lighting beside or around the mirror. Then add ambient ceiling illumination for the room and a restrained accent layer for shelves, coves, or under-vanity space. Avoid relying on just one overhead fixture because it can leave the eyes and chin in shadow. Check the mirror reflection from a normal standing position before finalising the fitting locations.
Should I choose wall sconces, recessed downlights, or a backlit mirror?
Wall sconces usually give the clearest face-level solution when placed beside the mirror. Recessed downlights are useful for general room illumination but may cast downward facial shadows if they’re the only vanity source. A backlit mirror adds a soft perimeter glow; pick one that also provides useful forward light or pair it with another diffused source.
Can pendant lights be used safely in a bathroom?
Pendant lights can work only if the fitting is suitable for its exact bathroom location and the installation follows local electrical requirements. Extra care is needed near showers, baths, and sinks. The pendant should not obstruct the mirror, create direct glare, or hang where it can be struck. An appropriately qualified electrician should check the wiring and placement before installation.
Why do bathroom LEDs flicker or buzz after a dimmer is installed?
Flicker or buzzing often means that the LED lamp, driver, and dimmer aren’t compatible, although wiring or installation issues might also be involved. Check the manufacturer’s compatibility info rather than assuming every dimmable LED works with every dimmer. Persistent symptoms should be checked by a qualified electrician, especially in a moisture-prone room.
How can a small bathroom look brighter without harsh lighting?
Use a diffused ceiling or wall source for general lighting, balanced mirror lighting for the face, and a concealed accent such as a backlit mirror or under-vanity LED strip for depth. Pale paint and reflective tiles can help spread light, but check the mirror for glare. A lower evening setting can be more comfortable than leaving the full ambient layer on.