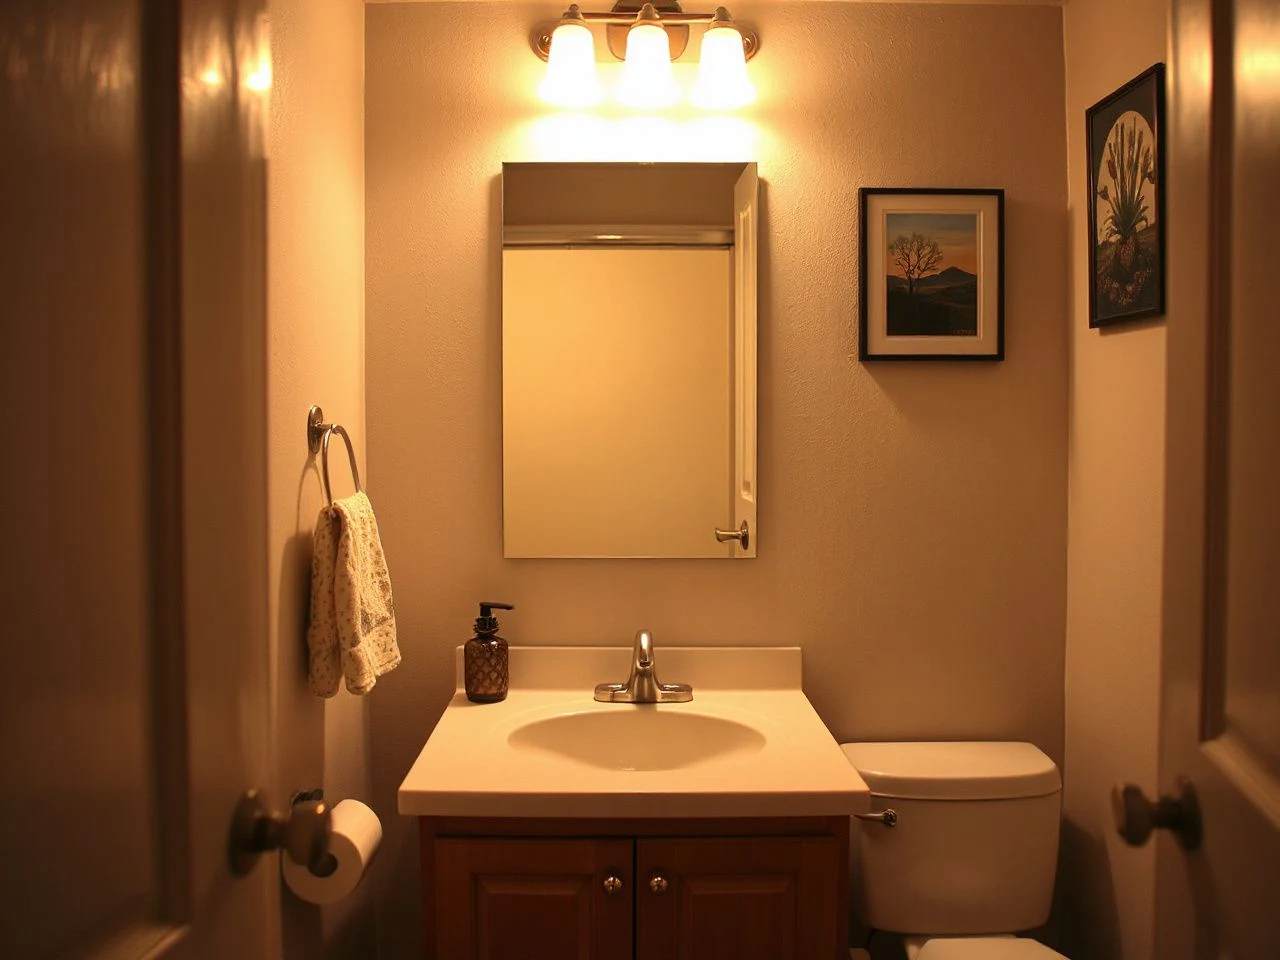
Could the wrong vanity height be making the whole bathroom feel awkward before you have even noticed why? The practical distinction is between cabinet height and finished sink height: the surface used for washing hands is what determines comfort, and sink style can change that surface substantially. A sound guide also separates ergonomic choice from installation constraints, since plumbing locations, wall support, faucet clearance, and the finished floor can prevent an otherwise comfortable height from being practical.
Start with the room’s light before moving a cabinet. A mirror cabinet above a sink needs useful illumination, and features such as anti-fog demisters, adjustable color temperature lighting, and touch sensors can affect how that wall is planned. Vanity height matters, but a well-lit face and a clear reflection often decide whether the room feels finished.
Key Takeaways
- Measure from the finished floor to the top of the completed countertop or sink, not merely to the cabinet.
- A vessel sink, thick countertop, or raised rim can make the hand-washing surface much higher than the cabinet suggests.
- Choose height around the people using the bathroom, then confirm faucet clearance, drain alignment, supply lines, wall support, and cleaning access.
Bathroom vanity height starts with the finished hand-washing surface
A bathroom vanity cabinet is only one part of the measurement. The usable height runs from the finished floor to the highest surface that supports hand washing: usually the top of the completed countertop or the upper rim of the sink, depending on the installation style.
That distinction changes the planning conversation. A cabinet may look low enough on its own, yet a countertop, undermount sink, or raised vessel sink can place the working surface at a very different level. The finished floor matters too, because flooring added after installation can change the relationship between the cabinet and the room.
Measure the completed surface, not the box
Begin by identifying the floor that will remain visible after the renovation is complete. Place the end of a tape measure on that surface and measure vertically to the top of the countertop or the highest usable sink rim; record the result as the finished vanity height.
A countertop with a thick edge profile adds height above the cabinet. A drop-in sink can also have a rim that sits above the counter, while an undermount sink places the basin edge below the countertop surface. The visible cabinet alone cannot tell you how any of those arrangements will feel.
- Mark the finished floor rather than an unfinished subfloor.
- Measure the countertop’s upper surface where hands will actually be washed.
- Include a raised sink rim or vessel bowl in the final measurement.
- Check the faucet base, spout reach, and handle clearance after the sink position is known.
The finished floor-to-sink measurement is the meaningful vanity-height measurement because that is where the user’s hands meet the fixture. A cabinet measurement without its countertop and sink can give a false impression of comfort.
Let the users set the comfort target
There is no universal height that suits every bathroom. A suitable choice depends on user stature, standing posture, children, seated use, and accessibility needs. The right target is the one that lets the regular users approach the basin without leaning noticeably forward or lifting the shoulders.
Use a temporary reference rather than relying on a drawing alone. Tape a level line to the wall, hold a scrap board at the proposed countertop level, and stand in front of it with the faucet and basin position marked. The observable signs matter: shoulders should remain relaxed, elbows should have room to bend, and the user should not need to reach deep into the basin.
Children may need a lower surface or a safe, stable way to reach the water. A seated user needs open knee and leg space, and a wall-mounted vanity may offer more flexibility beneath the counter than a floor-standing cabinet. Accessibility planning should also account for approach, turning space, faucet reach, and the position of the drain assembly rather than treating height as a separate decision.
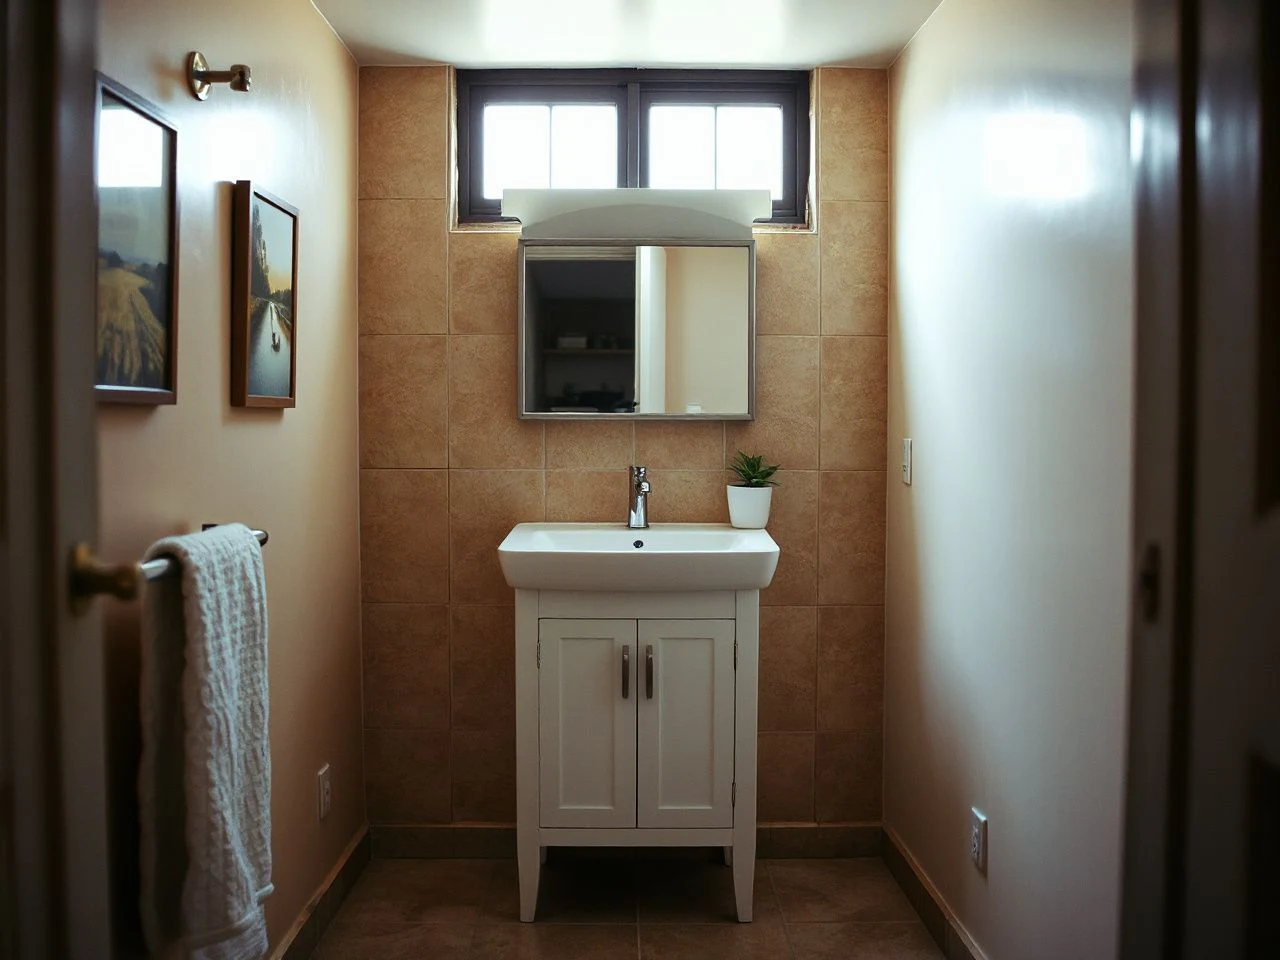
How sink styles and countertops change the usable height
Bathroom sink installation styles alter the distance between the cabinet and the place where water is used. The countertop thickness, sink rim, faucet base, and edge profile all contribute to the finished result, so the plan should show the entire assembly rather than a cabinet silhouette.
Undermount sinks
An undermount sink is fixed beneath the countertop, so the counter’s upper surface becomes the main reference for hand washing. This arrangement can make the transition from counter to basin feel visually quiet, but the cabinet still needs room for the bowl, drain assembly, and plumbing below.
An undermount sink does not make the cabinet measurement equal to the finished sink measurement. The countertop remains the surface that establishes the user’s working level, even though the basin itself sits below it.
Drop-in sinks
A drop-in sink rests through an opening in the countertop and commonly presents a rim above that surface. That raised edge may be small or visually prominent, but either way it belongs in the finished-floor measurement.
Check the rim where the user’s hands will approach the water, not only the counter beside it. A faucet installed behind a raised rim also needs enough clearance for the spout to reach the basin without forcing the user to lean around the sink.
Vessel sinks
A vessel sink sits above the countertop, which makes the cabinet height especially easy to misread. A cabinet that seems comfortable before the bowl is installed can leave the finished hand-washing surface too high once the vessel, mounting hardware, and faucet arrangement are included.
Vessel sinks can require a faucet mounted on the counter or a wall, depending on the design. The faucet height and reach must be considered with the vessel’s rim, because a spout that is too low may not clear the bowl and a spout that reaches too far may send water toward the wrong part of the basin.
A vessel sink raises the usable vanity height by adding its bowl and rim above the countertop, so the cabinet must be lowered or the complete assembly must be planned at a comfortable level. The only reliable check is the distance from the finished floor to the vessel’s upper hand-washing edge.
Countertop thickness and edge profiles
Countertop thickness affects the finished height even before the sink is selected. A thick front edge can make the vanity look substantial, while a raised or layered edge can add another change at the point where the user places a hand.
Ask for the cabinet height, countertop thickness, sink type, sink rim position, and faucet location in one drawing. Those details belong together because changing one can alter clearance beneath the counter, the mirror’s relationship to the user, and the connection between the drain and the wall.
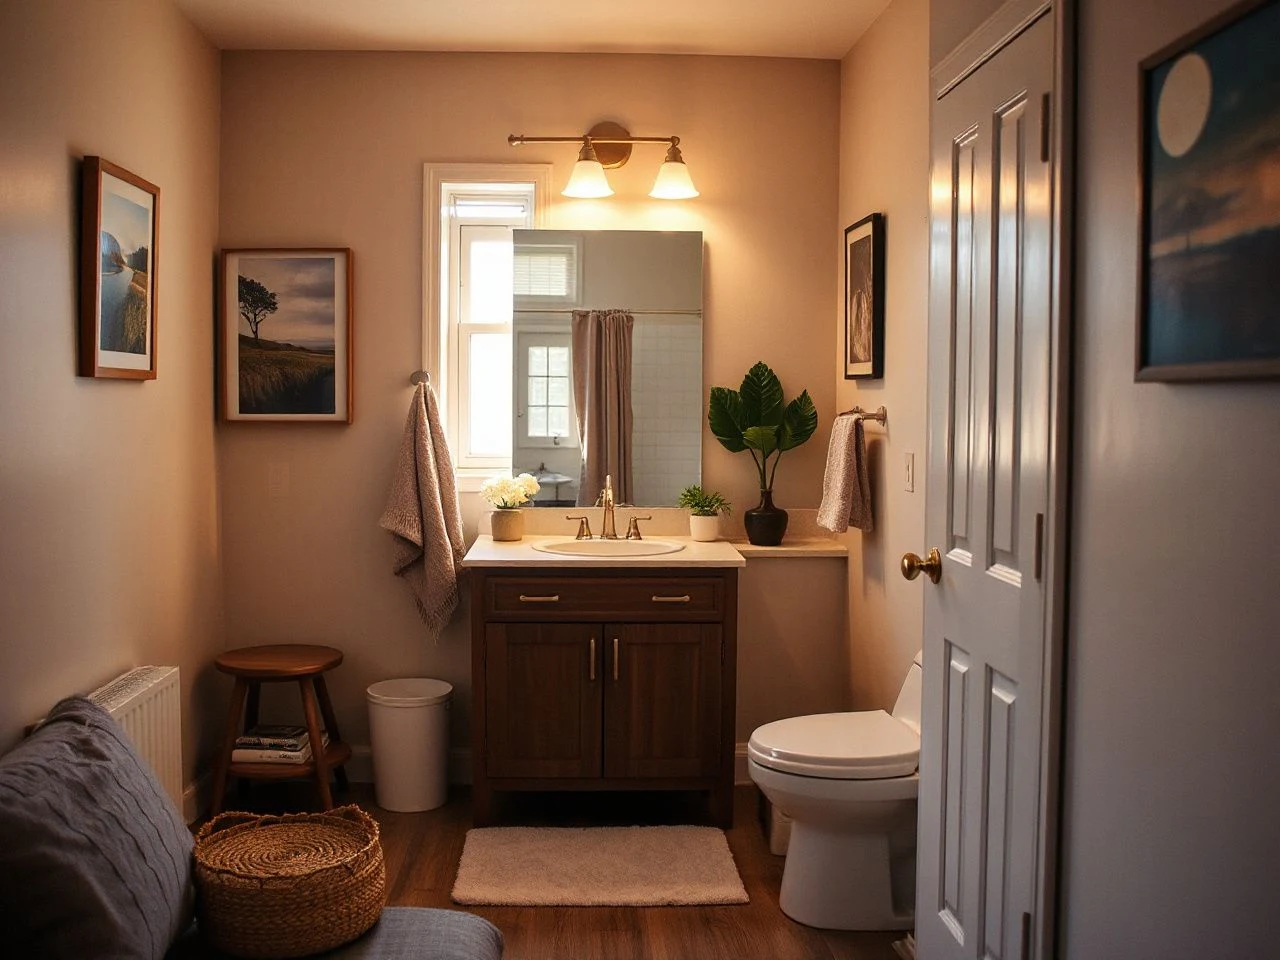
Installation constraints that can override a comfortable plan
Ergonomics sets the preferred height, but the existing bathroom plumbing rough-in may limit what can be changed without opening the wall. Drain and supply-line locations need to meet the new vanity, and the cabinet may have internal shelves or drawers that compete for that space.
Drain assembly and supply lines
A floor-standing vanity can conceal some plumbing behind its cabinet, yet the drain assembly still has to connect without strain or an awkward route. Plumbing supply lines need to reach the faucet connections, and a change in cabinet height can place those lines at an inconvenient position.
Existing drain and supply-line locations can limit height changes when a floor-standing vanity is replaced without opening the wall. A comfortable new surface may therefore require changes behind the cabinet, a different internal layout, or a decision to preserve the existing height.
Before removing the old vanity, document where the drain exits, where the supply lines emerge, and where the shutoff points can be reached. The visible openings are useful clues, but a professional should confirm hidden conditions before a wall-mounted installation or a major relocation.
Wall-mounted vanities
A wall-mounted vanity can be set at a height that suits the users instead of being tied to the full footprint of a floor-standing cabinet. The open space below may also make cleaning easier and provide room for seated use, but the installation demands careful support and plumbing planning.
A wall-mounted vanity needs secure attachment to suitable wall framing and enough room for the drain, supply lines, and cleaning beneath it. Wall studs, attachment points, the finished wall surface, and the weight of the completed assembly should be assessed before the cabinet is fixed in place.
The phrase “floating vanity” should never replace a support plan. The wall structure carries the cabinet, countertop, sink, and anything placed on the surface, while the plumbing still needs a clear route behind or below the basin.
Set the temporary cabinet or a marked outline at the proposed level, then inspect the space below. Look for a clear cleaning path, adequate legroom for seated users, and access to the drain assembly and supply lines. A lower edge that looks attractive in a drawing may interfere with movement once the room is occupied.
Faucet clearance and reach
Faucet position is part of vanity height because the water stream must meet the basin in a usable place. The spout needs vertical clearance above the sink and horizontal reach into the bowl, while handles need room for a hand to operate them without hitting the wall, mirror, or raised rim.
A faucet that works with an undermount sink may not suit a vessel sink on the same countertop. The sink’s upper edge changes the relationship between the faucet base, water stream, and user’s hands.
Use the manufacturer’s installation drawing for the faucet and sink rather than guessing from a photograph. Where the drawing does not resolve the plumbing route, pause the installation and ask a qualified installer to confirm the connection before the wall or cabinet is closed.
Safety and installation information
Installation work that affects wall attachment, water connections, or fixture support should be checked against the instructions supplied with the components and the requirements that apply in the property. The U.S. Consumer Product Safety Commission provides government consumer-safety information, while the local building authority remains the place to confirm requirements for a particular bathroom.
ASTM International develops voluntary consensus standards used across many products and building-related applications; its official standards organization site is a suitable place to identify the body and review general standards information. Do not assume that a general article replaces the installation instructions or local requirements for a wall-mounted vanity.
Step-by-step planning for a new or existing vanity
Step 1: Mark the finished floor
Mark the surface that will remain after tile, trim, or other flooring work is complete. If the floor is not finished, identify the final surface thickness with the installer before recording any height.
The finished floor is the correct starting point for measuring a bathroom vanity because the user stands on that surface. A measurement taken from an unfinished floor can place the completed sink higher or lower than planned.
Step 2: Draw the entire assembly
List the cabinet, countertop, sink style, sink rim, faucet, drain assembly, mirror, and lighting position in one elevation. Add the countertop thickness and note whether the sink is undermount, drop-in, or vessel.
Do not use the cabinet’s top edge as a substitute for the completed counter line. The completed assembly is what determines posture, faucet clearance, and the visual relationship between the sink and mirror.
Step 3: Test the user position
Use a level temporary line or a stable mock-up to represent the finished sink surface. Ask each regular user to stand at the basin, bend the elbows, reach the faucet, and look toward the planned mirror location.
Watch for practical signs instead of chasing an inherited number. A surface may be too high if shoulders lift or the user reaches down only by bending the back; it may be too low if the user leans heavily over the basin or feels crowded by the counter edge.
Step 4: Check the light before fixing the mirror
Light changes how a vanity is experienced. A mirror cabinet above a sink can combine storage and reflection, and advanced features such as anti-fog demisters, adjustable color temperature lighting, and touch sensors may affect the available wall area and the position of electrical work.
Place light so the face and basin are readable without creating a strong shadow from the user’s head or the faucet. A carefully planned lamp or mirror light can solve a room’s visual problem before the furniture is moved, which is why lighting deserves attention at the same stage as vanity height.
Step 5: Confirm plumbing before installation
Compare the proposed cabinet position with the drain outlet and plumbing supply lines. Check access to shutoff points, the route into the cabinet, and the clearance required for the faucet connections.
Changing an existing vanity height without relocating plumbing may be possible when the new cabinet preserves the relevant openings and leaves enough internal room for the connections. A larger change may require wall access or plumbing adjustments, so the cabinet should not be treated as an isolated piece of furniture.
Step 6: Recheck cleaning and future repairs
Look beneath the vanity, behind the doors or drawers, and around the sink rim. A height that leaves cramped access can make routine cleaning and later drain or faucet repairs harder, even if the surface feels comfortable on the first day.
A wall-mounted vanity can leave a cleaning gap below the cabinet, but that gap still needs to work with the room’s floor and the plumbing. A floor-standing cabinet may conceal more of the pipework, yet access can depend on its internal shelves and drawer layout.
Common height problems and practical corrections
The vanity feels too high
A high surface can cause raised shoulders, a reach that feels short, or a need to lean toward the basin. A vessel sink, thick countertop, and raised rim are common contributors because each adds height above the cabinet.
Check the finished floor-to-rim measurement first. If the cabinet has not been fixed, lower the complete assembly only after confirming the drain, supply lines, faucet clearance, mirror, and wall support; changing the cabinet alone does not solve a surface that is high because of the sink.
The vanity feels too low
A low surface can make users bend farther over the basin, bringing the face closer to splashing water and the countertop edge. The problem may come from selecting a low cabinet and then using a sink installation style that does not add enough height to the completed assembly.
Raise the full assembly only if the plumbing and support plan allow it. A wall-mounted vanity offers adjustment potential, but the attachment points, drain route, supply lines, and cleaning space must remain sound.
Water splashes or the faucet feels awkward
Splashing can result from the relationship between water stream, sink depth, faucet reach, and the user’s hand position. Vanity height can make the reach feel worse, but the faucet and basin must be assessed together.
A sink rim that blocks the spout or a faucet mounted too far from the bowl can force the hands into an awkward location. Confirm the faucet drawing, basin opening, and countertop layout before assuming that changing the cabinet height will cure the problem.
The mirror or lighting no longer works
Raising the vanity can push the mirror higher, reduce useful reflection for shorter users, or move the face into a shadow from an overhead fitting. Lowering the vanity can create the opposite issue and may leave the mirror visually disconnected from the sink.
Plan the mirror and lighting from the users’ faces and hands, then relate the vanity to that composition. A mirror cabinet above the sink can provide storage while keeping the wall organized, but its door movement, light controls, and lower edge still need clearance from the faucet.
The selected height increases future work
A change that looks simple from the front may involve the countertop, sink cutout, faucet holes, drain assembly, supply lines, wall framing, and finished wall. The long-term cost of changing the bathroom often comes from opening finished surfaces or replacing parts that were selected around the first height.
Record the final cabinet level, countertop line, sink rim, faucet position, and plumbing access before closing the wall. Clear documentation makes later repairs less dependent on guesswork.
Planning smaller bathrooms, children, and shared spaces
Small rooms make every relationship more visible. A vanity that is slightly too deep, a mirror that sits too high, or a wall-mounted cabinet without enough clearance can narrow the route through the room.
In a bathroom that also contains laundry equipment, use a measured plan for the full circulation route before selecting the sink surface. The guide to small bathroom layouts that include laundry can help with the broader spatial arrangement, while the vanity decision still depends on the finished floor-to-sink measurement.
Children may benefit from a separate lower-use arrangement rather than forcing every adult to work at a height that does not suit them. A stable step solution, reachable faucet controls, and a clear area around the basin matter more than making the cabinet serve every user in exactly the same way.
Shared bathrooms need a compromise based on the actual users. If seated use or accessibility is required, keep the approach and knee space in the drawing from the start instead of trying to carve them out after the cabinet has been selected.
A vanity height should serve the people who use the bathroom, not an isolated cabinet dimension. User posture, seated access, children, lighting, faucet reach, and plumbing all belong in the same planning decision.
Frequently Asked Questions
What is the correct way to measure bathroom vanity height?
Measure from the finished floor to the top of the completed countertop or sink surface used for washing hands. Include countertop thickness, the upper rim of a drop-in sink, or the full raised bowl of a vessel sink. Do not stop at the top of the cabinet, because the cabinet does not represent the final working surface.
How does a vessel sink change the height of a vanity?
A vessel sink sits above the countertop, so its rim raises the hand-washing surface above the cabinet and counter. The cabinet may need to be lower than a cabinet designed for an undermount sink. Confirm the finished floor-to-rim measurement, then check faucet height, spout reach, mirror position, and drain clearance as one assembly.
Can an existing vanity be changed without moving the plumbing?
Sometimes, but only if the new cabinet preserves usable alignment with the existing drain and supply lines and leaves enough room for the connections. A height change can place a drain inside a shelf, make faucet lines too short, or block access to shutoffs. Inspect the plumbing route before removing the old cabinet.
Should a wall-mounted vanity be installed at a different height?
A wall-mounted vanity can be set around user comfort rather than the full height of a floor-standing cabinet, but no single height suits every household. Secure wall framing, drain space, supply-line access, cleaning clearance, and seated use must be planned together. Test the proposed surface with a temporary line before fixing the cabinet.
If the vanity also needs storage above the basin, the article on mirror choices for double-vanity walls may help with the lighting and reflection side of the plan. Storage should follow the finished sink and mirror layout, not force the basin into an uncomfortable position.
The calmest bathroom plans begin with a simple sequence: mark the finished floor, establish the complete sink surface, test the user’s posture, and then resolve plumbing, support, mirror, and light. Bathroom vanity height is a measurement, but comfort comes from the whole wall working together.