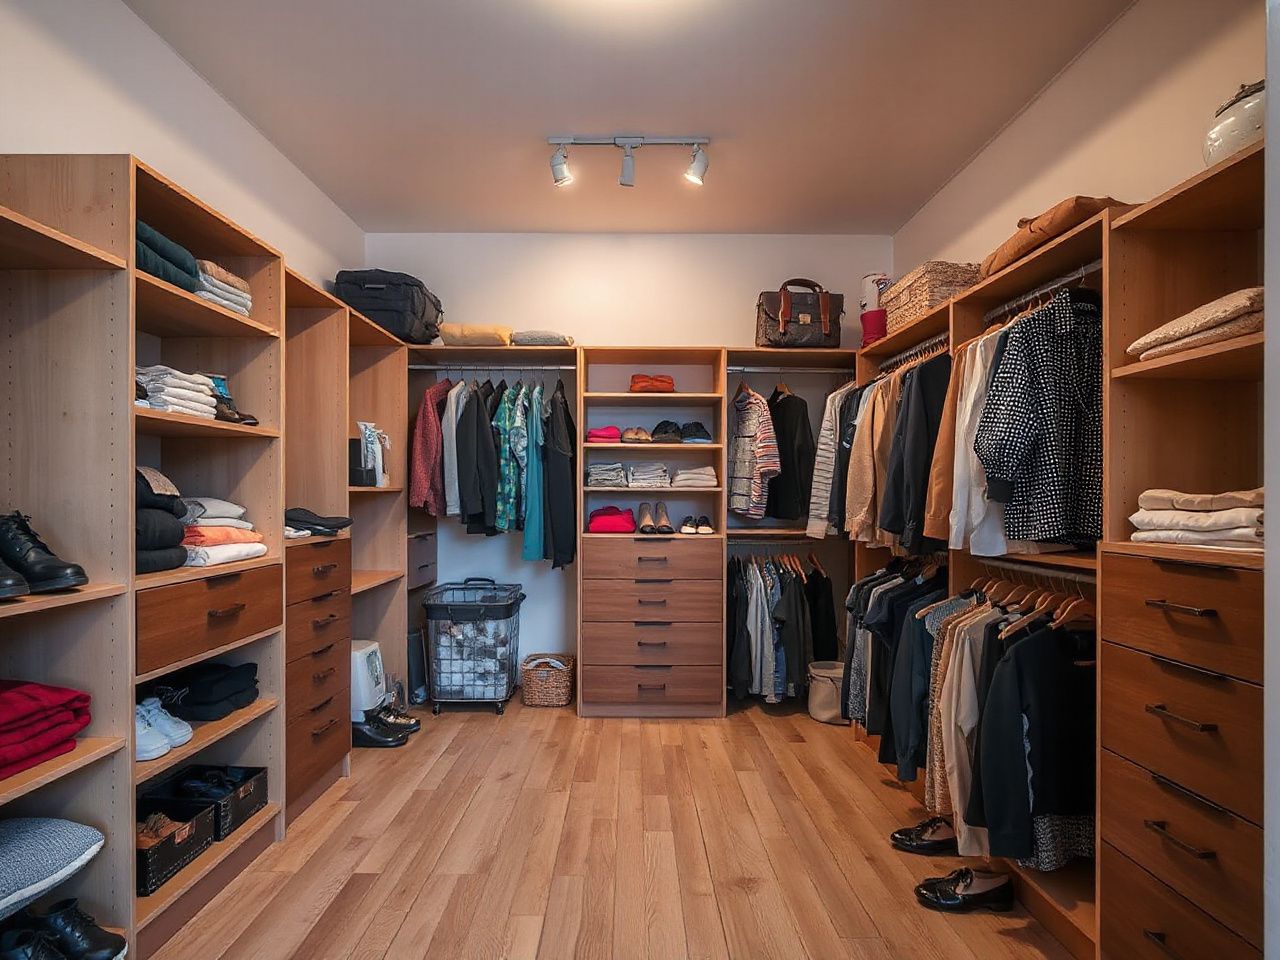
A larger closet is not automatically a better closet. The important distinction is between the room’s overall footprint and its clear usable space: door swings, trim, projections, drawer fronts, and open cabinet doors can reduce circulation far more than a floor plan suggests. Dimensions should therefore be tested as a lived layout, with garments hanging, drawers open, doors operating, and people moving through the closet rather than judged only from wall-to-wall measurements. That is the useful starting point for walk-in closet dimensions.
Key Takeaways
- Measure finished clear space, including trim, baseboards, wall thickness, projections, and equipment.
- Plan the aisle around open drawers, doors, hanging garments, and people passing through.
- Use the familiar 22-to-24-inch depth range as a planning reference, then check how your hardware operates.
- Judge an island, shelving system, or drawer unit by its open position, not its closed footprint.
How to read walk-in closet dimensions before drawing a plan
A floor plan gives you the room’s shell. A useful closet plan gives you the space left after the room’s fixed and moving parts have been accounted for. That difference explains why a closet can look generous on paper and feel awkward as soon as a drawer unit, hanging rod, or open door occupies the aisle.
Measure the finished clear room
Start with a measuring tape, and use a laser distance measurer as a second check across longer walls. Record the distance between finished surfaces rather than relying on rough construction dimensions. Measure each wall separately because openings, trim, and small changes in alignment can alter the storage run.
Record the following before choosing storage:
- Finished wall-to-wall dimensions.
- Wall thickness where an entrance or opening interrupts the room.
- Baseboards, casing, crown trim, and other mouldings.
- Columns, boxed pipes, heating or cooling equipment, and other permanent projections.
- Windows, sills, outlets, switches, lighting points, sprinklers, and ventilation grilles.
- The position and swing of every hinged door.
Finished clear space is the usable starting point for closet planning. A wall that measures generously from corner to corner may offer much less storage once trim, a door casing, or a projecting service element is included.
Mark the room at floor level
Use painter’s tape to mark the proposed fronts of shelves, rods, drawers, and shoe racks. Tape the opening of a drawer unit onto the floor, then walk through the room. Open imaginary doors with a strip of cardboard or a sheet of paper held at the likely front edge. The point is not to create a perfect mock-up; the point is to expose conflicts before hardware is fixed to the wall.
A clear aisle must serve more than a person standing still. The usable route must account for a garment being pulled forward, a drawer being fully open, a cabinet door being operated, and another person moving through the space. If a passage works only while every storage element is closed, the plan is too optimistic.
Check the room entrance first
The entrance controls how storage begins and ends. A hinged door may sweep across a section of wall that appears available for shelves. A pocket door can reduce the swing area, but the wall cavity still needs to remain suitable for the door assembly and free of conflicts. Sliding doors and pocket doors should be drawn in their open and closed positions, not treated as lines that vanish from the plan.
Keep the entrance usable while a drawer, cabinet door, or closet door is open. Bedroom circulation also matters: a closet entrance should not force someone to turn sideways, step around a door leaf, or walk into an open storage front. The same principle applies when adapting reach-in closet dimensions into a small walk-in room.
Depth, hanging, and the space clothes really occupy
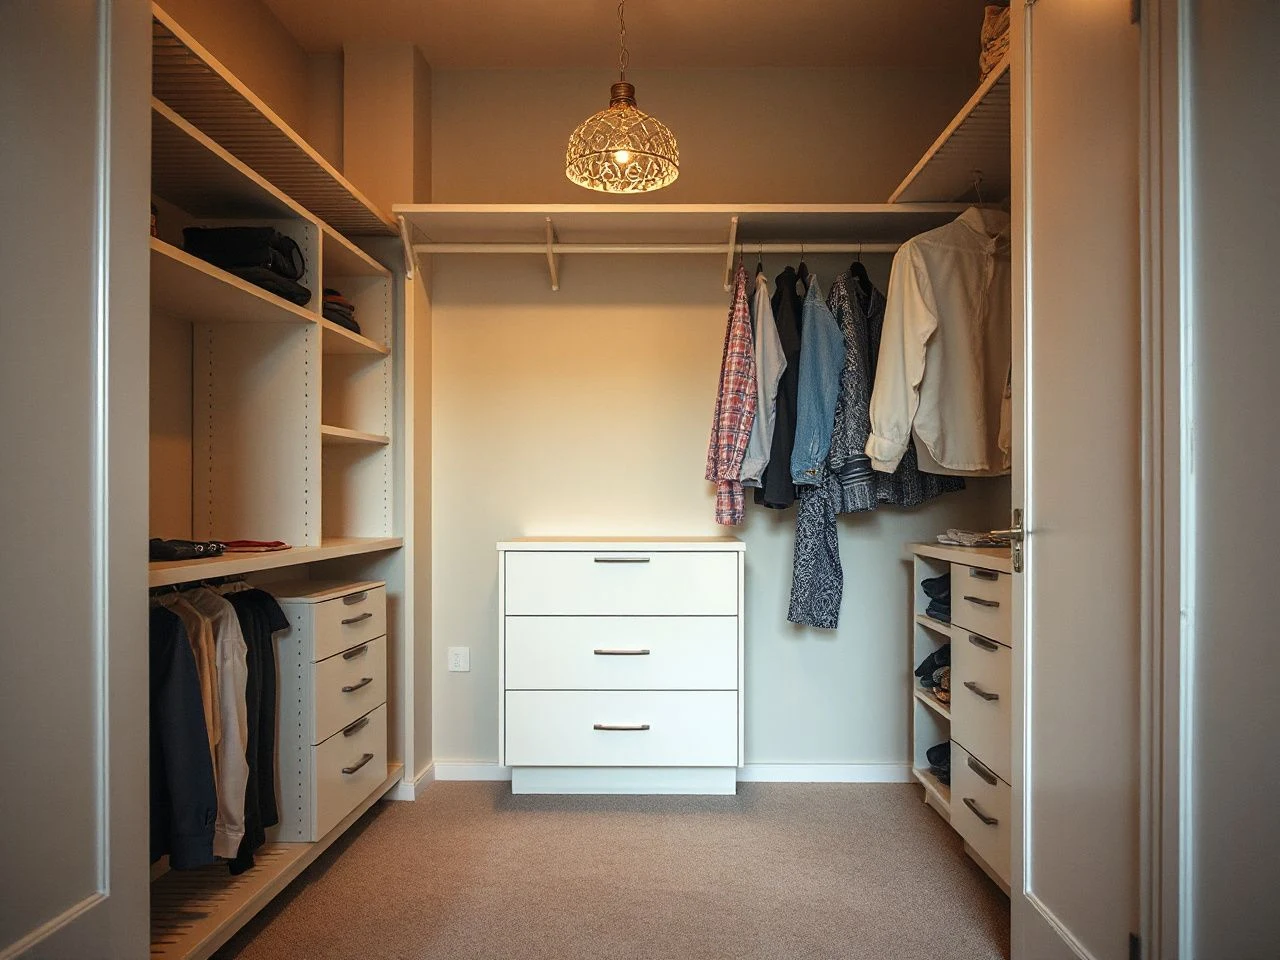
Storage depth should follow the object being stored and the way it moves. A shelf that is deep enough for folded clothing may be awkward for shoes. A hanging section that fits garments when still may become difficult to use once the clothes rub against the door or adjacent trim.
Hanging clothes
Standard adult apparel hangers generally measure between 17 and 19 inches wide. That figure describes the hanger across the shoulders, not the full working space needed for a rod, clothing movement, front trim, and the person reaching in. Garments also need room to slide along the rod without catching on a side panel or door edge.
A closet depth of 22 inches can make clothing arrangement difficult because garments may rub against closet doors. The commonly used depth reference is 24 inches, while some layouts extend to 28 inches for added capacity. These figures should be treated as planning references, not as permission to fill every available inch.
Hanging garments need enough depth to clear the storage front and remain reachable. Check the result with the intended hanger, the thickest clothing you expect to store, and the door or drawer front in its operating position.
Long-hanging clothing needs a continuous zone below the rod, while short-hanging clothing can share the wall with a lower shelf or another storage level. Do not divide a wall into equal compartments simply because equal bays are easy to draw. Place the rod where the garments will hang naturally, then use the remaining area for adjustable shelving, drawers, or shoes.
Folded clothing and adjustable shelving
Folded items need a shelf that supports the stack without pushing it so far back that the contents disappear. Depth should be tested with the actual fold and the way the shelf will be reached. A very deep shelf can create a hidden rear layer, while a shallow shelf may leave fabric projecting into the aisle.
Adjustable shelving helps a layout respond to different garments and future changes. Its value is greatest when the vertical arrangement can change without moving the entire storage run. The supports still need proper attachment, and every shelf should remain accessible after neighboring doors or drawers are opened.
Drawers, shoes, and front clearance
A drawer unit claims space twice: once as a closed cabinet and again as an open projection into the aisle. The same is true of a shoe rack with a hinged front or a cabinet with doors. Draw each front fully open, then stand in the remaining area to check whether the contents can be reached without leaning into another open element.
Shoes are often placed low, but low storage is not automatically easy storage. A shoe rack can interfere with feet, baseboards, or a nearby door swing if it projects beyond the intended storage line. Keep the front edge consistent where possible, and inspect corners where two storage runs meet.
Hardware before finish
Flat-pack closets deserve a hardware-first inspection. Look at the wall brackets, fasteners, shelf supports, rod sockets, cam fittings, drawer runners, and door hinges before judging colour or surface texture. A storage run needs a secure connection to suitable wall framing or another appropriate structural support; decorative panels cannot provide that support by themselves.
Read the assembly instructions before final placement because fixing points, access holes, and adjustment areas can affect how close a unit may sit to a wall or corner. Leave access for tightening, alignment, and later repair. A unit that is impossible to adjust after installation is a poor fit even if its face looks perfectly flush.
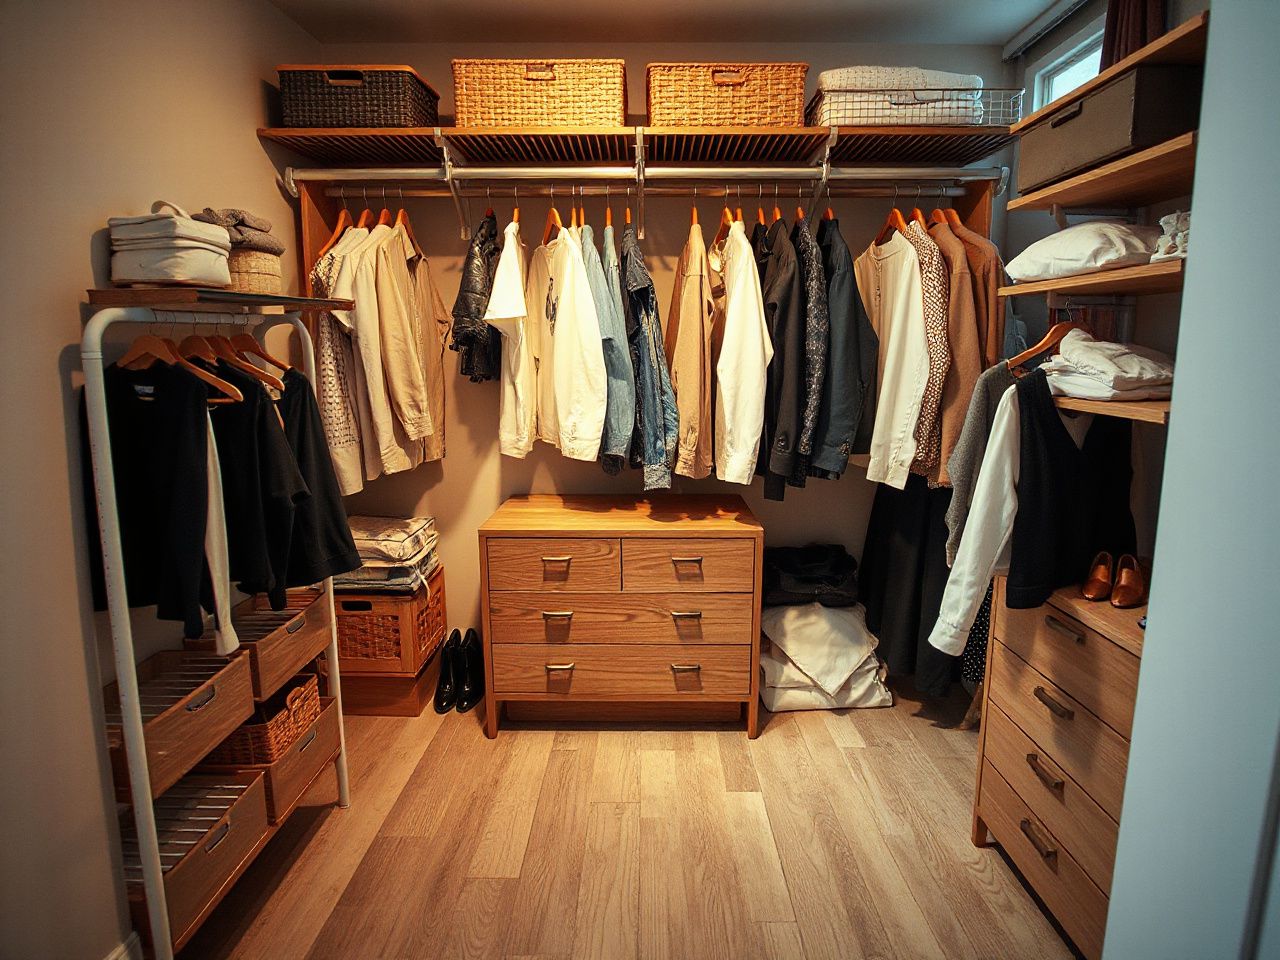
Choosing a narrow, wide, or island layout
The room’s shape should decide the layout. A narrow plan can be highly practical when one storage wall remains clear enough for movement. A wider room may support storage on opposing walls. A central island can add useful working surface, but it consumes circulation quickly and should be treated as a major obstruction rather than a decorative centrepiece.
Narrow walk-in layouts
A narrow walk-in closet usually benefits from concentrating storage on one wall or using opposing shallow zones only where the central route remains comfortable with doors and drawers open. Keep the entrance view clear enough to understand the route immediately. If two people need to pass, test that action with one person standing at the storage front and another moving through.
A single-wall arrangement also simplifies installation and maintenance. Fewer corners mean fewer difficult joints, and an unobstructed opposite wall can remain available for a mirror, hooks, ventilation, or future changes. The trade-off is reduced storage frontage, so use hanging, shelving, and drawers deliberately rather than adding depth.
Opposing storage walls
Storage on both sides can use a rectangular room efficiently, but the aisle has to accommodate the deepest active element on either side. Open a drawer on one wall and a cabinet door on the opposite wall. If the combined activity leaves no comfortable route, the closed plan is misleading.
Keep frequently used items within the easiest reach zone and reserve less accessible corners for seasonal or occasional storage. Do not place a drawer unit where its open front blocks the entrance or traps someone between two storage runs. A clear route is more useful than a continuous run of cabinetry.
Island layouts
A closet island can consume circulation space quickly. Its footprint must be evaluated with every surrounding drawer and door fully open, including storage on the island itself. Tape the island outline on the floor, add the open fronts, and walk around it while carrying folded clothing or turning toward a hanging section.
Island planning also needs service awareness. Lighting, outlets, ventilation, windows, sprinklers, and heating or cooling equipment must remain accessible and unobstructed. Do not use an island to cover a service point simply because the finished top hides it from view.
A closet island should be planned as an active obstacle, not as an empty rectangle. That simple change in thinking prevents a polished centre feature from taking away the very circulation the room needs.
Dressing-room-style layouts
A dressing-room-style plan can distribute storage around several walls, but distribution is not the same as usability. Keep the main route legible, avoid placing deep storage beside a tight turn, and make sure the lighting reaches the face of garments rather than only the ceiling.
Large closets can absorb more storage, yet they also create longer runs that require more wall fixings, more joints, and more places for alignment to drift. Plan breaks where sections can be adjusted or repaired. Future changes are easier when one unit does not depend on every neighboring unit remaining in exactly the same position.
Doors, trim, services, and installation reality
Openings and projections
Windows change more than the wall available for storage. A sill may interrupt a shelf line, while curtains or blinds may project into the room. Leave the window operable and keep any required access clear. A storage plan that hides the window may also reduce daylight and make maintenance awkward.
Baseboards and casing alter the point where a cabinet can sit flush. If a unit is designed to pass over a baseboard, the cut and fixing method must be planned rather than improvised on site. Wall projections can create small unusable pockets; use those pockets for a carefully chosen shelf only after confirming that the door, drawer, and cleaning route remain clear.
Electrical, ventilation, and heating
Storage should not block outlets, switches, lighting controls, ventilation grilles, sprinklers, or heating and cooling equipment. Mark each item on the plan and maintain access for inspection, cleaning, and repair. Closet lighting should illuminate hanging fronts, drawers, and floor-level storage without placing fixtures where doors or tall garments can strike them.
The U.S. Consumer Product Safety Commission provides household safety information at cpsc.gov, and its guidance is a useful starting point for checking general room hazards before installation. ASTM International develops voluntary consensus standards and publishes information at astm.org; local building requirements and the instructions for the actual storage system still govern the work.
Ventilation and service access must remain available after closet storage is installed. A tidy appearance does not make a blocked grille, outlet, sprinkler, or heater safe to ignore.
Wall support and flat-pack assembly
Wall-mounted rods, shelves, and drawer units need secure attachment to suitable wall framing or another appropriate structural support. Locate wall studs before drilling, but do not assume every fixing point will align with a stud. The installation method must suit the wall and the load created by the storage and its contents.
Hardware deserves a methodical check:
- Confirm that every bracket and fastener is present before assembly.
- Identify which parts carry the load and which parts only conceal joints.
- Keep fixing points accessible until alignment has been checked.
- Test drawer movement before fitting adjacent doors or end panels.
- Inspect rod sockets and shelf supports for movement after the unit is positioned.
- Secure tall or wall-mounted sections according to the supplied instructions and the wall condition.
Flat-pack furniture often looks convincing before it is properly fixed. My priority is the hardware because loose brackets, poorly aligned runners, or inaccessible fasteners will affect daily use long after a finish has stopped feeling new.
Preventing cramped storage and difficult future changes
Test the plan as a lived layout
Walk the proposed route with empty hands, then repeat it while carrying a basket or folded clothing. Open each drawer and door. Slide clothing along the rod. Reach to the back of shelves. These simple actions reveal conflicts that a dimension line cannot show.
Use cardboard for cabinet fronts and tape for wall runs. Place a real hanger on a temporary rod if possible, because a line on paper cannot show how clothes occupy depth. Check both corners of the room, where two runs can create a pinch point even if each wall works alone.
The small walk-in closet organization ideas can help translate a compact plan into zones for hanging, folded clothing, footwear, and accessories without filling every surface.
Plan for cleaning and repair
Closets collect dust at floor edges, shelf corners, drawer gaps, and behind stored items. Leave enough access to clean around baseboards and under the lowest storage. A fully enclosed run may look orderly, but an inaccessible gap can become a maintenance problem.
Repairs also need room. Drawer runners may need adjustment, a rod socket may need tightening, and a wall fixing may need inspection. Do not place a permanent panel directly over a connection that may require attention. Modular sections are easier to change when their fasteners and joints remain identifiable.
Allow for changing storage needs
A closet should not be planned around one fixed wardrobe arrangement if the room may need to change. Adjustable shelving can respond to different folded items. A rod section can be divided differently later. Drawers may be useful for small clothing now and accessories later.
Future flexibility does not mean leaving every wall empty. It means avoiding decisions that make every change expensive or destructive. Keep lighting controls, outlets, ventilation, and structural fixings accessible. Choose a layout that can lose or gain one storage section without forcing the entire room to be dismantled.
Use the right reference for the room
Reach-in closet dimensions are useful for understanding hanging depth and door interference, but a walk-in room introduces movement on more than one side. Small walk-in closet dimensions should be judged by the clear route after storage fronts open. Large rooms need the same discipline because an island or oversized drawer run can still create a bottleneck.
Clear circulation is the measure that determines whether closet storage remains usable. Wall-to-wall size matters, but the working aisle determines how the room behaves during dressing, cleaning, installation, and repair.
Frequently Asked Questions
What depth should a walk-in closet use for hanging clothes?
A planning reference of 22 to 24 inches is commonly used for closet depth, with some arrangements extending to 28 inches for added capacity. Adult hangers generally span 17 to 19 inches. Check the deepest clothing, the hanger, the rod hardware, and the closed door together. At 22 inches, garments may rub against closet doors, so the working result matters more than the nominal depth.
How do I measure a small walk-in closet accurately?
Measure the finished clear distance between walls, then record wall thickness, trim, baseboards, openings, projections, windows, outlets, heating or cooling equipment, and ventilation. Mark storage fronts with tape and show every door and drawer fully open. A small room should be judged by its remaining route, not its rough wall dimensions. Review the small walk-in closet organization guide for practical zoning ideas.
Can a closet island fit in my room?
An island can fit only if the surrounding circulation remains usable while every nearby drawer and cabinet door is open. Tape the island footprint on the floor, mark its open fronts, and test the route from the entrance to each storage zone. Keep outlets, ventilation, windows, sprinklers, lighting access, and heating or cooling equipment unobstructed. If the island forces awkward turns, reduce the obstruction rather than sacrificing circulation.