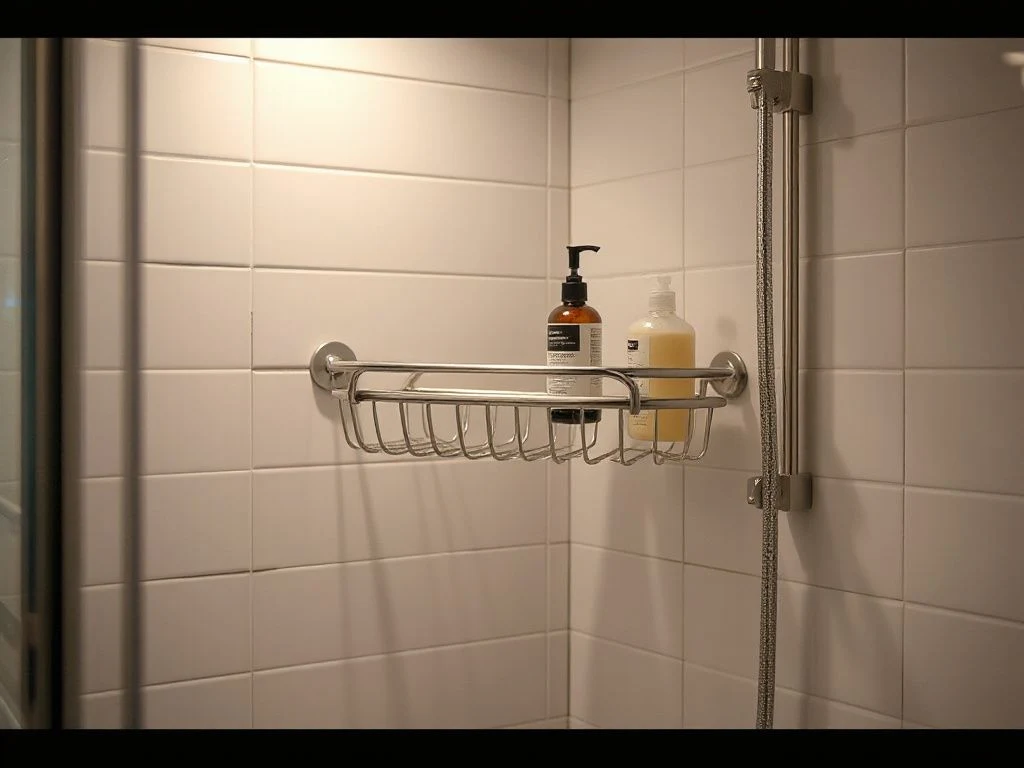
Would you trust a plastic shelf stuck to your tile with nothing but tape to hold your shampoo bottles above your bare feet? If you are searching for a no drill shower caddy buying guide, you have probably realized that drilling into bathroom tile is a hassle—and for renters, it is often forbidden. The part worth judging is not the sticker but the surface it is stuck to: clean glass, glazed ceramic, or polished acrylic are ideal because the adhesive can spread across a smooth, non-porous face, while painted drywall or textured stone are high-risk. Most failures trace back to the same two shortcuts: skipping the isopropyl alcohol wipe, or installing right after a hot shower, when humidity and residue leave a film the adhesive can never bond through. The real skill is reading the wall’s finish and choosing a caddy with a substantial adhesive footprint, not just a catchy brand name.
Key Takeaways
- Surface matters more than the caddy: glass, glazed ceramic, and polished acrylic bond well; textured tile and painted drywall do not.
- Clean the wall with isopropyl alcohol and install between 65°F and 85°F, then wait 24 hours before loading anything.
- Most no-drill caddies hold 10 to 30 pounds, but only when weight is spread evenly across the shelf.
- Removal requires patience and the right tools—dental floss, plastic scraper, and adhesive remover—to avoid tile damage.
Beginner: What Holds It Up and What Does Not
Before you spend money, you need to know exactly what keeps a no-drill shower caddy on the wall. There are two main mechanisms: adhesive pads and suction cups. Adhesive pads, especially those made from 3M VHB tape, rely on an acrylic foam that conforms to microscopic surface irregularities and forms a bond through pressure. Suction cups work by creating a vacuum against a smooth surface, but that vacuum degrades over time as air slowly leaks in. For a permanent installation, adhesive is stronger and more reliable. For a temporary fix, suction cups are easier to move but hold less weight and can fail without warning.
Brands like Simplehuman and InterDesign often use 3M VHB tape on their no-drill models because it holds more weight than traditional foam tape. The caddy body itself is usually stainless steel for rust resistance or ABS plastic for lightweight affordability. Stainless steel looks better and lasts longer, but it weighs more, which reduces the net weight capacity after the caddy’s own weight. ABS plastic is lighter but can crack over time and shows soap scum more readily.
The Surface Compatibility Checklist
The single most important decision is where you stick the caddy. The following surfaces work well with adhesive pads:
- Glass — shower doors or glass panels, perfectly smooth and non-porous.
- Glazed ceramic tile — the glaze seals the surface, allowing strong adhesion.
- Polished acrylic or fiberglass — common in prefab shower surrounds; smooth but slightly softer, so avoid excessive heat during removal.
Surfaces you should avoid or approach with extreme caution:
- Textured tile or natural stone — the uneven surface prevents the adhesive from making full contact.
- Painted drywall or wallpaper — the adhesive may bond to the paint, but the paint itself can peel off under weight or during removal.
- Coated or epoxy-finished surfaces — some coatings are low-energy and repel adhesives; removal can lift the coating.
If you are unsure about a painted or coated surface, test a small hidden area with a piece of the same tape. Apply, wait 24 hours, then pull it off slowly. If the paint comes with it, that wall is off-limits. A no-drill shower caddy’s bond is only as strong as the weakest layer it is attached to.
Intermediate: Installation That Actually Sticks
Most no-drill shower caddies fail not because of a bad product but because of poor preparation. The adhesive pad needs a clean, dry, and warm surface to form a strong bond. Skipping any of these steps is like putting a bandage on dirty skin—it simply will not hold.
Step-by-Step Surface Preparation
- Clean with isopropyl alcohol. Use 70% or higher concentration. Wipe the entire mounting area to remove soap scum, body oil, and mineral deposits. Do not use glass cleaner or vinegar; they leave residues.
- Dry completely. Use a lint-free cloth or paper towel. Wait an extra five minutes to be sure no moisture remains in grout lines or crevices.
- Check the temperature. Adhesive bonds best between 65°F and 85°F (18°C–30°C). If the bathroom is colder, the adhesive becomes stiff and does not flow into surface pores. If hotter, it may become too soft to hold shape.
- Avoid a steamy shower. Do not install right after someone has taken a hot shower. High humidity prevents the adhesive from curing properly and can cause weak spots.
- Remove the backing and press firmly. Apply even pressure with your palm or a small roller for 30 to 60 seconds. The tape needs pressure to activate.
- Wait before loading. Most manufacturers recommend waiting 24 hours before placing anything on the caddy, and 48 hours for full cure. The bond strength increases over time as the adhesive wets out onto the surface.
Weight Limits and Why Off-Center Loading Fails
Every no-drill caddy has a weight rating, usually between 10 and 30 pounds (4.5 to 13.6 kg). A no-drill shower caddy rated for 20 pounds is safe only when the total weight is spread across the entire shelf, not piled on one corner. Off-center loading creates a twisting force called torque, which peels the adhesive from one edge. That is the most common cause of a caddy pulling away on one side after a few weeks.
Here is what those numbers mean in real terms: a standard 16-ounce shampoo bottle weighs about 1 pound, a full conditioner bottle another pound, and a bar of soap less than half a pound. So a 20-pound caddy can hold roughly 15 full-size bottles if distributed evenly. Stack heavy items against the wall and lighter items toward the front. Never hang a wet towel or heavy loofah from the front edge; that leverage multiplies the stress on the adhesive.
Check the manufacturer’s stated weight limit, but also look at the caddy’s own weight. A solid stainless steel shelf might weigh 3 pounds before you add anything. That leaves less capacity for your products. The listing should state both the caddy weight and the max load; add them together to understand the total stress on the wall.
Advanced: Removal, Damage, and Long-Term Care
Renters worry most about what happens when they move out. Removing a no-drill shower caddy is possible without damage on the right surface, but it takes time and the correct technique. Brute force is never the answer.
How to Remove a No-Drill Caddy Without Damaging Tile
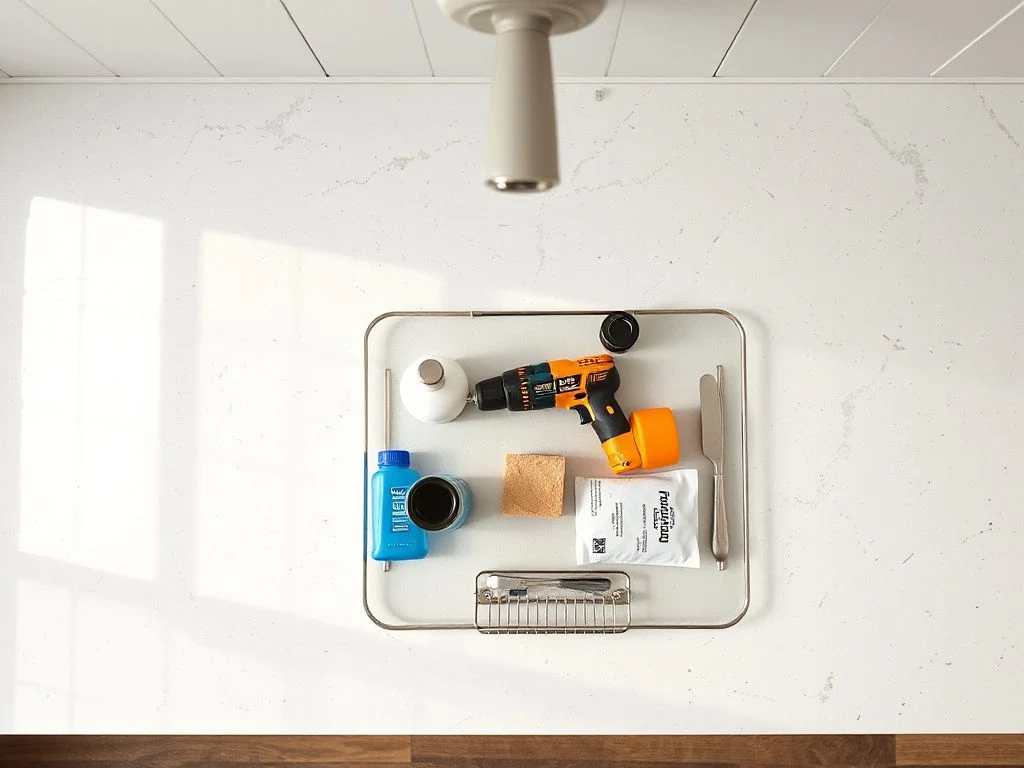
- Cut the adhesive foam. Use dental floss or fishing line to saw through the foam layer behind the bracket. Slide the line under one corner and pull it back and forth gently. This separates the caddy from the tape.
- Apply adhesive remover. Spray a citrus-based remover like Goo Gone or a dedicated adhesive solvent onto the remaining foam. Let it soak for 5 to 10 minutes. This softens the acrylic.
- Scrape with plastic. Use a plastic scraper or an old credit card to push the softened adhesive off. Never use a metal scraper; it will scratch glass or glaze.
- For stubborn residue, apply low heat. A hair dryer on medium can warm the adhesive and make it more pliable. Keep the dryer moving and do not overheat the tile.
- Finish with isopropyl alcohol. Once the tape is gone, wipe the area with alcohol to remove any remaining residue and restore the clean surface.
Will It Damage My Tile or Glass Door?
On non-porous surfaces like glazed ceramic or glass, removal is usually clean if you follow the steps above. The adhesive is designed to peel away at the interface without damaging the substrate. However, painted or coated surfaces are a different story. The same standards used to test tape adhesion, such as those from ASTM International, highlight why surface energy matters: low-energy surfaces like some plastics and paints give weaker bonds but also tear more easily when pulled. If the paint is old or poorly adhered, the caddy can peel it off in sheets. Always test on a small hidden area before committing.
For glass shower doors, the risk is low, but you must consider the door’s own movement. Every time the door swings, it flexes the glass slightly, which stresses the adhesive. A no-drill caddy on a glass door should be mounted near the hinge or frame where movement is minimal, and the total load should not exceed half the caddy’s rating because the dynamic forces are higher than a static wall mount.
Maintenance: Preventing Rust, Mold, and Premature Failure
Stainless steel resists rust, but it is not rust-proof. If the chrome plating gets scratched or if you use bleach-based cleaners, the underlying steel can oxidize. Wipe the caddy down weekly with a mild dish soap and water, then dry it. For ABS plastic caddies, check the seams and drainage holes for mold; a soft brush and diluted white vinegar will clean them. Do not use abrasive pads on either material.
Suction cup models need more attention. Remove the cups monthly, wash them with warm soapy water, rinse, and let them air dry completely before reattaching. If a suction cup has turned yellow or stiff, replace it—the vacuum seal is already compromised. Adhesive models require no such upkeep, which is why they are better for long-term renter installations.
Once your shower storage is sorted, check out our best bath towel sets for 2026 to complete the look. A dry towel rack and a sturdy shower caddy are the two cheapest ways to make a rental bathroom feel permanent.
Quick Answers to the Questions You Are About to Ask
Here are the blunt answers to the most common questions I get from renters, based on years of walking through apartments and inspecting failed installations.
- Will it really stay up? Yes, on the right surface with proper prep. The bond is strong enough to hold typical bathroom products, but it is not magic. Skip the alcohol wipe and it will fall.
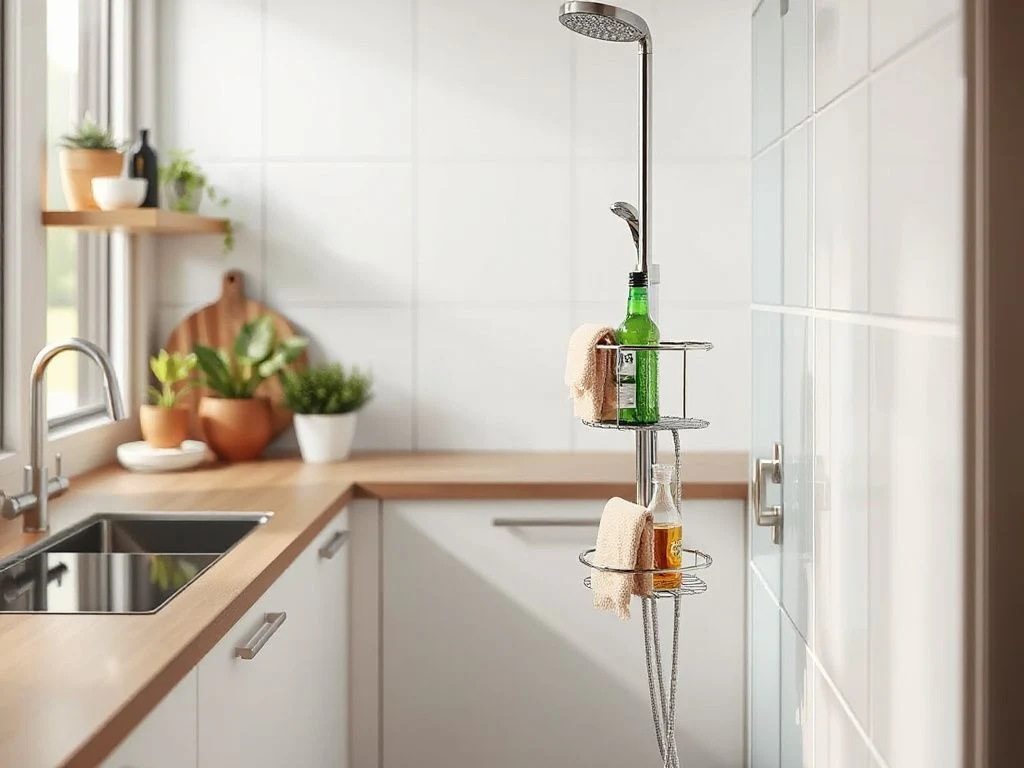
- Can I use it on textured tile or stone? No. The adhesive cannot make contact with enough of the surface. Use a tension pole caddy instead.
- Why does my caddy keep falling off? Almost always because the wall was not cleaned with isopropyl alcohol, the temperature was too low during installation, or you loaded it beyond its weight rating.
- Are suction cups better for a temporary fix? Yes, suction cups are removable and reusable, but they hold less weight and will eventually lose vacuum. Adhesive is stronger but single-use.
- Can I move it after installation? No. Once the adhesive has cured, moving the caddy requires full removal and a new adhesive pad. Suction cups can be repositioned but with reduced holding power.
The 3M VHB tape specifications, available on 3M’s official VHB product page, explain that bond strength depends on surface energy, cleanliness, and application pressure. That is why a no-drill shower caddy works brilliantly on glass but fails on porous stone.
Frequently Asked Questions
Will a no-drill shower caddy really stay up without falling off?
Yes, on non-porous surfaces like glass, glazed ceramic, or polished acrylic, and only if you clean with isopropyl alcohol and install between 65°F and 85°F. The adhesive forms a bond that easily holds 10 to 30 pounds of evenly distributed weight. Skipping surface prep or installing in a steamy bathroom is the number one reason for failure.
How do I remove a no-drill caddy without damaging my tile?
Use dental floss or fishing line to saw through the adhesive foam behind the bracket. Then apply a citrus-based adhesive remover, let it soak for ten minutes, and scrape with a plastic scraper. Low heat from a hair dryer helps soften stubborn residue. Never pull the caddy straight off, especially on painted surfaces, or you may peel the paint.
Can I use a no-drill caddy on textured tile or stone?
No. Textured or porous surfaces prevent the adhesive from making full contact, which drastically reduces holding power. Even if it sticks initially, air pockets and uneven stress will cause early failure. For these surfaces, consider a tension pole caddy that fits between floor and ceiling, or an over-the-door model.
Is it safe to use a no-drill caddy on a glass shower door?
It is safe as long as the glass is clean and you respect the weight limit. Glass doors flex when they open and close, so mount the caddy near the hinge and keep the total load under half the caddy’s rated capacity. The adhesive will hold, but dynamic stress is higher than a fixed wall, so err on the side of lighter loads.