A small walk-in closet can outperform a much larger one if the layout works with the space instead of against it. Most of what makes a closet feel cramped isn’t the square footage — it’s wasted vertical space, hanging rods set at the wrong height, and shelving too deep to actually see what’s stored on it. Fix those three things first and everything else gets easier.
The ideas below cover layout, storage hardware, and finishing touches, roughly in that order. Some require a drill and a level; others are just a rethink of what’s already in the closet. Where it matters, we’ve included real numbers — rod heights, shelf depths, weight limits — instead of vague advice, because those specifics are usually what separates a closet that works from one that looks good for a week and then falls apart.
Not every idea will apply to every closet. Pick the ones that solve your actual problem — too little hanging space, too much dead floor area, no light — rather than trying to implement all 18 at once.
1. Master the Art of Vertical Storage
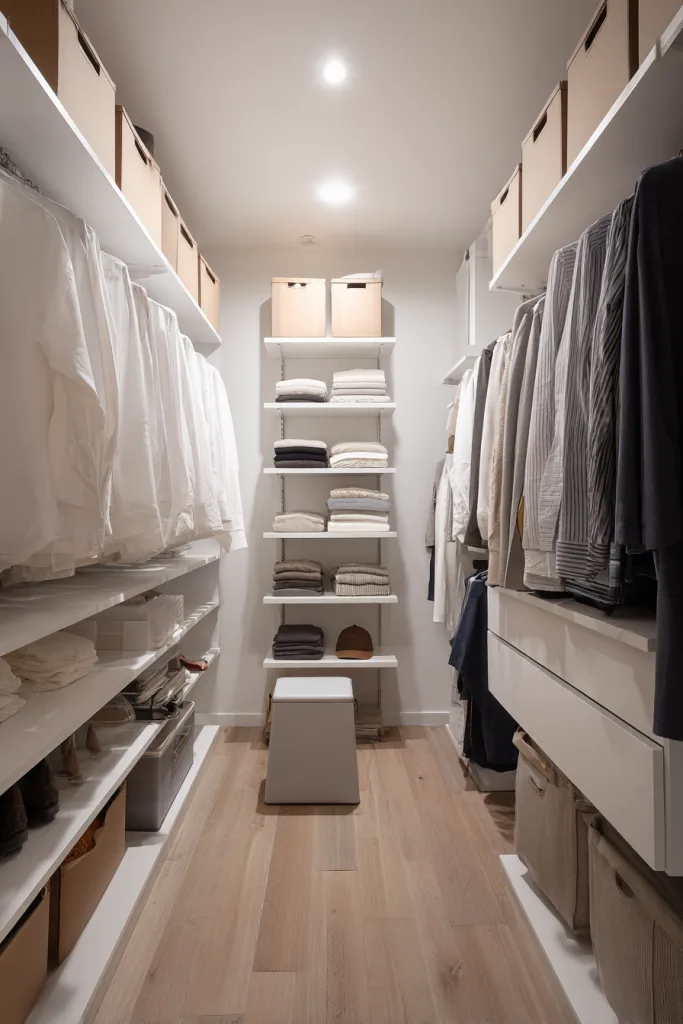
Most closets only get used from about knee height to shoulder height, leaving the top third of the wall empty. Shelving that runs to the ceiling reclaims that space for items you don’t need daily — off-season coats, luggage, decor boxes, extra bedding. Because that height is out of easy reach, it’s the right spot for anything you grab a few times a year, not everyday essentials.
The catch is access and anchoring. A folding step stool solves the reach problem; skipping the anchoring doesn’t work out as well. Wire or wood shelving loaded with bins is heavy, so it needs to be screwed into wall studs or hung with rated hollow-wall anchors — not just drywall screws, which will eventually pull loose under sustained weight. Label bins clearly, since anything above eye level is hard to identify at a glance.
2. Double Up with Tiered Hanging Rods
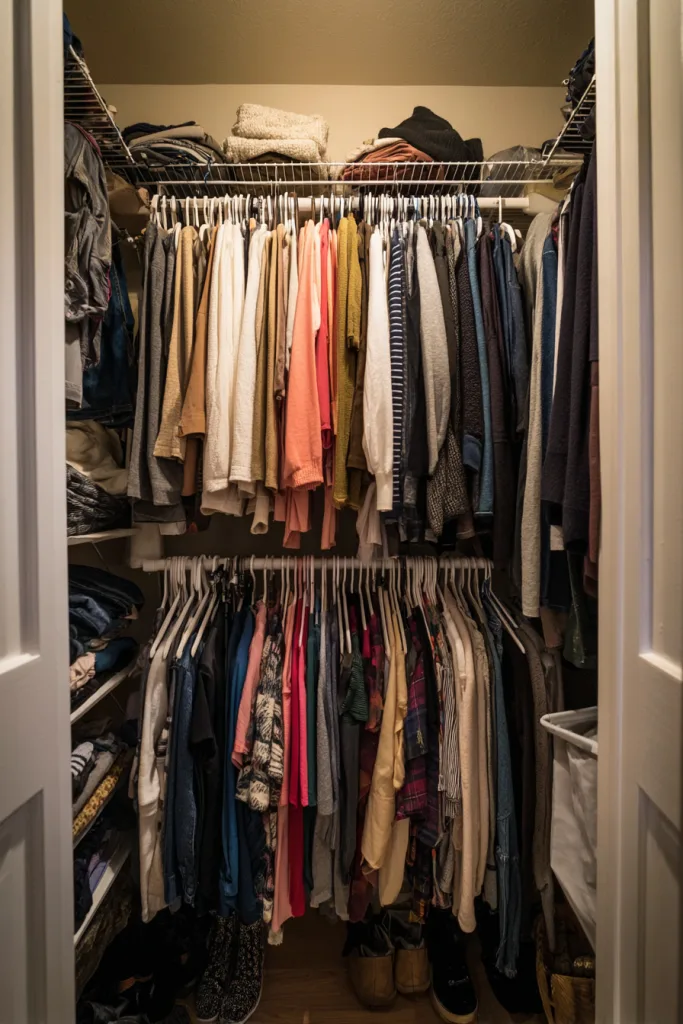
A single closet rod is typically hung 66 to 70 inches from the floor — enough for dresses and long coats, but it leaves a few feet of dead air underneath. Splitting that into two rods roughly doubles usable hanging space: an upper rod around 80 to 84 inches for longer folded-length items, and a lower rod around 40 to 42 inches for shirts, blouses, and folded pants underneath.
The trade-off is that double-hung rods only work for shorter garments — a full-length coat won’t fit in either tier. Reserve one section of the closet as a single-rod zone for dresses and coats, and double up the rest. For rods spanning more than about three feet, add a center support bracket; an unsupported rod loaded with heavy items can sag or pull away from the wall over time.
3. Transform Corners into Storage Goldmines
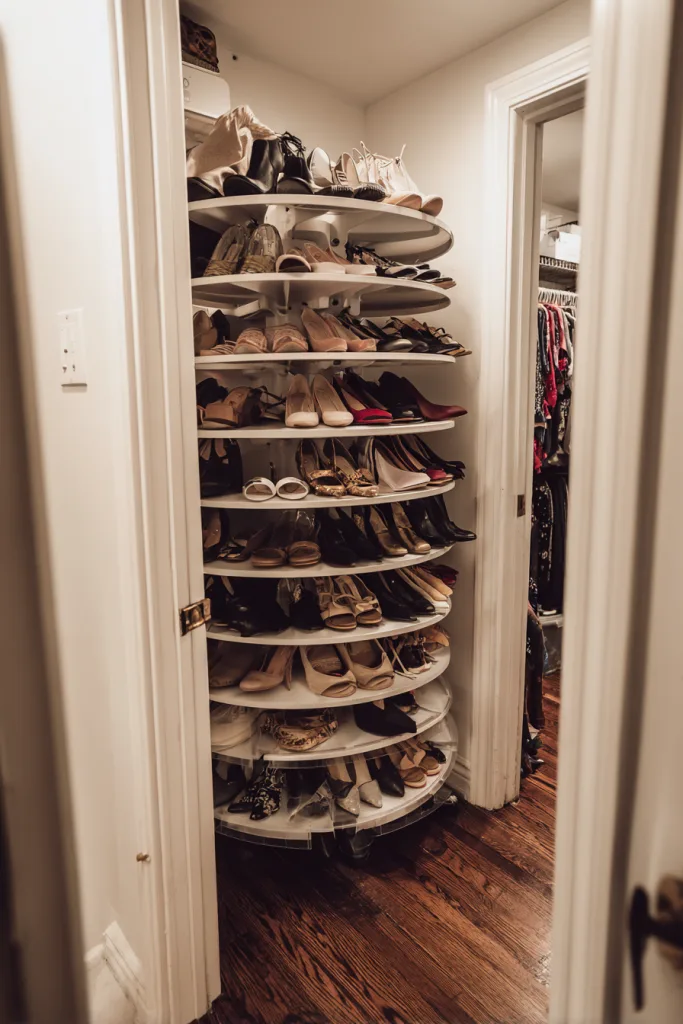
Corners lose function in a standard shelving layout because a flat shelf can’t be reached at its deepest point without pulling everything in front of it out first. Corner-specific hardware — angled shelving units, or a rotating carousel insert — solves that by bringing the back of the space to you instead of the other way around.
Ready-made corner units are sized for standard closet corners, but measure before buying; the depth of the two adjoining walls determines what will actually fit. A corner shoe rack or a set of triangular shelves is the budget option and works nearly as well for smaller items, though it won’t rotate. Whatever you choose, use the corner for things you reach for somewhat regularly — anything crammed into a hard-to-reach corner tends to get forgotten.
4. Install Strategic Hook Systems
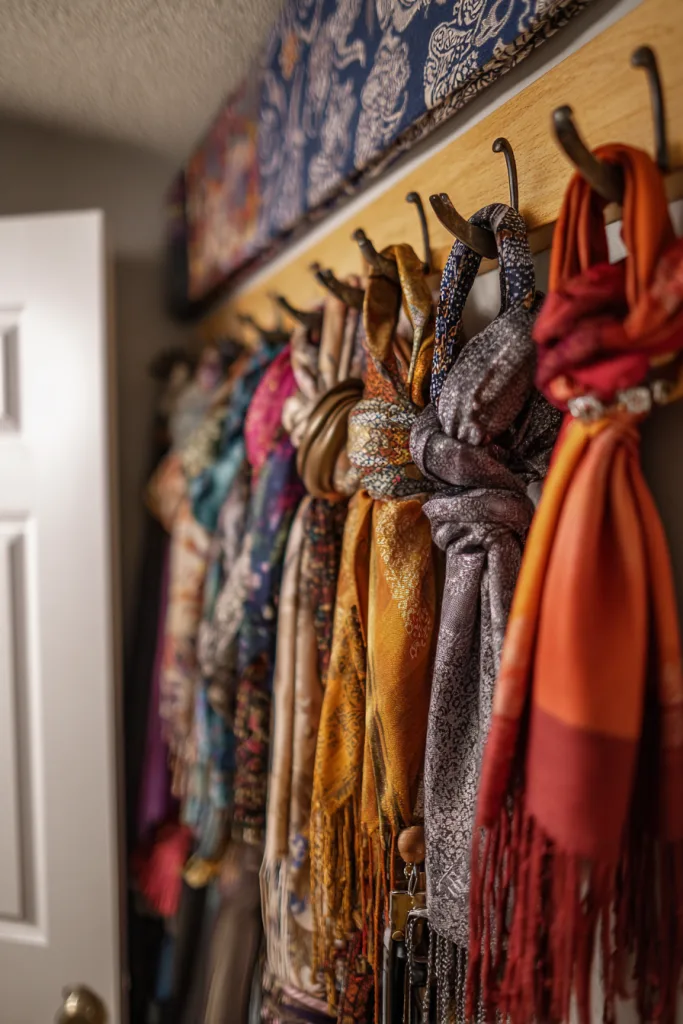
Hooks are the cheapest way to add storage that doesn’t compete with shelf or rod space, and they work well for things you reach for daily — a robe, a bag, a belt, tomorrow’s outfit. The mistake is treating all hooks as interchangeable. Adhesive hooks are rated for light loads, usually just a few pounds, and are fine for scarves or a lightweight jacket, but they’re a bad bet for anything heavier.
For coats, bags, or anything with real weight, use a wall-mounted hook anchored into a stud or a rated hollow-wall anchor — the same rule that applies to shelving applies here. Over-the-door hook strips are a good no-drilling option since they hang from the door itself rather than the wall; just confirm the door can still swing freely once they’re loaded.
5. Embrace the Power of Slim Storage Solutions
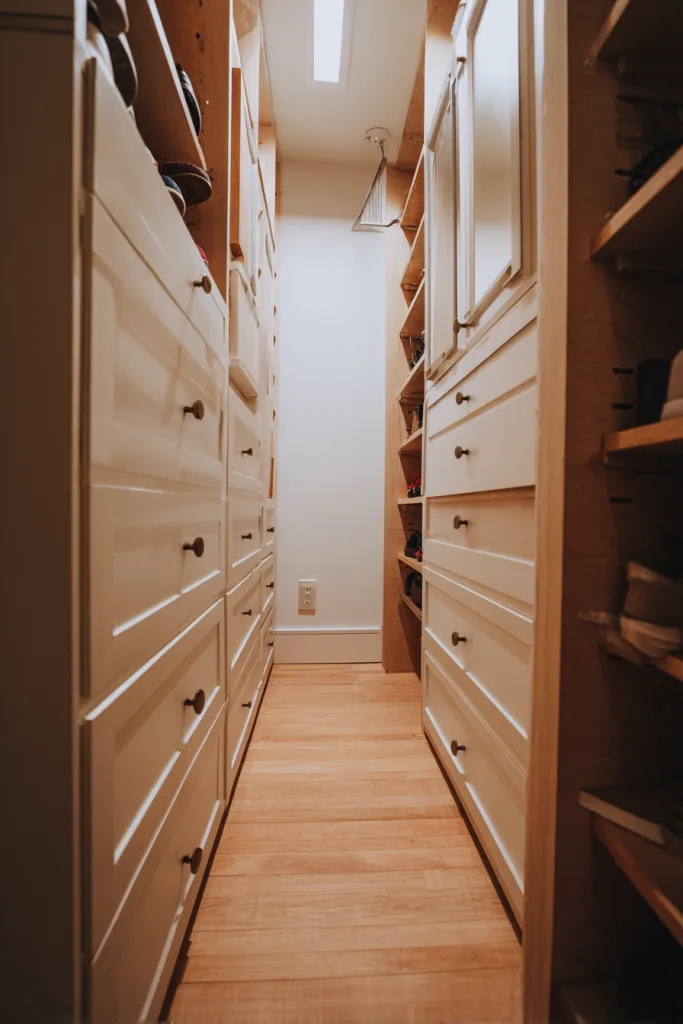
In a small closet, a few extra inches of clearance is often the difference between a workable layout and a cramped one. Slim hardware — narrow rolling carts, over-door shoe organizers, thin vertical dividers clipped onto existing shelves — fits into gaps a standard storage piece would never squeeze into, like the sliver of space beside a hanging rod or behind a door.
Over-door shoe organizers with clear pockets are the easiest starting point since they need no tools and typically hold a dozen or more pairs depending on the style. Narrow rolling carts, often just 6 to 10 inches wide, are useful for accessories you want mobile — pull one out to get dressed, push it back when done. Measure the actual gap before buying; “slim” varies a lot between products.
6. Create Zones for Ultimate Organization
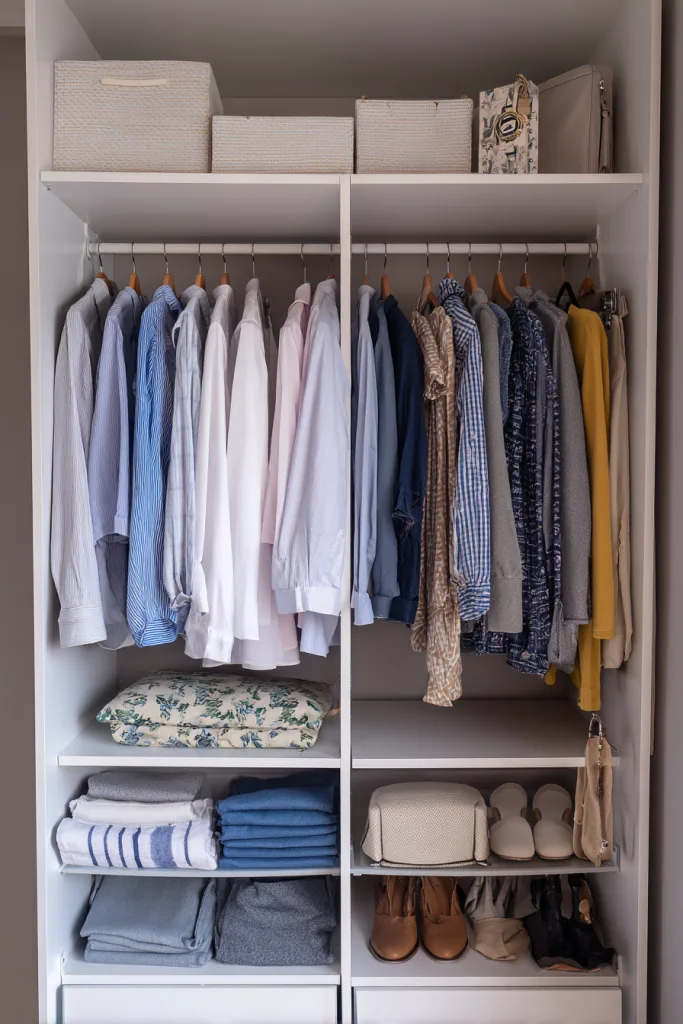
Zoning means giving every category of item — work clothes, casual wear, shoes, accessories — its own defined section instead of letting everything mix. The practical benefit isn’t just tidiness; it’s speed. When shoes always live in the same spot, getting dressed doesn’t involve a five-minute search.
The general rule for placement: keep whatever you reach for most at roughly waist-to-eye level, since that’s the range you can access without bending or stretching. Push seasonal or rarely worn items to the highest shelves or the floor level below the hanging clothes. Use a physical divider — a basket, a shelf edge, even a strip of tape as a boundary marker at first — so zones don’t slowly bleed into each other, which is the most common way a zoning system falls apart within a few months.
7. Maximize Door Real Estate
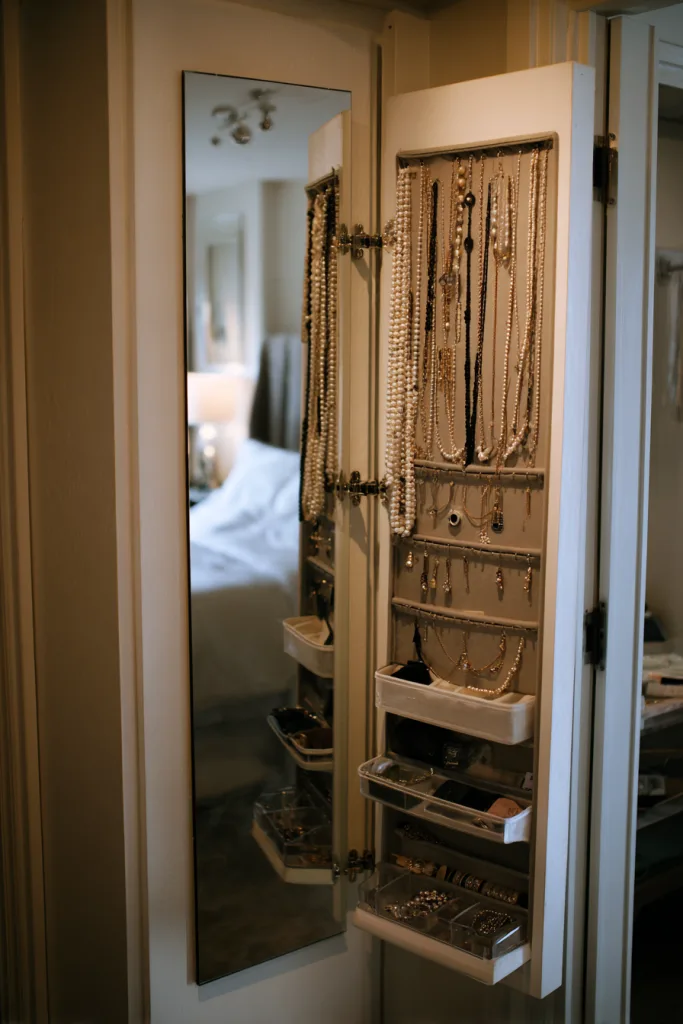
The back of a closet door is unused space in most homes, and it can carry real storage weight if you pick the right hardware. Over-door organizers with fabric or clear-vinyl pockets typically add several square feet of storage for shoes, accessories, or small folded items, without touching the closet’s interior layout at all.
A full-length mirror is the other strong option — it adds function while making the closet feel less like a storage box. Mirrors are heavier than most people expect, so if you’re mounting one directly to a hollow door rather than hanging it from an over-the-door hook bracket, check that the door can support the weight; door-mounted mirror kits designed for this are usually the safer route. Either way, leave enough clearance for the door to close fully once it’s loaded.
8. Light It Right for Function and Style
Closets in older homes — roughly anything built before dedicated closet lighting became standard — often have no fixture at all, just whatever light spills in from the bedroom. That makes color-matching and finding anything on a dark shelf harder than it needs to be.
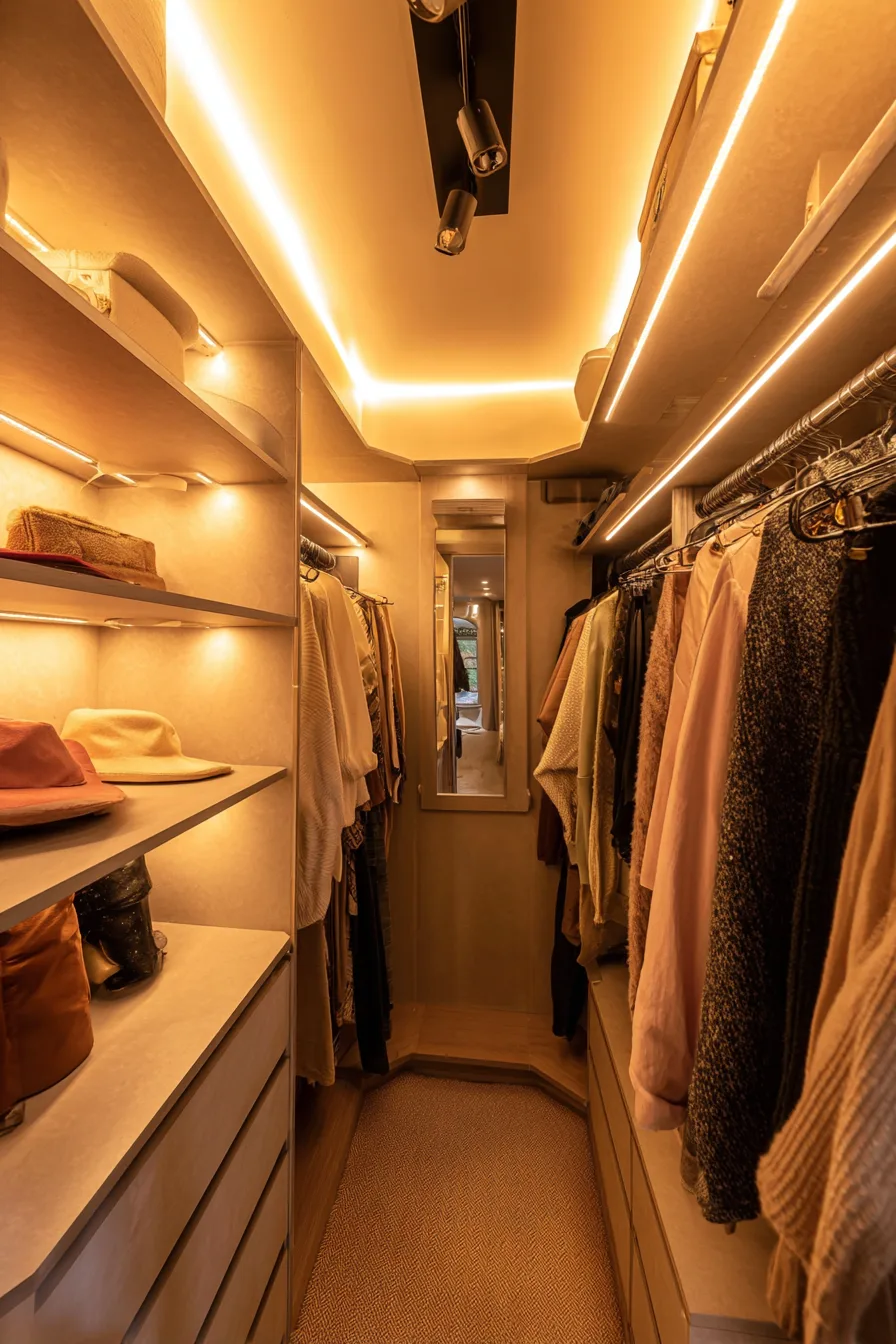
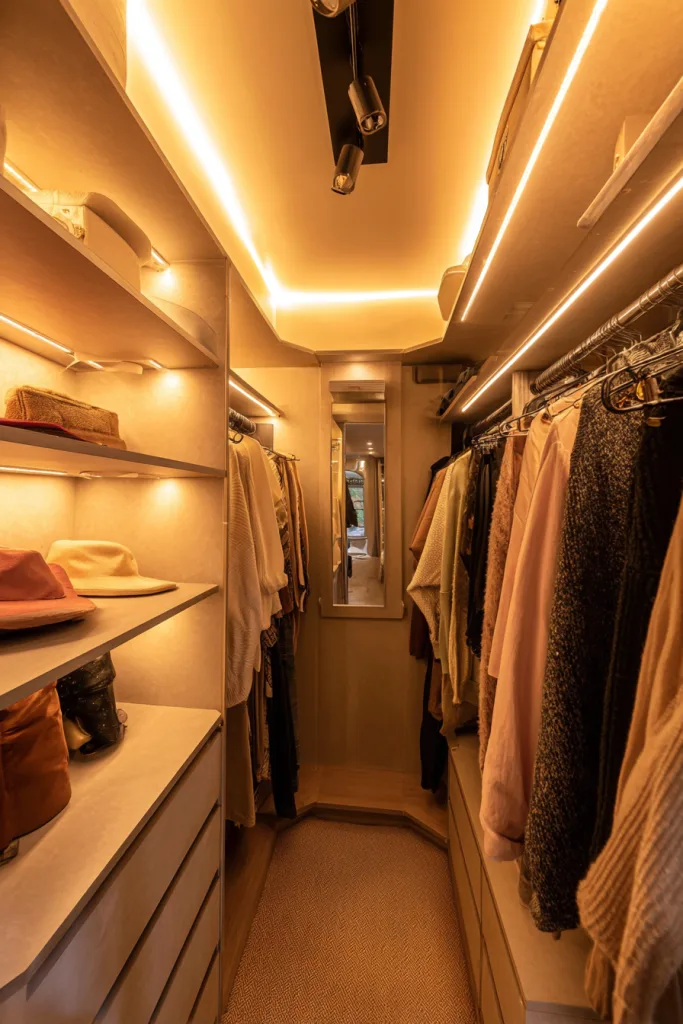
Battery-powered LED puck lights or strip lights are the real fix when running new wiring isn’t an option; a basic multi-pack typically runs $15 to $30 and installs with adhesive backing in minutes. Motion-sensor versions are worth the small extra cost since they solve the obvious problem of having your hands full of hangers when you need the light on. Stick lights under the top shelf to light the rod below, and add a second one near the floor if the bottom of the closet stays dim.
9. Mirror Magic for Visual Expansion
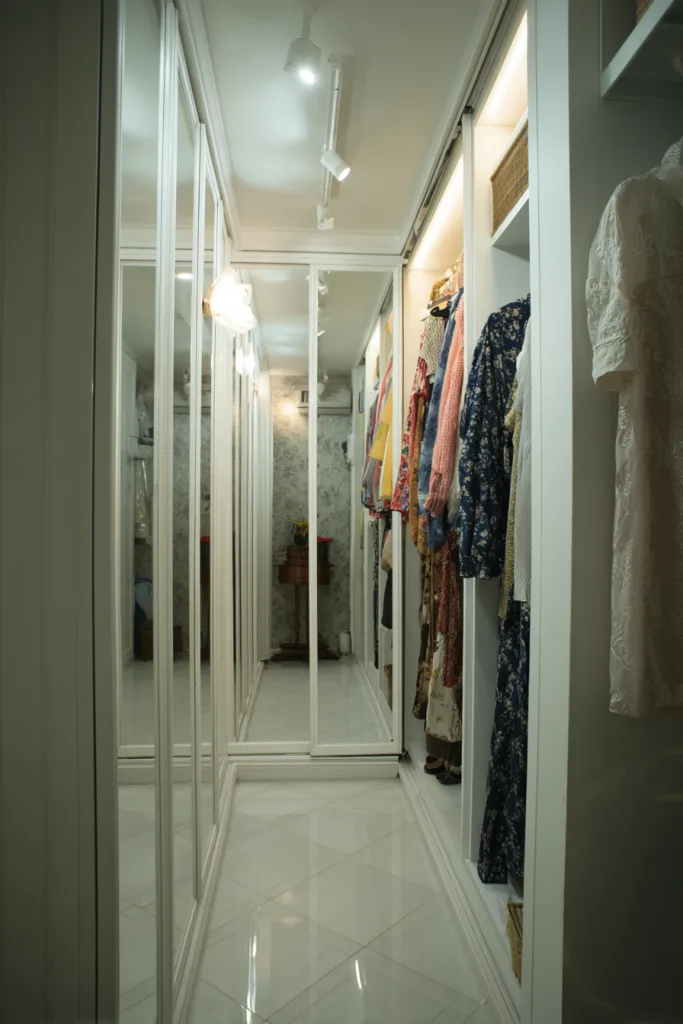
A mirror on a side wall or closet door reflects light back into the room and reads as extra depth, which matters in a closet with no window. It’s a genuine trick, not just a decorating cliché — a mirrored surface breaks up the sense of four flat walls close together.
Position matters more than size. A mirror that reflects a cluttered shelf just doubles the clutter visually, so angle or place it to reflect your most organized zone, or a blank wall. Full-length mirrors are heavy — a framed glass mirror can run 15 to 30-plus pounds depending on size — so mount with hardware rated for the weight and, ideally, into a stud. Mirrored sliding doors are a pricier but effective option if you’re renovating the closet from scratch.
10. Smart Shelving with Adjustable Systems
Fixed shelves are a problem the moment your storage needs change — a shelf spaced for folded sweaters wastes height when you switch to storing shoe boxes. Adjustable systems, like wire track shelving or slotted standards with movable brackets, let you reset shelf height in minutes instead of re-drilling the closet.
Basic wire shelving kits start around $50 to $100 for a small closet; modular systems that combine rods, shelves, and drawer units run higher, often $150 to $400 depending on how much of the closet they cover. For folded clothing, keep shelf depth to around 12 to 16 inches — deeper shelves let stacks sink toward the back wall where they’re hard to see or reach, which defeats the point of adjustable shelving in the first place.
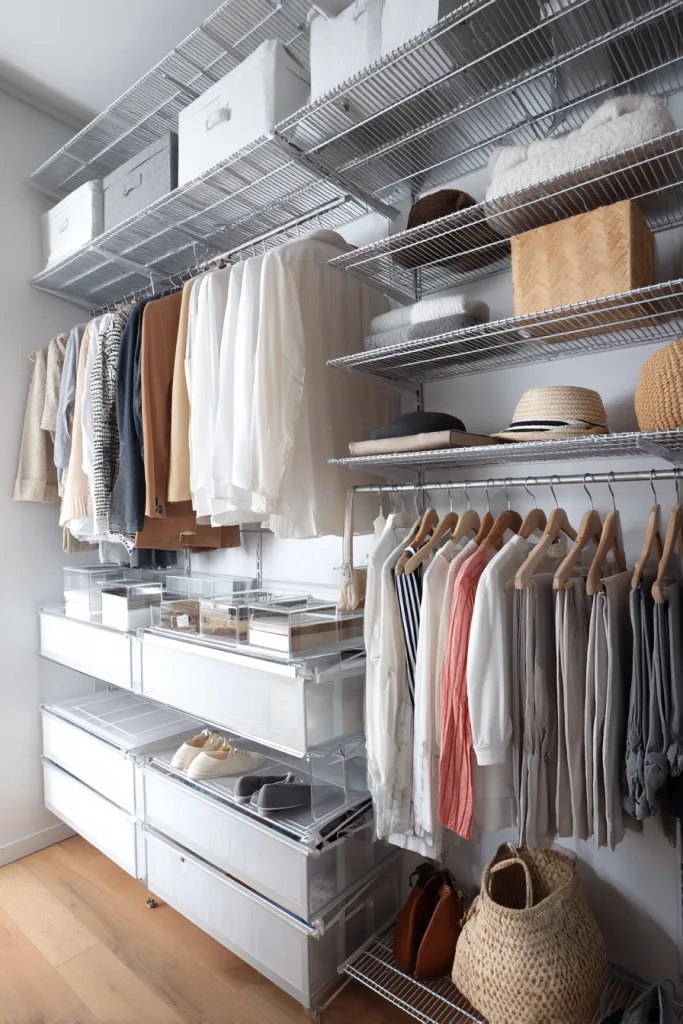
11. Drawer Systems for Hidden Organization
Drawers solve a problem open shelving can’t: keeping small items — socks, underwear, jewelry, delicate accessories — contained and out of sight instead of sliding around on a shelf. They also protect fabric from dust, which matters more in a closet than people usually think.
Shallow drawers, typically 3 to 6 inches deep, work better than deep ones in a small closet because deep drawers let small items pile up and disappear at the bottom. Add a drawer divider or tray insert — a few dollars each — to keep the space organized rather than just contained. Pull-out wire drawer kits can be retrofitted into existing shelving for less than a full closet system costs, which is the easiest way to add this without a complete overhaul.
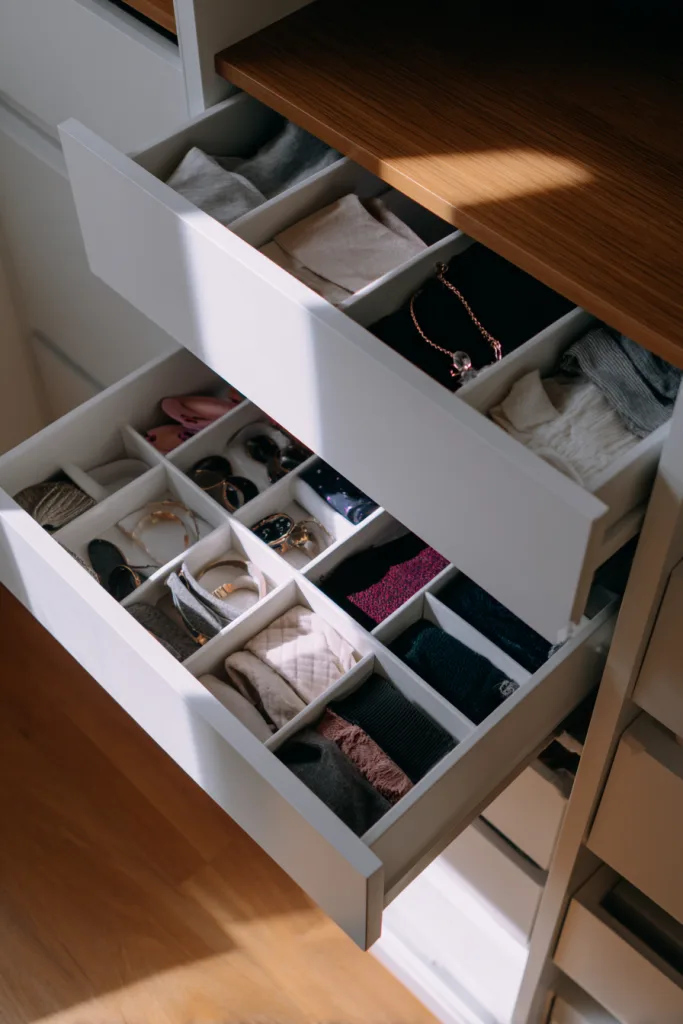
12. Utilize Every Inch of Floor Space
The floor under hanging clothes is usually the most wasted zone in a walk-in closet — too low to be convenient, so it becomes a dumping ground. Low-profile storage boxes, generally under 6 inches tall, slide under the shortest hanging items without blocking anything, and stackable shoe cubbies — commonly sized around 12 to 13 inches per cube — turn that same footprint into visible, individual storage instead of one messy pile.
Rolling carts are worth considering if you need to access the back wall occasionally for cleaning or seasonal swaps; they give you the storage without permanently blocking that access. Whatever you choose, leave a clear path to the back of the closet — floor storage that blocks reach to anything behind it just relocates the clutter problem instead of solving it.
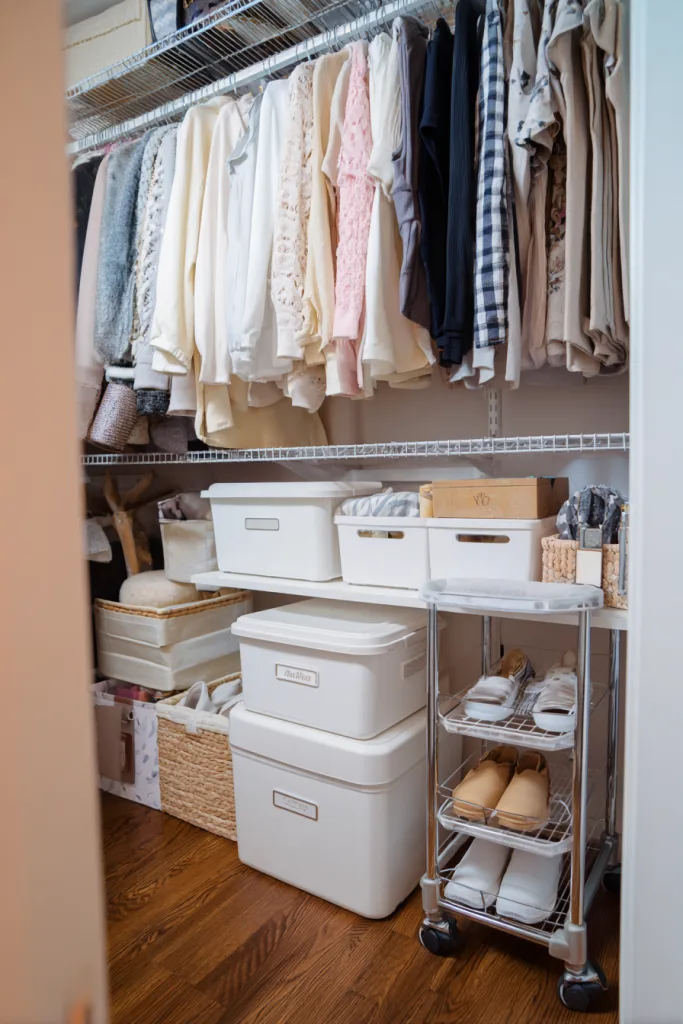
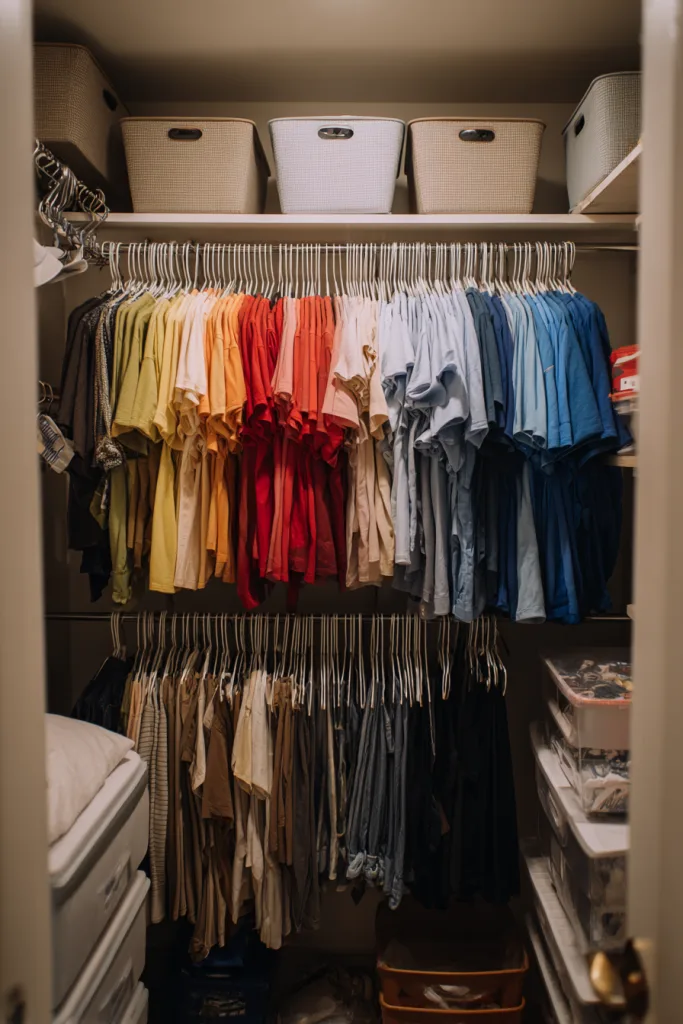
13. Color-Coordinate for Visual Calm
Grouping clothes by color isn’t just an aesthetic choice — it makes a closet easier to scan at a glance, since you’re looking for a color and a silhouette rather than reading every tag. It also tends to reveal gaps and duplicates in a wardrobe that are easy to miss when everything’s mixed together.
The bigger space-saver, though, is the hangers themselves. Standard plastic or wood hangers run about 1 to 1.5 inches thick; slim flocked or velvet hangers are usually closer to 0.5 inches, which can nearly double how much fits on the same length of rod. Matching hangers also read as more organized even before anything else changes. Keep storage boxes and bins in one or two neutral colors so the visual focus stays on the clothes, not the containers.
14. Seasonal Rotation Strategies
A small closet can’t hold a full wardrobe for every season at once — trying to keep everything crammed in year-round means half of it never gets worn on any given week. Rotating out-of-season clothing to a different storage spot — a bin on the top shelf, under-bed storage, a spare closet — frees up the prime, easy-reach space for what you’re actually wearing right now.
Vacuum-seal storage bags are genuinely useful for bulky items like winter coats and comforters, compressing them to a fraction of their normal size for off-season storage. Clear bins beat opaque ones for anything you’re not vacuum-sealing, since you can identify contents without opening every box. Label everything regardless — a bin that looks obvious in October rarely is in April.
15. Built-In Accessories Organization
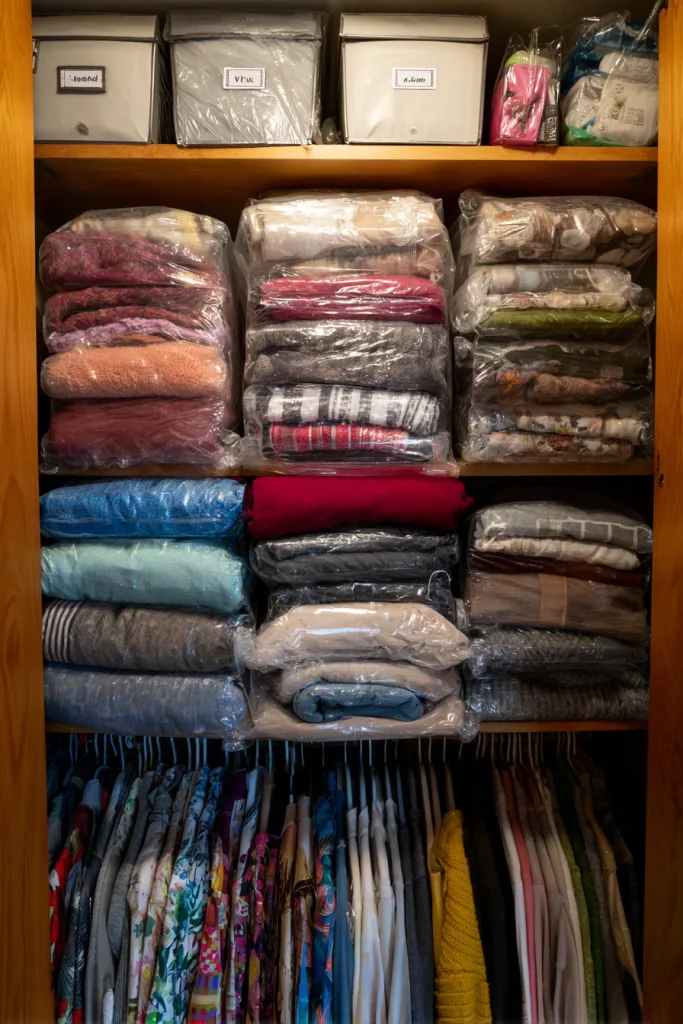
Small accessories are the items most likely to end up in a junk pile at the bottom of a closet, mostly because they don’t have an obvious home the way clothes do. A shallow jewelry tray in a drawer, a row of hooks for belts, or a hanging scarf organizer with fabric loops each solve that for one category — the trick is matching the organizer to the item rather than using one catch-all bin for everything.
Scarf organizers that clip onto a rod are inexpensive and typically hold 15 to 30 scarves without tangling. For jewelry, a lined tray keeps pieces separated and prevents the tangling that happens in a drawer with no dividers. None of this needs to be expensive — the value is entirely in giving each category a specific, consistent spot.
16. Multi-Functional Furniture Pieces
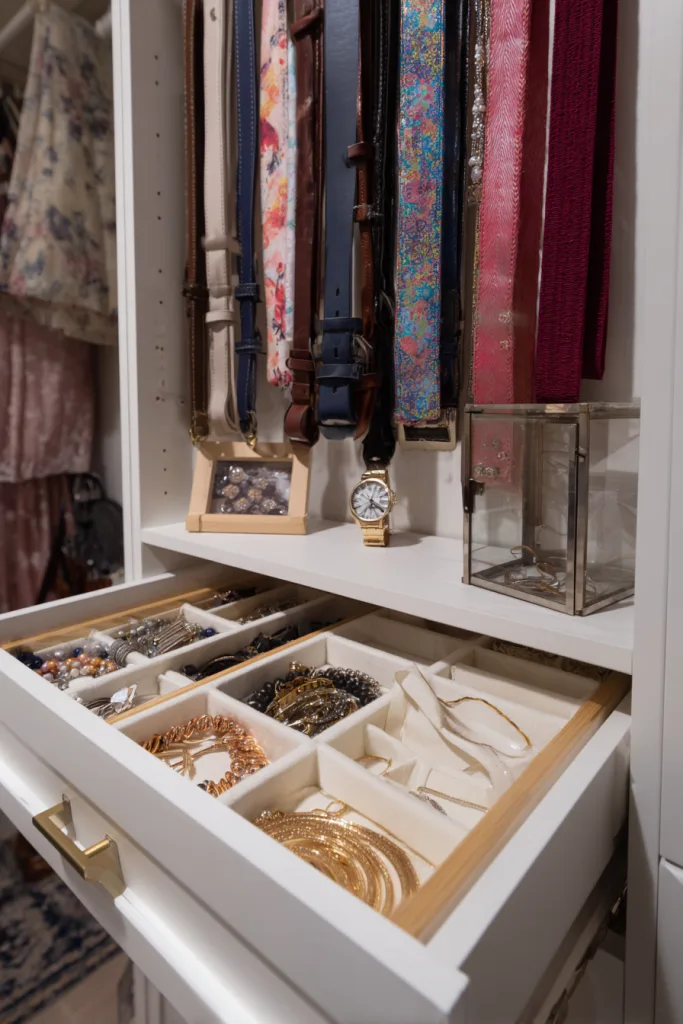
In a closet with limited floor space, a piece of furniture that only does one job is a harder sell than one that does two. A storage ottoman doubles as a seat for putting on shoes while hiding out-of-season accessories inside; a bench with a shoe cubby built into the base gives you the same seat plus visible shoe storage instead of a shoe pile on the floor.
Check weight capacity before buying, especially for anything meant to be sat on — a decorative ottoman rated only for light storage weight isn’t built to hold a person, while a genuine storage bench seat is usually rated for at least 250 pounds. Measure the footprint carefully; in a small closet, a bench that’s a few inches too deep can block the path to a rod or shelf behind it.
17. Maximize Awkward Spaces
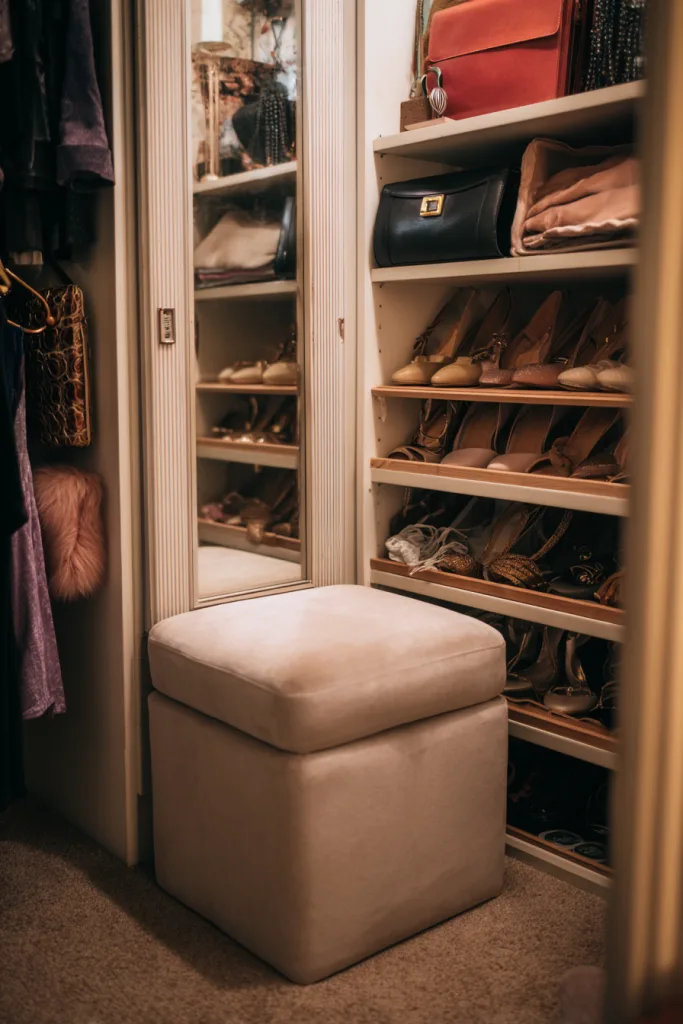
Sloped ceilings, narrow strips beside a door frame, and other irregular corners are usually left empty because standard shelving doesn’t fit them — but that’s exactly why they’re worth solving for, since nothing else is competing for that space. A slanted ceiling area can hold custom-cut shelving low enough to clear the slope, ideal for shoes or folded items that don’t need headroom.
Narrow gaps, anything under about 10 inches wide, are a good match for slim rolling carts or a stack of narrow bins rather than fixed shelving, since fixed units rarely come in odd widths. Custom carpentry gets these spaces exactly right but costs more; ready-made narrow towers and corner carousels get most of the benefit for less, even if the fit isn’t quite exact.
18. Professional Organization Systems
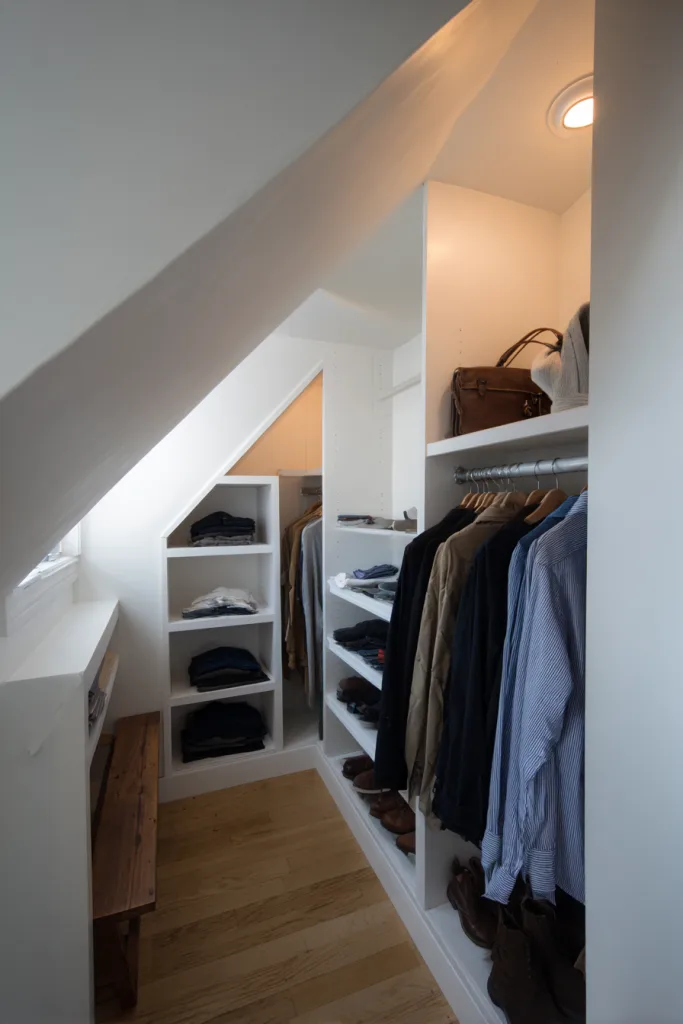
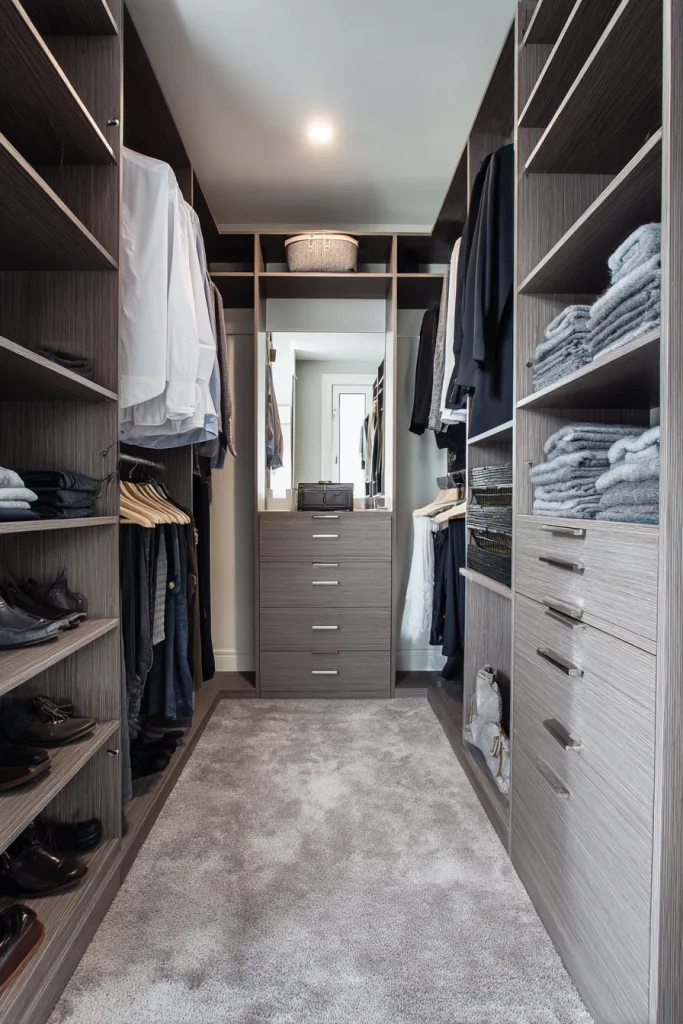
A professionally designed closet system — measured, built, and installed for the specific space — is the highest-cost option on this list, but it solves the fit problem every other option works around. Materials matter here: melamine-coated particleboard is the budget standard and holds up fine under normal use; solid wood costs more and is more durable but adds bulk in a small space; wire shelving is the cheapest and lightest but shows more wear over time.
Full custom systems for a small walk-in closet commonly run $1,500 to $5,000 or more, depending on materials and how much of the closet gets built out — a real jump from the DIY solutions above, and one that’s worth it mainly if you’re staying in the home long enough to use it. Most companies offer a free design consultation, which is worth doing even if you end up building it yourself using the layout as a guide.
Conclusion
None of these ideas require a full renovation to make a real difference. The highest-impact changes tend to be the cheapest ones — using the vertical space above eye level, switching to slim hangers, adding a second rod — while a professional system sits at the other end as an option, not a requirement.
Start with whatever is actually broken in your closet right now, not the idea that looks best in a photo. A closet that’s out of hanging space needs a second rod before it needs a mirror; one that’s dark and hard to see into needs lighting before it needs color-coordinated hangers. Solve the real problem first, then layer in the rest as time and budget allow.
FAQ
How much does it cost to organize a small walk-in closet?
It depends entirely on how far you go. Basic shelving, hooks, and storage bins from a hardware or home store typically run $100 to $300. Adding an adjustable wire or track shelving system usually lands in the $300 to $800 range. A fully custom, professionally installed system is the top end, commonly $1,500 to $5,000 or more depending on materials and closet size.
What’s the most important change to make first?
Using the vertical space above eye level. Most closets only get used from roughly knee to shoulder height, leaving the top couple of feet empty. Adding shelving up to the ceiling — even just for off-season or rarely used items — creates real capacity without touching the closet’s footprint.
How do I keep a small closet organized once it’s set up?
Give every category a fixed spot and stick to it, so putting things away doesn’t require a decision each time. A quick weekly tidy-up catches drift before it becomes clutter, and a seasonal pass — swapping out-of-season items, donating what hasn’t been worn in a year — keeps the system from slowly filling back up.
Can I organize a closet without drilling anything?
Yes, to a point. Over-door organizers, freestanding shelving units, and rated adhesive hooks for lightweight items all work without permanent installation, which matters for renters. The trade-off is weight capacity — anything genuinely heavy, like a loaded coat rod, a full-length mirror, or wire shelving stacked with bins, needs real anchoring into a stud or a rated wall anchor to stay safely mounted long-term.
What’s the best way to add hanging space?
Split a single rod into two. A standard single rod sits about 66 to 70 inches up; a double-hung setup drops to roughly 80 to 84 inches on top and 40 to 42 inches on the bottom, which works for shirts, folded pants, and shorter items on both tiers. It won’t fit full-length coats or dresses, so keep one section as a single, full-height rod for those.